Simple Steps for Conducting a Science Experiment on Any Topic
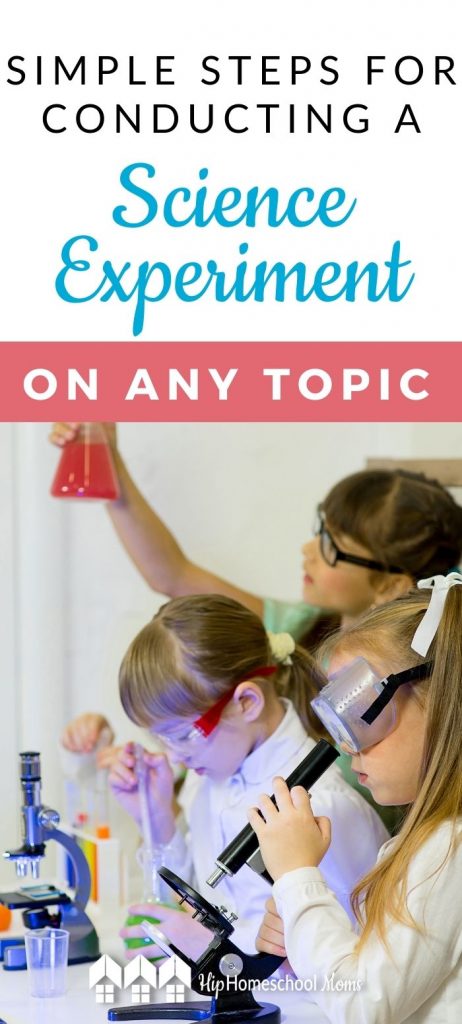
Science experiments can be so much fun, and they truly do teach our students so much! Most young children (and, to be honest, even most older students) learn best when doing hands-on activities. But when it comes to science, many parents just don’t feel very knowledgeable. That’s why I’m sharing these simple steps for conducting a science experiment on any topic! But first, let’s talk for a moment about why it’s important to include science experiments in your homeschool.

Science experiments help make homeschooling more fun and more interesting any time of year!
- Summer? Do some science experiments to keep learning happening even if you take summers off.
- Fall? Get back to your homeschool year with some fun, hands-on experiments.
- Winter blues? Science experiments give you something fun and interesting to do indoors if it’s too cold to go out.
- Spring? When many folks are suffering from homeschool burnout, do some science experiments to keep your kids interested until the school year ends.
Our children (whether elementary or high school aged) learn so much from doing their own science experiments and showing them off to friends, parents, grandparents, and neighbors!
If you’re up for some science-related fun, you may even consider having a mini science fair of your own with a group of friends. You’ll all learn a lot and have a ton of fun!
Steps for Conducting a Science Experiment on Any Topic
Before you dive into these steps with your student, I highly recommend reading through this entire article! As you move through the steps, you’ll be glad you have a good understanding of what is coming next as you make decisions about the current step. Seriously. You’ll thank me later.
A Choice of Two Printables to Use Throughout the Process
Also, you may want to take moment to download these two printables. The first one is a Science Experiment Checklist with the steps below already filled in! You and your child can use it throughout the entire process from start to finish! Or, if you’d rather come up with your own specific steps, you can print the Blank Science Experiment Checklist and fill in whatever steps you’ll be using.
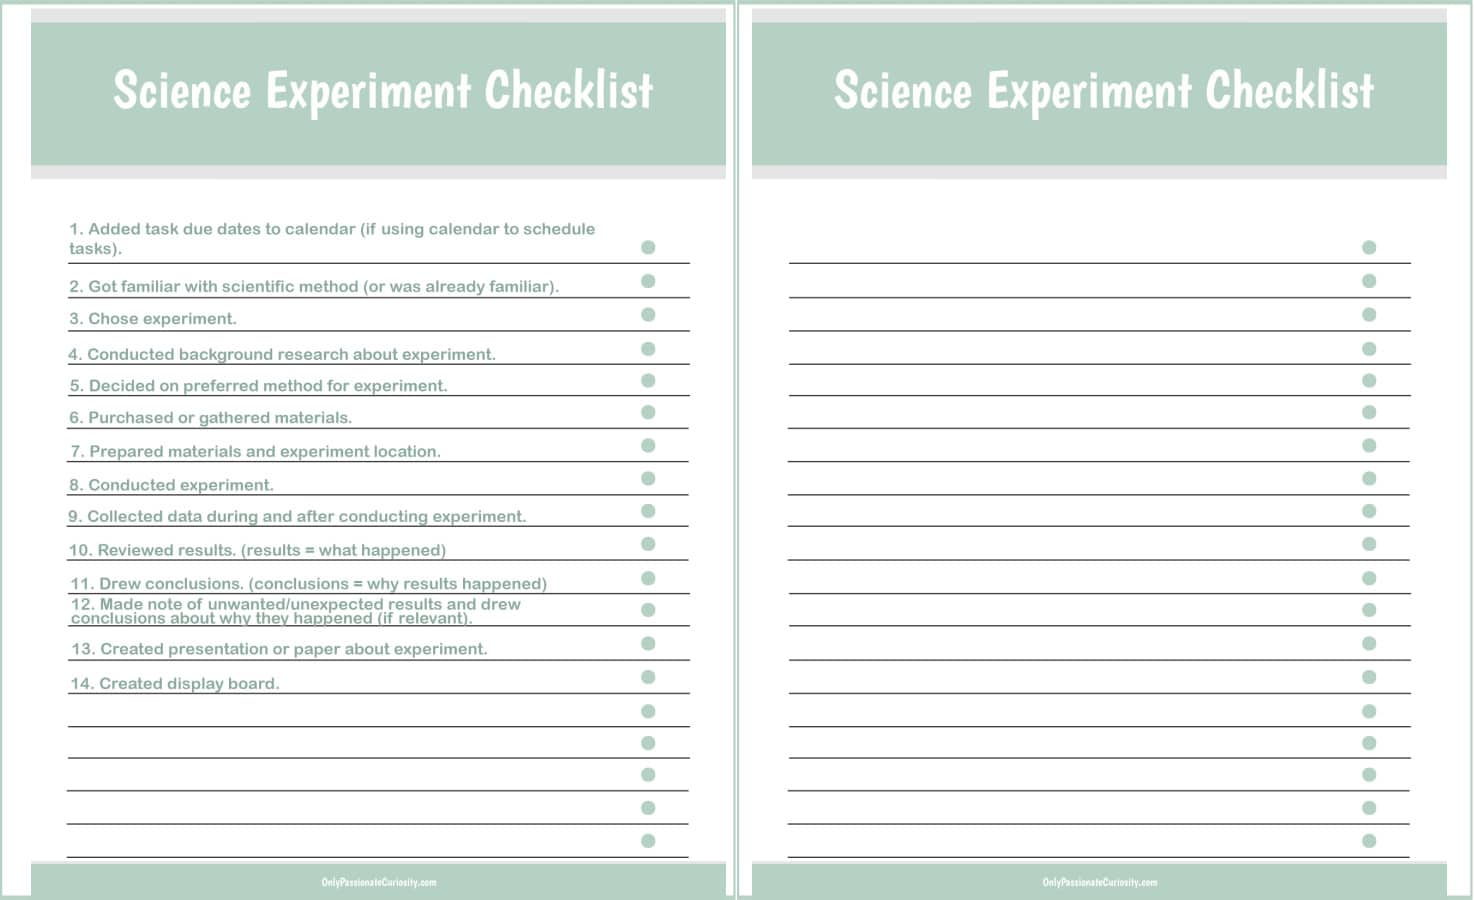
I have assisted my three homeschoolers with conducting science experiments for many years, and these are the steps that we used to achieve success:
Step 1: Choose an experiment.
Step 2: Conduct background research.
Step 3: Make a decision about your preferred method.
Step 4: Purchase (or gather) materials.
Step 5: Prepare materials and experiment location.
Step 6: Conduct the experiment.
Step 7: Collect data.
Step 8: Review results and draw conclusions.
Step 9: Create a short presentation or paper.
Step 10: Create a display board showing all parts of the scientific method.
Before You Begin
There are three important things to consider before you begin.
- Consider whether you want to list and schedule tasks having to do with your science experiment.
Depending on your goals and the age(s) of your student(s), you may choose to use a calendar to schedule the various tasks you’ll need to do. I chose to do this with my student. It’s not a necessity, but it helps the whole process run more smoothly and helps ensure you don’t forget something important!
- If your student isn’t already familiar with the scientific method, you’ll need to think about how you want to get him/her familiar with it. You’ll also want to determine the steps that make sense and work for you and your experiment.
The most important thing to consider before you begin is getting your student familiar with the scientific method! It may surprise you to know that there is no absolute consensus as to how to list the steps of the scientific method. While the steps are generally the same, they are often stated a little differently or broken down in slightly different ways or in differing numbers of steps.
My preference is listed below, but feel free to use whichever method your science curriculum suggests or that feels the most sensible to you.
- Keep in mind as you do your experiment that you’ll want to take photos! You can use your cell phone or a camera–whatever works best and is easiest for you.
Steps of the Scientific Method
- Purpose – Why are you doing this experiment? What do you hope to prove or disprove?
- Hypothesis – What is your hypothesis?
- Materials – What materials will you need to buy or gather and have on hand to do your experiment?
- Procedure – What are the steps you’ll need to do (in order) to conduct your experiment, gather data, and draw conclusions?
- Results – What happened when you conducted your experiment?
- Conclusion – What conclusions did you draw after conducting your experiment and considering the results?
Steps for Conducting Your Experiment
Step 1: Choose an experiment.
I suggest 3 great ways to help determine which experiment is best for your child.
- Sit down with your student and discuss his/her interest and ideas. Does he/she have any thoughts on what might be interesting and enjoyable? You may find that your student already has some great ideas!
- Keep a list for a week or two. As you go through your days, be aware of possible science experiment ideas. Look out for anything that interests your student. Is he fascinated by a video showing an old Jeep that was stuck in the mud and was literally ripped apart when it was extracted? If so, jot that down in your notebook as the science of mud. Is her attention focused on the bug that appears to float on the pond? Make a note of the science of bugs and insects. Keep a notebook and pen handy or tell Siri to add ideas to a list on your phone.
- Use books and/or the internet to do research. Use your local library, science curriculum, or internet articles for ideas.
Remember to consider topics that could apply to lots of different categories from chemistry to biology to physics and more. If it is interesting, put it on the list.
When you are ready to make a decision about which experiment to conduct, sit down and look at your ideas. I encourage you to allow your student (within reason) to choose the project he/she likes best.
If you are unable to make a decision, continue to the next step and use background research to help you make your final decision.
If you and your student have agreed upon a specific experiment, continue to the next step to help you firm up the possibilities and make final decisions before you begin.
Step 2: Conduct background research.
There are several considerations to be aware of when conducting background research. Reading many sources of background research (including several examples of your chosen experiment or at least one that is very similar) should help you determine several things.
- Is the experiment the right one for your student?
- Is the project too simple or too difficult for your student?
- Is your student really as interested in the selected topic as he/she thought?
- How have others conducted similar experiments (including their materials and procedures)?
- Is your topic too broad or too narrow?
- Which resources are best?
When considering which resources are best, there are some things you’ll want to keep in mind.
- It is best to stick with scholarly sources such as books, journals, science curriculum, encyclopedias, and science-dedicated sites that have examples of other science experiments that are the same as or similar to the one your student plans to conduct.
- When using the internet, look for sites from universities and reputable scientific organizations.
- If you are unsure, do an internet search for something such as best sources of scientific background research for kids.
- Background information sources should add to your student’s understanding and educational value so that he/she will learn more about the science behind the project. This means that sources should be easy enough for your student to read and understand without having to work too hard. Your student’s focus should be on learning the science rather than wading through material that is above his/her reading level.
- If you have difficulty finding sources that are easy enough, particularly for younger students, it is perfectly fine to read the sources to your child or even read them yourself and summarize them for your student.
Step 3: Make decisions about your preferred method.
The biggest consideration for this step is determining which method suits your purposes and your student’s needs and personality.
Do-It-Yourself Method:
If you decided on the do-it-yourself approach, you will definitely need to refer to some sources which include previously conducted experiments. I suggest that you find an actual experiment matching the one you want to do and re-create it using their materials and procedures. If that’s not possible, find something similar and use it as a guide.
Good sources should give clear information about the materials used and the exact procedures followed. From this, you should be able to recreate the experiment. This is a great option for older students, those who have conducted science experiments previously, and those who have a particular love of science.
Keep-It-Simple Method:
If you would rather keep it simple, look for a kit containing everything you need. The simplest way I have found to do this is to do an internet search. For younger students, I recommend using a kit to make things easier for yourself and your student.
Step 4: Purchase materials.
Read through your list of required materials and make your purchases. If you already have what you need, simply gather your materials. The most important part of this step is obviously making sure you have everything your student will need so there are no last-minute surprises or disappointments.
Step 5: Prepare materials and location.
This step may require work ahead of time, or it may be done just prior to conducting the experiment. It will vary widely depending upon the experiment you have chosen.
Some experiments may require virtually no advanced setup at all, while others may require much more planning and preparation.
The most important thing to keep in mind is to carefully plan ahead and have everything (materials and location) ready before you begin.
Step 6: Conduct the experiment.
Now for the fun part. Conduct your experiment!
- Be sure to follow the directions carefully and take lots of pictures.
- If any unwanted exceptions occur, discuss them with your student and make notes.
- If your results aren’t as expected, you’ll want to draw conclusions about what happened. Lots of learning can still occur even if your results are not what you planned!
Step 7: Collect data.
Data collection simply means looking at what happened and documenting it. At this point, there is no interpretation–only recording what happened.
You will need to make decisions ahead of time relating to how you want your student to record his/her data. You may choose something as simple as a clipboard and loose-leaf paper or something as fancy as logging data into a chart or graph. This will be an important consideration that should be determined ahead of time. You’ll want to be ready for your student to log his/her data while the experiment is still fresh on his/her mind and interest levels are still high!
I’ve found that many science experiment kits come with free websites that allow data input and generate nice charts and/or graphs that are printable.
Step 8: Review results and draw conclusions.
Review Results
One of the things that surprised me a bit when my first homeschooler did his first science project was the fact that results and conclusions are two different things! It makes perfect sense, but I just hadn’t ever thought of it before.
Results are simply what happened. Look at the data you logged in the previous step and make statements about what you see.
This step may be one that your student needs some prompting to assess, so don’t be afraid to jump in and guide him/her toward learning how to look at the data that was collected and help determine what actually happened.
I’ll oversimplify an example here. If you take a very deep breath and then blow into a balloon, your balloon will fill up a bit more than it will if you take a very shallow breath and blow. The fullness of the balloon would be a result of how deep the breath was.
Draw Conclusions
This is where you discuss why your results turned out the way they did.
This is also a great place to use some of that knowledge that was gained from the background research that was done!
If your results did not turn out as expected, this is a great time to think about why that occurred. Discuss what should have happened and why.
Again using the balloon example, you would draw conclusions about WHY a deep breath fills the balloon more than a shallow breath. In this example, you could refer to your background research on lung volume, air pressure, air volume, or other related topics.
If the information you have on hand does not give sufficient documentation regarding why you obtained or expected a certain result, then take the opportunity to do some more research!
Step 9: Create a short presentation or paper.
If you choose to incorporate writing at the conclusion of your project, these tips will help your student create an interesting paper that can be read aloud as a presentation.
The goal here is to create a paper that is not only interesting but also informative and easy to understand. I suggest following these steps:
- Begin with a quote, very short story, or a question to capture your audience’s interest. If you have trouble with this step, consider listening to some popular sermons, educational lectures, or even Ted Talks. Good writers and speakers know how to grab the attention of the audience and draw them in.
- Once you have your opening, simply follow along with the steps of the scientific method. Keep it simple and include only a few sentences for each step for younger students. Older students may be able to write a paragraph on each step. For sections such as materials and procedures, a bulleted list is appropriate.
- Include some information on any safety considerations. If you need to use particular safety equipment or be certain to clean up any chemical residue, this information should be included in your paper.
- Conclude the paper with results and conclusions, being sure to note them separately.
- Finally, print your graphs or charts or include your student’s handwritten documentation at the end of the paper. This gives at-a-glance information to the reader or audience.
It sounds simple, but writing is difficult for some students so, again, don’t be afraid to step in and assist if needed! Most young students do not yet have the experience or educational knowledge required to write a paper on their own. Even if you feel that you wrote the paper yourself with your student’s help (rather than the other way around), I guarantee that your student will learn a lot simply from participating with you in the process.
Step 10: Create a display board.
There are so many ways to create pleasing and informative display boards! These can be as simple or as fancy as you and your student would prefer.
Below are some of the kinds of information you’ll want to consider including:
- Show all of the steps of the scientific method. You won’t have space to include much information from each step, but get the basics on the board.
- Give a very brief introduction. The easiest way to accomplish this is to simply use the introductory paragraph of your paper.
- Use some of your board space to display results and conclusions and, if you have extra room, use some of the pictures you took as you went through the process.
- Dedicate a small portion of the board toward explaining safety considerations (if relevant).
- Add something extra just to make your board look nice! This may be as simple as adding a border, using colored paper, or even some artwork done by your student. You can keep this simple or get super fancy depending on your student’s interest level and ability.
The End Result
Once you and your student have accomplished all of these steps, it would be so much fun to invite some friends, neighbors, or grandparents over for dinner and give your student a chance to show off everything he/she has accomplished! Homeschoolers often enjoy being able to positively represent our chosen method of education, and we all love to display our hard work! Celebration is definitely in order, so use the opportunity to enjoy your student’s accomplishment and hard work.
Do you have a science fair topic to share? Would you like to share comments about your own science fair experience? Do you have questions about any of the information in this article? We would love for you to leave us a comment!
You May Also Like
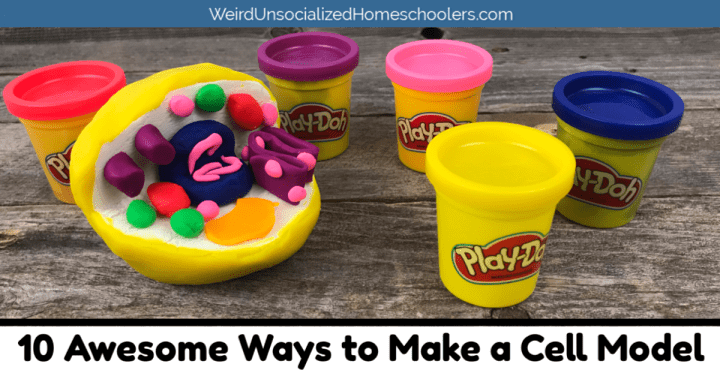
10 Awesome Ways to Make a Cell Model


