
It’s Fall, Y’all! Two Fun Fall Leaves Art and Science Activities


It’s Fall, Y’all!
If you are fortunate, you live in an area where bright green leaves are now turning brilliant hues of reds, oranges, and yellows. Those fallen leaves will become a great habitat and provide food for small animals during the coming months. So why do trees’ leaves change colors and fall to the ground?
As the days become shorter and there is less sunlight, trees are preparing for the winter months and therefore stop needing and producing chlorophyll. Chlorophyll is responsible for leaves being green. It is the dominate color and overpowers all other colors. As the chlorophyll production ceases, the colors “hidden” by the green become visible. Don’t worry, though. The trees are still happy and healthy even though their leaves are turning and falling to the ground. Those trees have spent the summer storing sugars that will feed them during the winter.
As I just mentioned, the breakdown of the chlorophyll produces vibrant colors. The colors can vary year to year based on the type of summer that year. We love to watch the leaves change and look forward to drives and hikes to enjoy nature’s wonderful works.
An exception to annually changing colors is evergreens. Evergreens don’t change colors, hence the name. Their leaves or needles are designed to withstand the winter months. Their shape also helps snow to slide off and not weigh the limbs down. Don’t be fooled. Just because they keep their leaves doesn’t mean they continue photosynthesis through the winter months. Evergreen leaves can be used season after season to feed the tree. When they are no longer are capable of doing this job, those leaves will turn brown, die, and be replaced with new growth.
I was a public school kid, but I think my mom would have been an awesome homeschool mom. She taught me so much and made learning fun. Every year she and I would collect fall leaves and make things to decorate the house. She would tell me all about the changing leaves. I have wonderful memories of those times almost 40 years ago.
Now, bundle up if you need to, grab the kiddos, and go in search of some beautiful fall leaves. I have two different projects that are simple and fun. One makes a great gift–especially at Thanksgiving. (Hopefully you will get to see family and friends this weird year.)
To make the most of this beautiful season, let’s do a couple of Fall Leaves Science Activities!
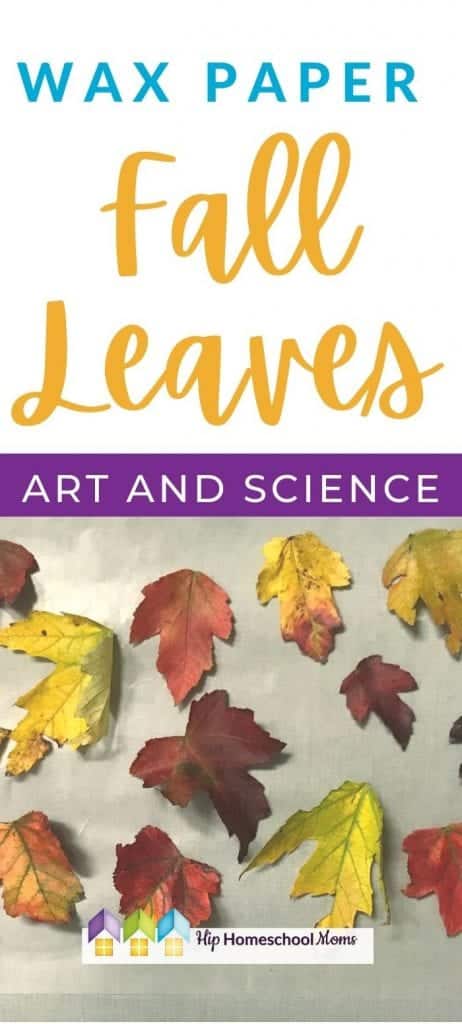
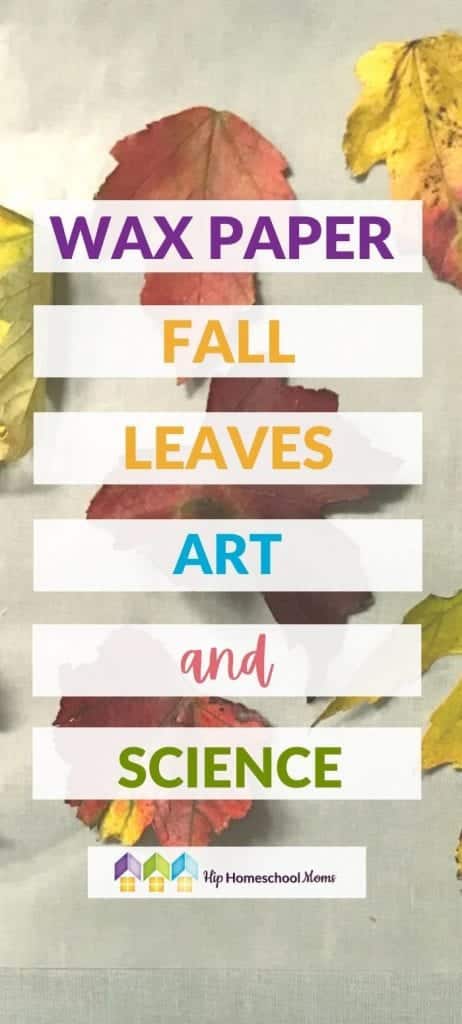
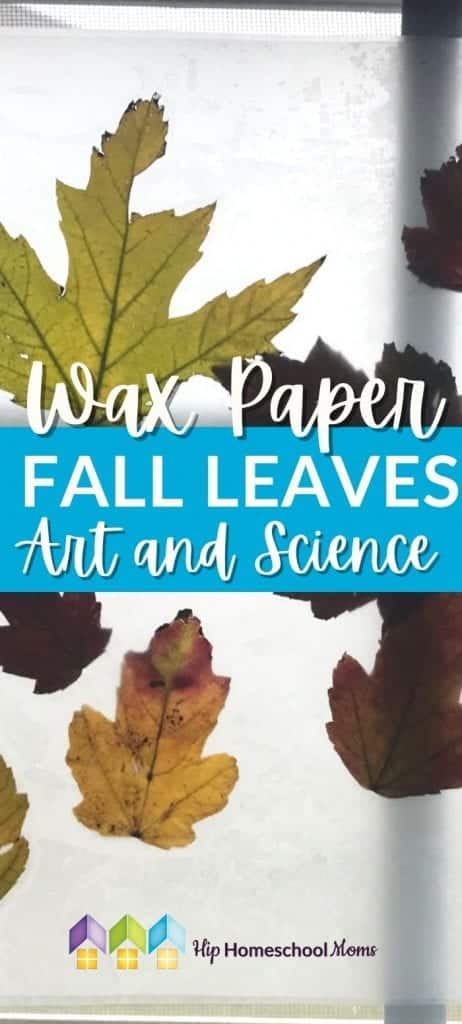
Activity #1 Wax Paper Fall Leaves Art and Science
NOTE: This activity requires a hot iron. We recommend having an adult do the ironing.

Materials needed:
Fall leaves
Wax paper
An iron
Disappearing purple glue stick (optional)
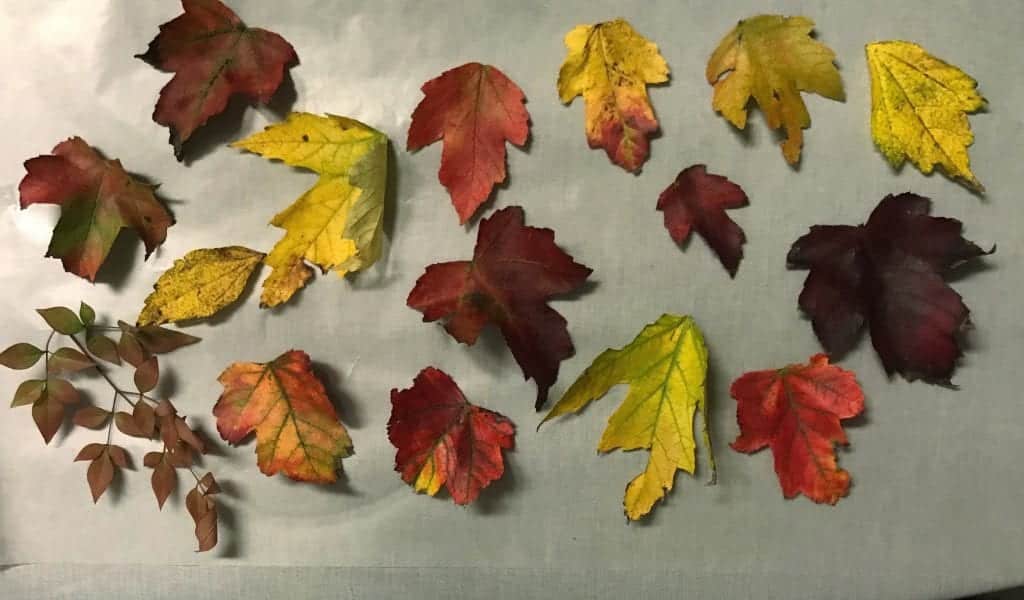
Arrange your leaves on a piece of wax paper. Use the glue stick to help keep them in place. (Leave a border of 1″ to 1.5″ so that, when you iron your wax paper, you’ll get a good seal around the edges.)
Top with another piece of wax paper. Place your iron on the highest setting with no steam. Begin ironing your paper. The best place to start is in the middle. Take your time and work your way out toward the edges.
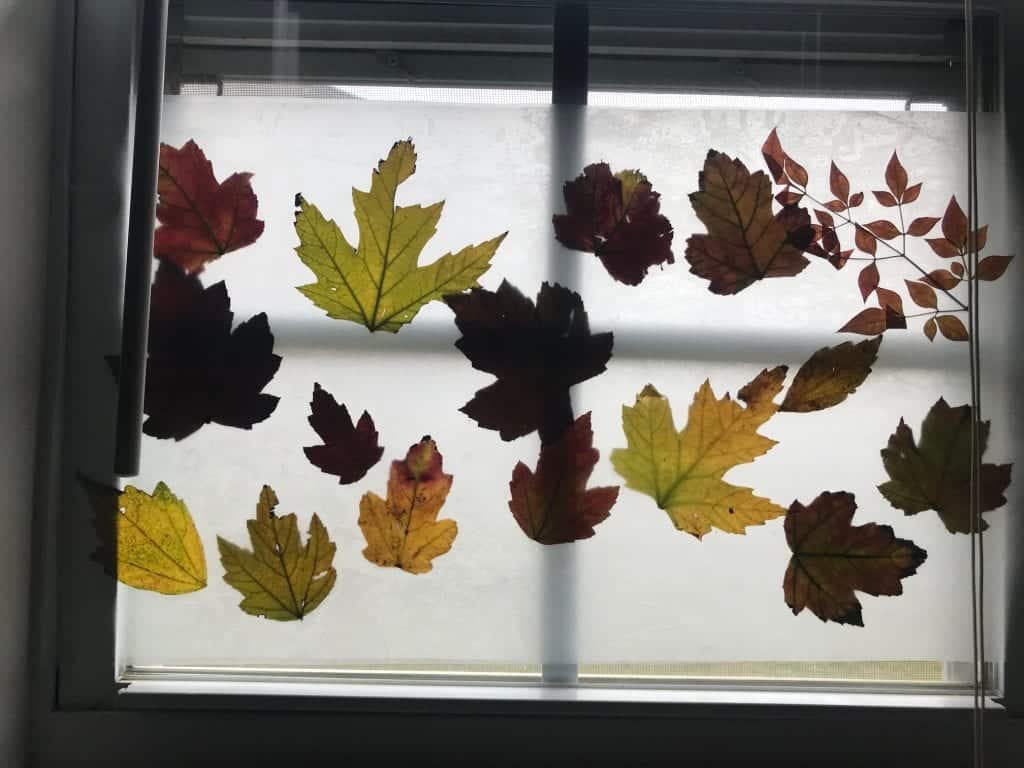
You can now hang your creation in a window, and you have a “frosted” window covering. The light shines through, and you can see the details and beautiful colors of all the leaves.
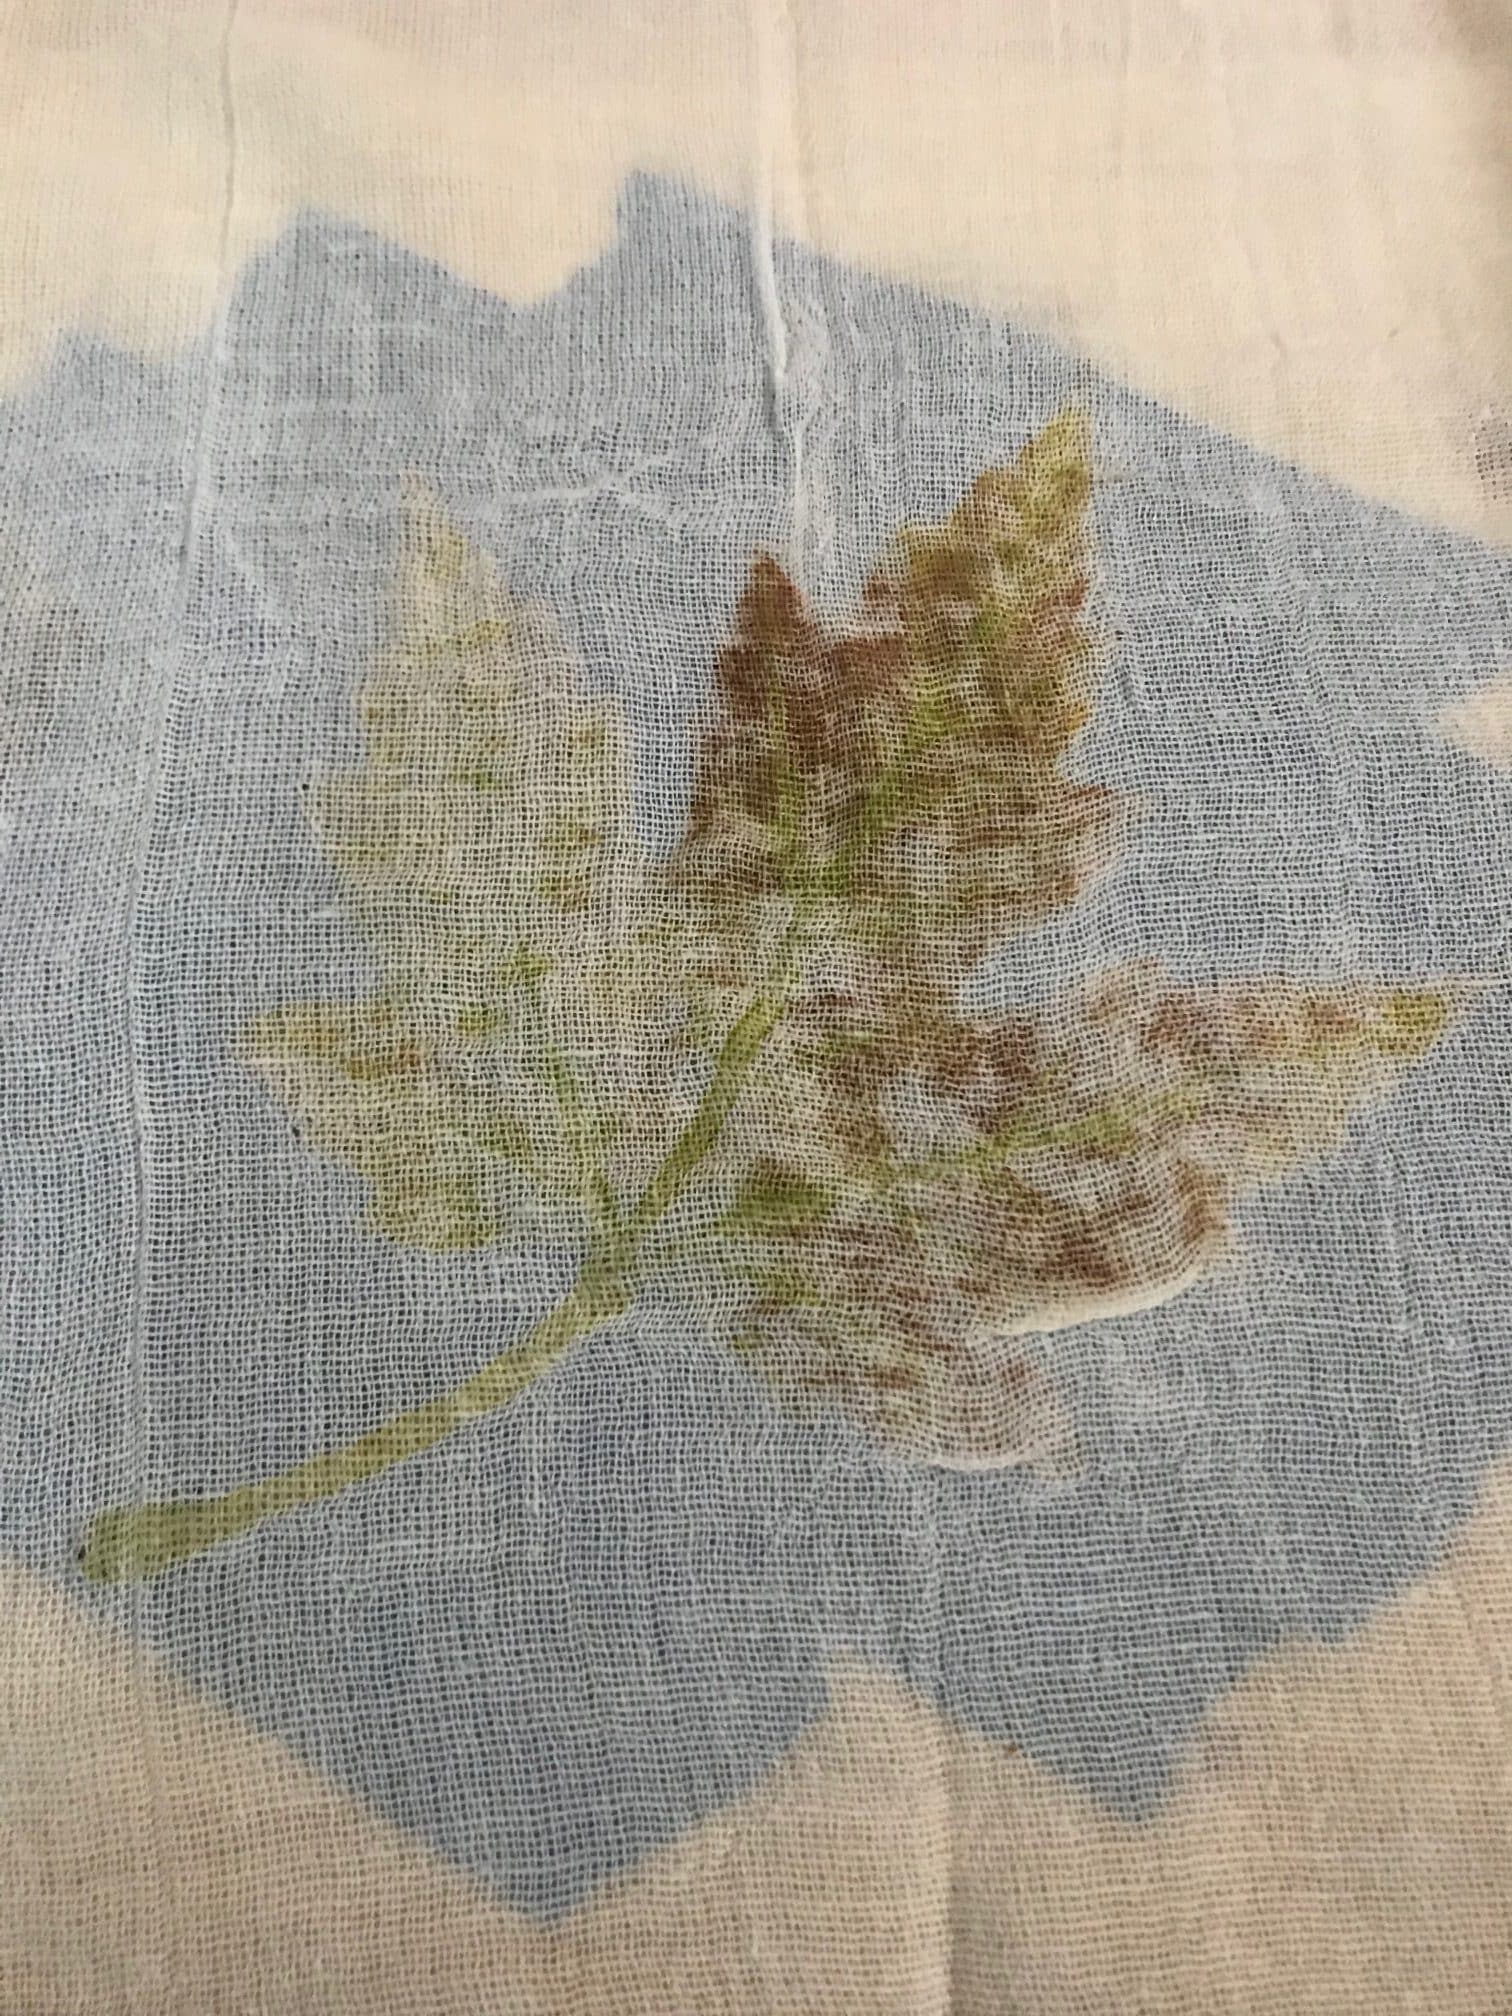
Activity #2 Colorful Kitchen Towel Fall Art and Science
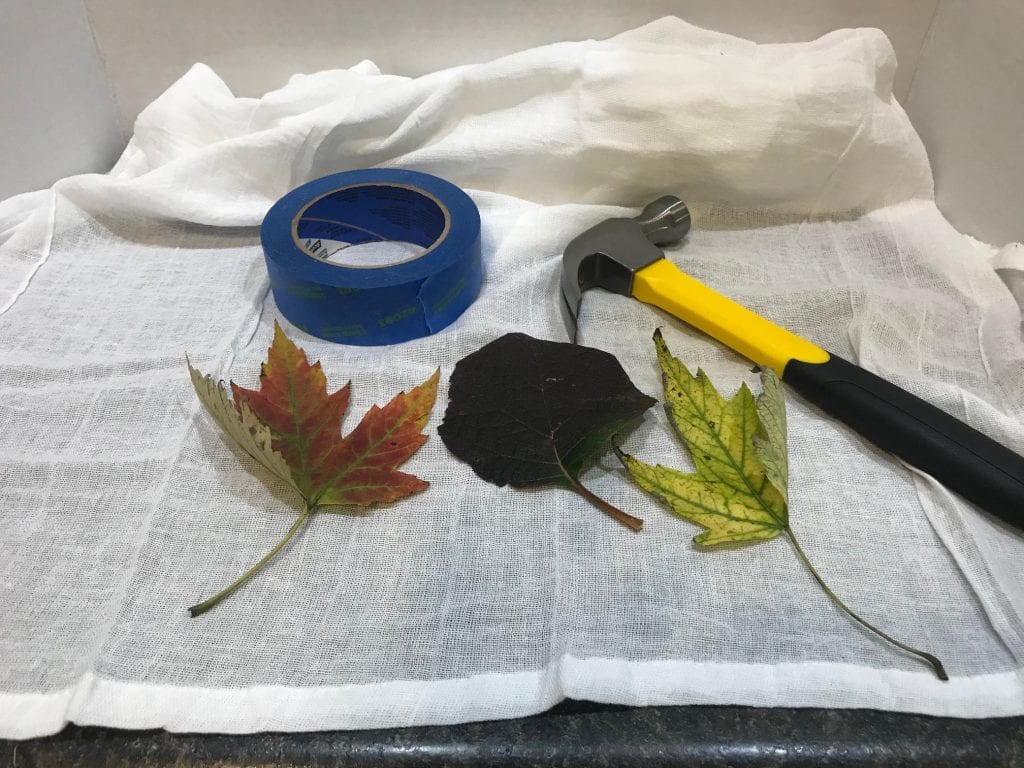
Materials Needed
Fall leaves (fresh from the tree works best, and leaves with a little green left in them are also better than those that have completely turned)
A flour sack towel
Painters or masking tape
A hammer
A wooden cutting board or scrap piece of wood
White vinegar
Cold water
Arrange your leaves on the backside of your towel with the backside of the leaf facing up. Tape your leaf down on the towel covering the entire leaf.

Flip your towel over and place on the cutting board.
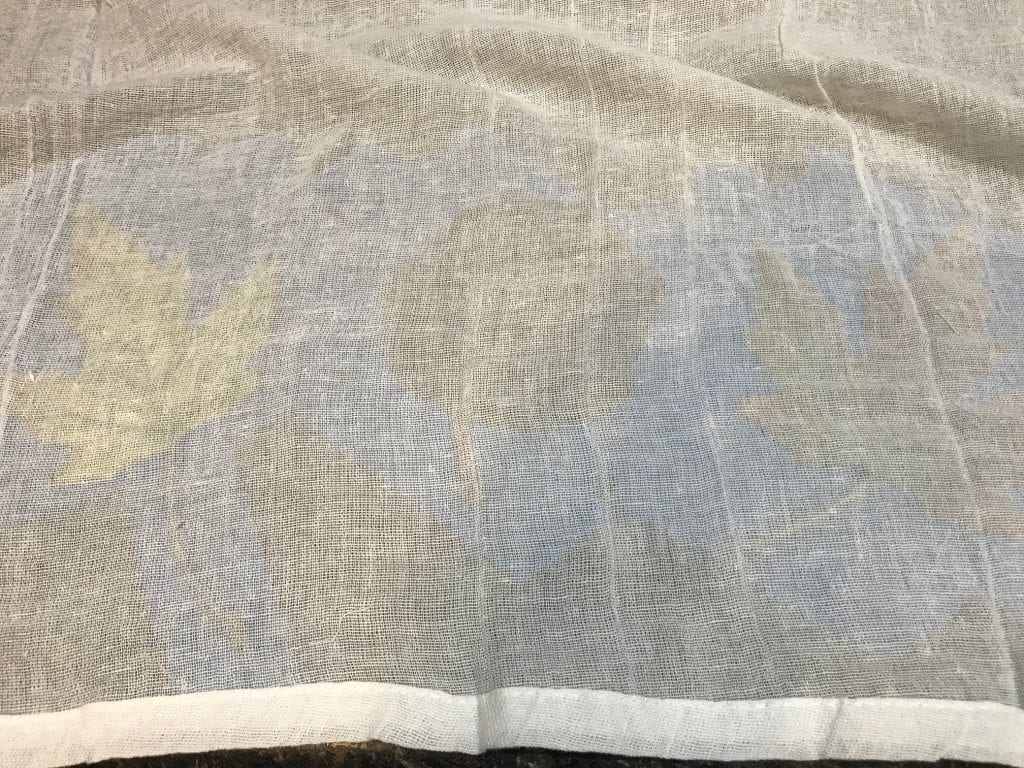
Take the hammer and start pounding the leaf. If your kids love to make noise and beat on things, this project is super fun! Keep hammering until you’ve smashed all your leaves. You will see the colors start to transfer onto the cloth.
Remove the tape and leaves. Soak the towel in cold water and white vinegar. I filled my sink half full and added a cup of vinegar. Soak for 30 minutes to an hour.
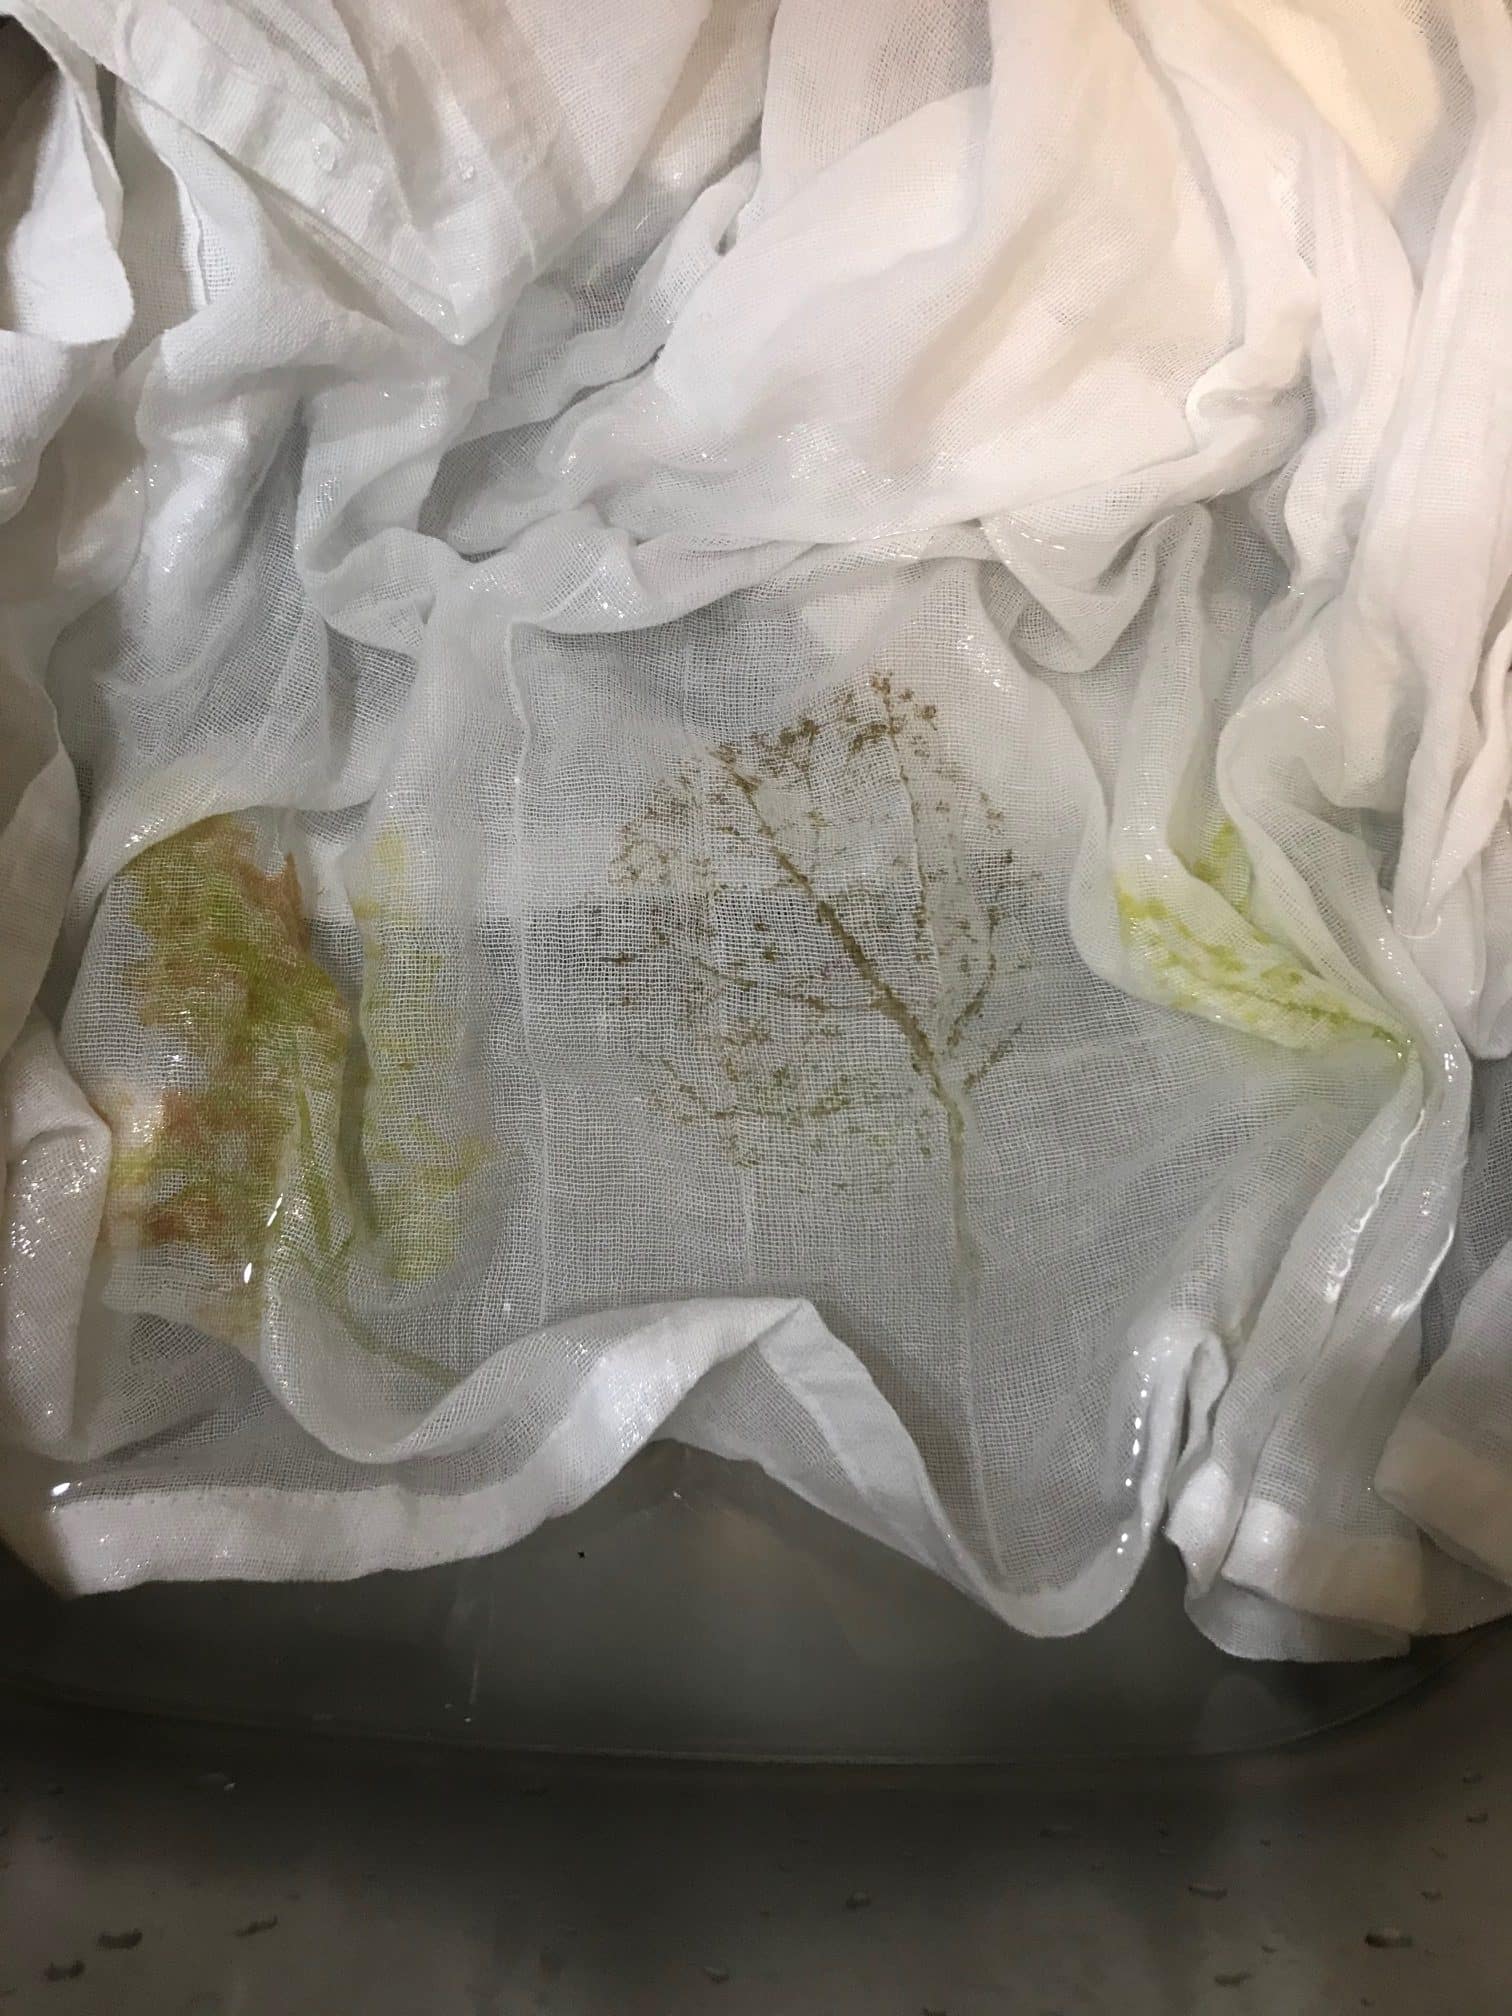
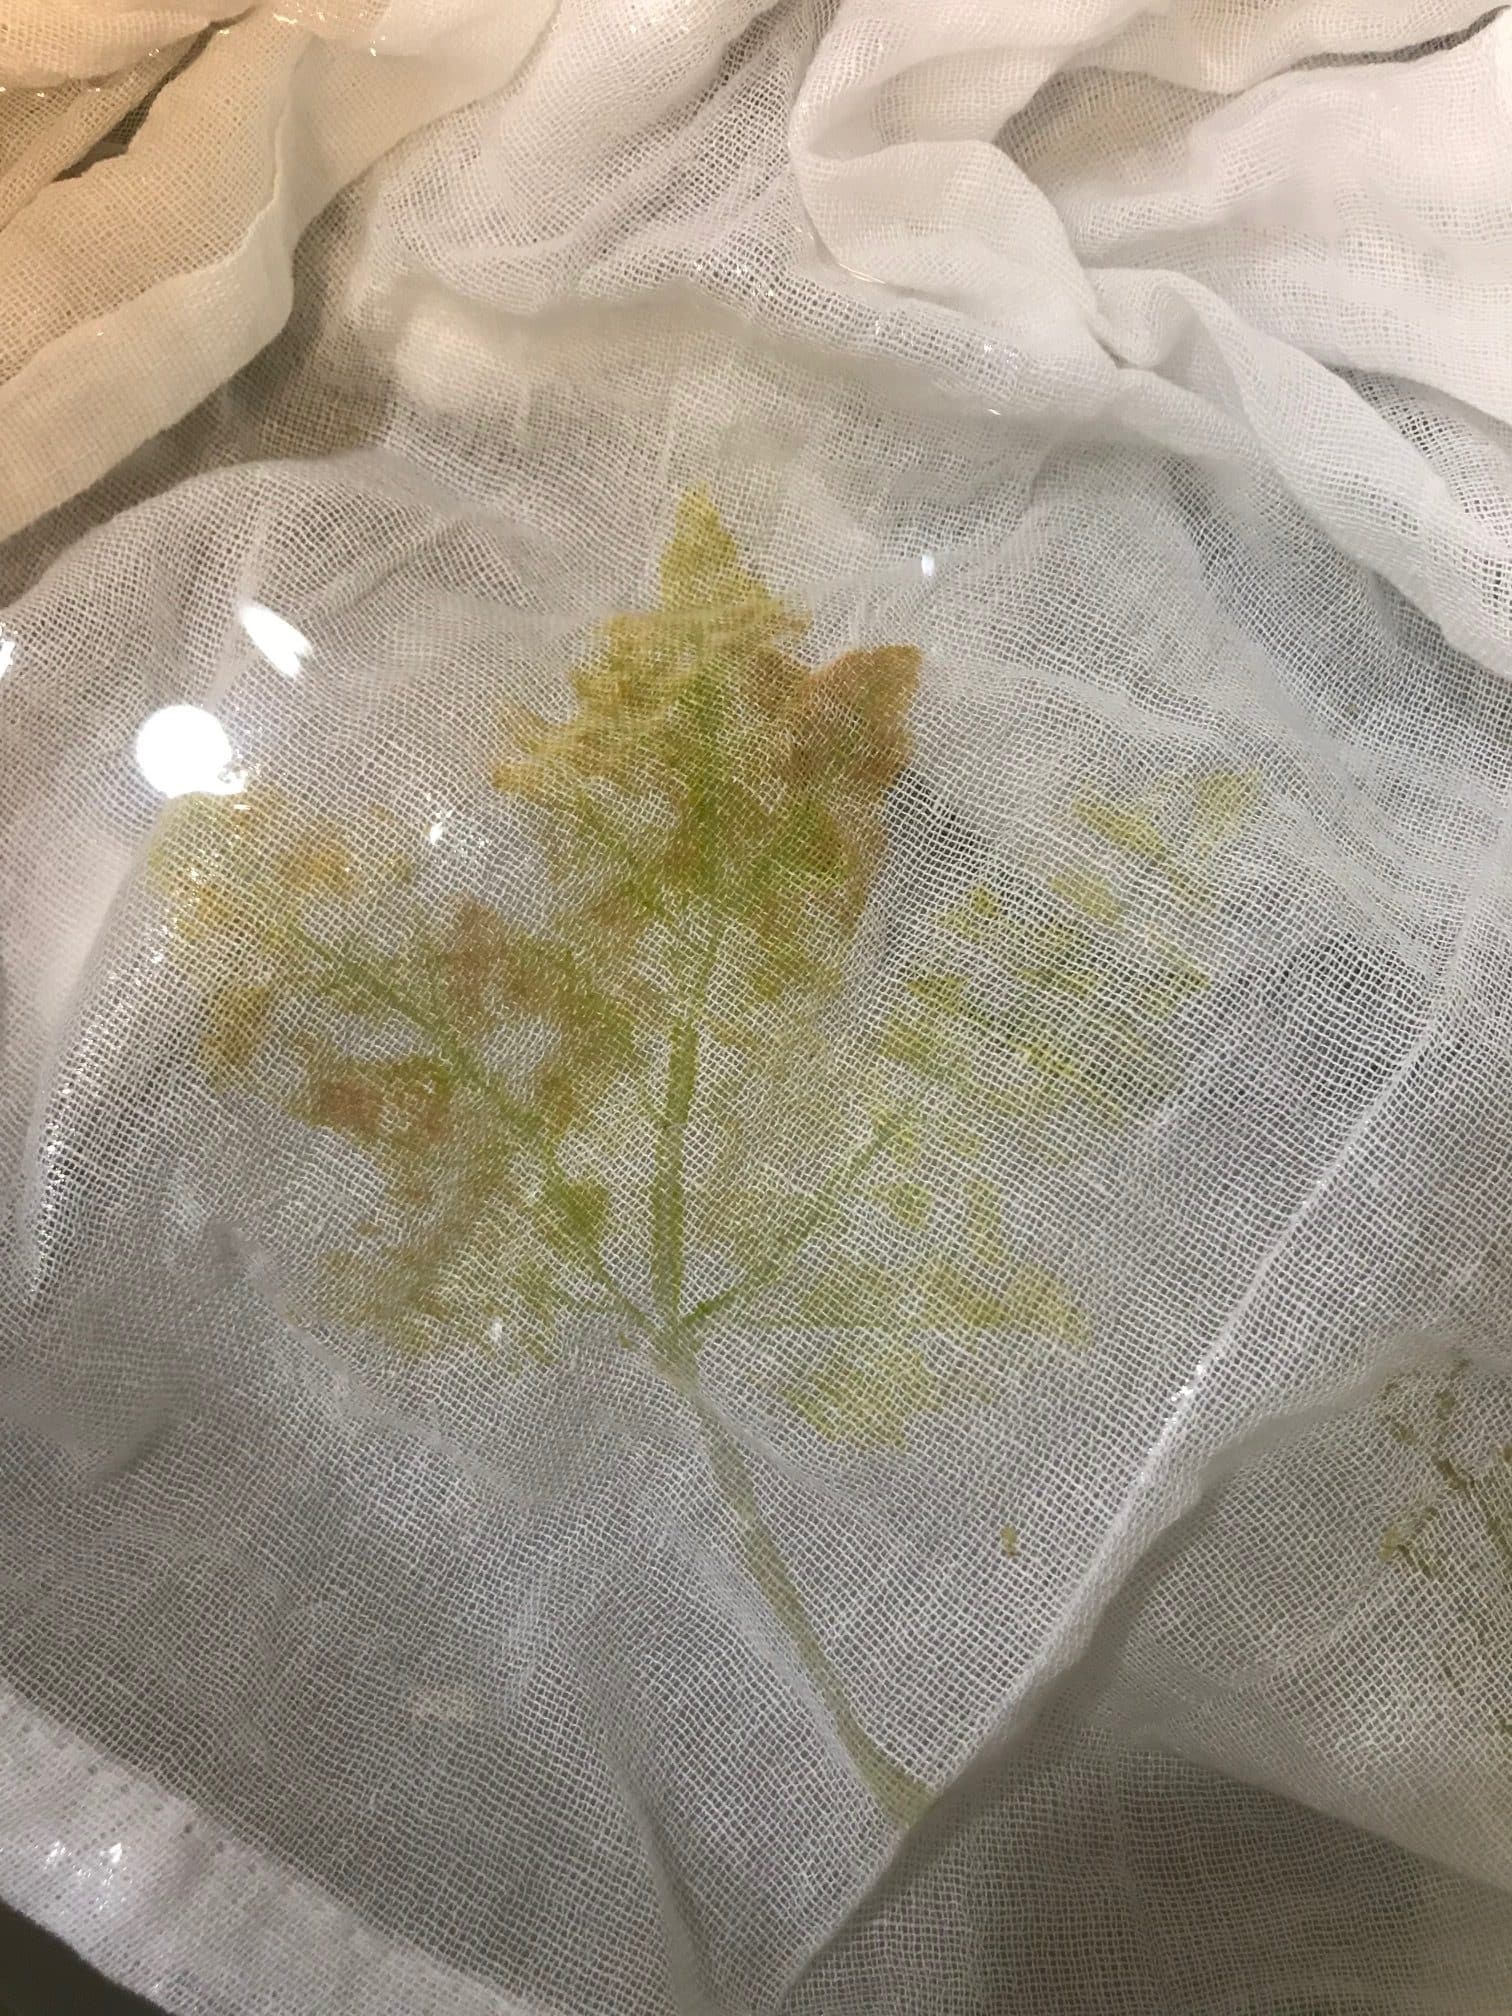
Once done, rinse out with cold water and place in the dryer on highest temp to set the print.
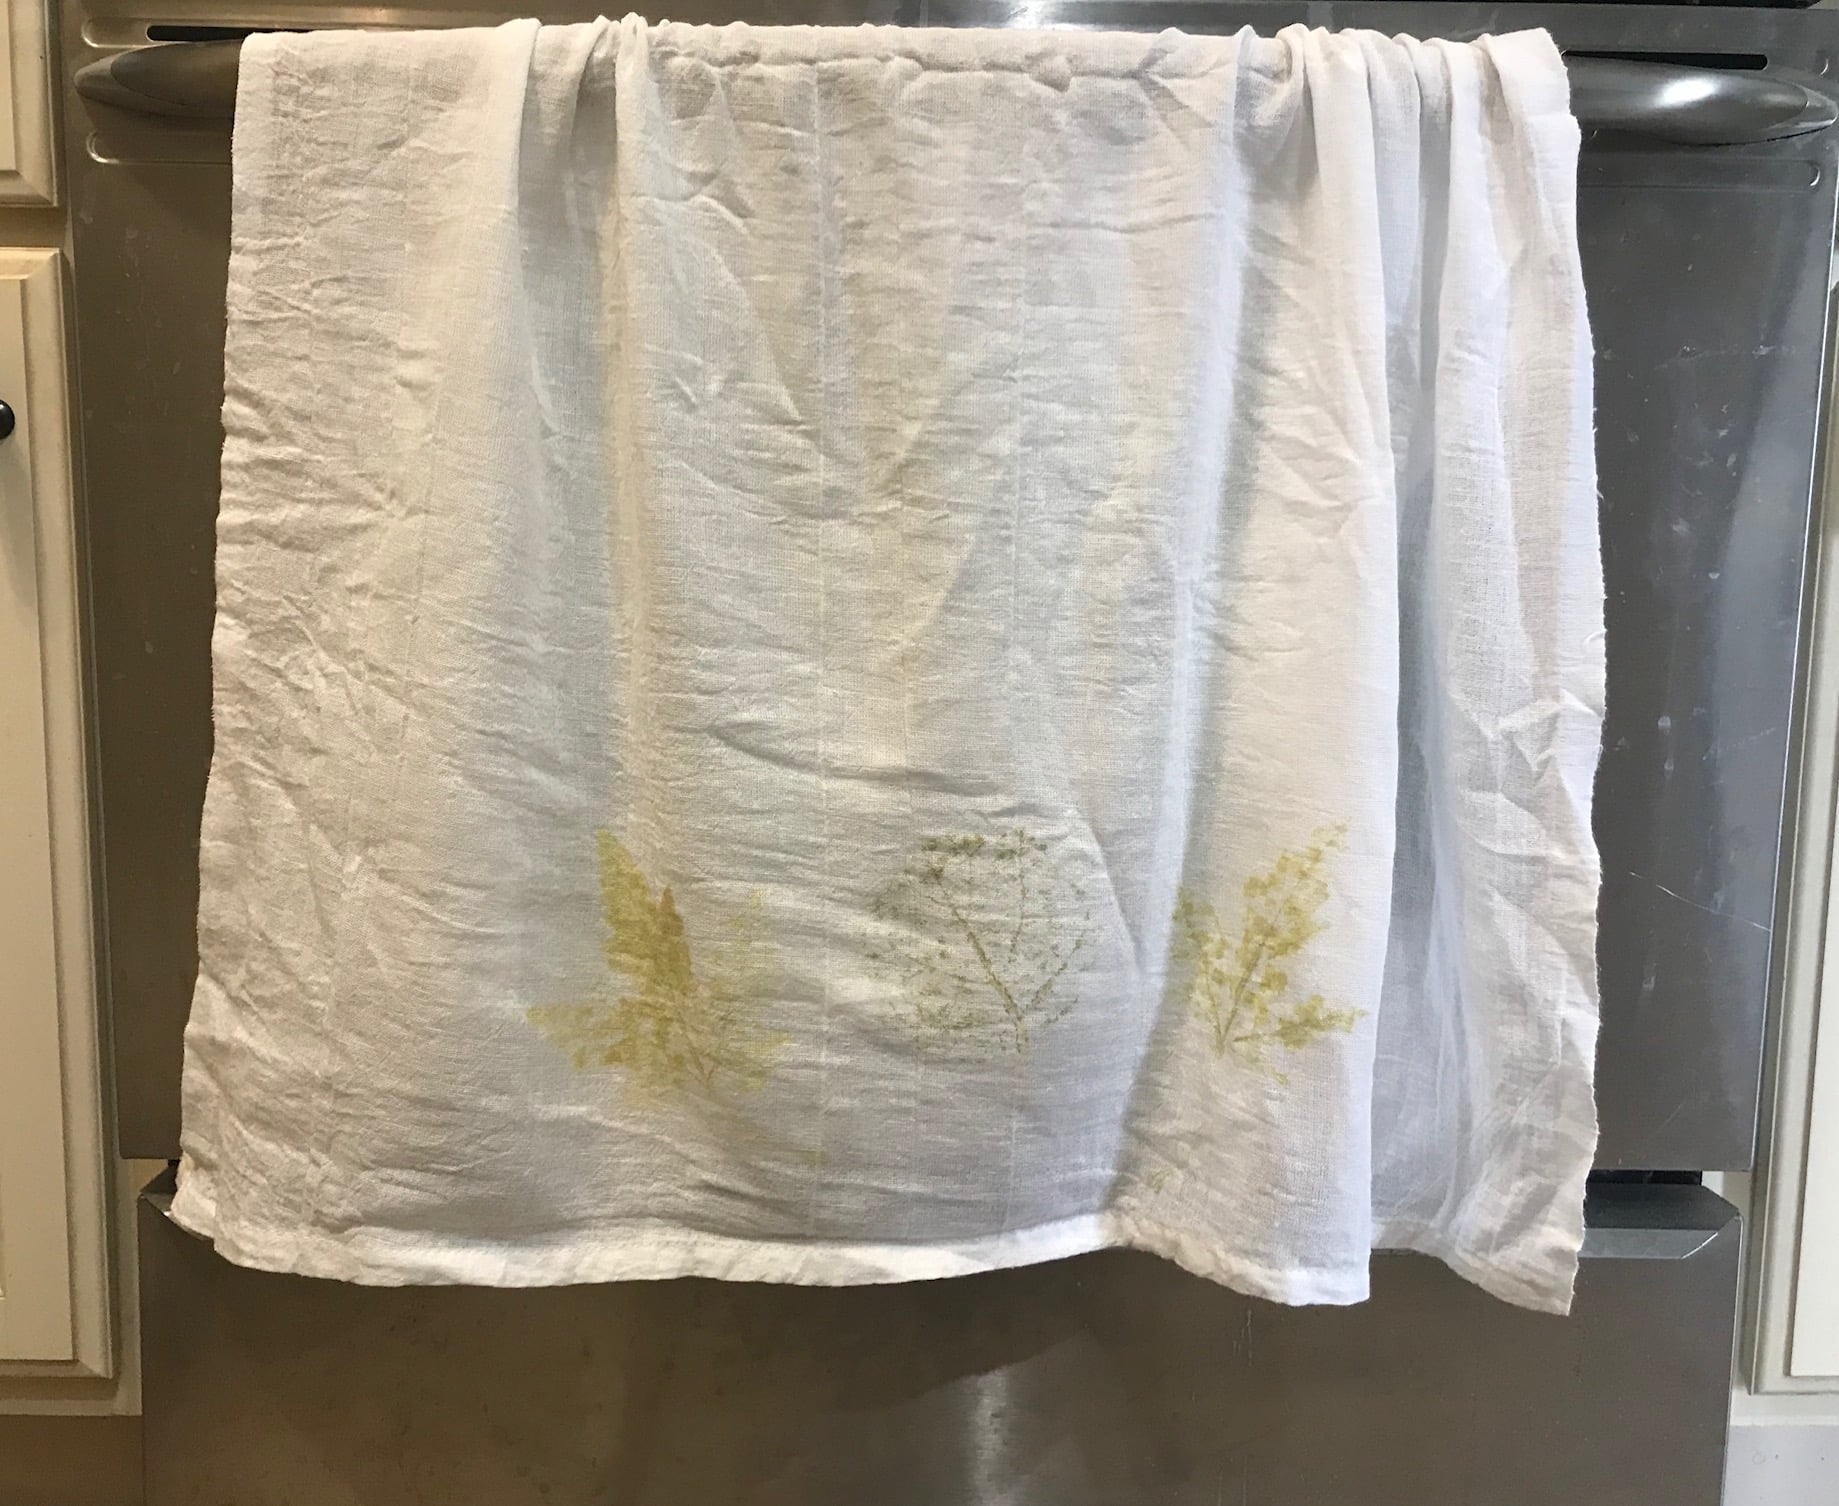
Now you have a beautiful kitchen towel you can keep or give as a gift.
Vocabulary
*If your children are older and you want to work in some vocabulary, have them research the following
Anthocyanin
Carotene
Xanthophyll
These are the chemicals that give the leaves their red, orange, and yellow colors.
Let us know if you do either the fun fall leaves art or the science activity. Tag us in your social media posts, we would love to see! #hiphomeschoolmoms #hipkidslovescience.
You May Also Like:


Thanks for the share. This post is useful.