Beautiful Fall Lantern Tutorial
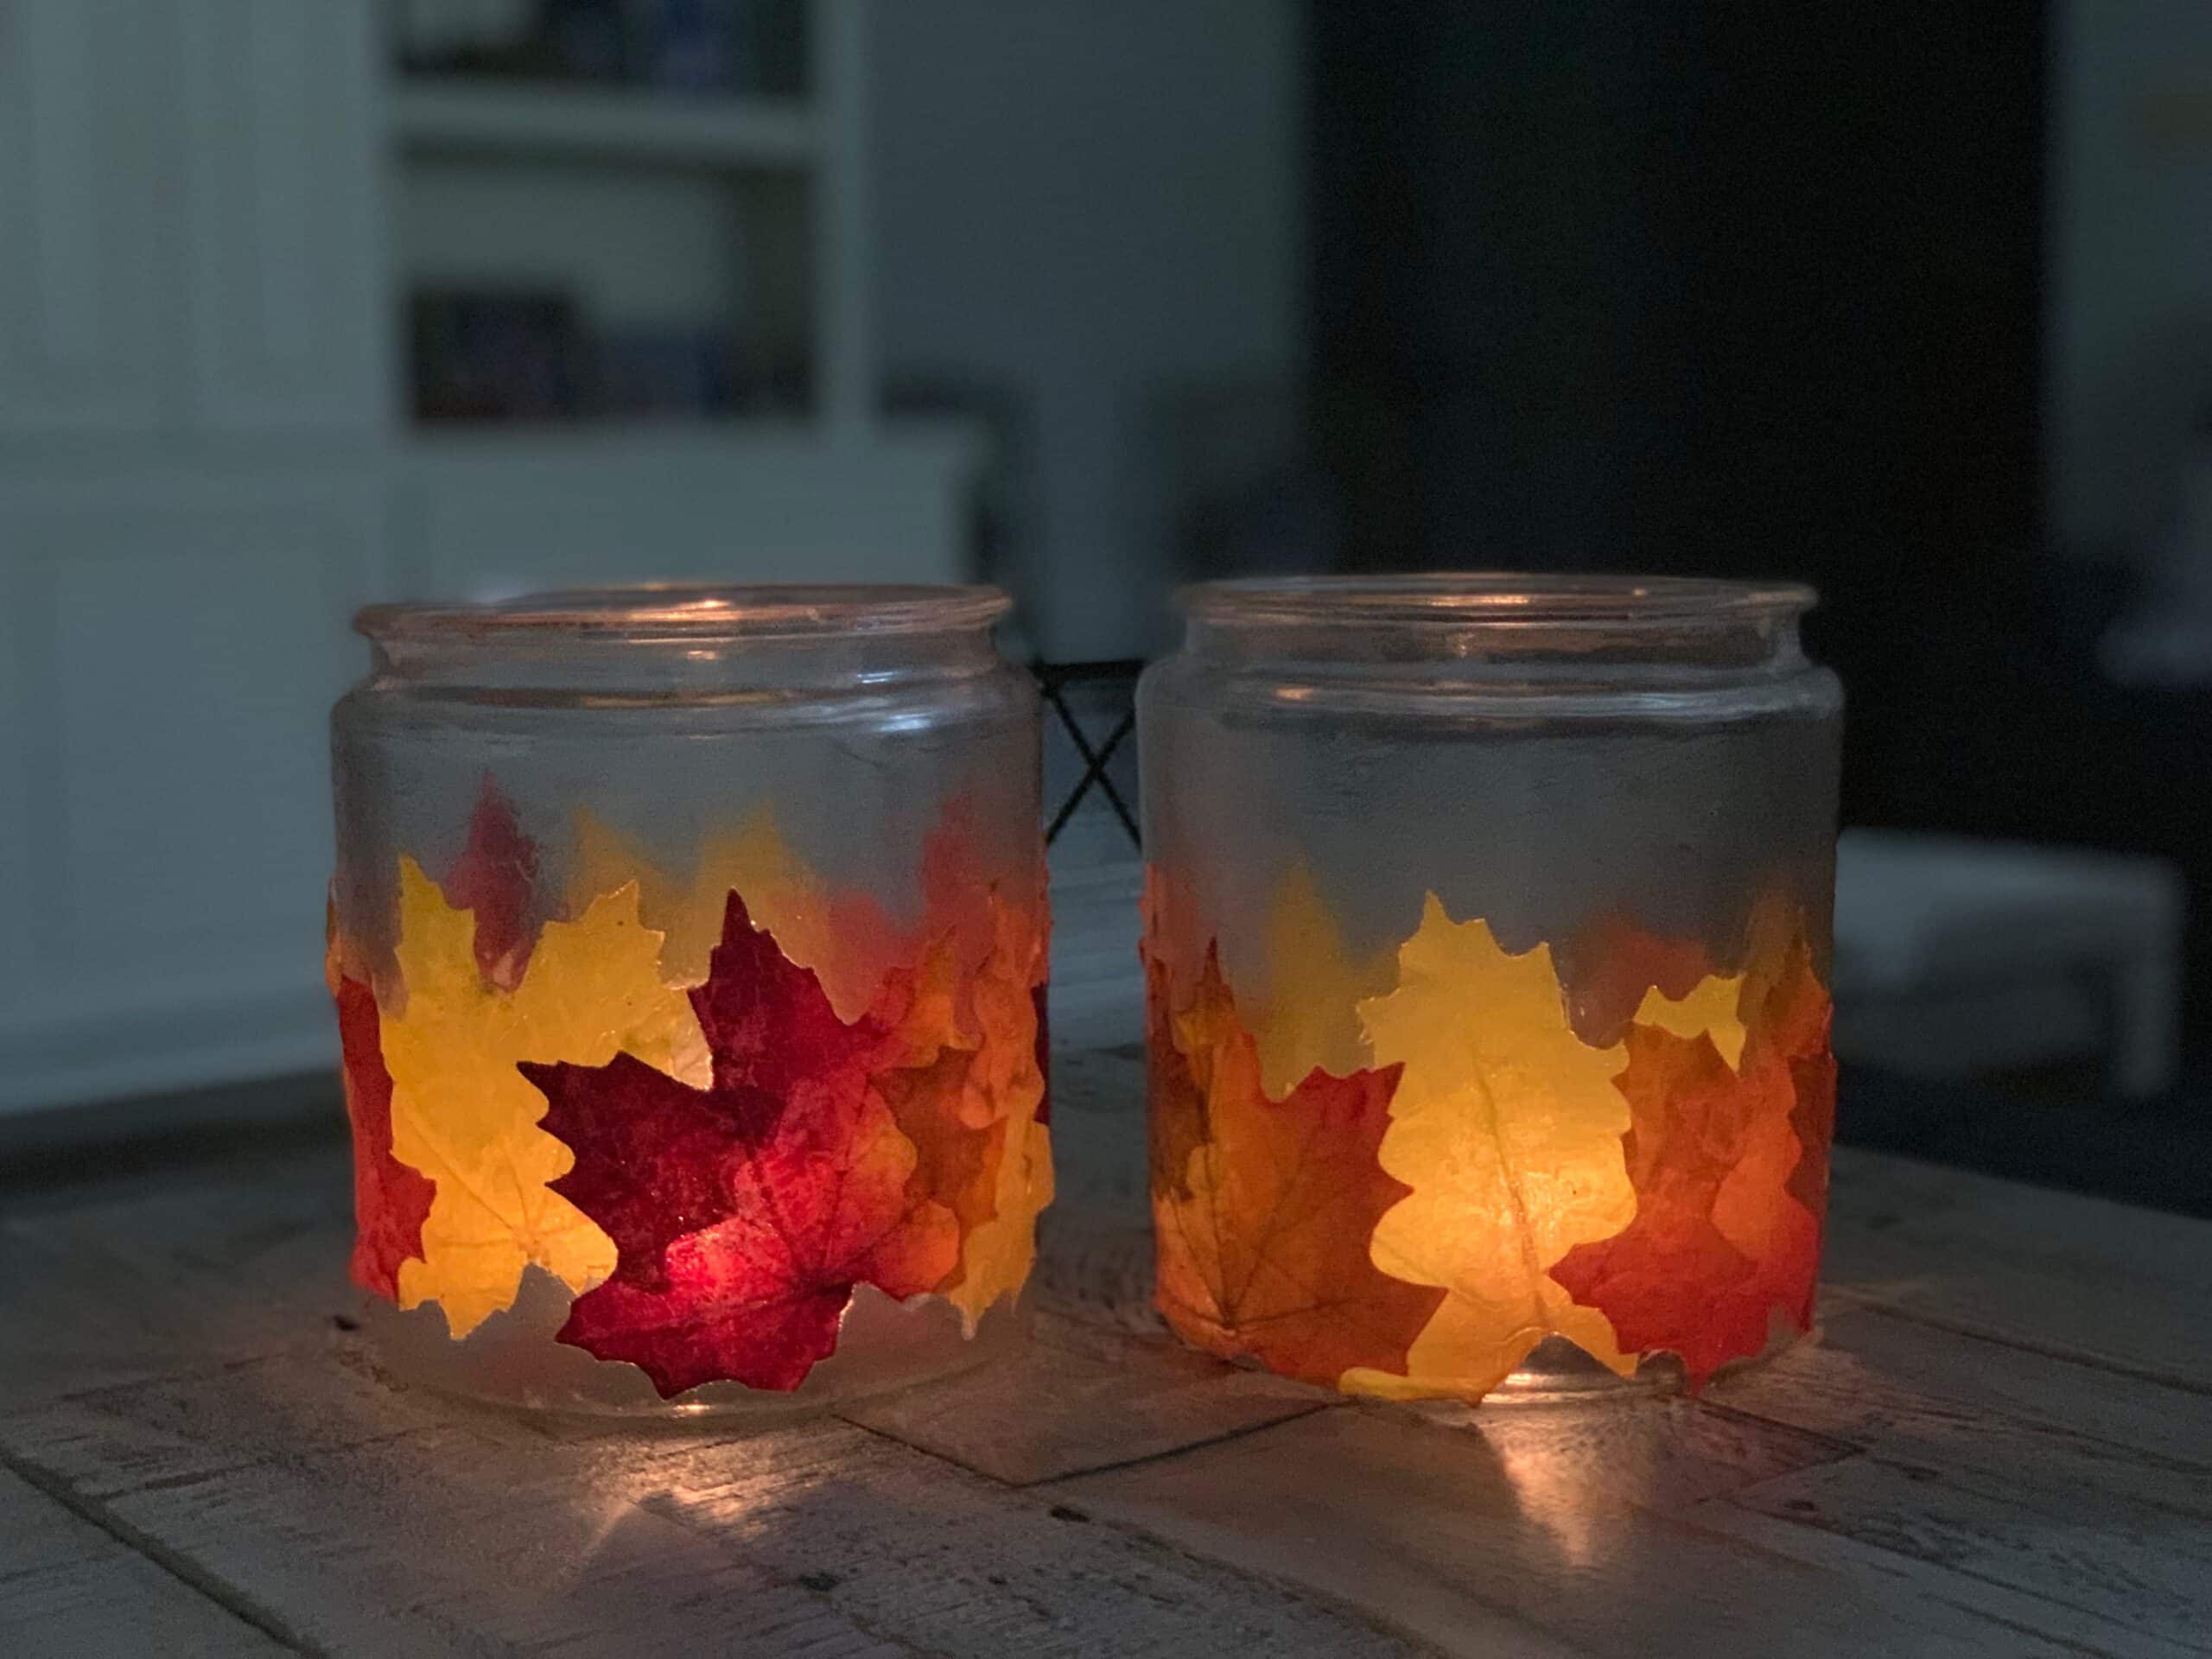
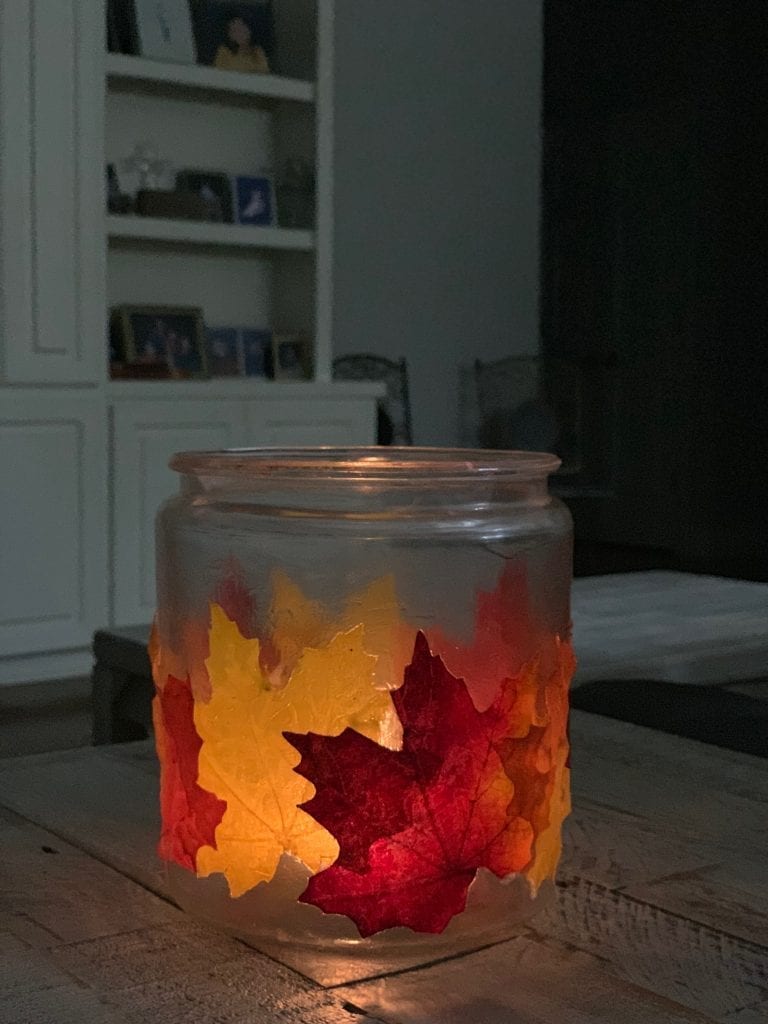
I love crafts, but I love them even more when the end result is beautiful and functional! Recently, my daughter Mary Grace and I set out to create some beautiful fall lanterns, and we were so happy with the results. So happy, in fact, that we wanted to share the full tutorial with you so that you can re-create them at home! We have several crafts on this site that are perfect for young children. However, if you are looking for an autumn craft for older children (mid-elementary and up), then this would be a perfect choice! Younger children can also participate with supervision–it just takes a bit of patience. The end result of this craft is beautiful and will add some autumn festivity to your home!
What You’ll Need:
- Glass vase, jar, lantern, of your choice
- Foam brushes or paintbrushes
- Mod Podge (matte finish)
- Artificial leaves in fall colors OR fall leaves you’ve flattened and preserved
- Rubbing alcohol
- Scissors
- Votive candles or electric votive candles
How to Make It:
Wash the outside of your glass vase or jar (or whatever glass receptacle you choose for this project!) that you want to use for your fall lanterns. Feel free to recycle any kind of large glass jar you have at home. For instance, a pickle jar would be perfect for your lantern. After you’ve cleaned your glass container, you’ll also want to wipe it down with rubbing alcohol to prepare the surface. If you are recycling a container that still has some lingering traces of a label, the rubbing alcohol will also remove it and leave it looking like new!
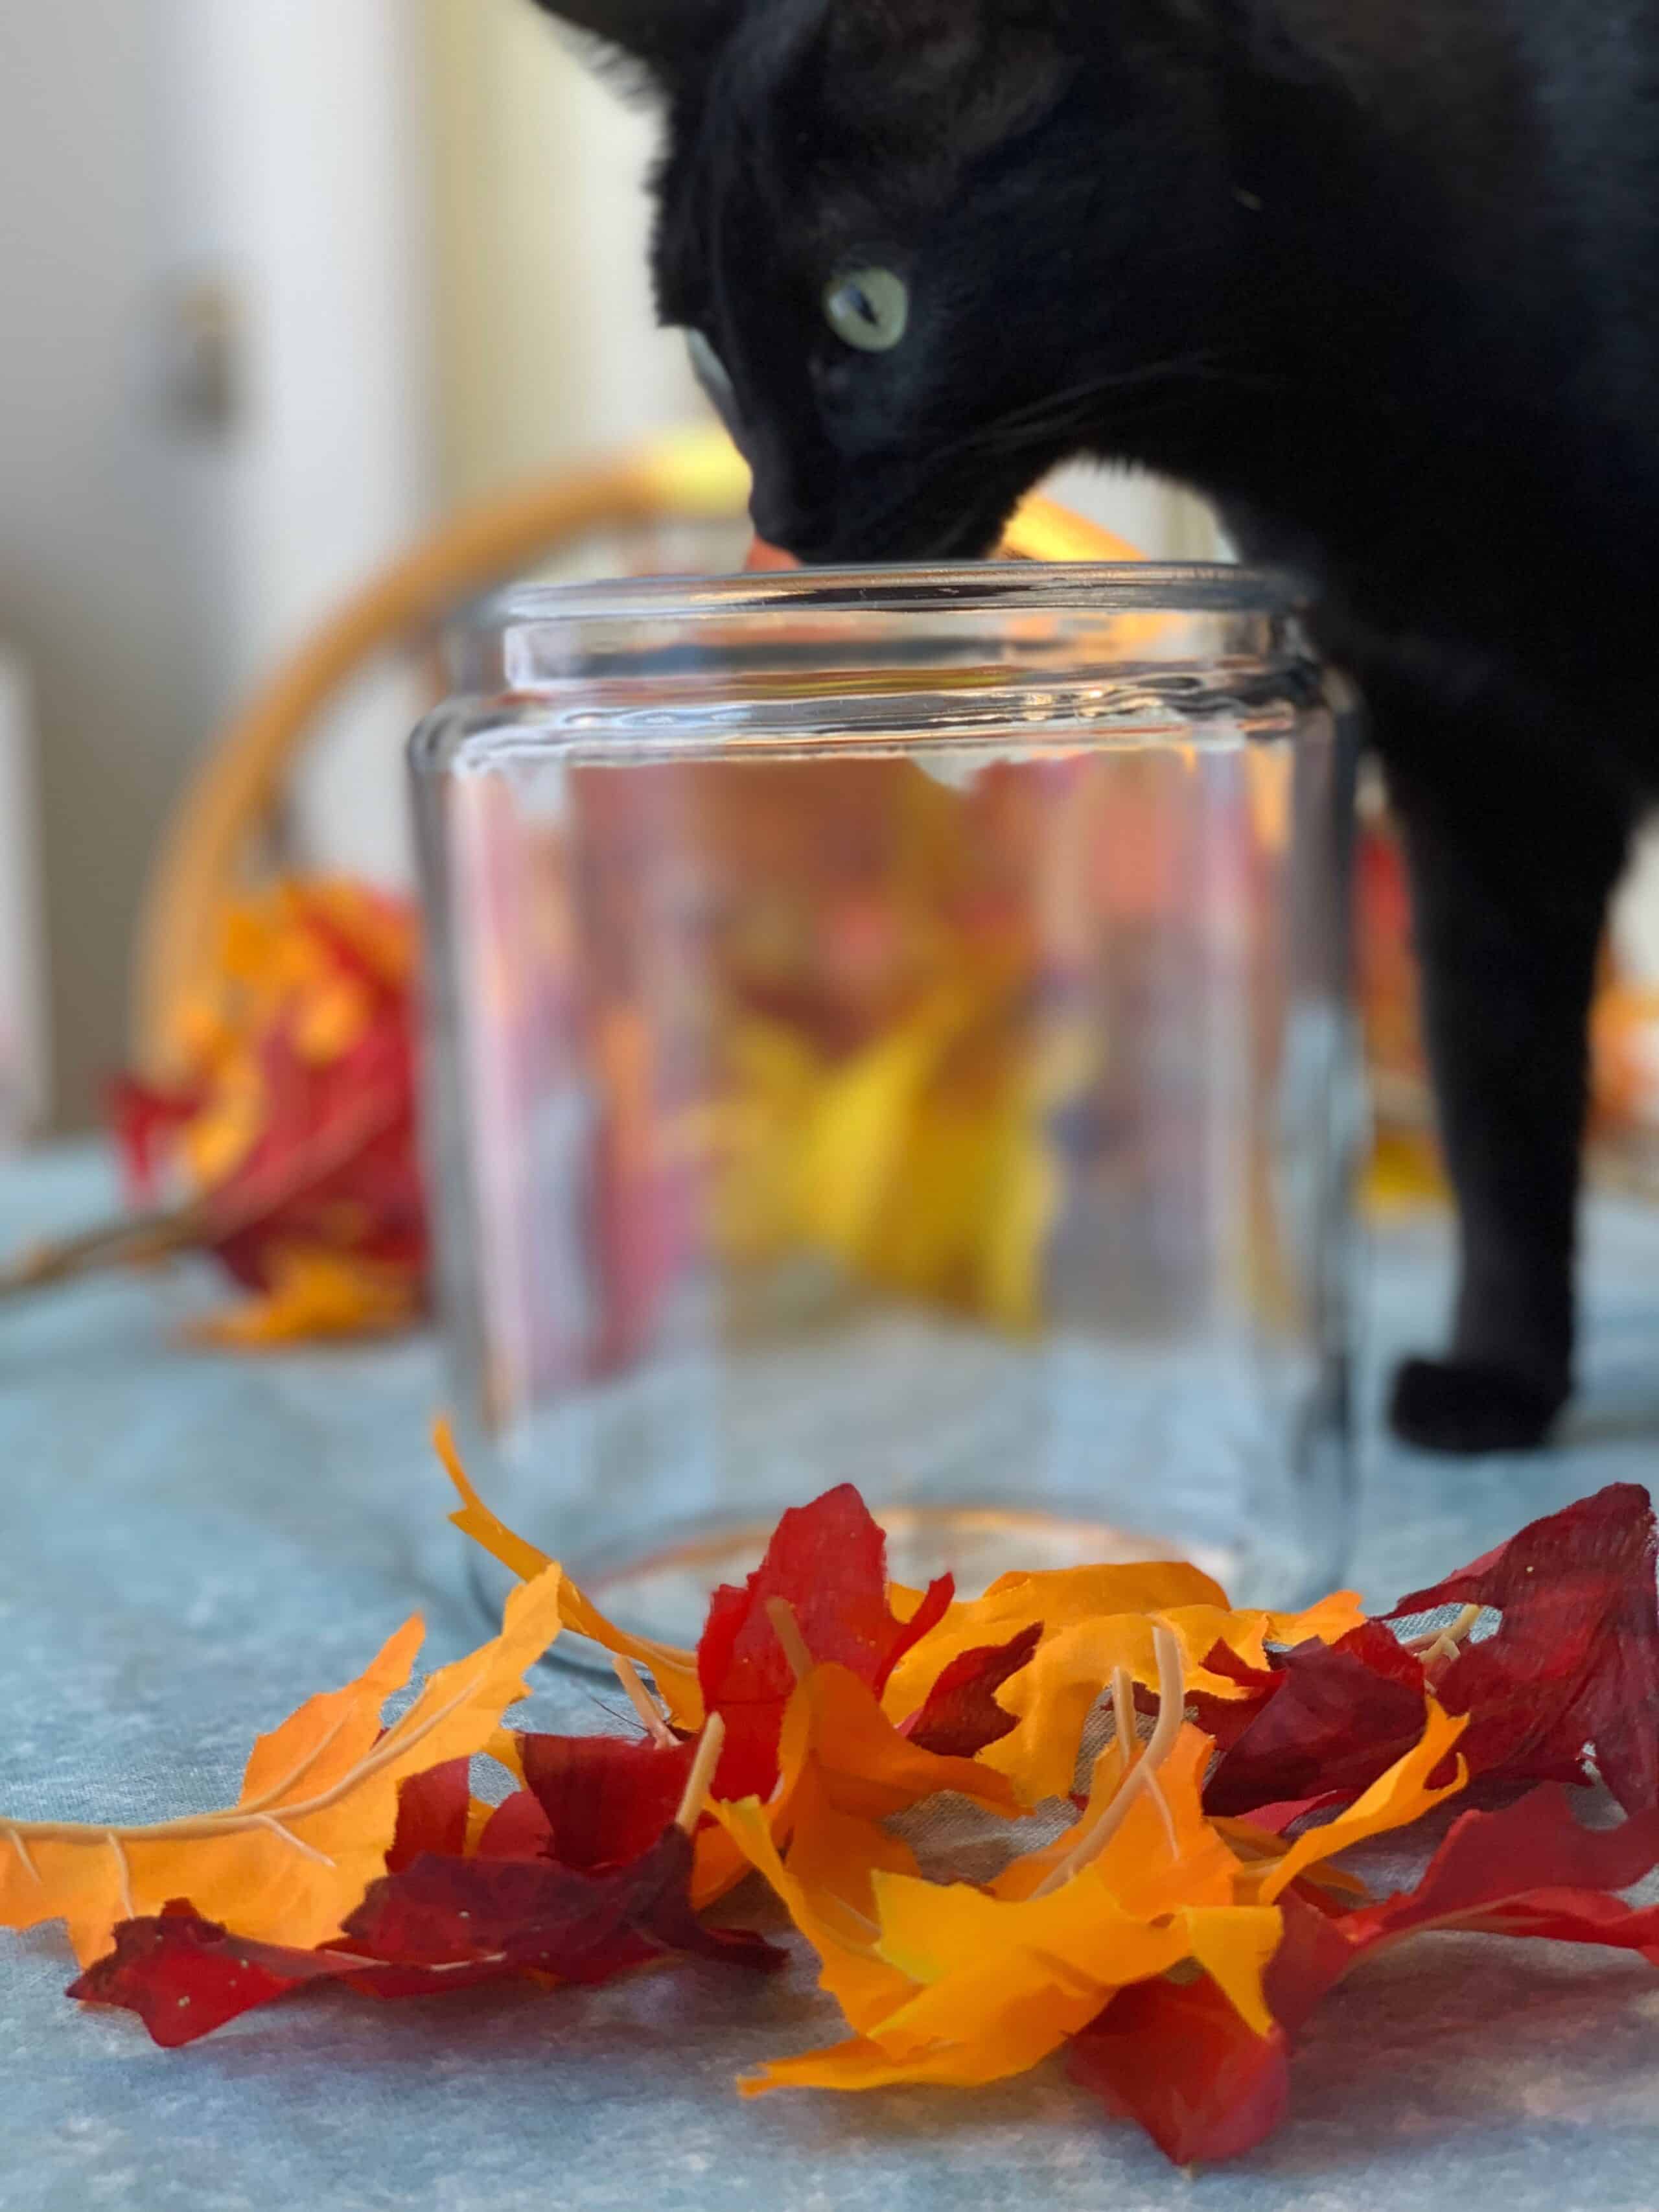
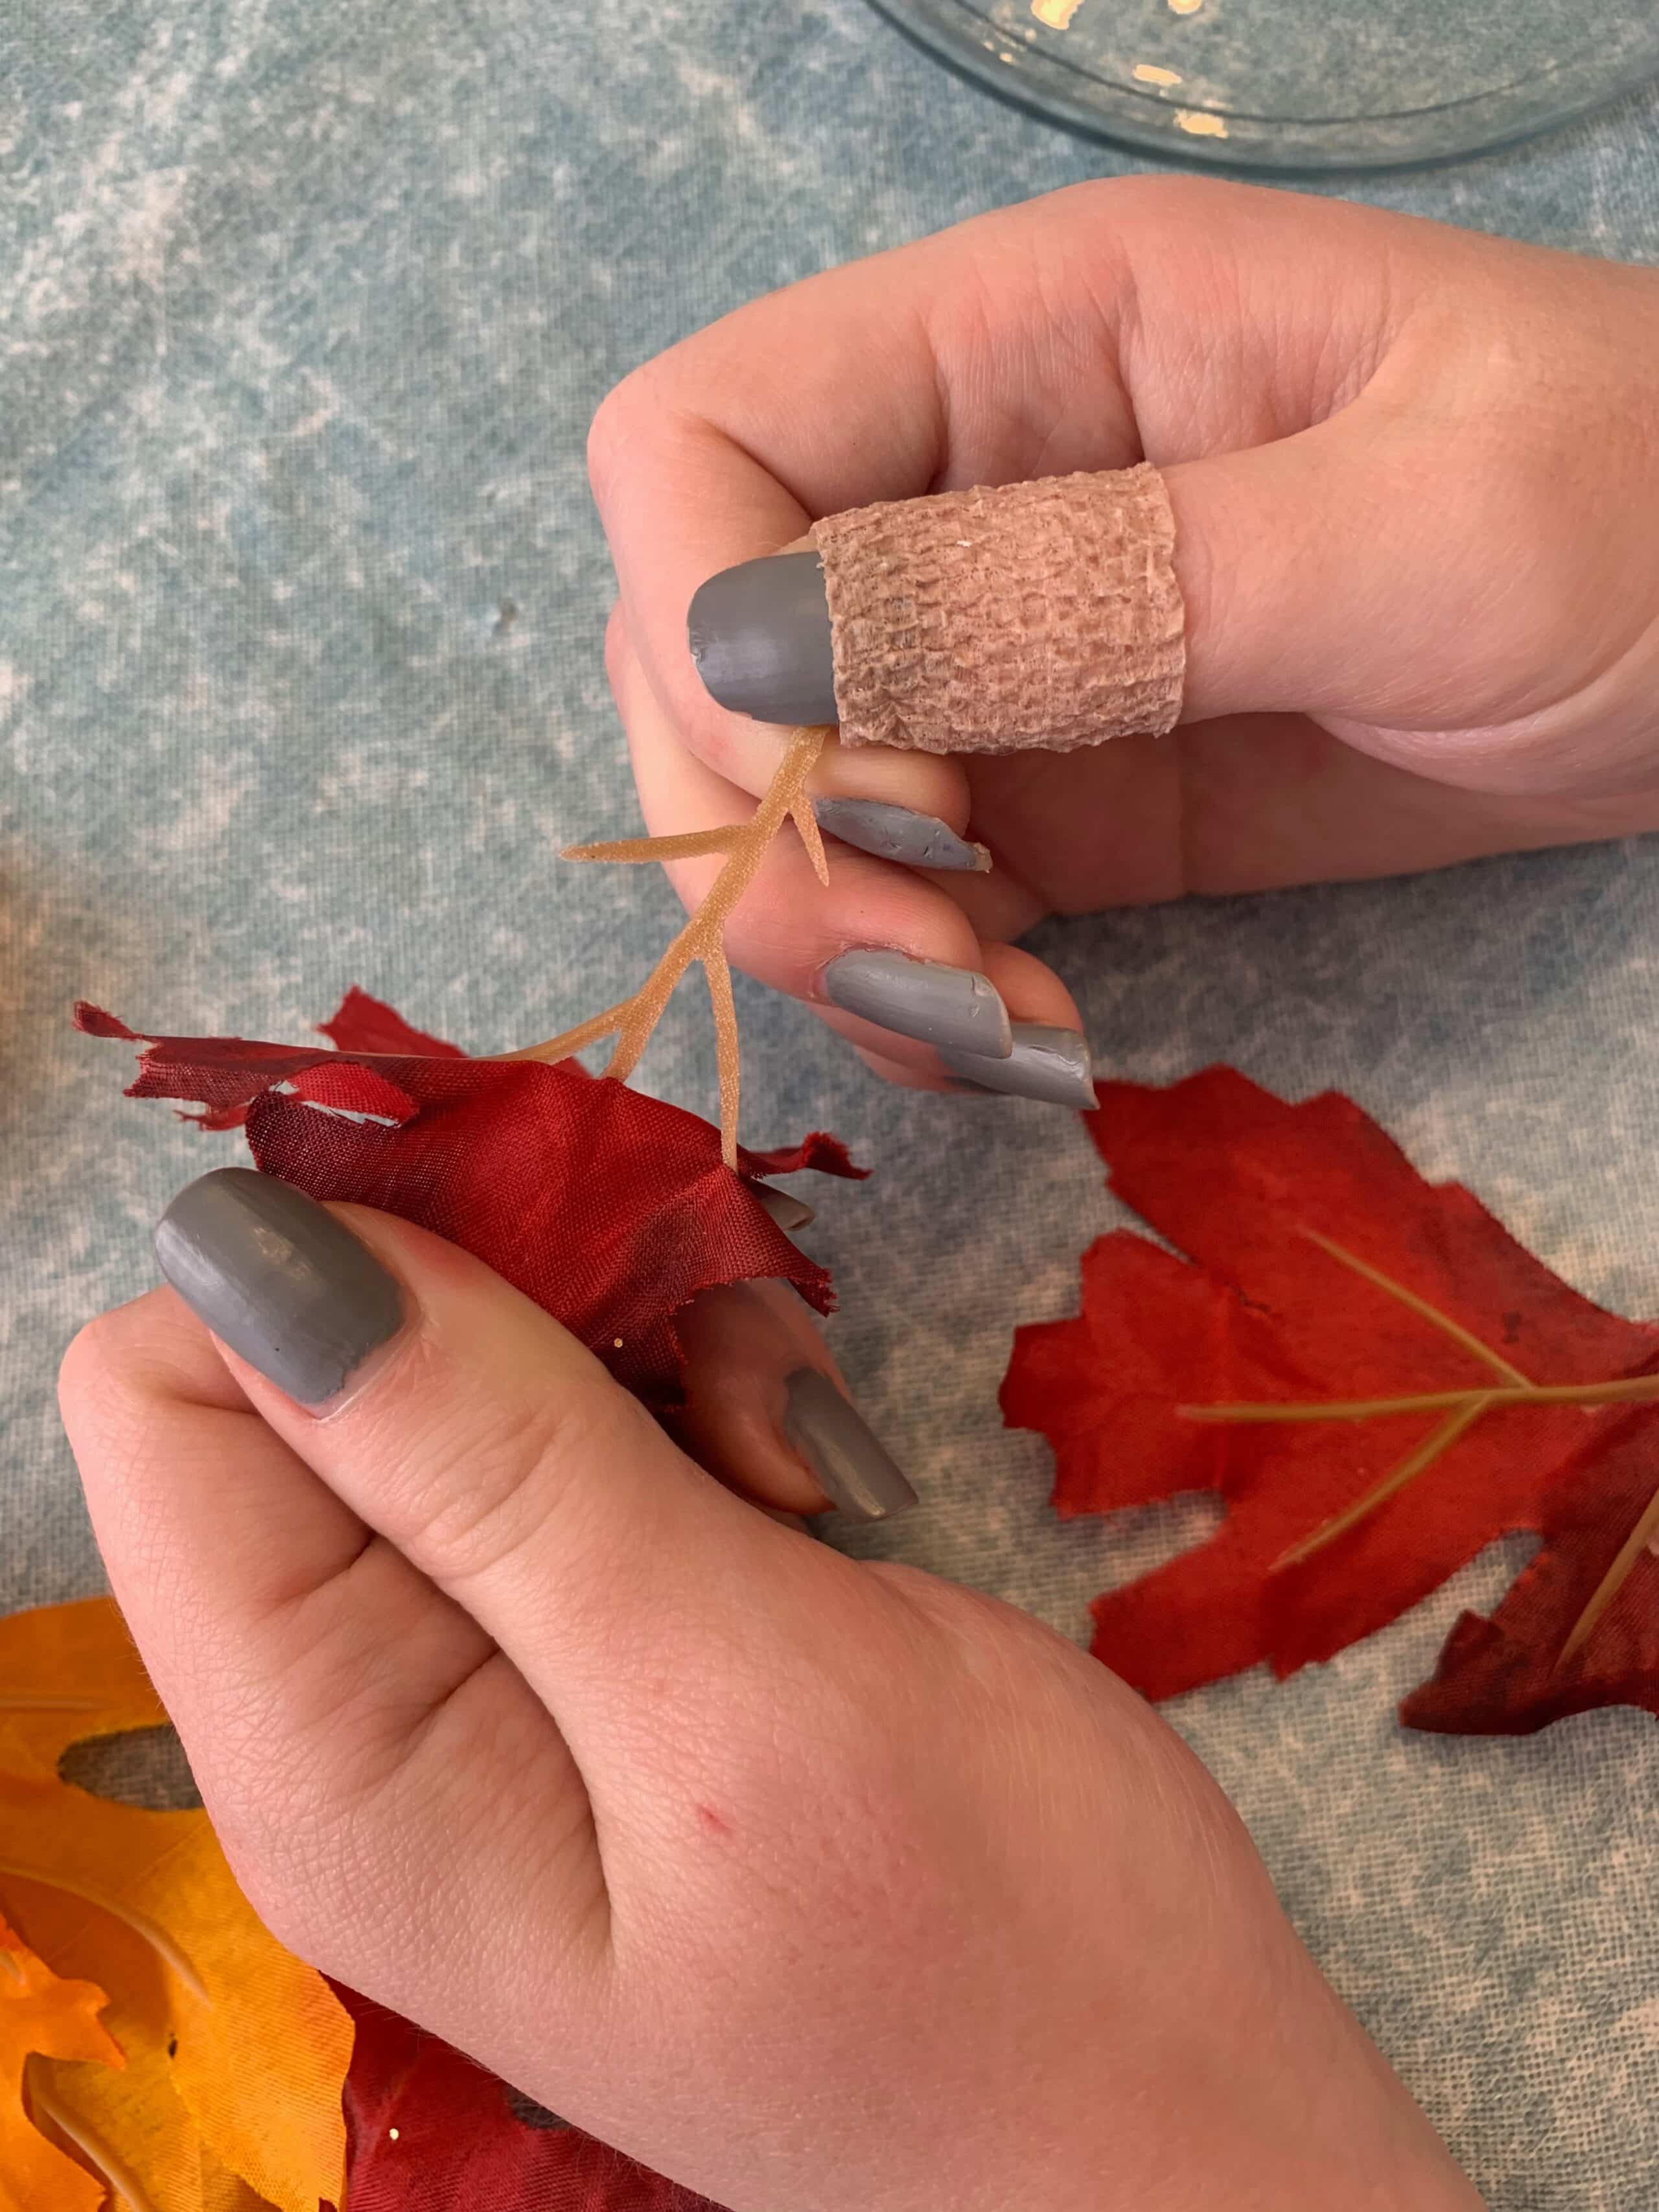
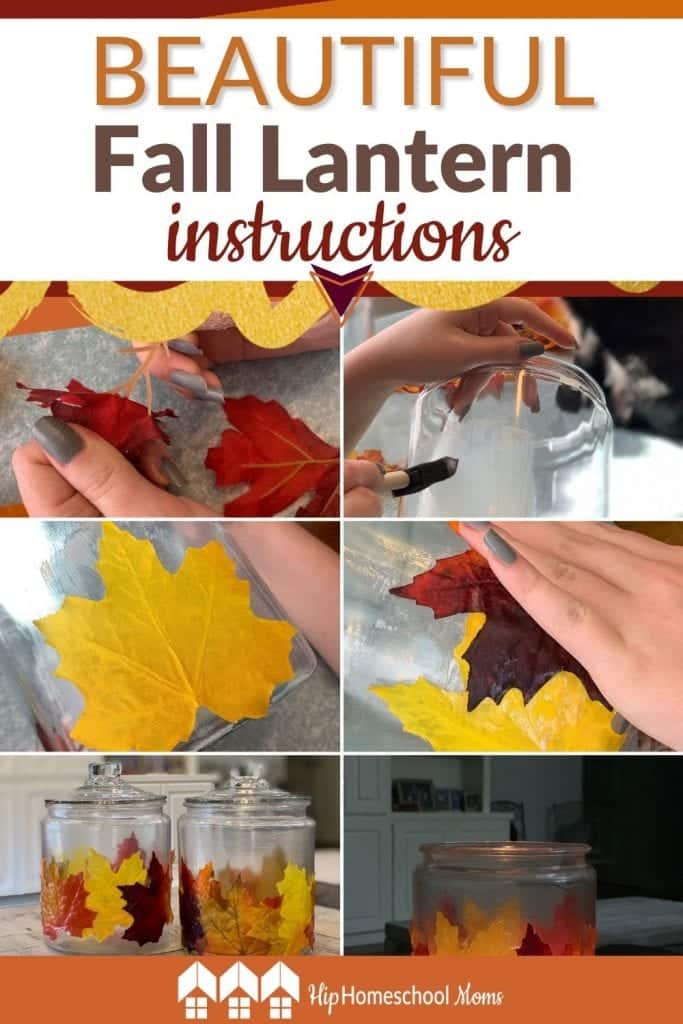
While the glass container dries, cut your leaves apart (if you’re using artificial leaves that came in a bunch) and then carefully remove the plastic “veins” from the leaves so you’re left with only the fabric/silk leaves. We thought this would be difficult, but it was surprisingly easy! All you have to do is pull them, and they come right off. If you’re using your own flattened and preserved leaves, just make sure they’re completely dry before you begin this project.
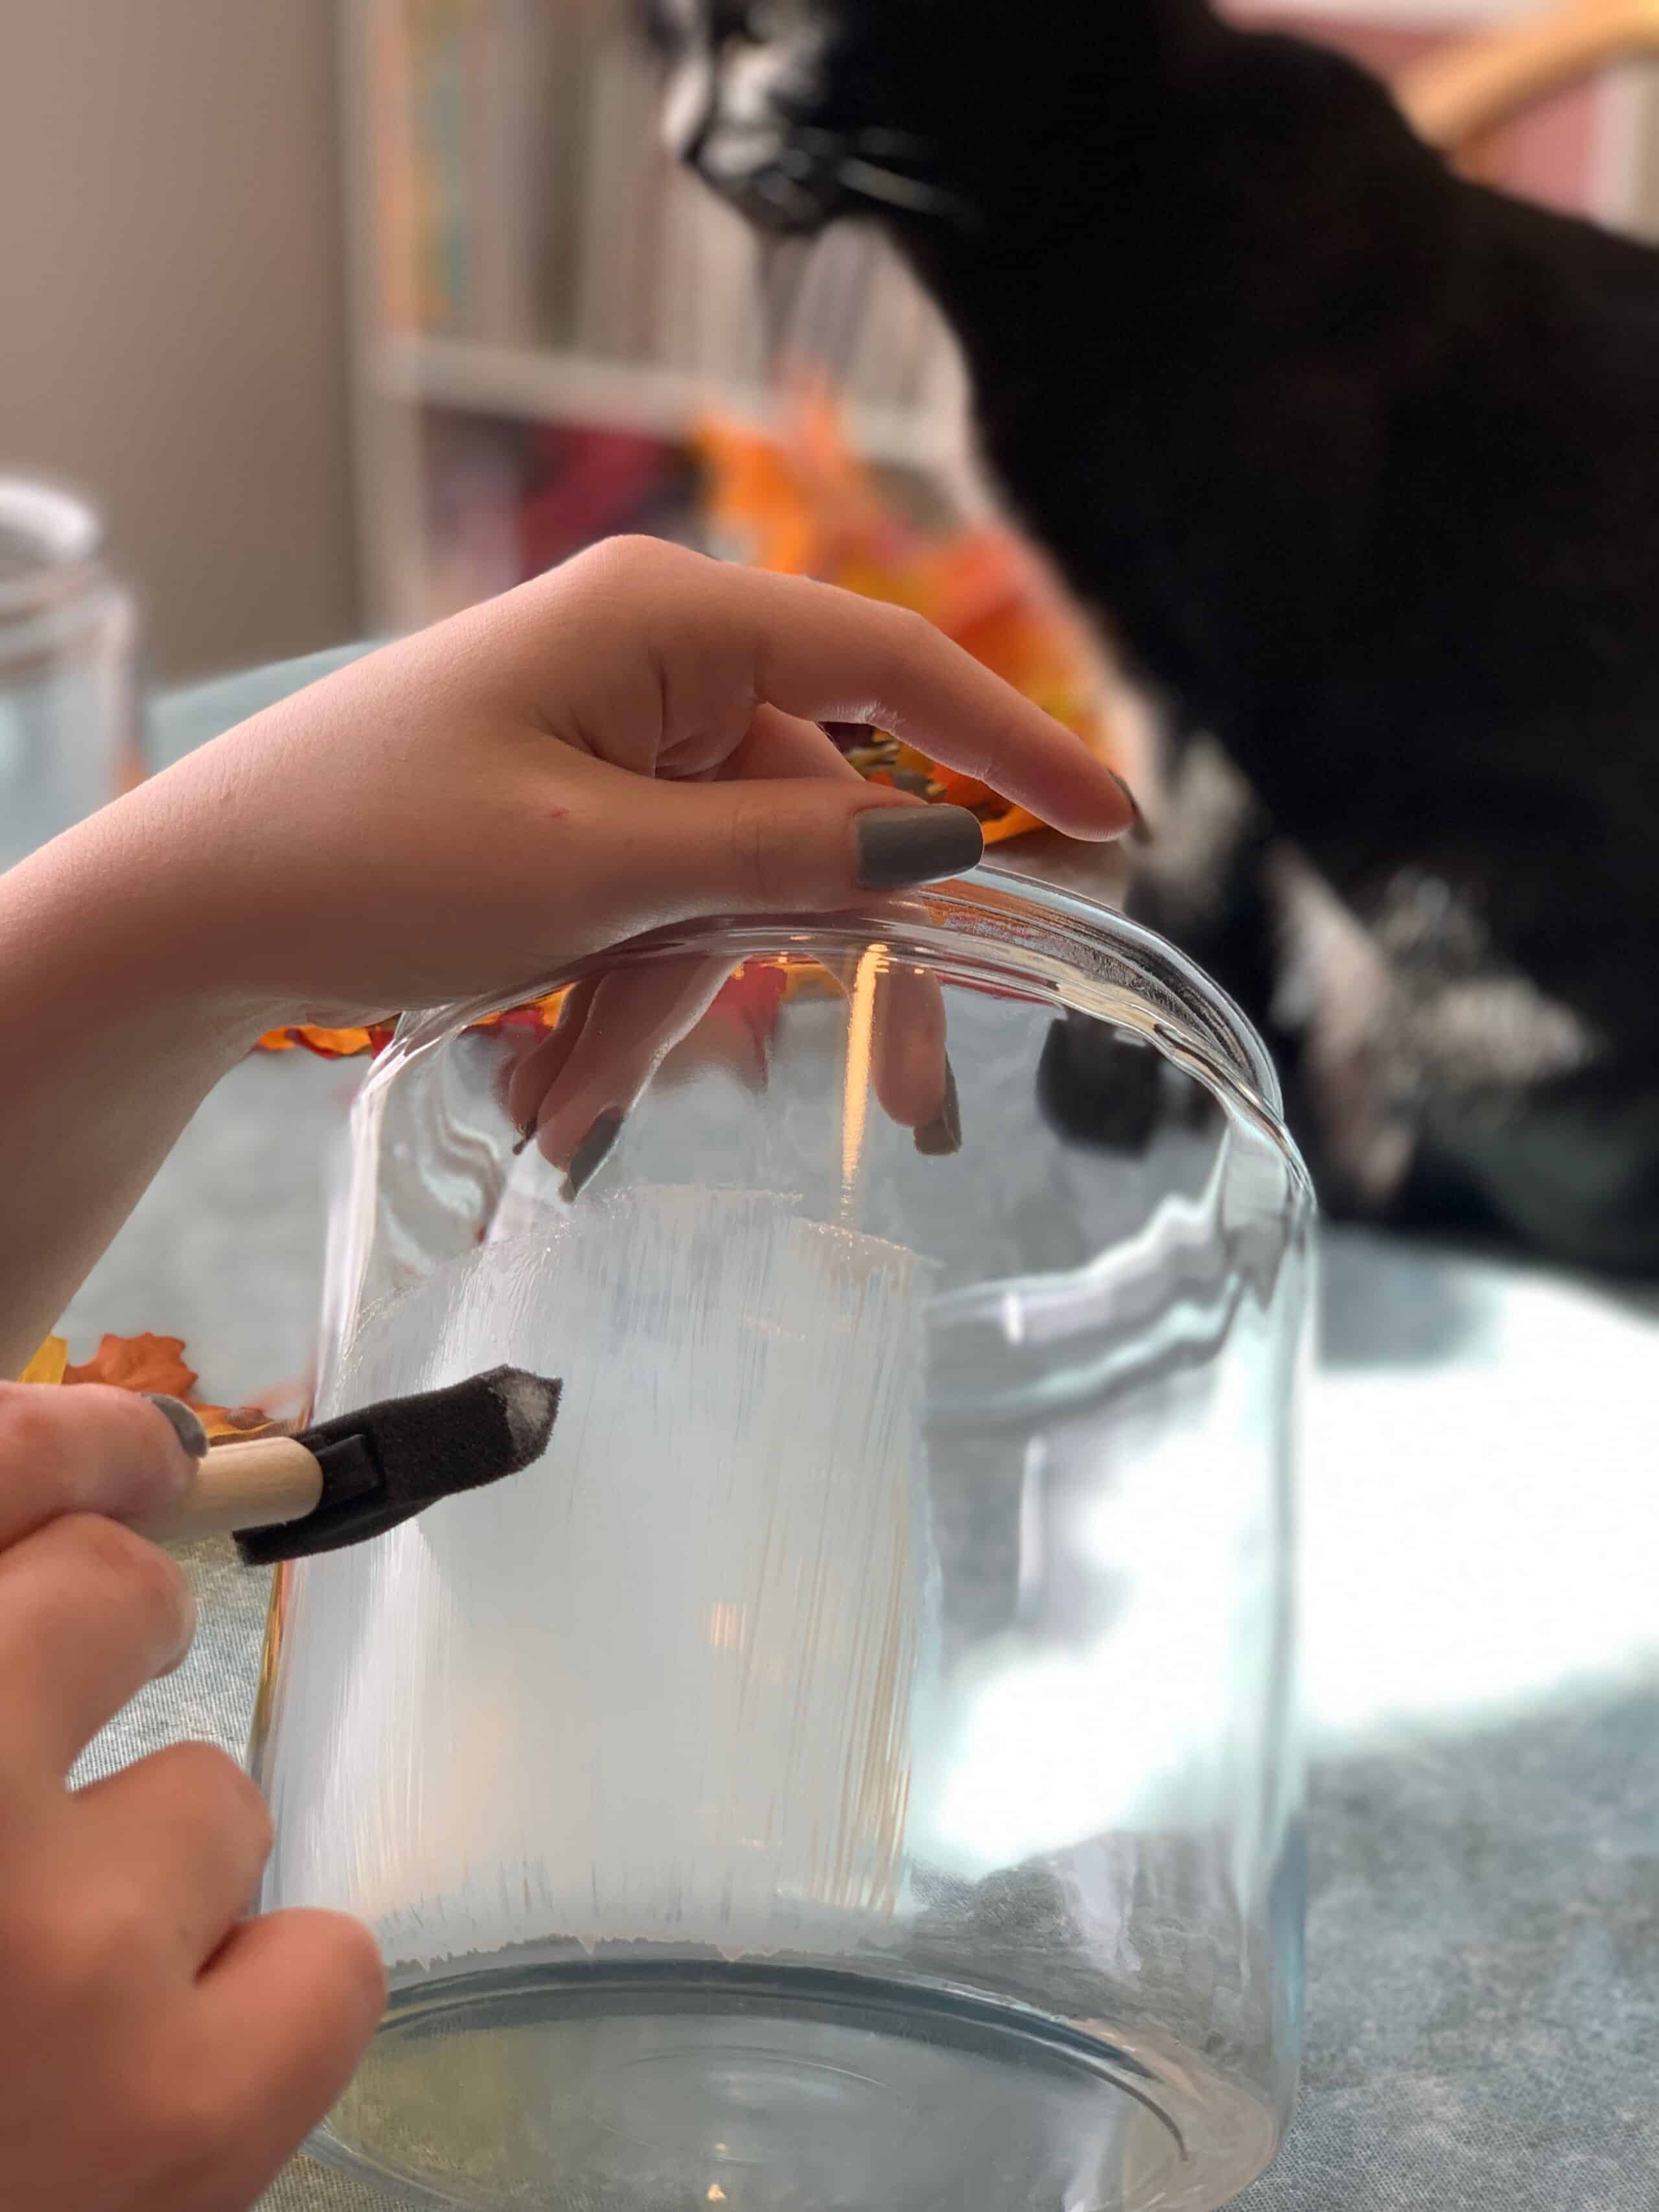
Once your leaves are prepped and your glass container is completely dry, brush a thin layer of Mod Podge onto the glass jar with your foam brush or paintbrush. (We used foam brushes because they were cheap and covered just the right amount of surface.)
You want to apply the Mod Podge wherever you intend to place your prepped autumn leaves. We worked in sections: brushing on a layer of Mod Podge in one section, waiting for it to dry until it’s sticky to the touch but not wet, and applying a leaf in that section before moving on to the next. Doing it this way may take a little longer, but it will prevent you from ending up with a sticky situation on your hands (literally).
As mentioned, it’s important to wait until the Mod Podge is beginning to dry and feels a little bit sticky to the touch before applying your leaf. When you add your leaf to each section, carefully press on and smooth out the leaf you want to use. This takes patience! If you try to add the leaf while the Mod Podge is too wet, it won’t stick!
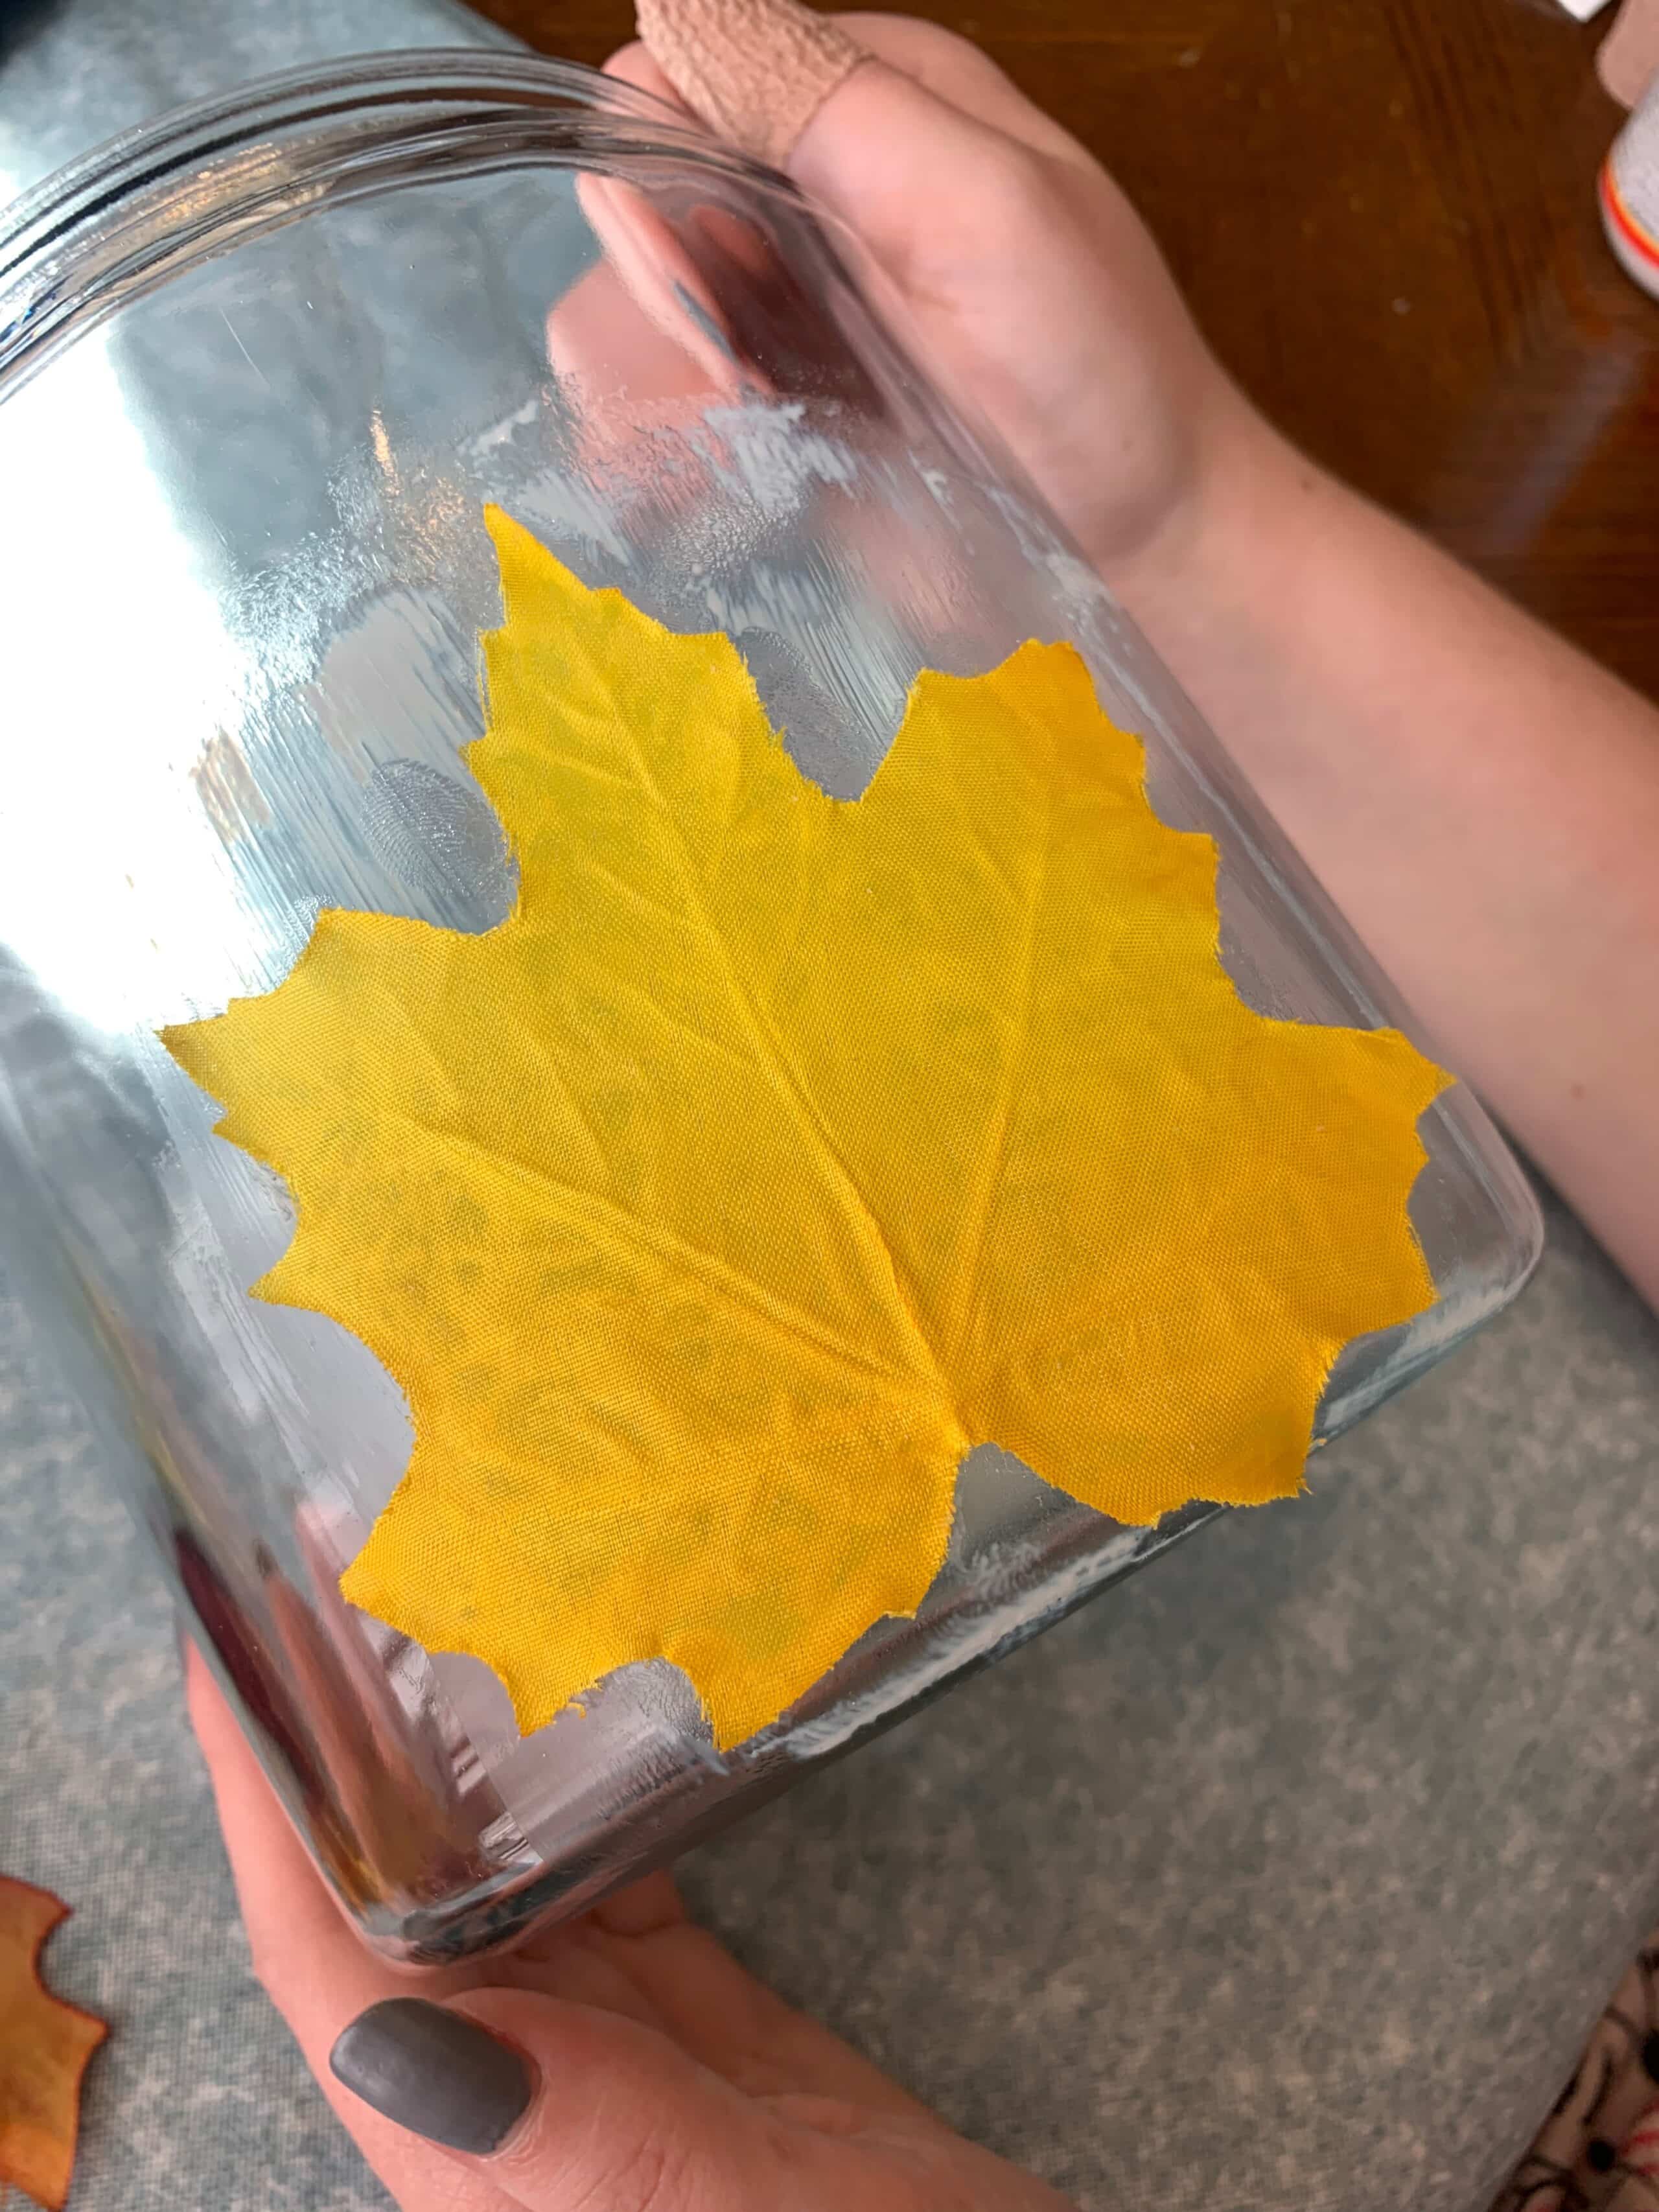
Working in sections, continue brushing on a layer of Mod Podge, allowing it to dry a little, and adding the next leaf.
Note: Do you want your leaves to overlap? This creates a very pretty effect, but you’ll have to be careful and patient! Take your time with each step. At first, we tried to work too quickly and ended up having to start over.
To create the effect of overlapping leaves:
- Give the leaf that will be on the bottom a few minutes to dry in place.
- Brush your Mod Podge over the bottom leaf.
- Then give it a few more minutes to dry before placing the overlapping leaf on top.
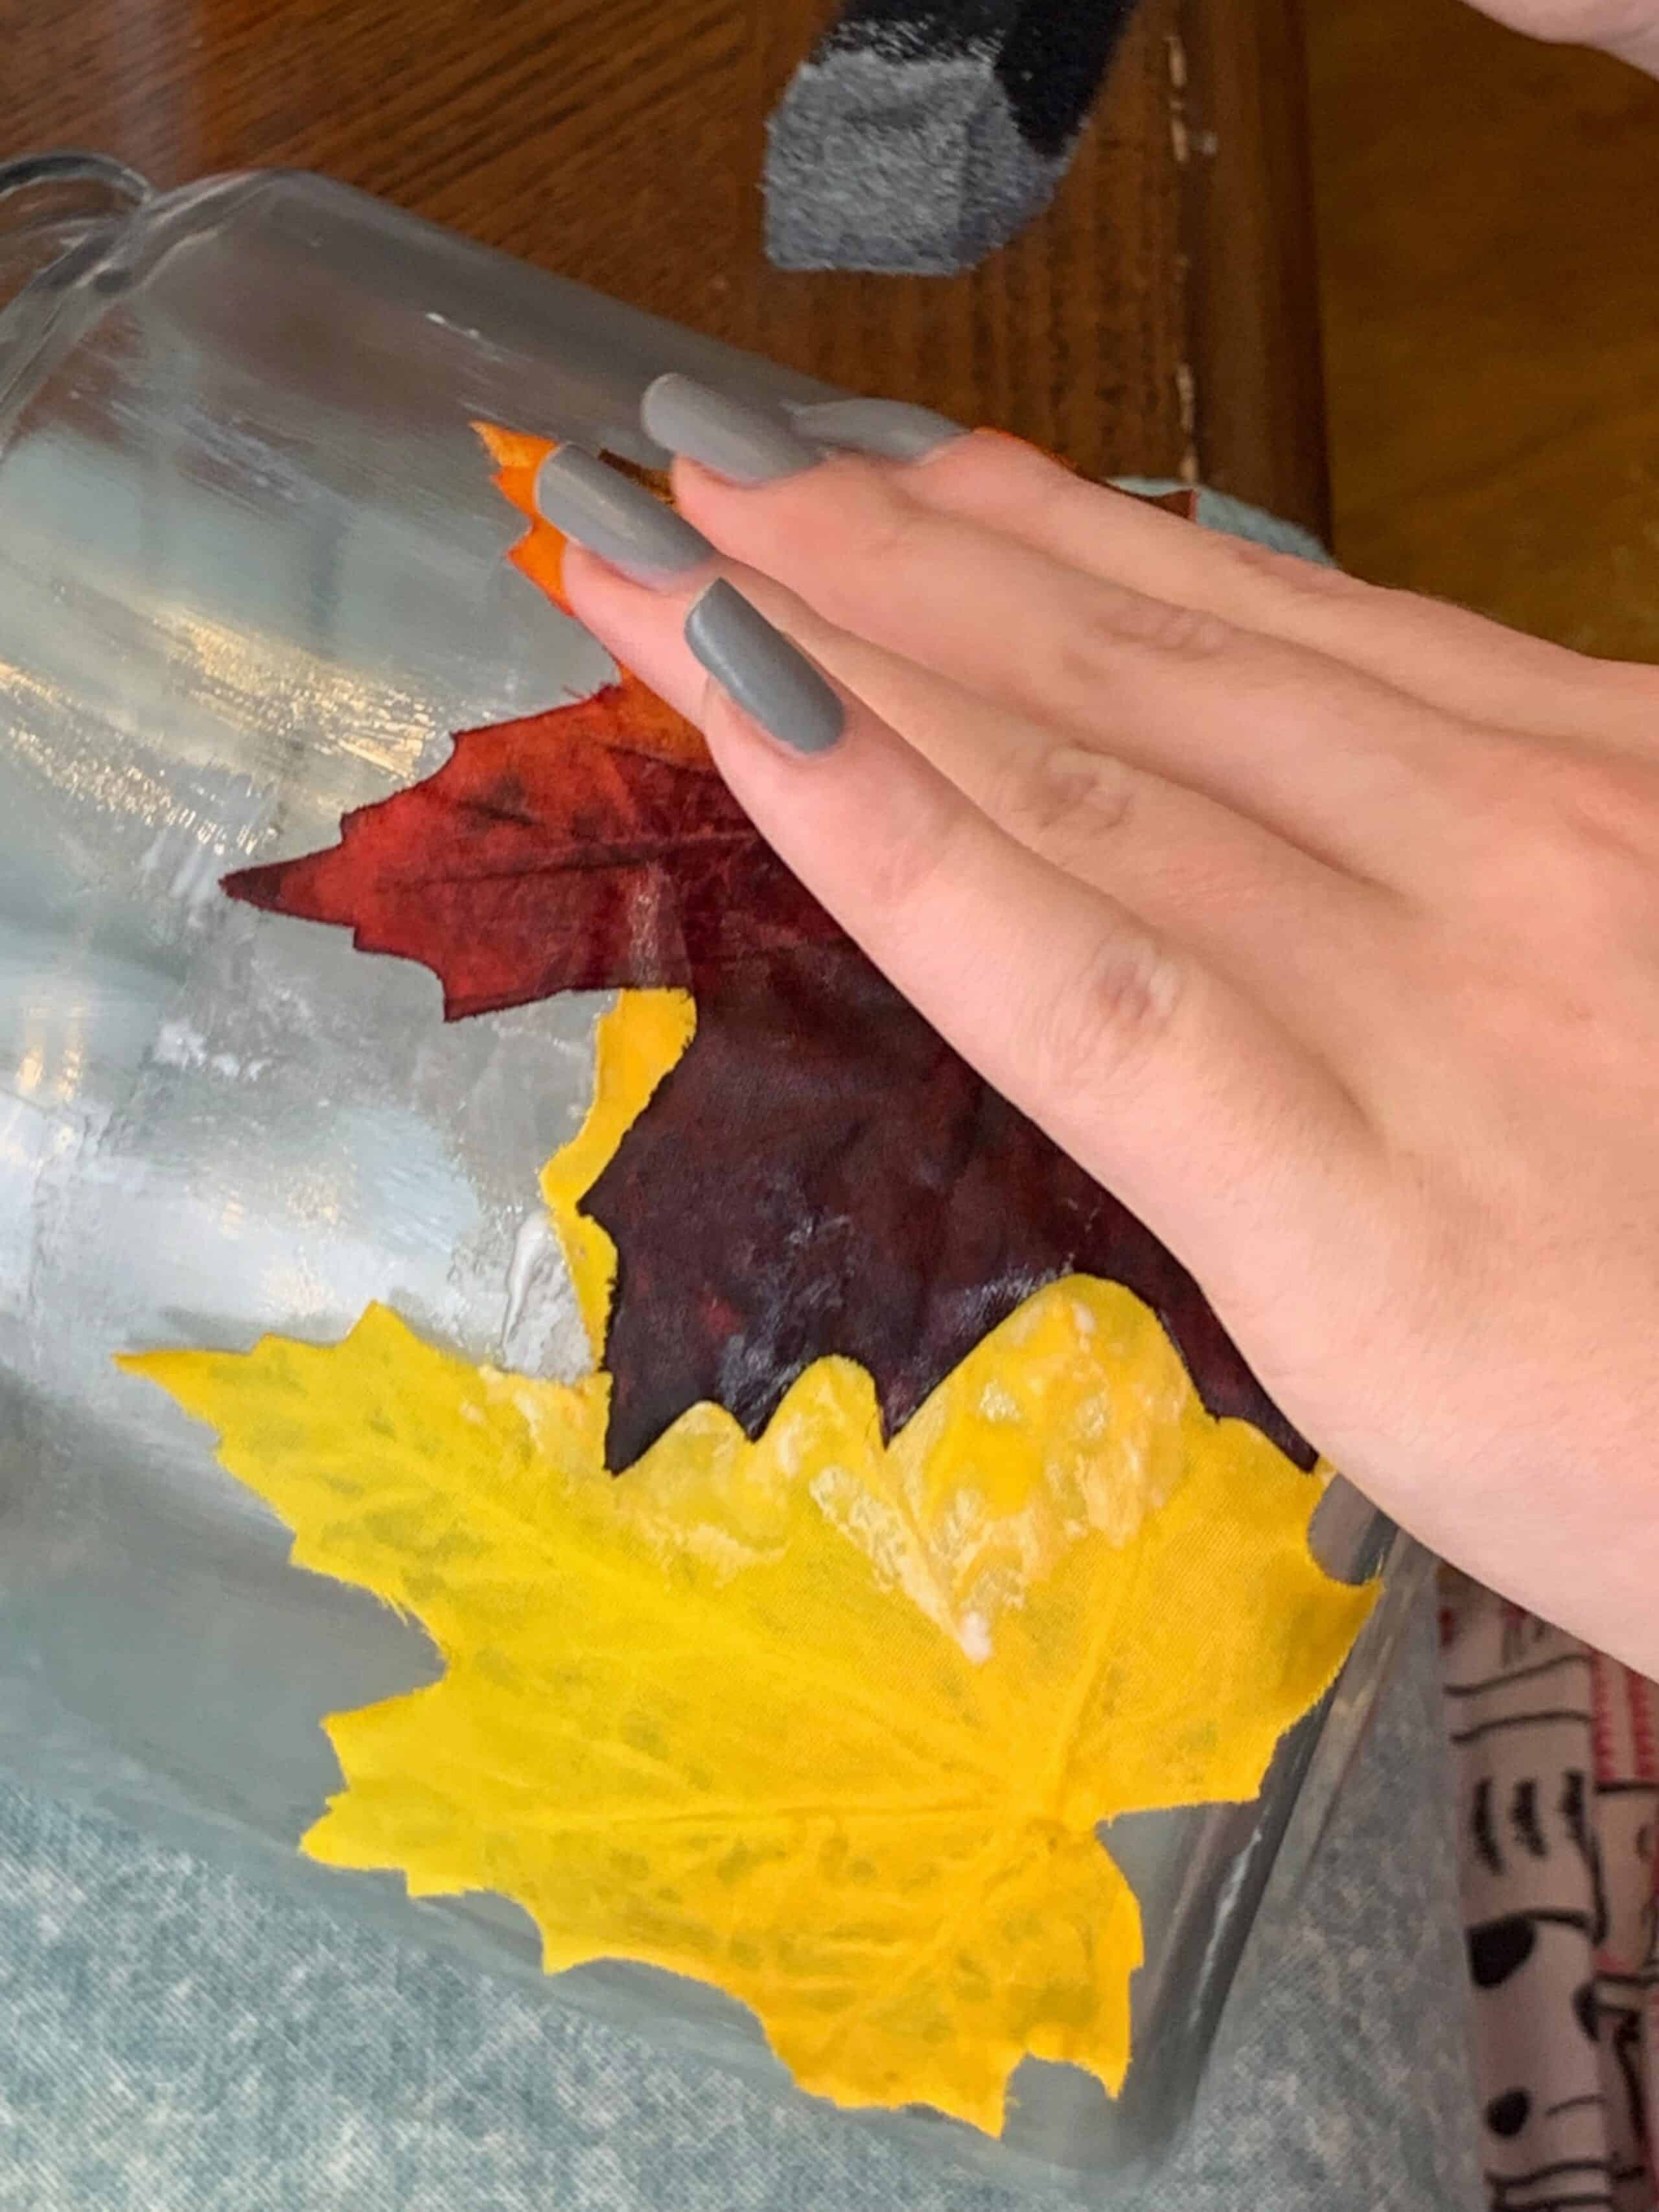
It’s also important to use leaves that are the right size for your jar or vase. If you use leaves that are too large, it will be hard to fit them to your glass and make them flat. It’s also a good idea to find leaves that aren’t too “curly” or wavy. In other words: the flatter the leaves are, the easier it will be to get them to stick well to the glass.
Our leaves were pretty flat and well-sized for our lanterns, so they worked well. We did end up with a few small parts here and there that didn’t stick flat to the glass, but we think those little places add personality and make our lanterns look even prettier! Once we finished adding all of our leaves to our lanterns, we waited for about 20 minutes to let them dry. Last, we brushed one more nice, thick layer of Mod Podge over the leaf decorations on our fall lanterns and waited for the whole thing to try to dry.
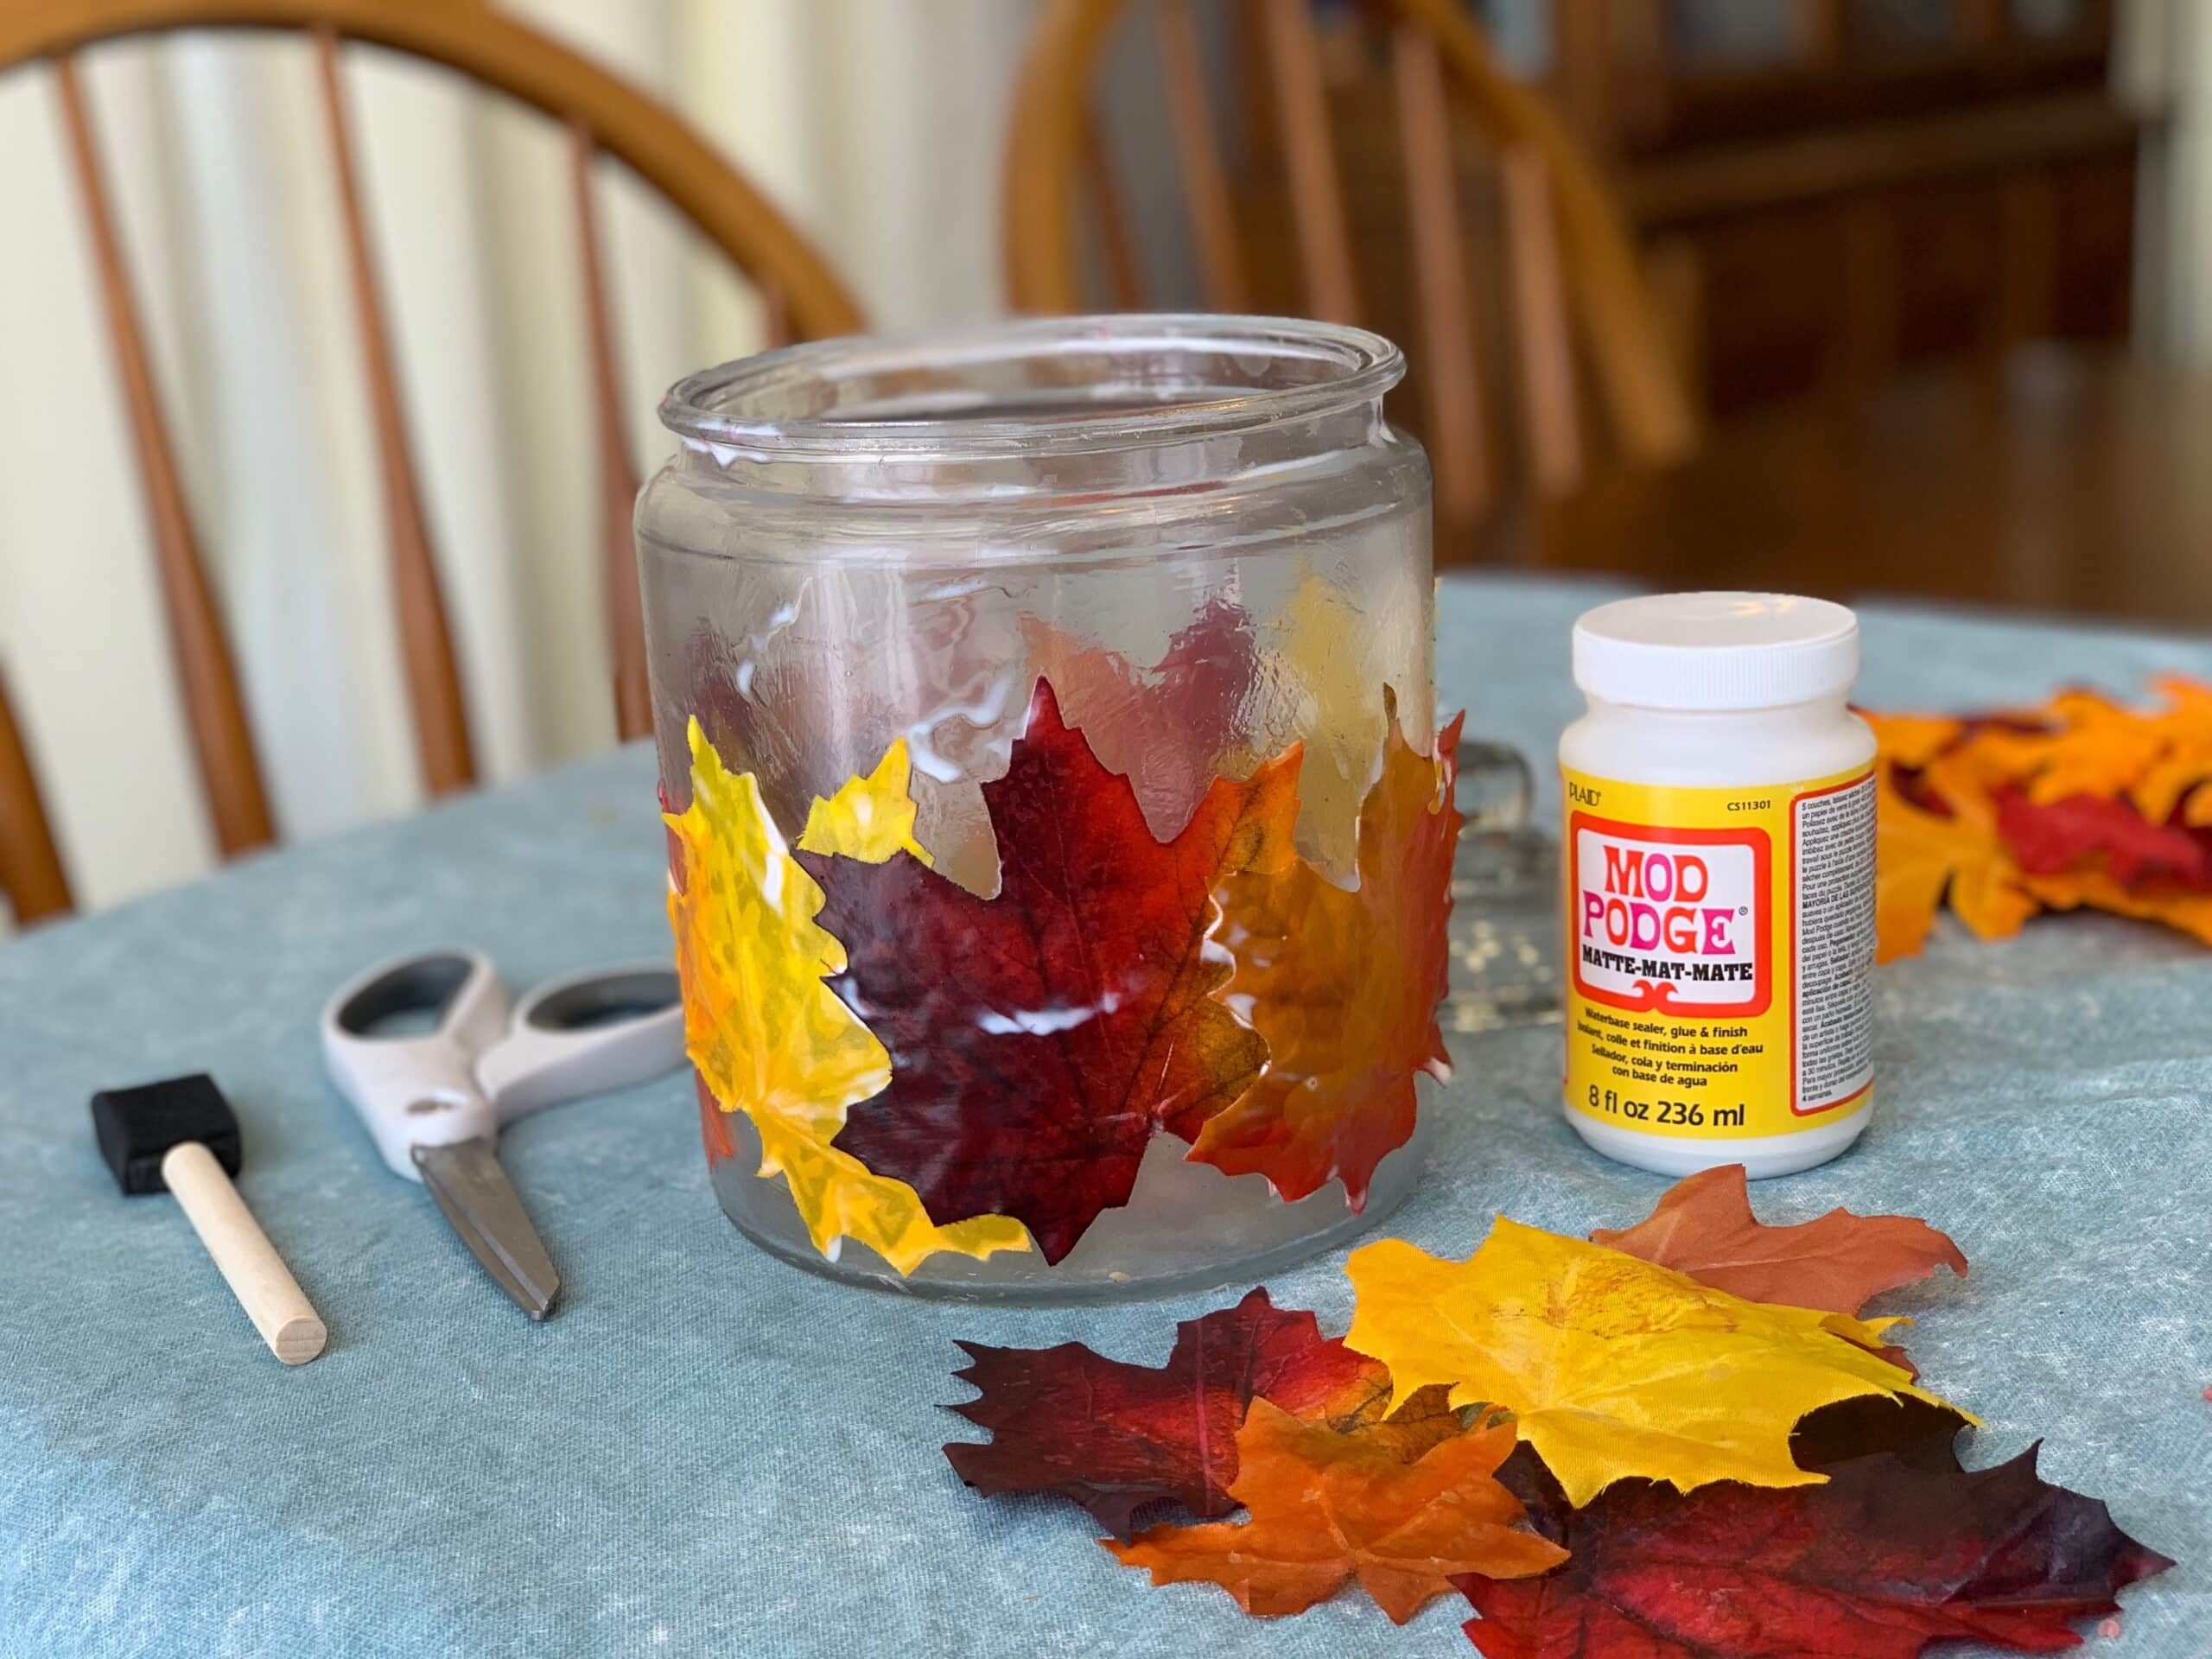
Once that was done, our lanterns were ready to enjoy!
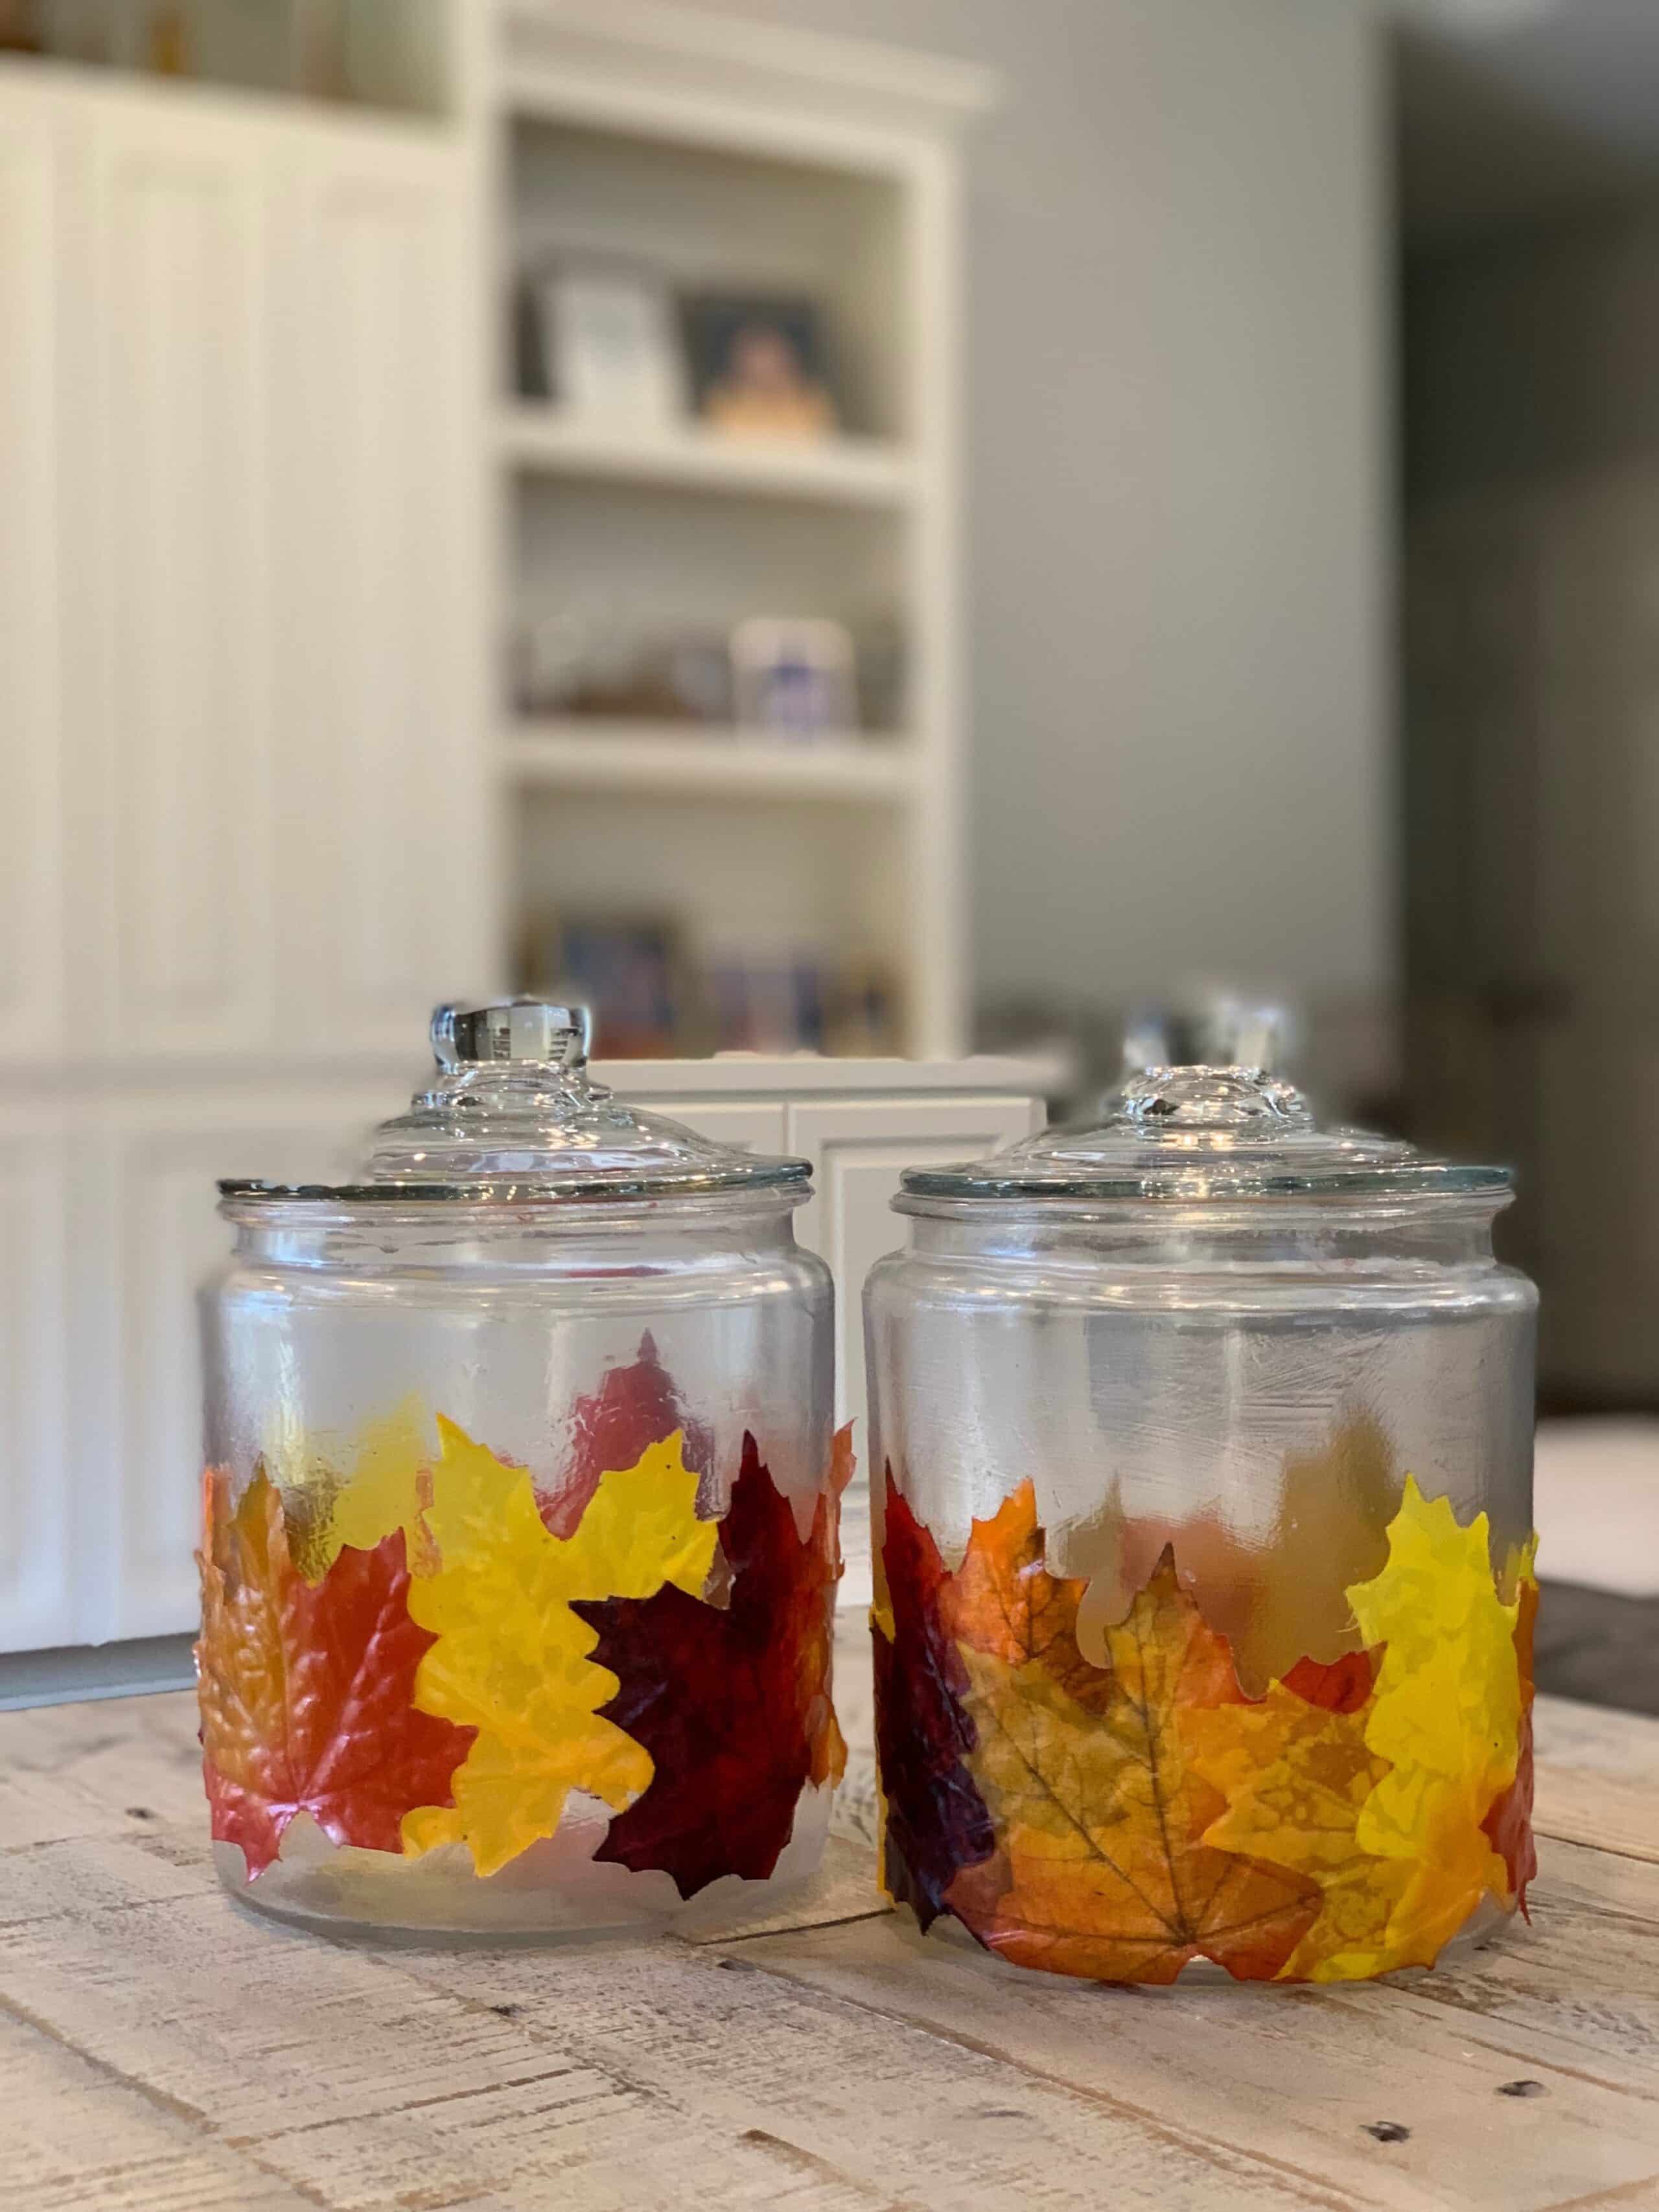
When your lanterns are completely dry, you can add your votive candles (or electric candles) and enjoy them as festive autumn decorations. These would be beautiful on a mantelpiece, in an entryway, or to add ambiance to a fall party (or even on your Thanksgiving table)!
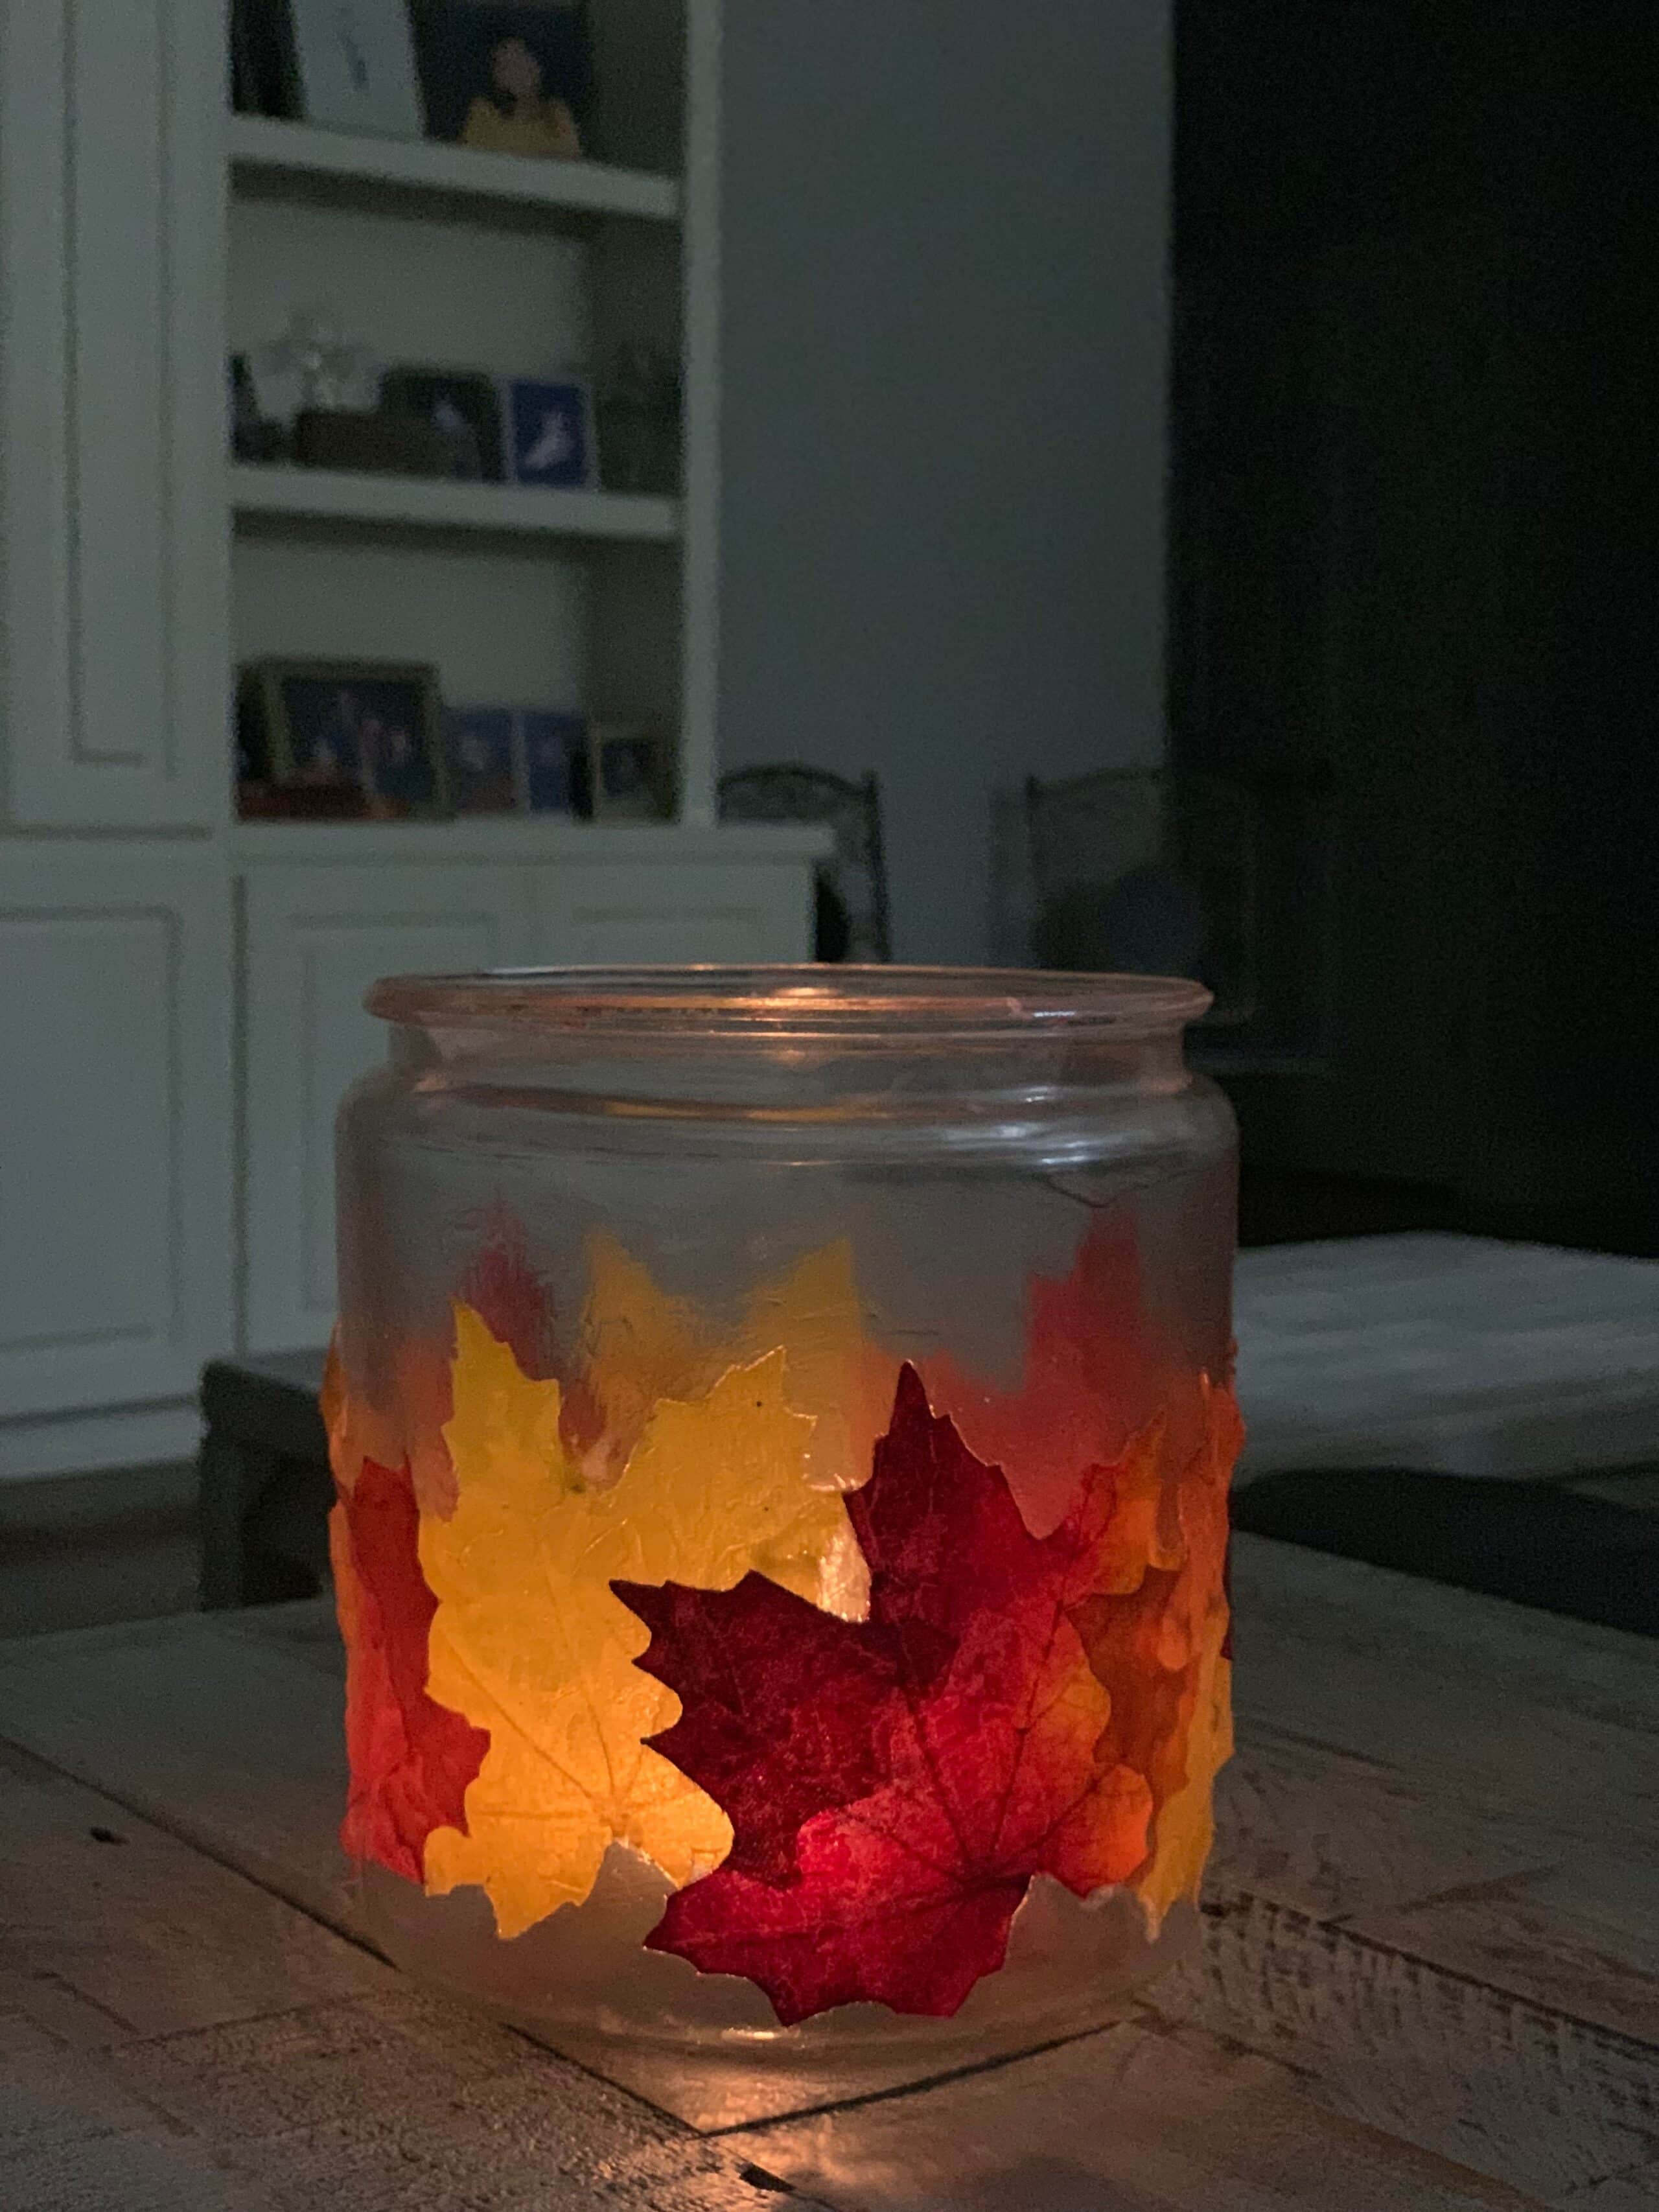
Do you plan on making these fall lanterns with your kids? We’d love to see how yours turned out!
If you love incorporating crafts into your homeschool, be sure to check out some of our other fun autumn crafts on Hip Homeschool Moms:








Have you ever tried this with real leaves? Will it work with real leaves?
I haven’t personally tried it with real leaves, but I have read that it works. You just have to be sure they are completely dry before you use them.
I did it with real leaves that were not completely dry and beautiful colors and as they dried it got a little bit more belly but still looks great. I also added galvanized wire around the top to make a handle for a lantern walk. Look up martinmas lantern walk with Google for some other ideas of things to do if you like.
Adding wire to make a portable lantern is a great idea!! I’m so glad you liked this article and found it helpful. 🙂