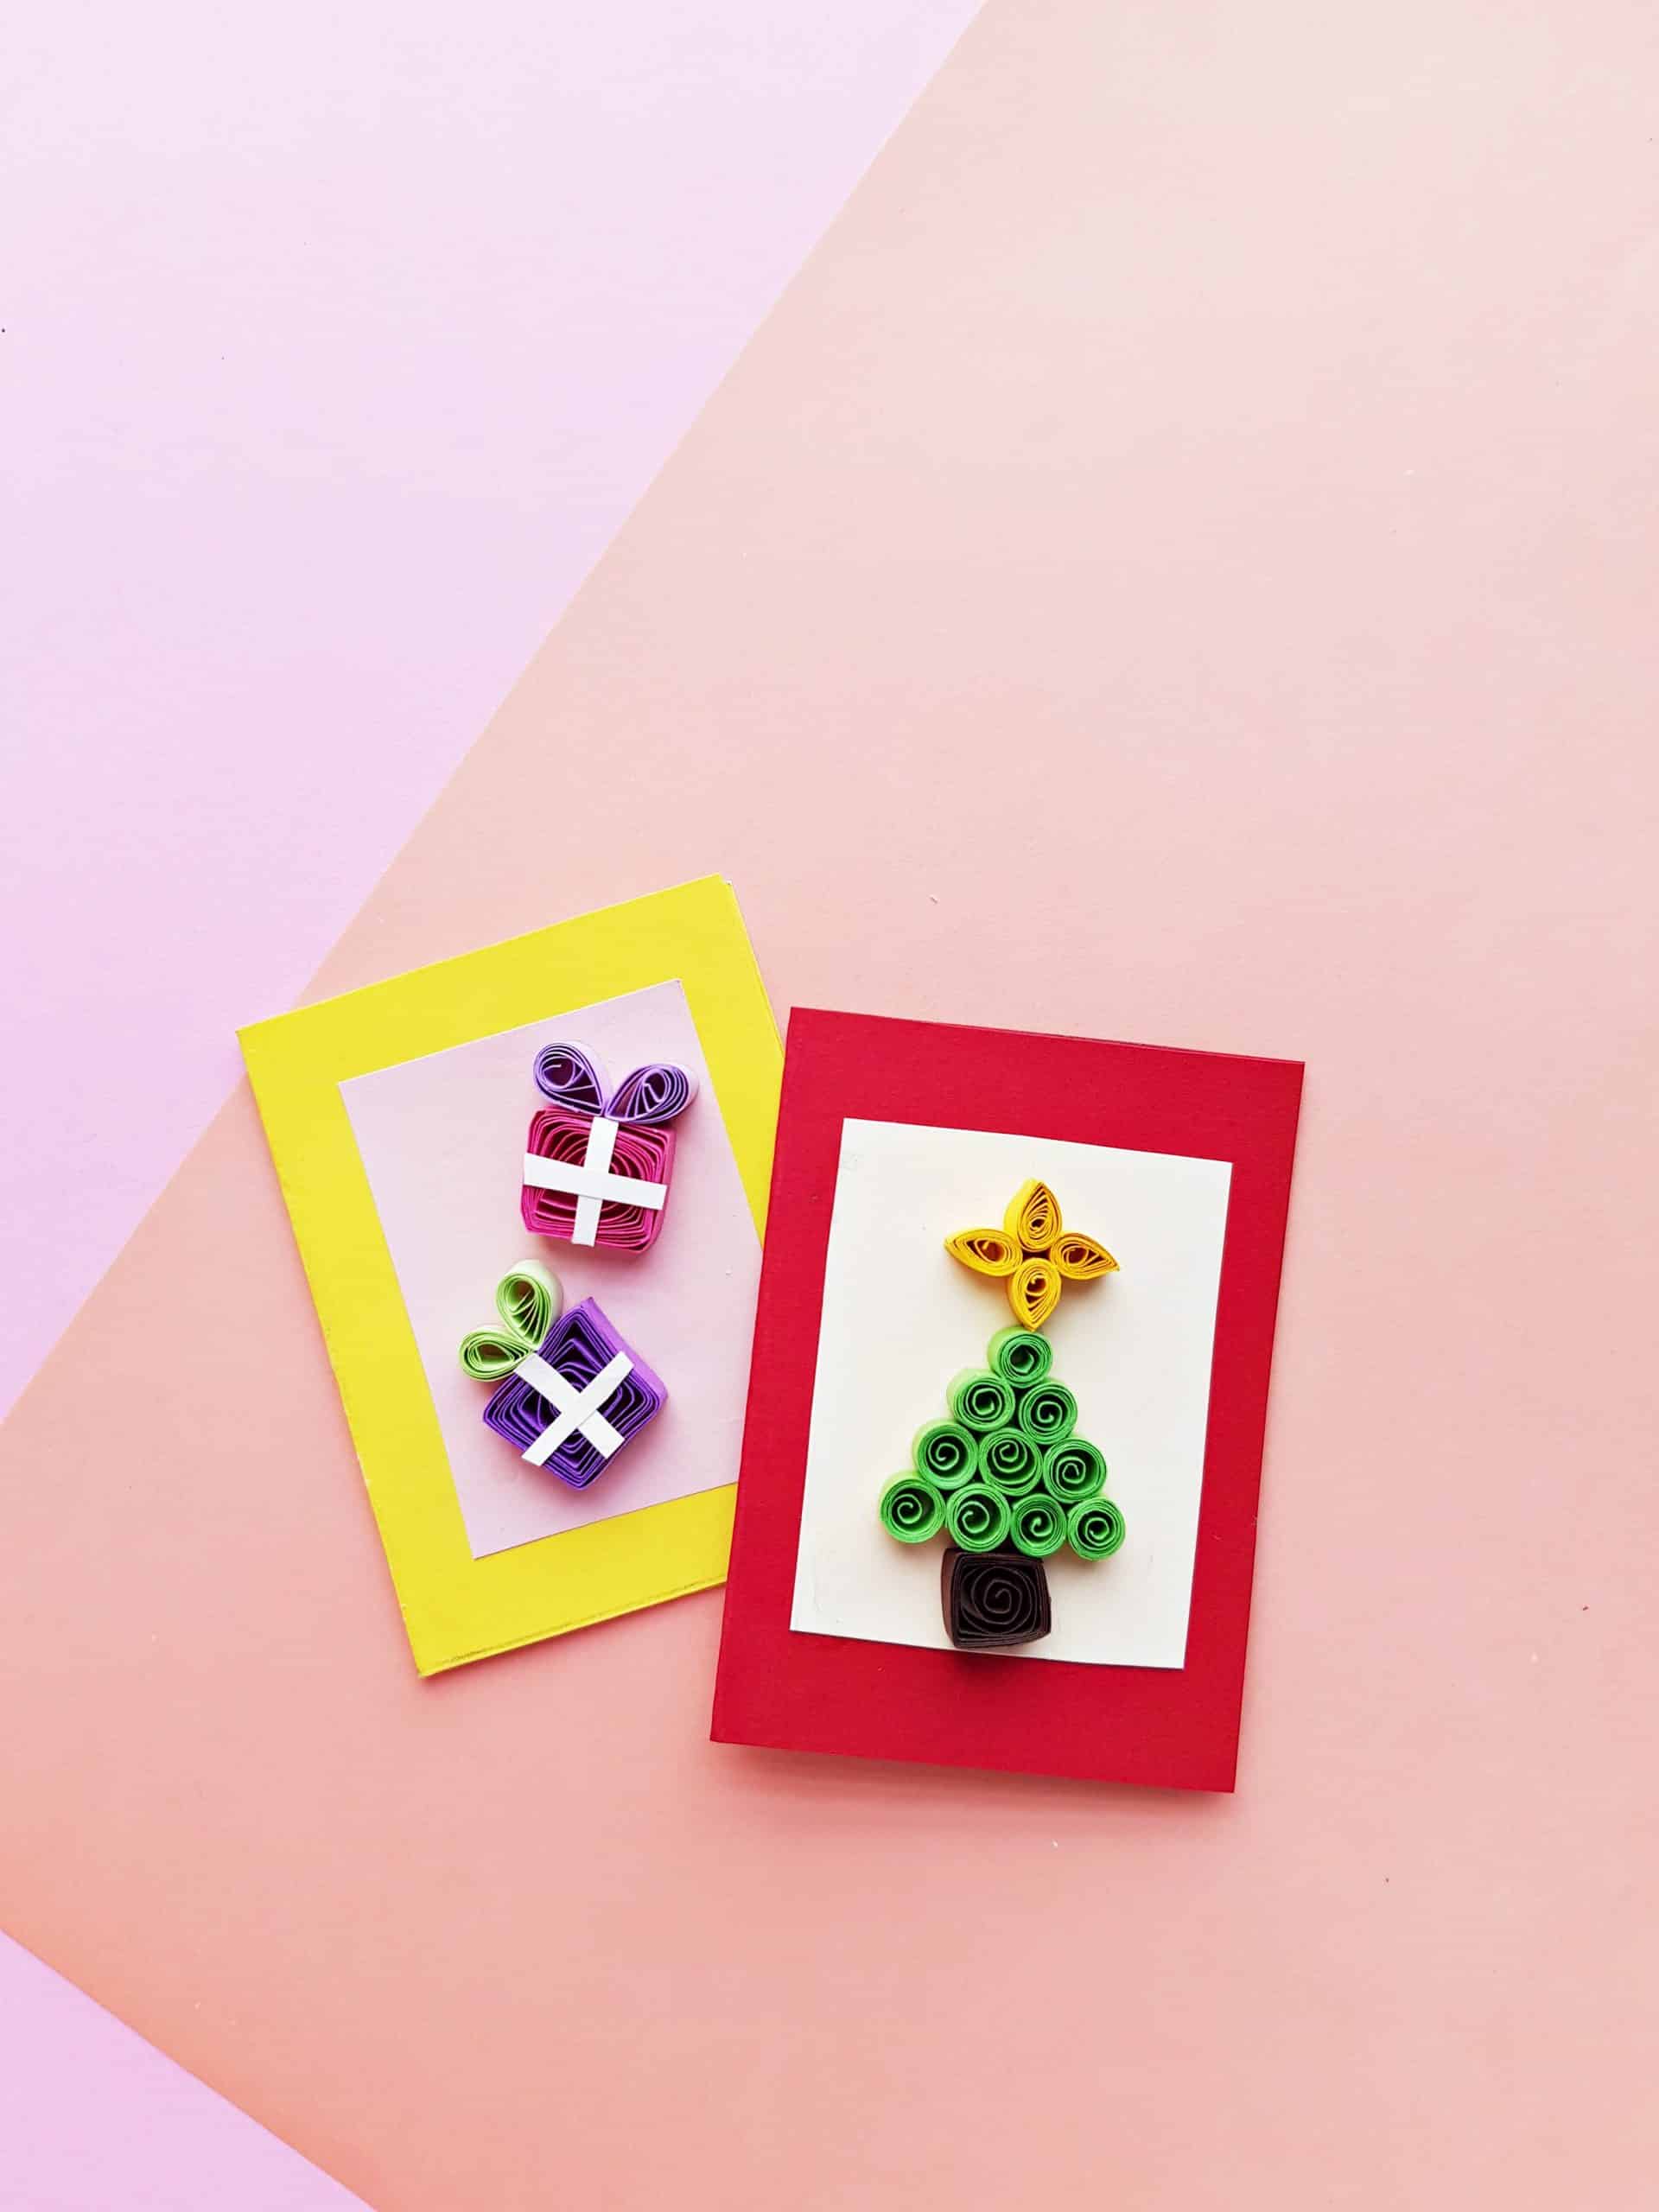
Beautiful Quilled Christmas Cards
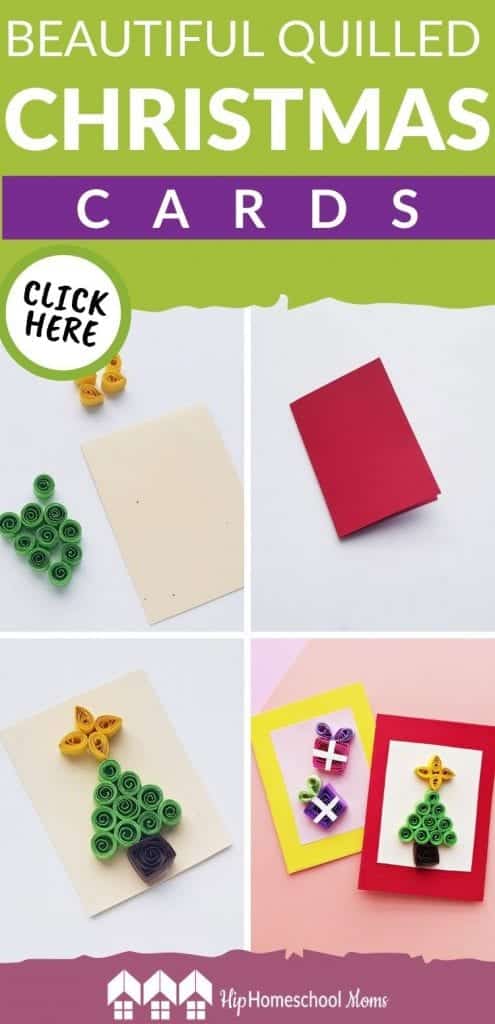
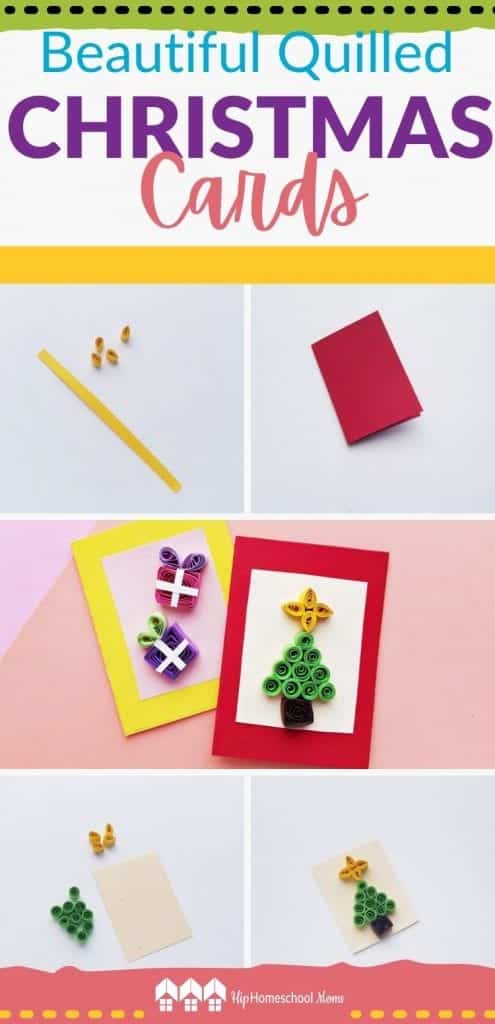
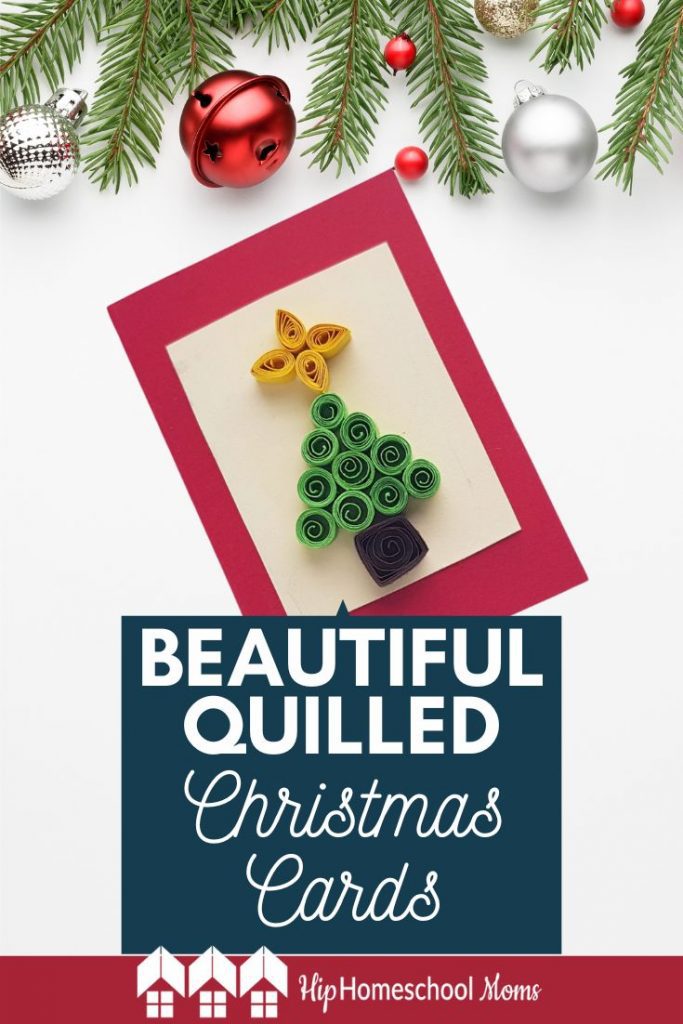
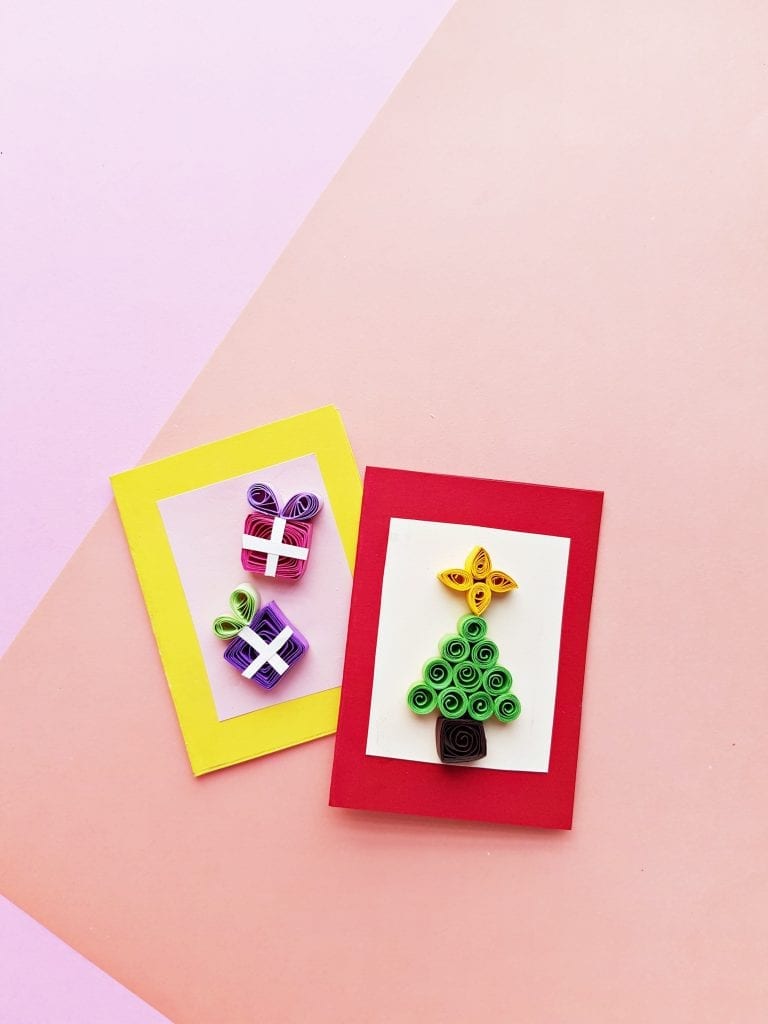
Paper quilling is an easy craft that results in beautiful, intricate-looking paper art! This technique is also really creative and fun to use with kids of all ages! Today’s paper quilling craft shows you how to use paper quilling to create some truly special Christmas Cards! Whether you follow this tutorial strictly, or use it as a guideline to create your own unique designs, we hope you have a lot of fun making special memories with this craft!

What You’ll Need
- Paper quilling strips
- Colored craft paper
- Slotted quilling tool
- Pencil
- Scissors
- Craft Glue
Note: Instead of buying quilling paper and the quilling tool separately, I suggest purchasing this kit from Amazon because it comes with both (plus more) and is a really good price!
How to Make the Quilled Shapes:
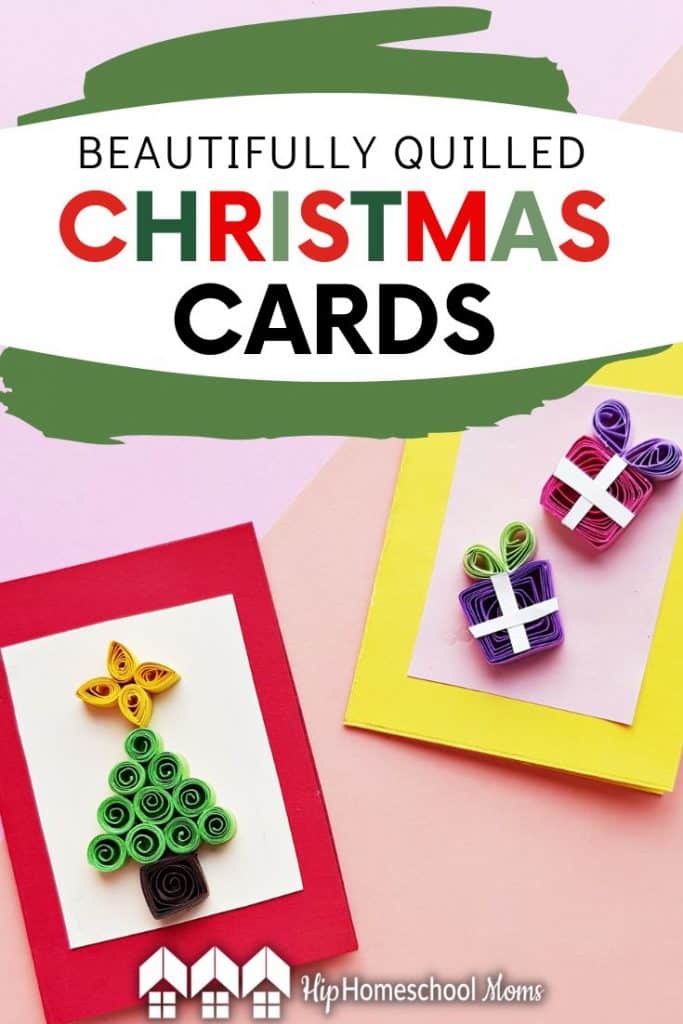
This tutorial will show you how to make a beautiful Christmas card featuring a quilled Christmas tree. However, once you see how easy it is to make beautiful, quilled imagery, you’ll likely get inspired to come up with with your own unique Christmas card designs. As you play with making your own designs, it’s a good idea to practice making some different shapes using your quilling tool, and then sketch out some Christmas-y designs using those shapes.
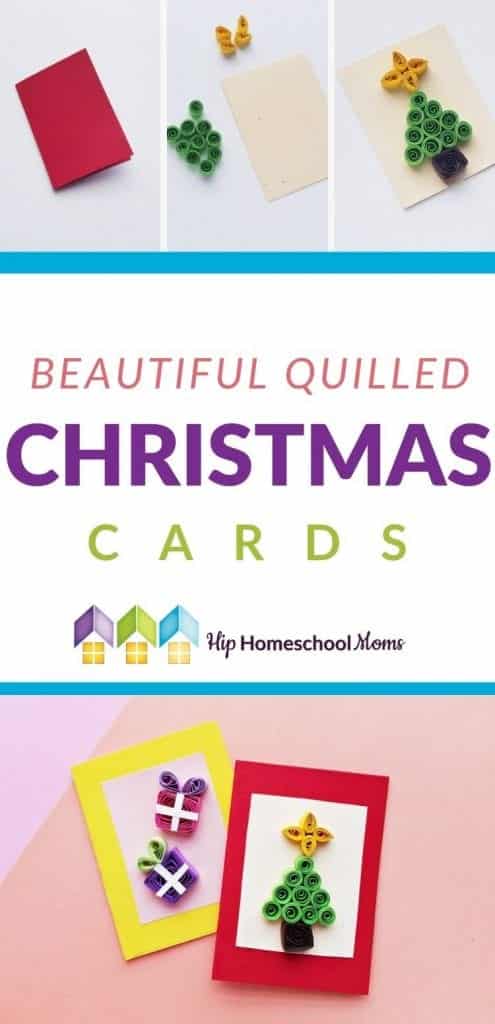
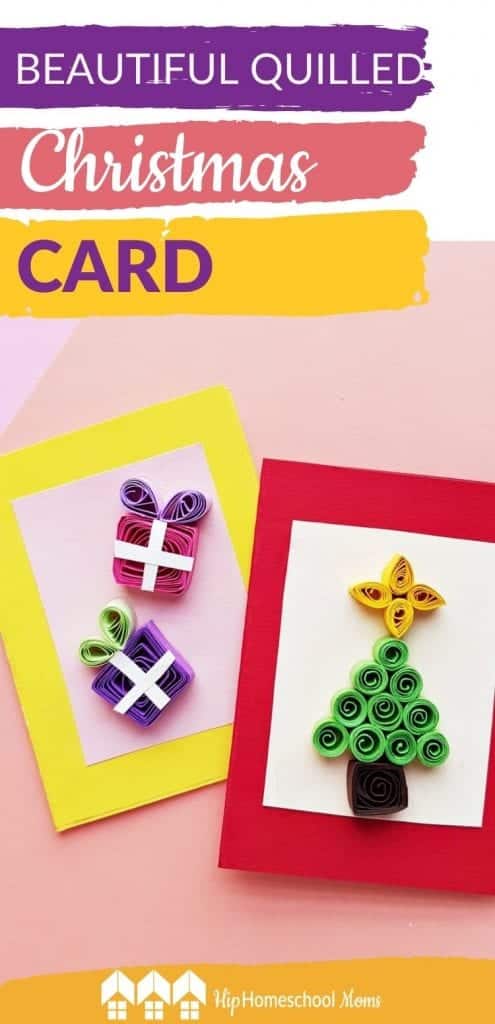
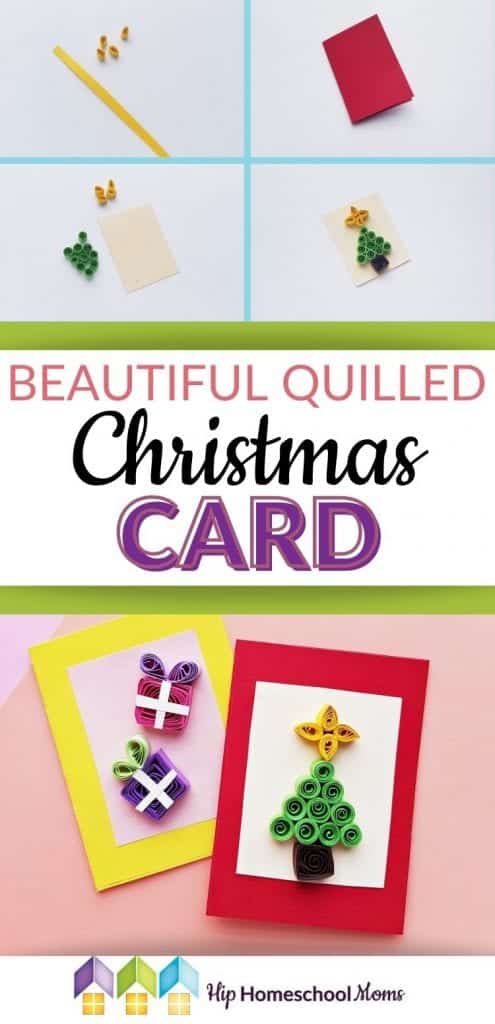
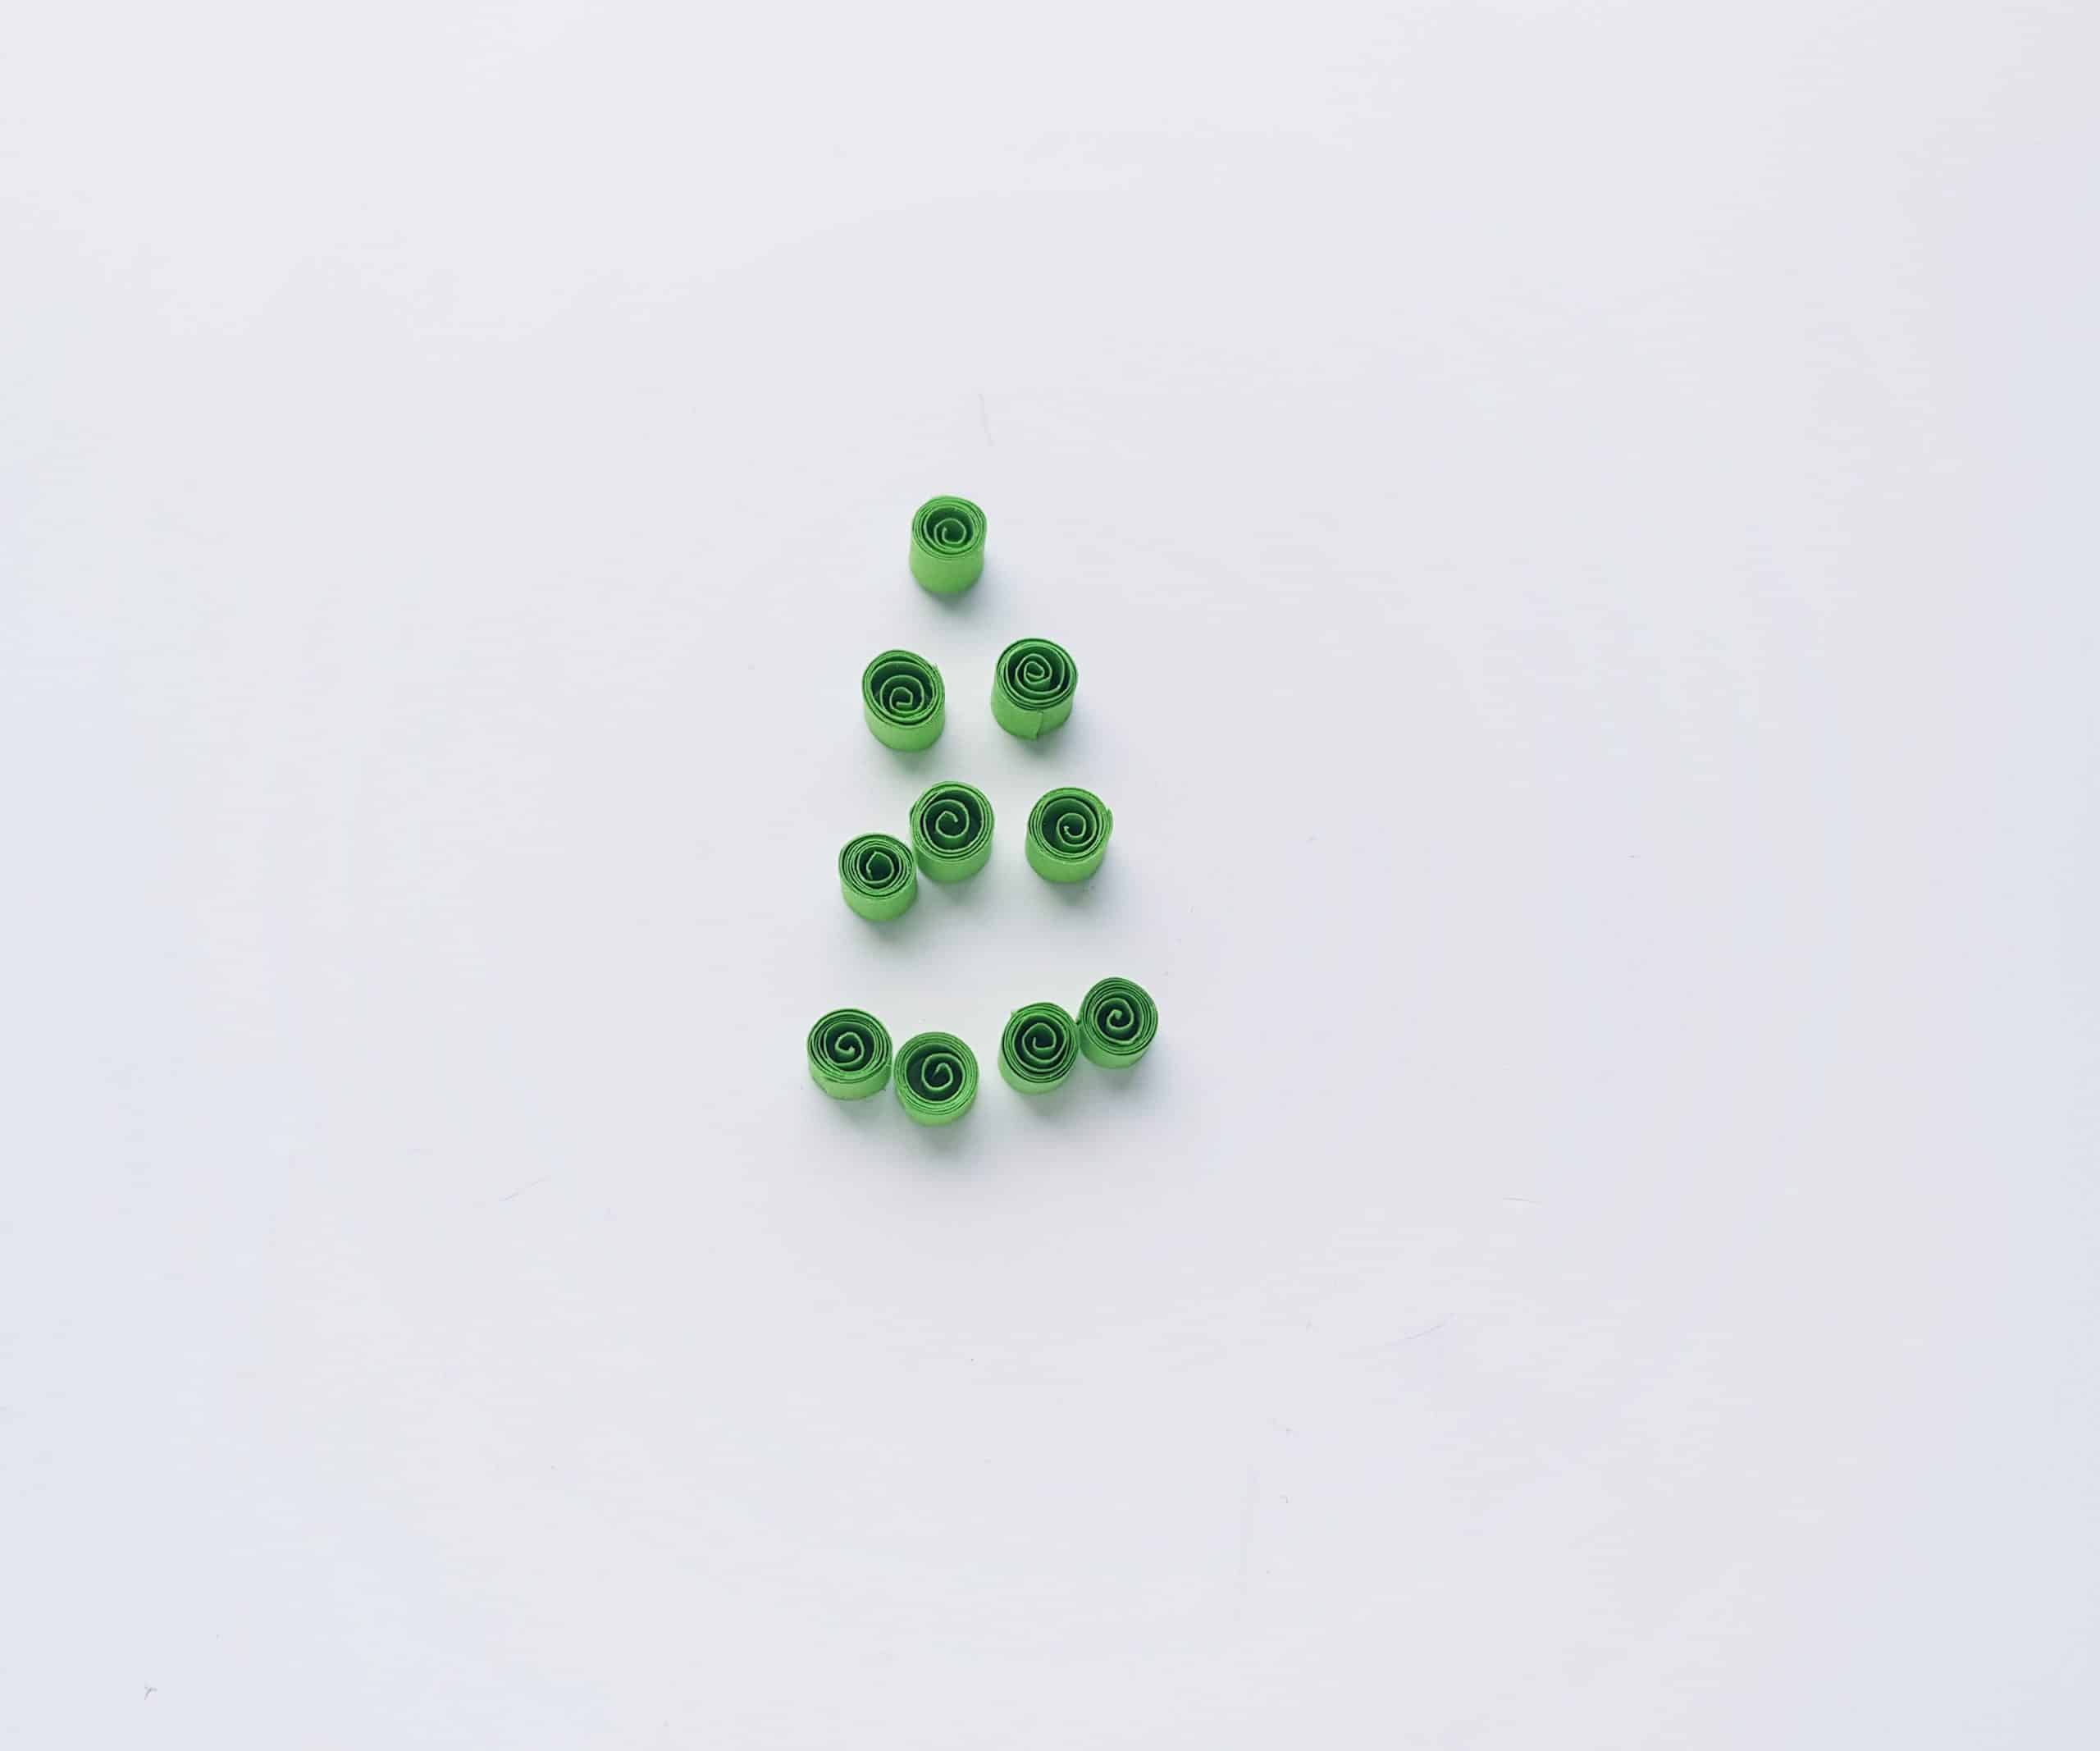
For this Christmas tree card design, you will need 10 green quilling strips, 4 yellow quilling strips, and 1 brown quilling strip. First, use your quilling tool to create 10 loose coils with the green strips. Use a bit of glue to secure the open ends. These coils will form your Christmas tree!
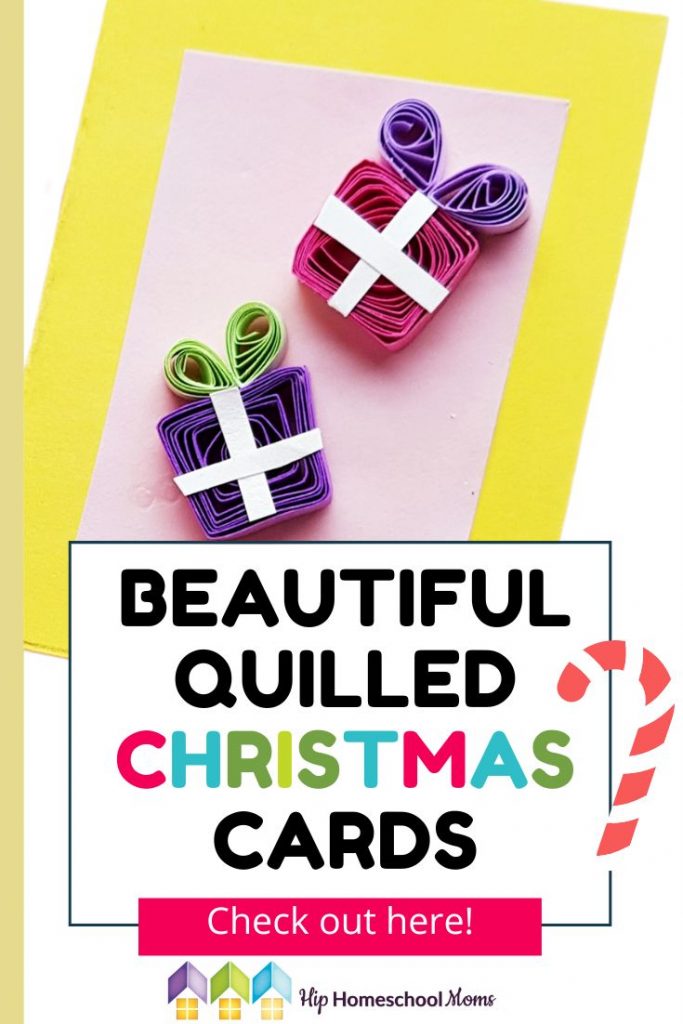
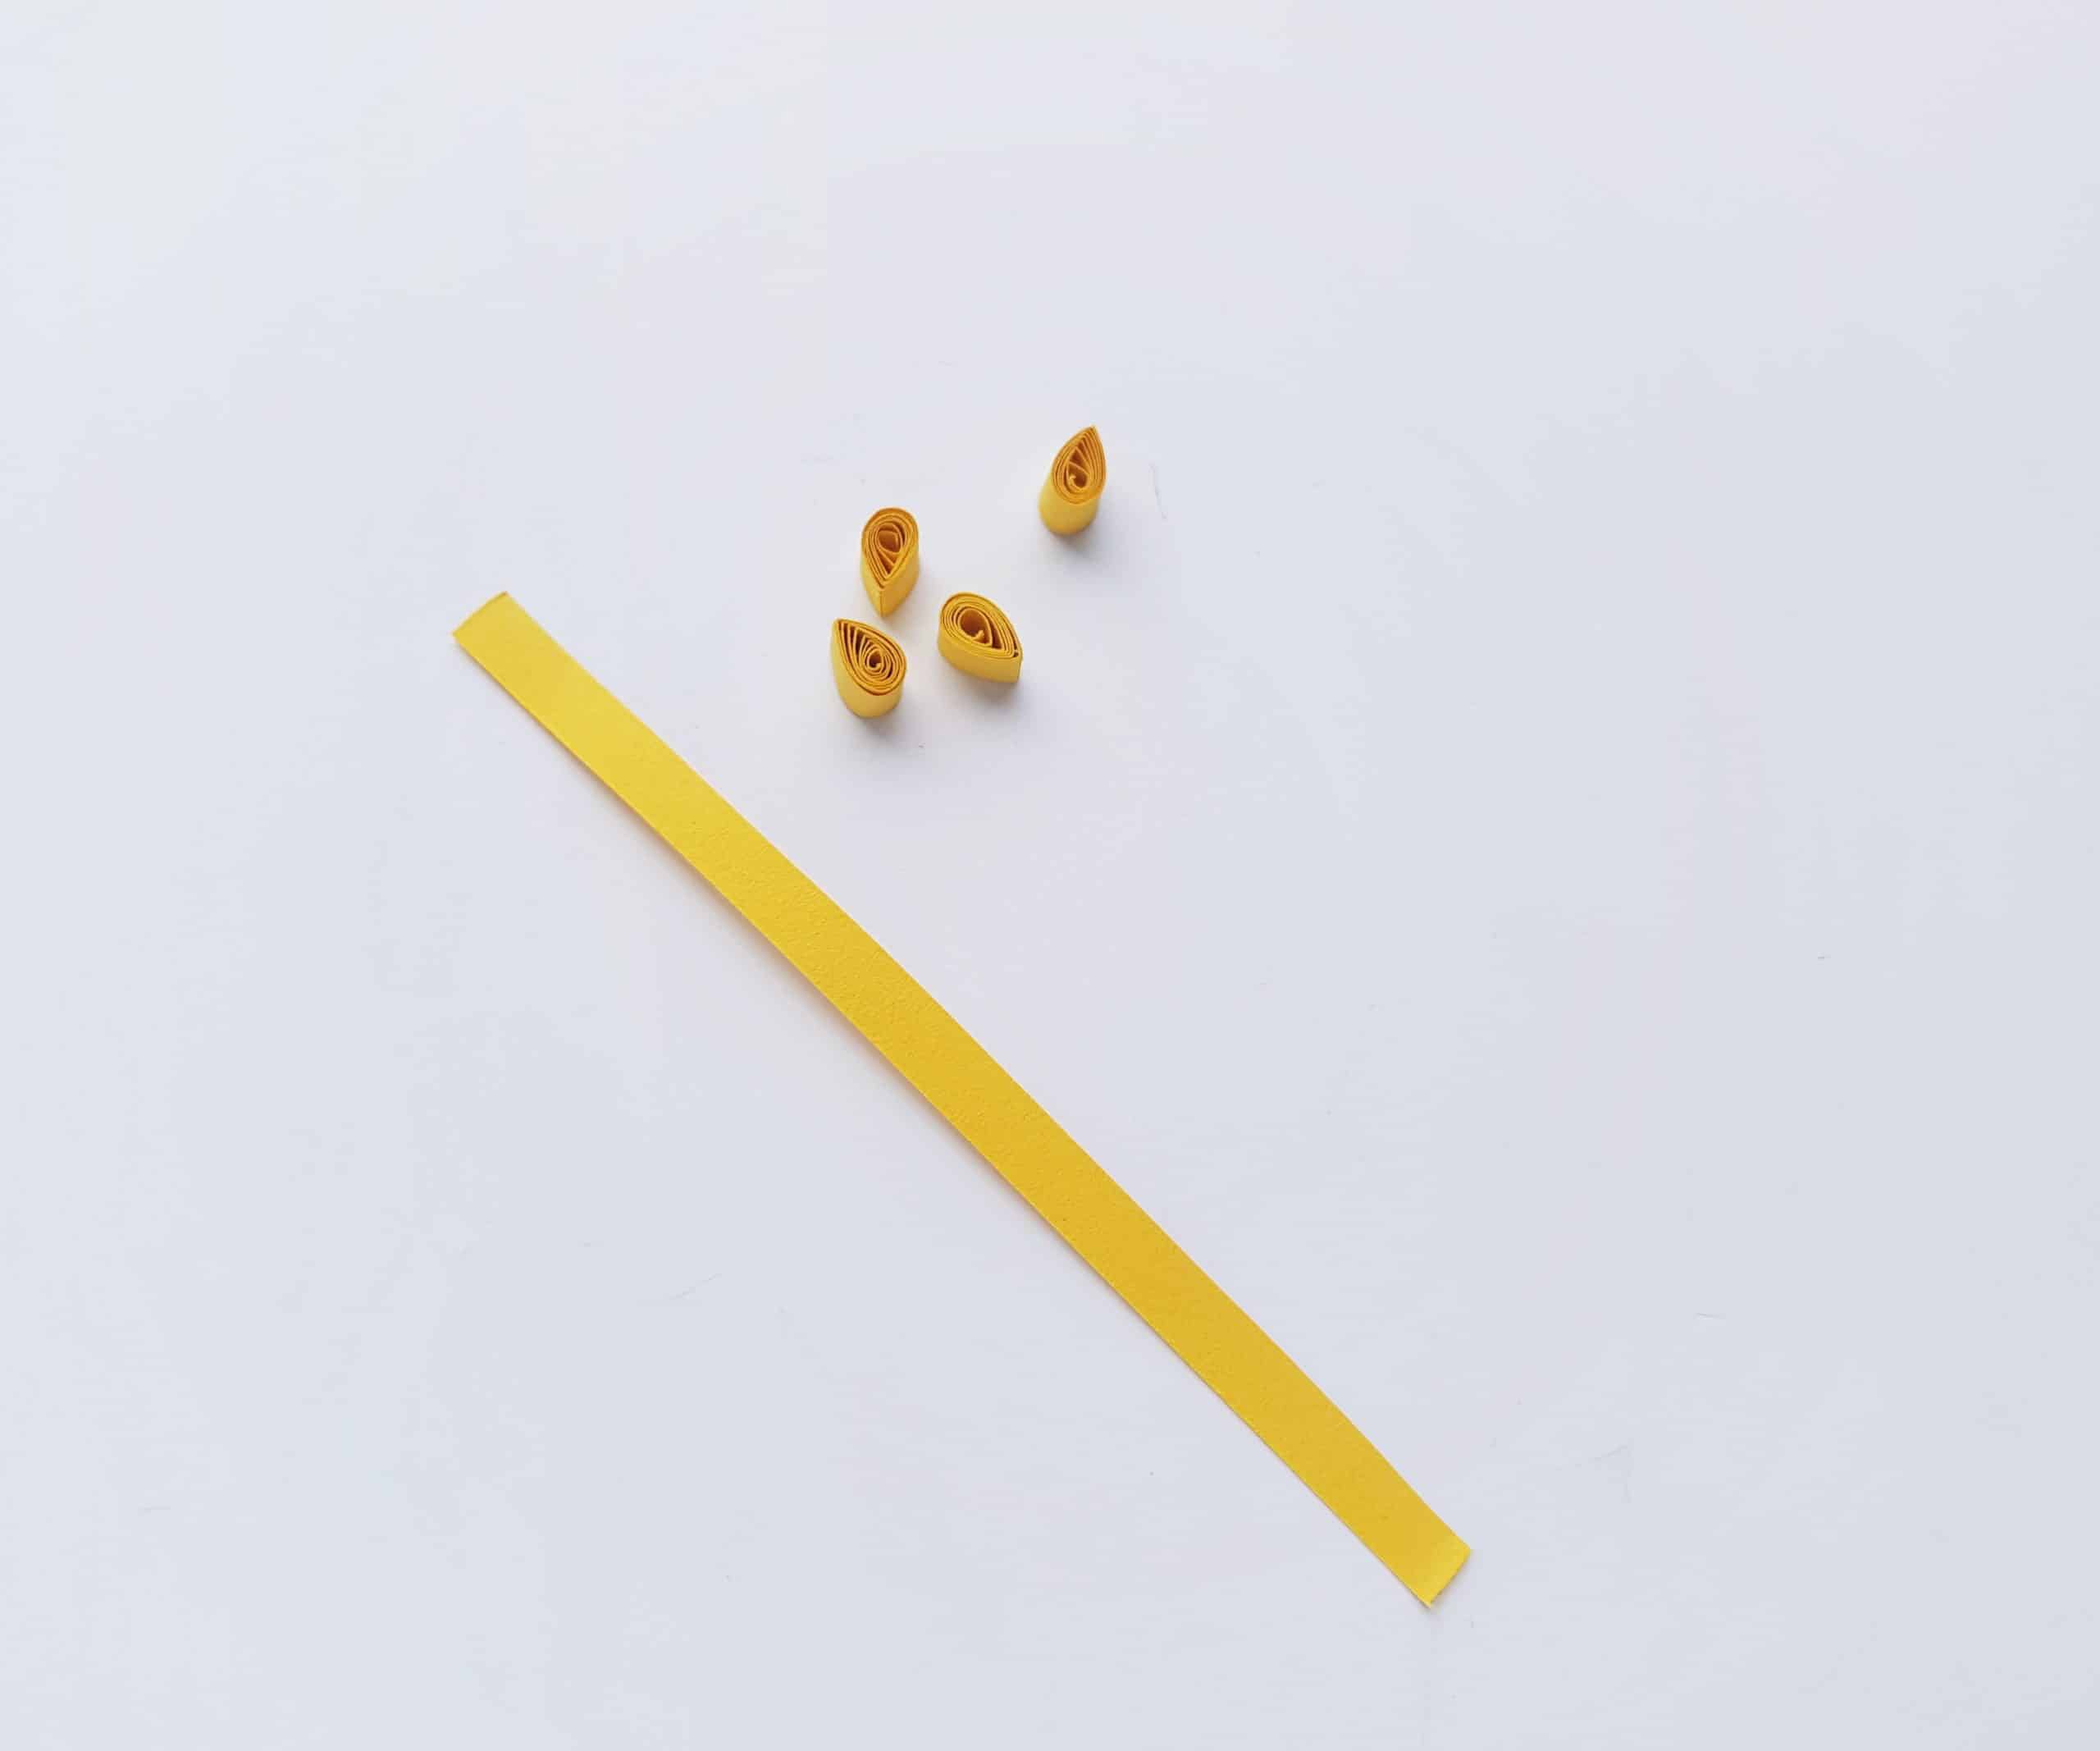
Next, create 4 loose coils with the yellow strips. Once again, use a bit of glue to secure the open ends. Then, create a teardrop shape with these by pinching each coil together on one side, as seen below.
Lastly, create a coil with the brown quilling strip and allow it to get pretty loose (until it’s a fairly large coil.) Glue down the open end and then create a square shape out of the coil by using your fingers. This is actually pretty easy. All you have to do is pinch the coil-shape flat in one directions. Allow the shape to open up, and then pinch it flat in the other direction. This creates the effect of four, even sides (AKA a square!)
Assembling the Card:
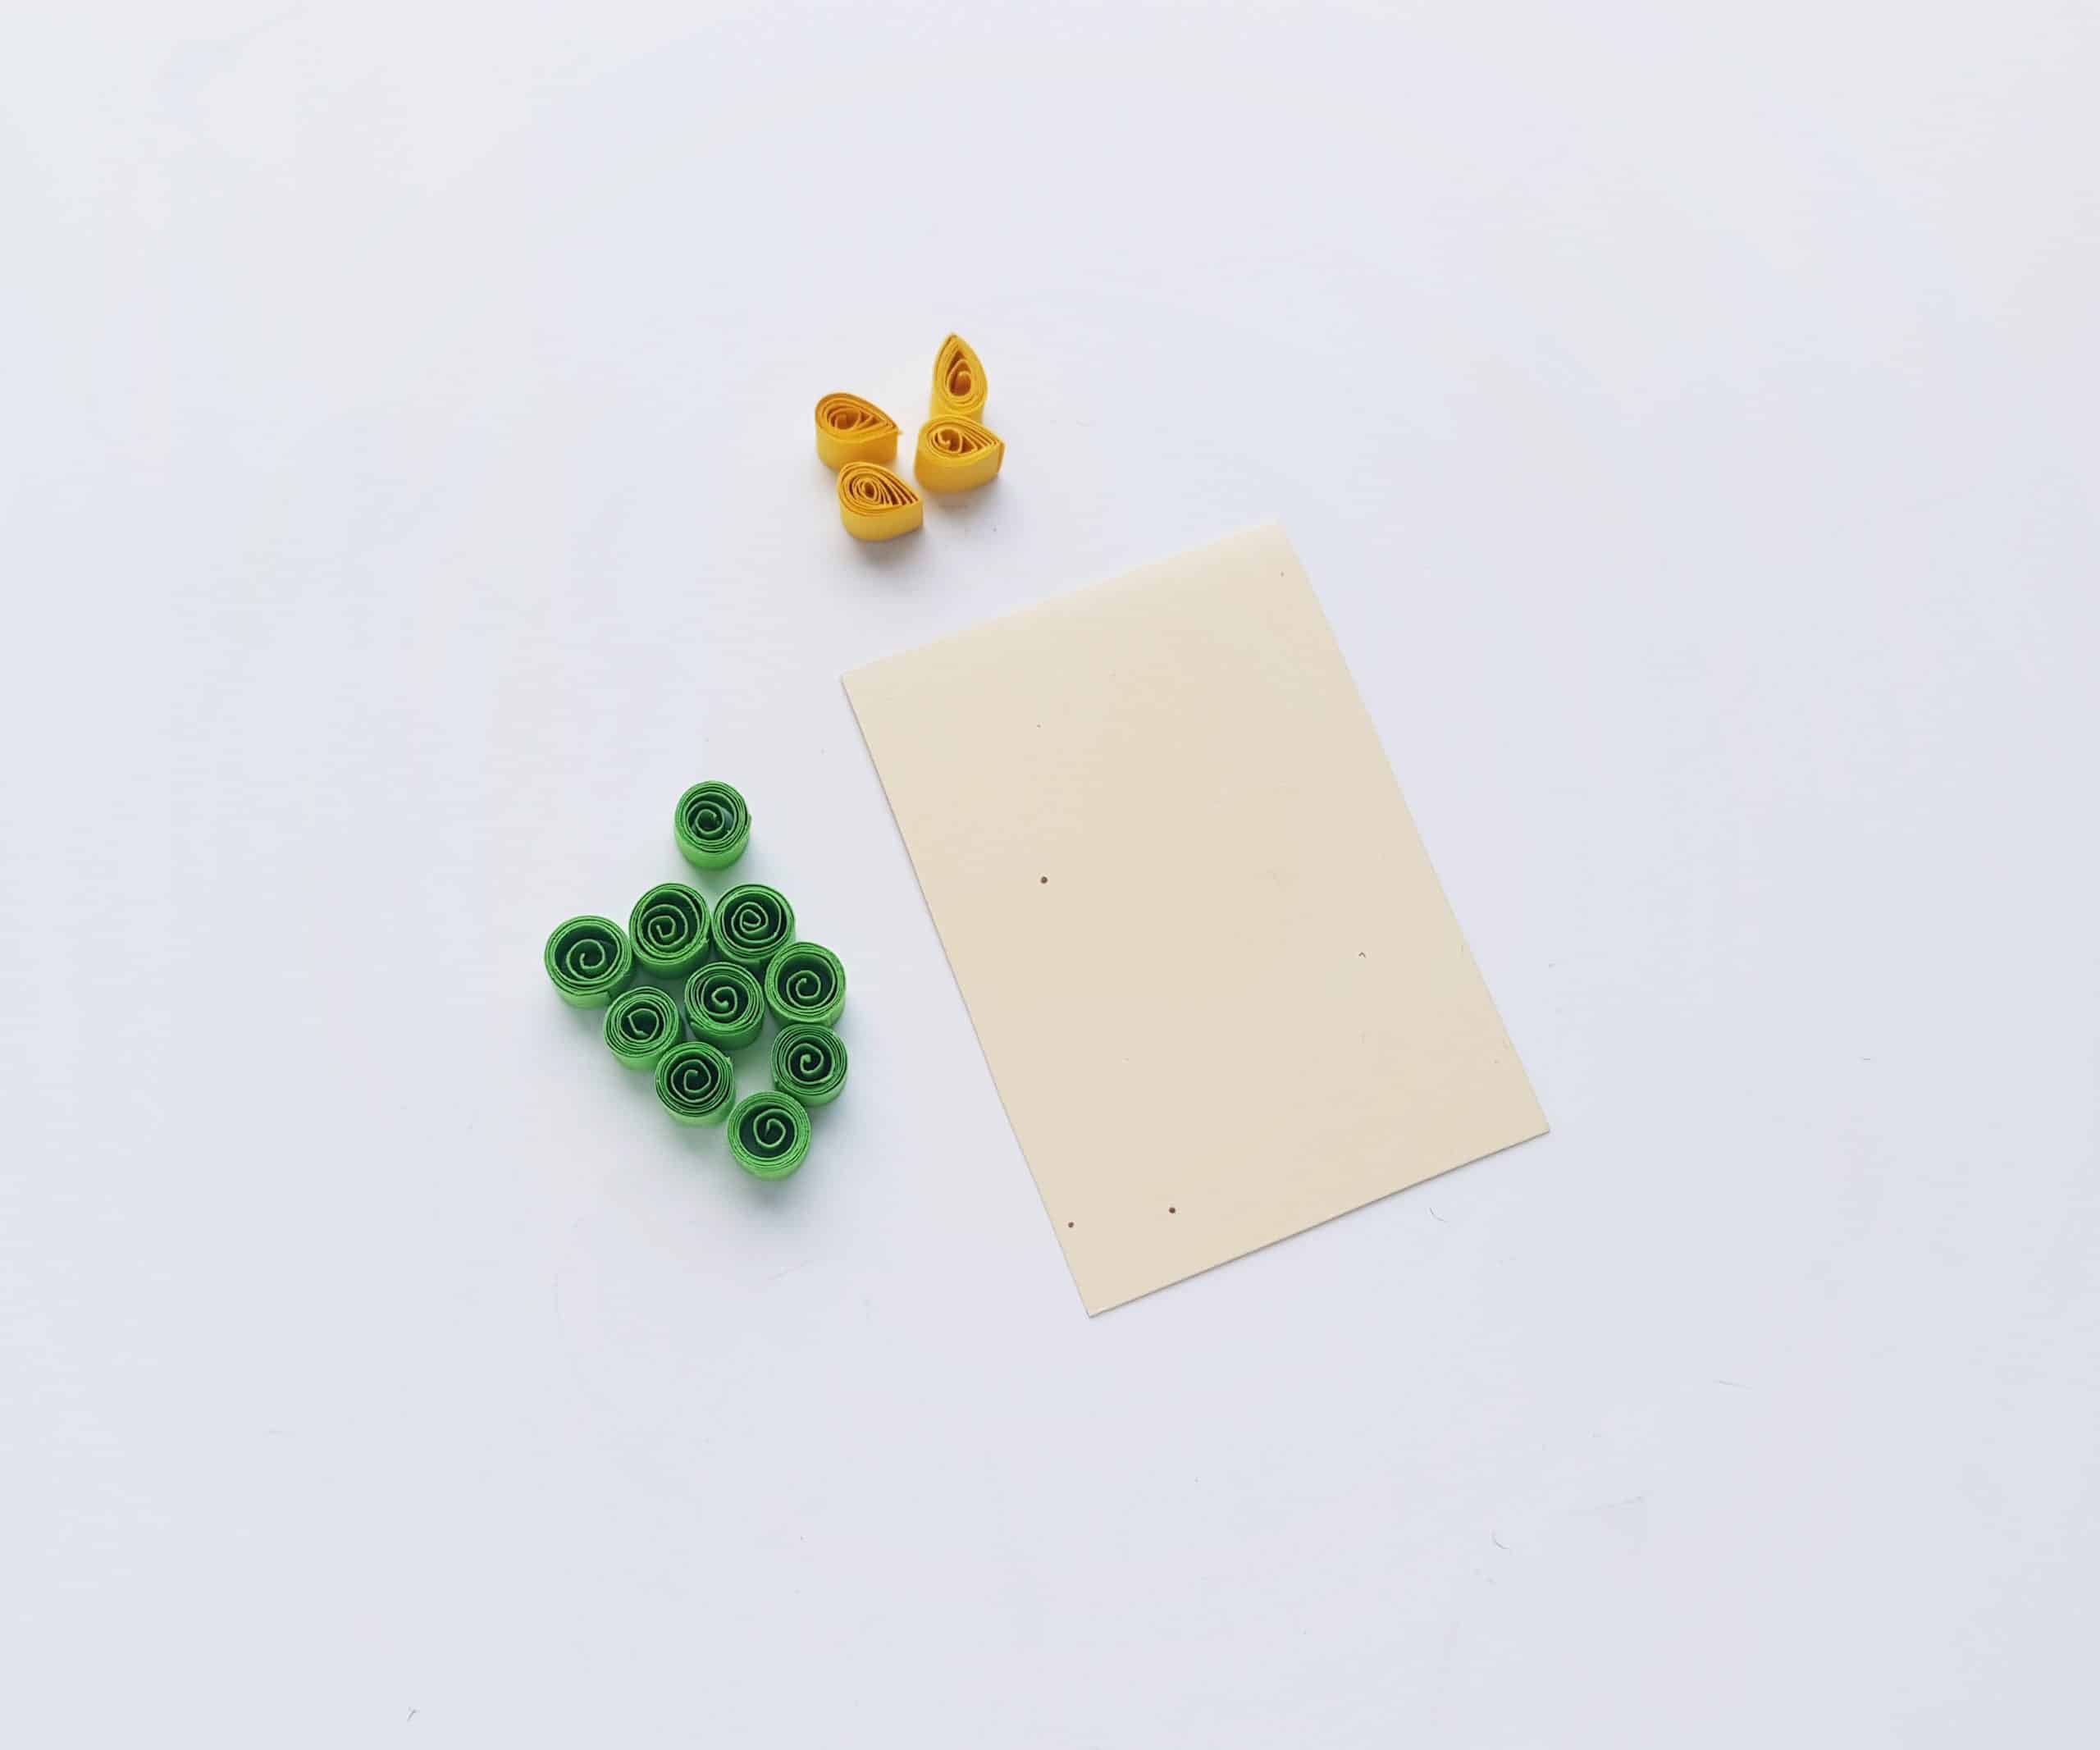
Now that you are done making all of the necessary shapes, it’s time to put everything together for your Christmas card design. First, select a piece of cardstock or craft paper to make the card. Fold it in half. If you’d like to cut the paper so that your card is smaller, that’s perfectly fine. Just make sure the card will be a good bit larger than your quilled design.

You’ll also want to measure and cut out a piece of white craft/cardstock paper that is at least a few cm smaller than the card, itself. This is the paper that you’ll actually glue your design onto, so play around with and make sure everything is going to fit the way that you want.
Time to put everything together!
Disclaimer: I recommend always arranging before you put glue on anything! Once you’ve seen it arranged and like it, then you can add glue to secure each quilled shape.
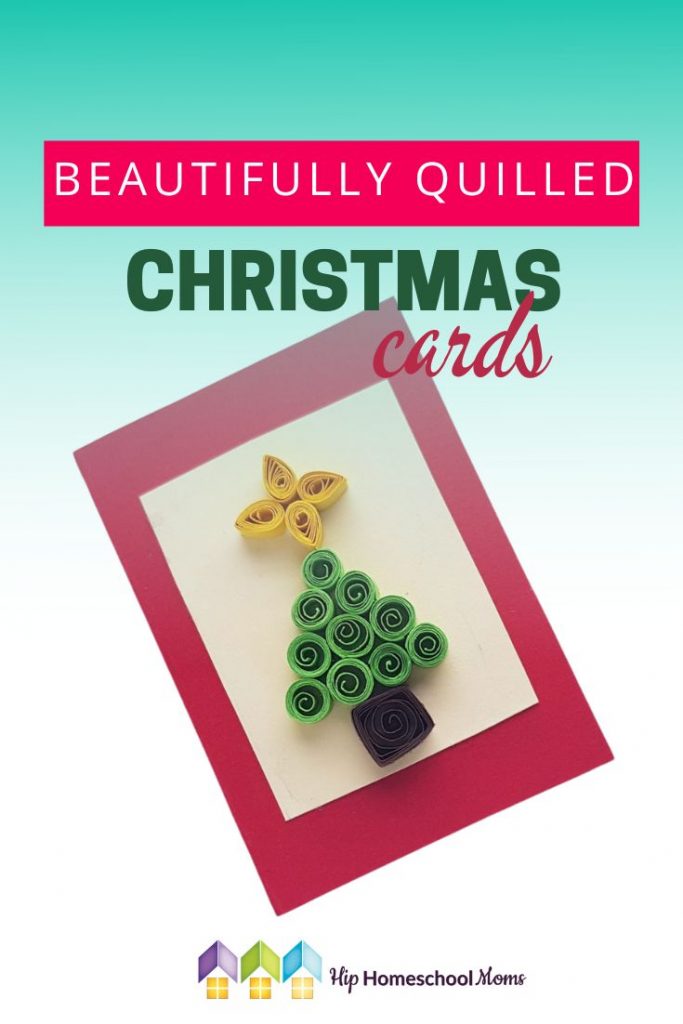
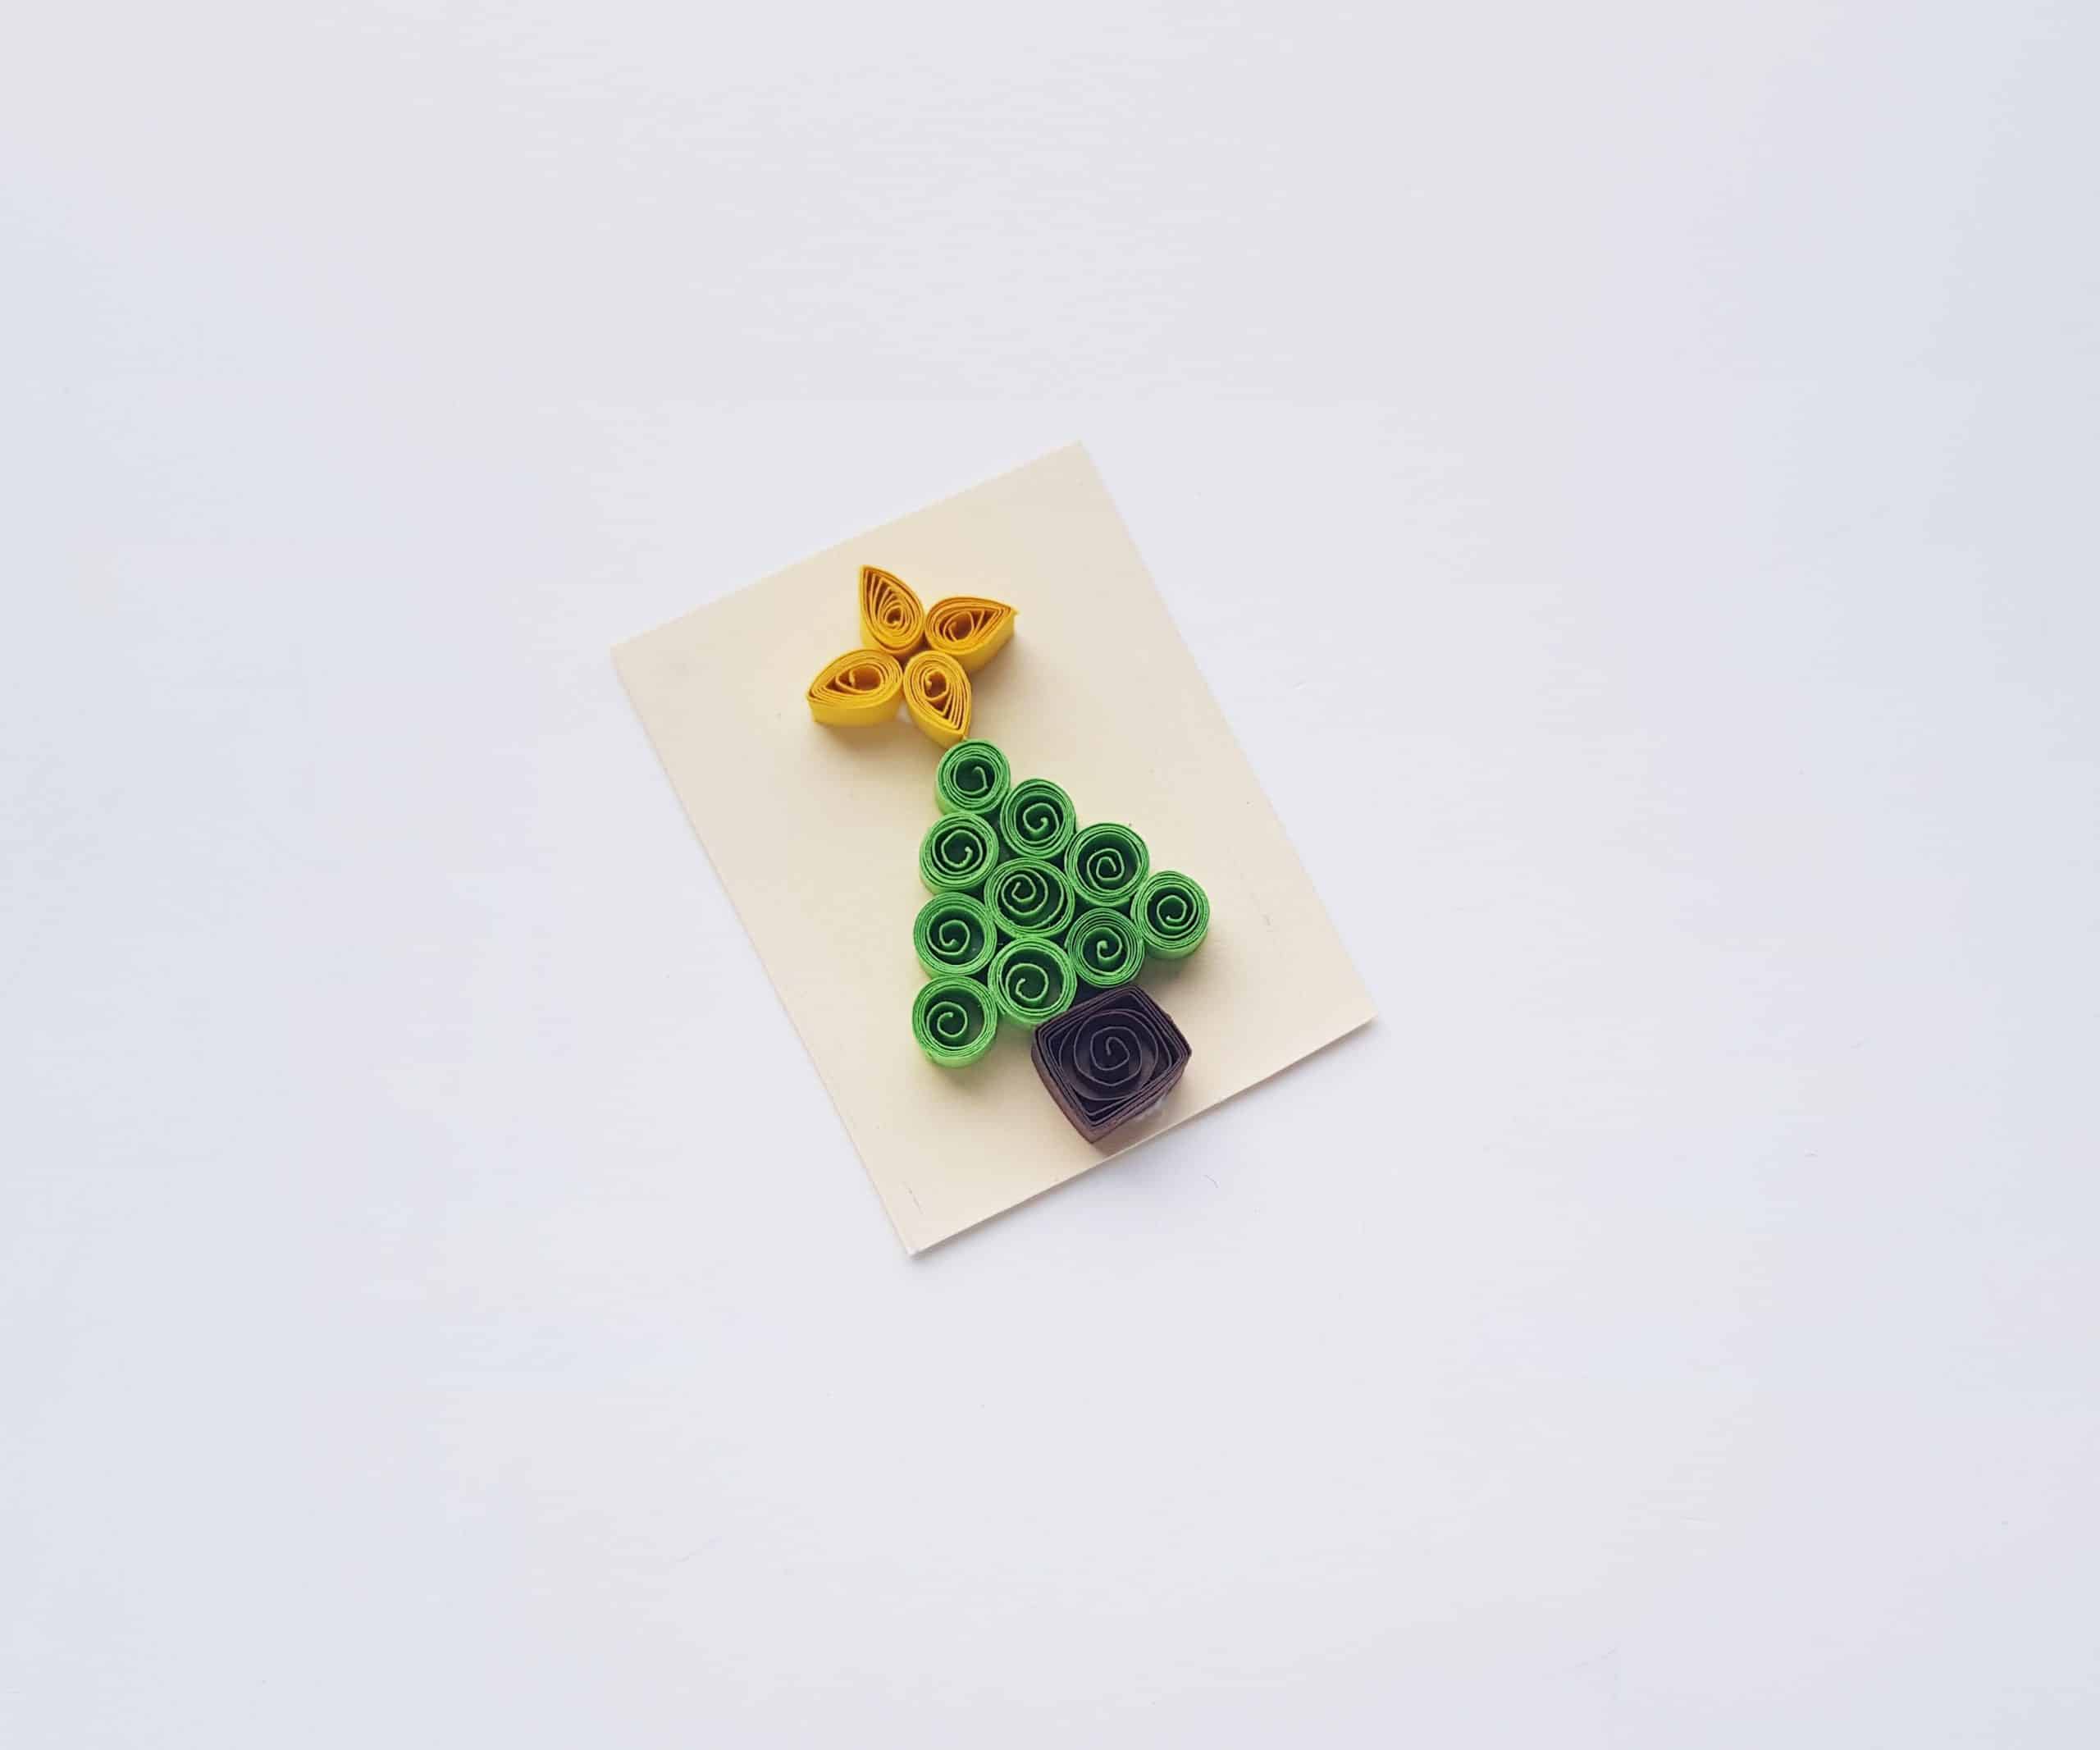
Let’s start by arranging the tree. Take all of those green coils you made and arrange them into a triangle shape by creating four rows. The bottom row will have four coils, the next row up will have three coils, the next row will contain two coils, and a single coil will complete the top part of your quilled Christmas tree! It should look something like the picture below

If you’re happy with it, glue it down!
Next, you’ll create a beautiful star for the top of your tree using the yellow teardrop shapes. The four points of the tear drops will create the four points of your star.

Lastly, take the brown square shape that you created and glue it down to form the trunk of your Christmas tree!
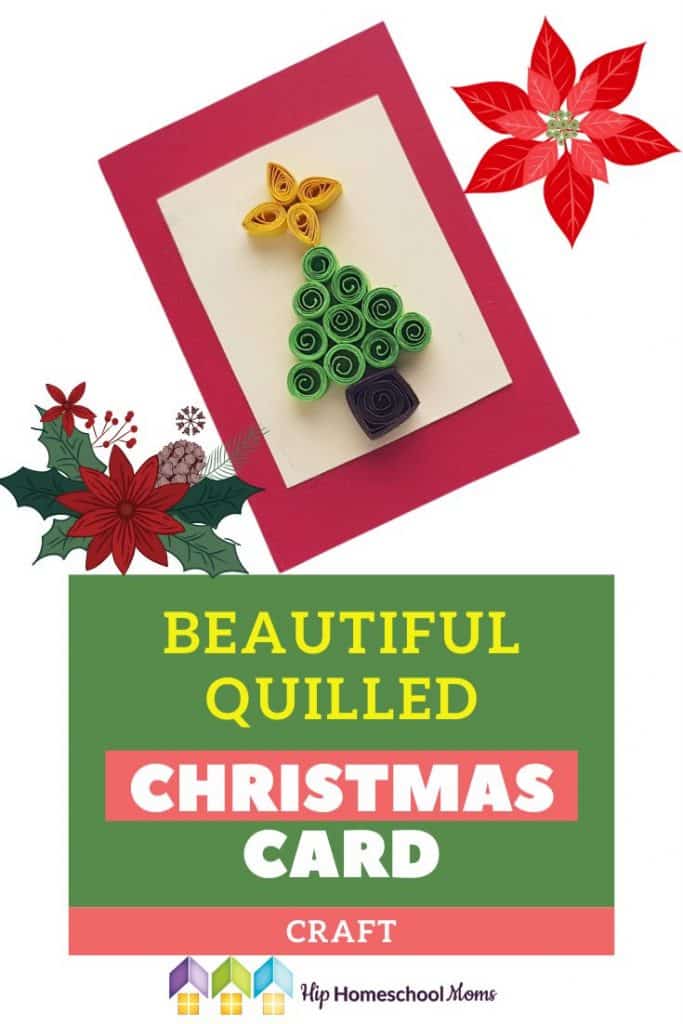
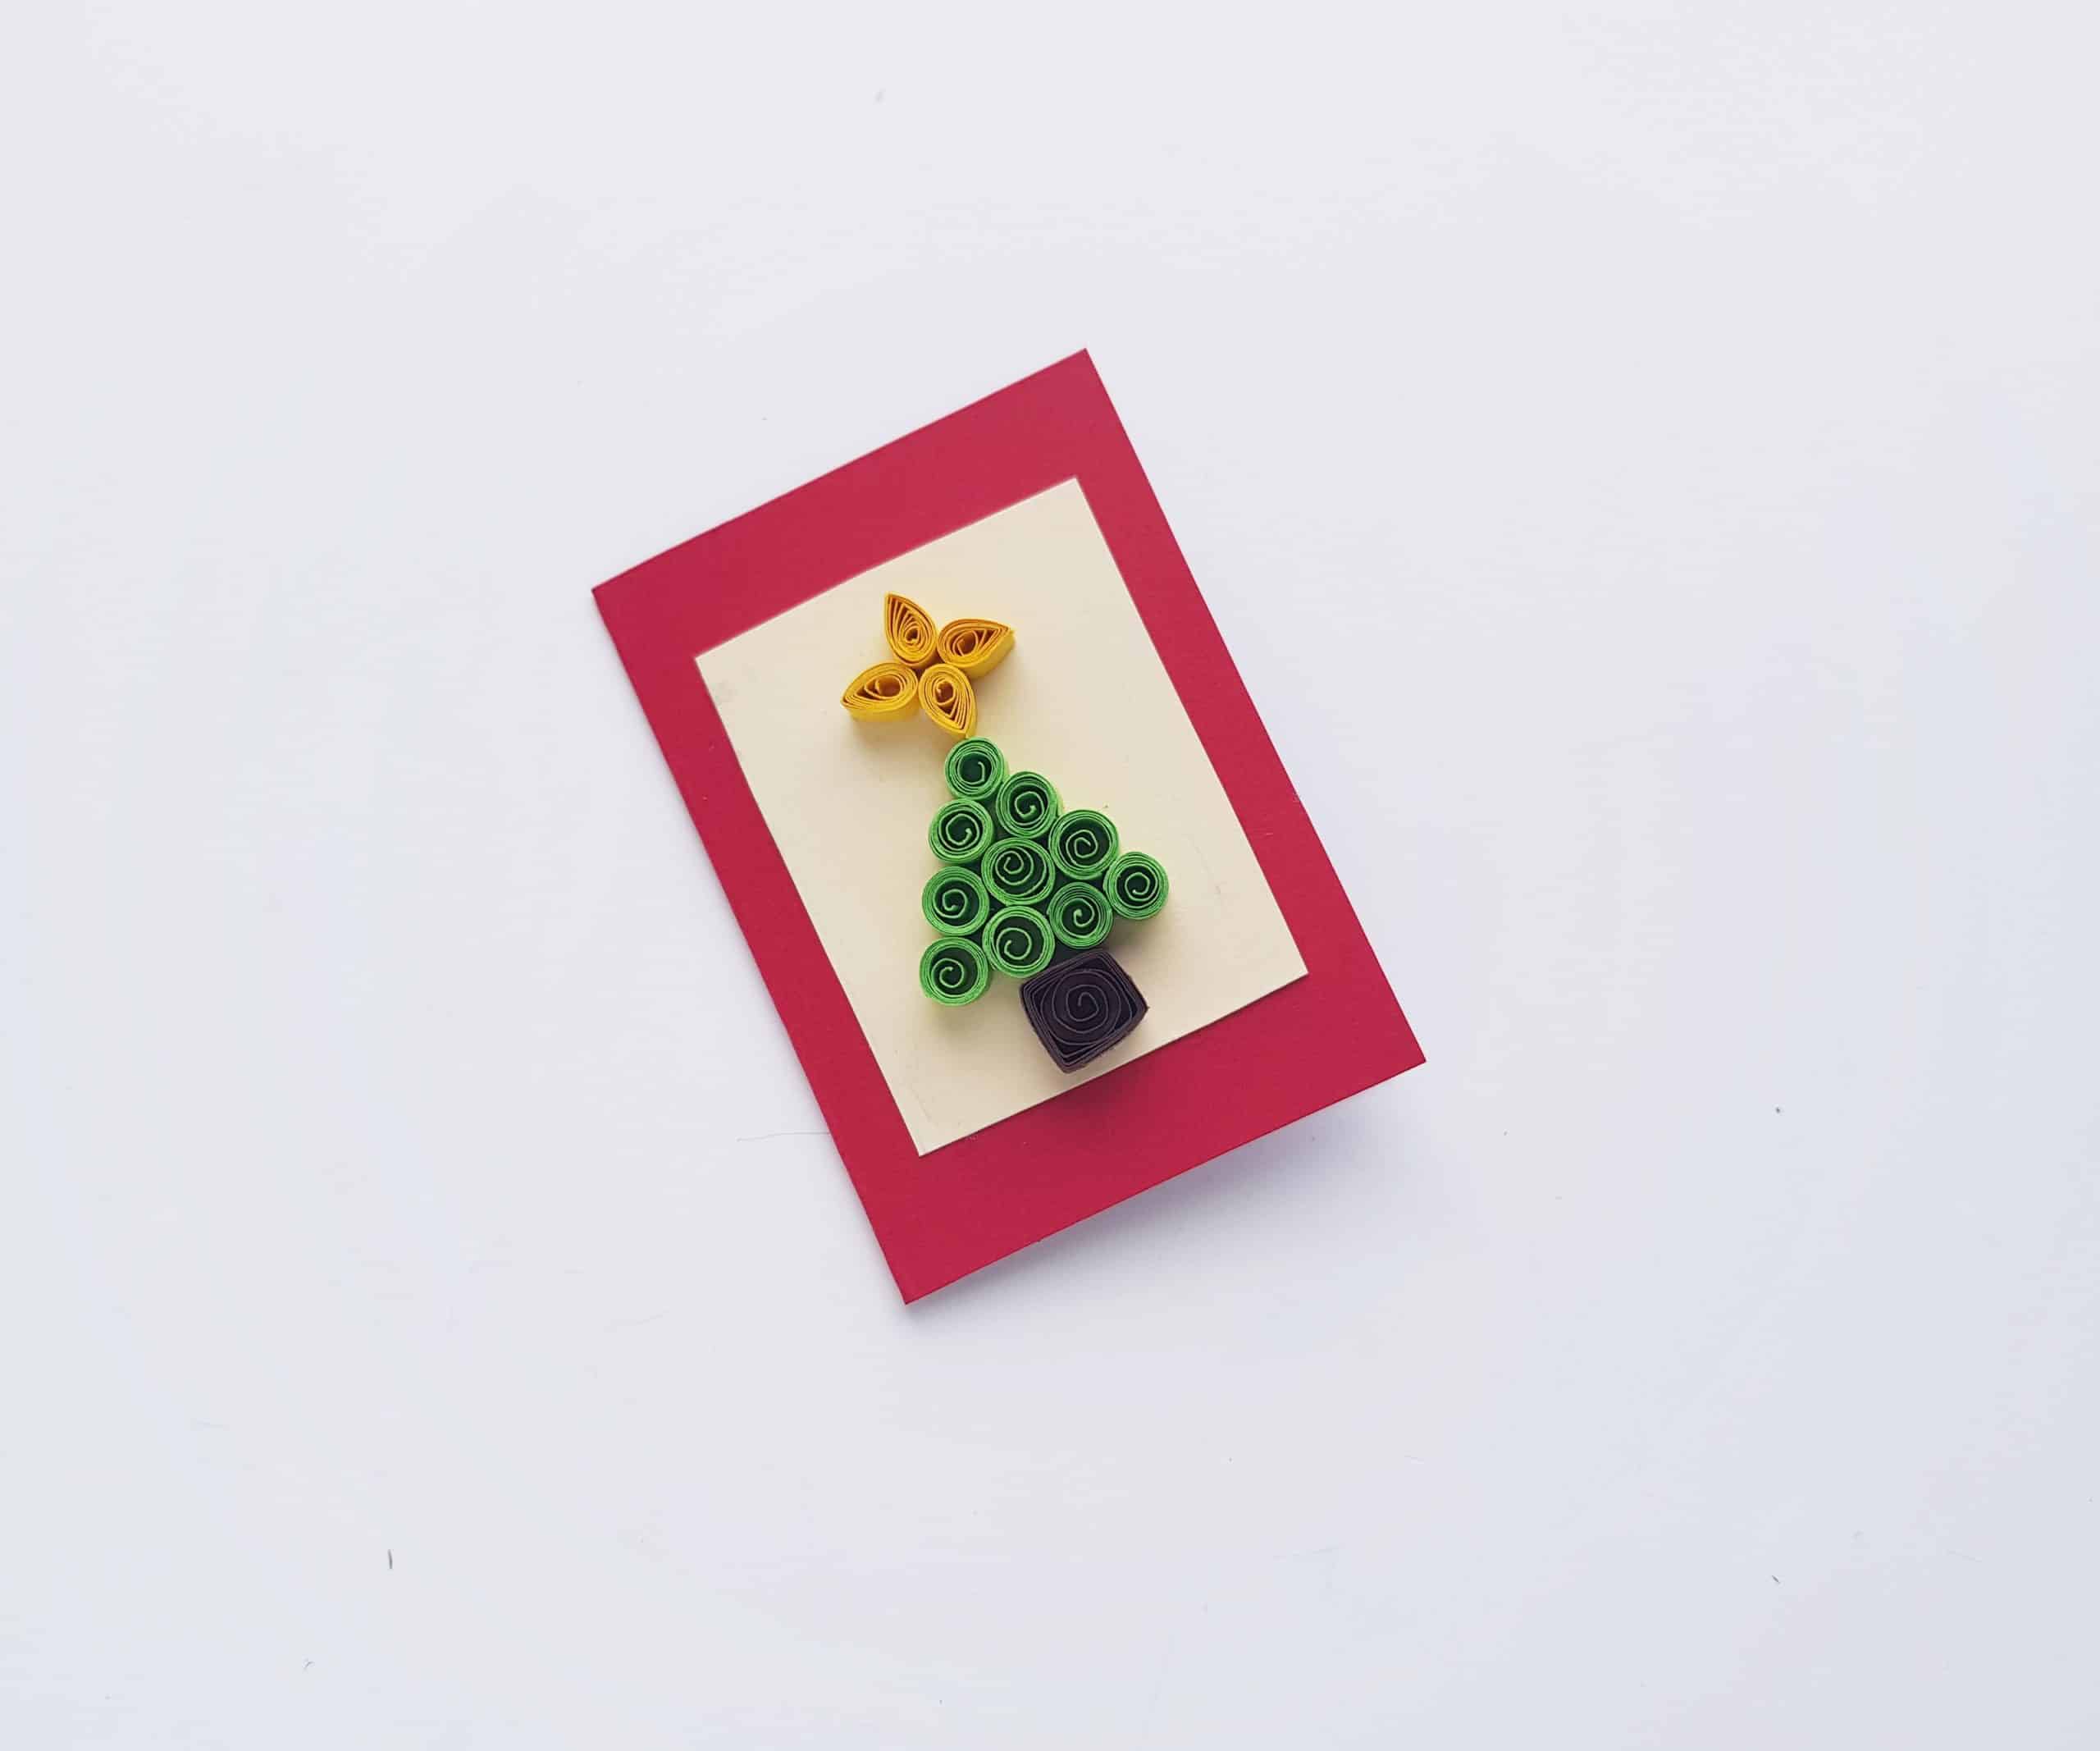
Now, all that’s left is to glue the white piece of cardstock/craft paper onto the card, and you have a gorgeous, thoughtfully-prepared Christmas card to give away.
Now that you’ve created this design, having fun thinking up other creative Christmas card designs you can make with the shapes you just learned how to make! If you are making these as a family, it will be so much fun to see what everyone comes up with! If you’ve discovered that you really love paper quilling, be sure to check out some of our other quilling crafts for the holiday season:
Do you make your own Christmas cards every year, or will this be your first time trying it out? We hope that you enjoy this craft idea for making your own, beautiful, quilled Christmas cards! Please let us know if you make them. We’d love to see photos of your beautiful designs! Enjoy!