Gorgeous DIY Quilled Christmas Tree
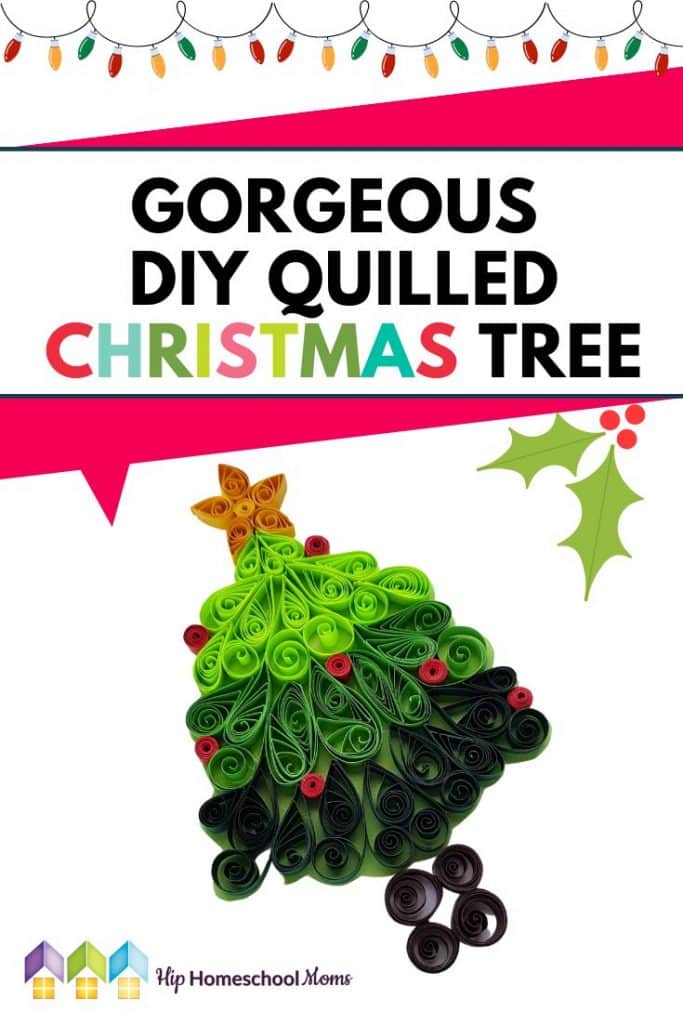

Are you looking for some fun holiday crafts to add to your homeschooling adventures? We’ll be sharing many fun and educational ways to make memories this holiday season on Hip Homeschool Moms over the next few weeks. Today, we’re bringing you a Christmas quilled paper craft to enjoy with your children. In case you’ve never tried it before, quilling is the art of curling and arranging small strips of paper into beautiful, often intricate, designs. From looking at a piece of quilled paper art, you may think it’s extremely difficult to accomplish. However, it’s actually very possible to make your own, lovely quilled paper designs at home–it’s even doable for kids! This particular DIY project is a Gorgeous DIY Quilled Christmas Tree. When you’ve finished your quilled Christmas trees, use them to decorate your home or turn them into ornaments (or glue them onto cards) to give to friends!
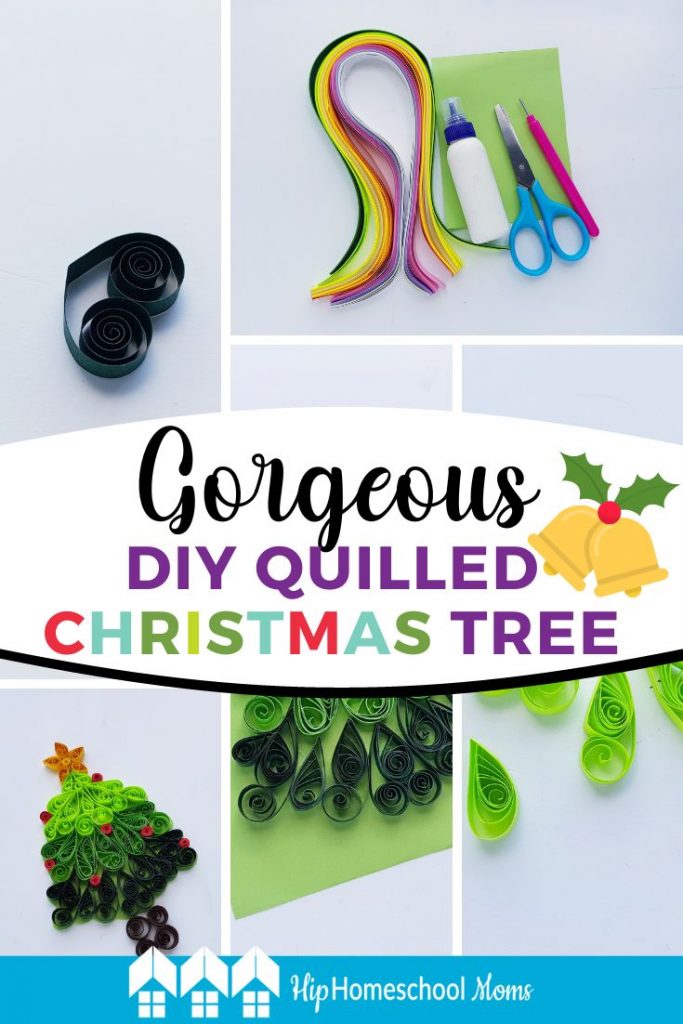
What You Need:
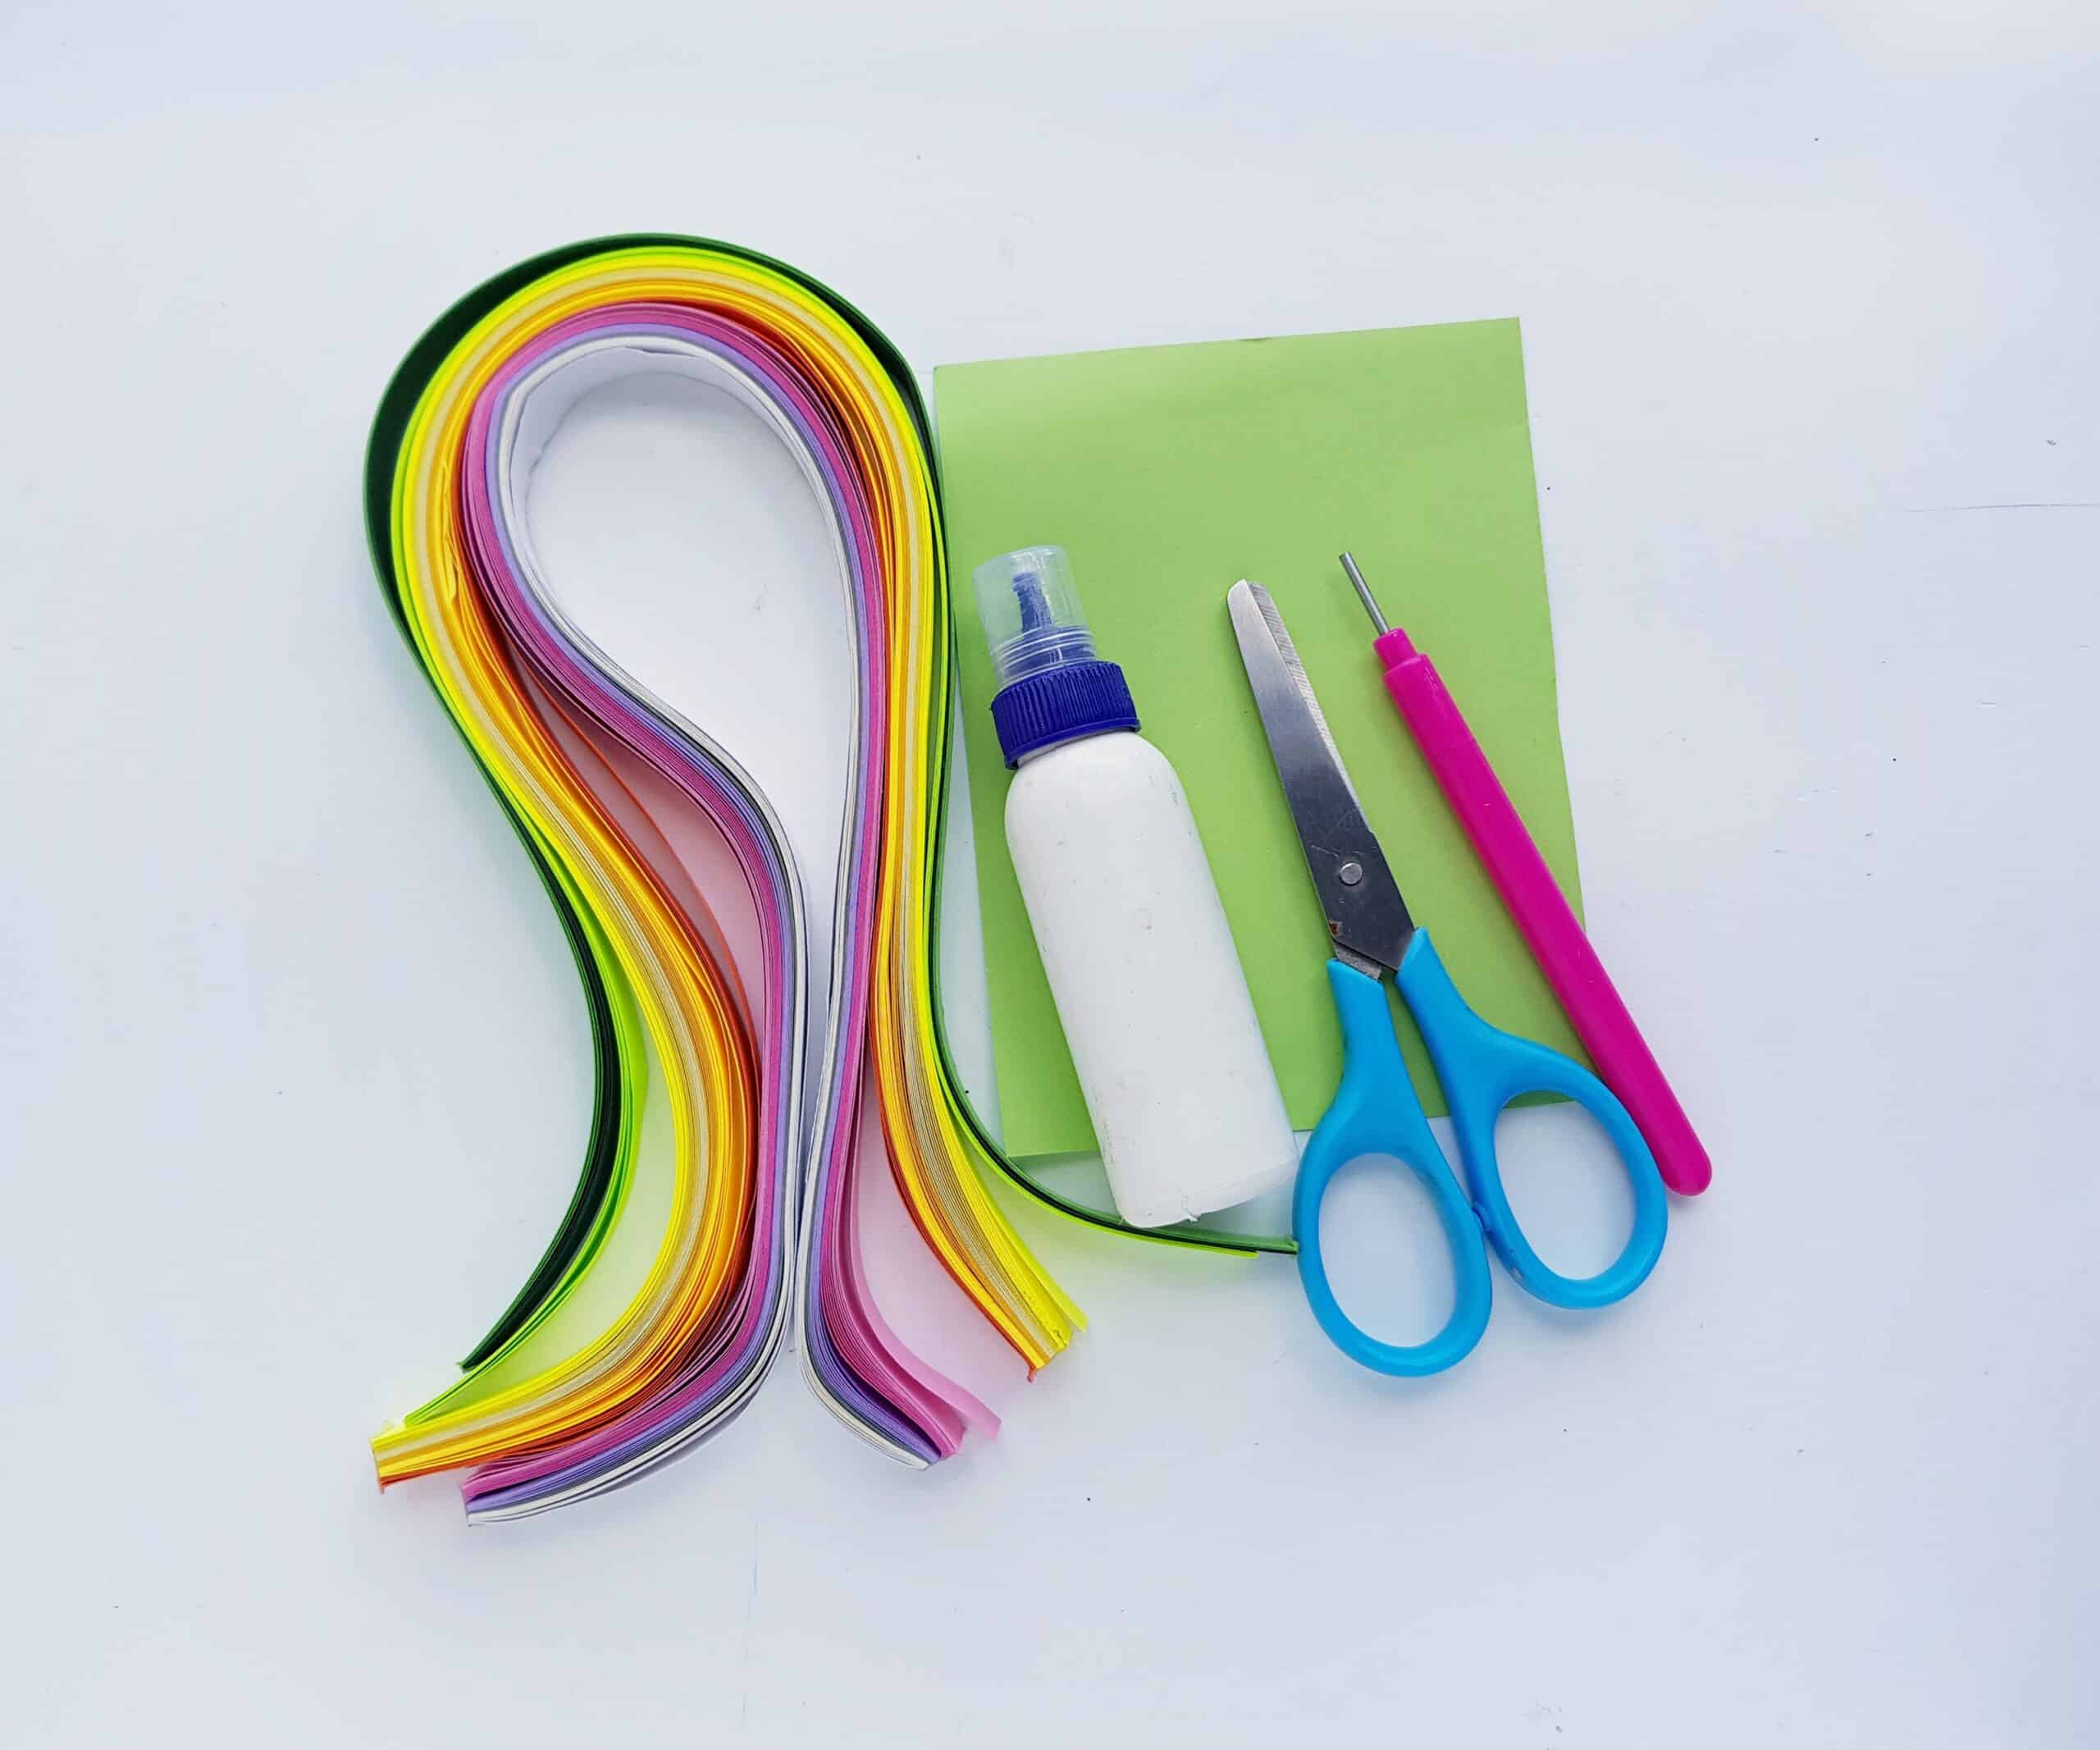
- Paper quilling strips
- Green colored craft paper
- Slotted quilling tool
- Pencil
- Scissors
Note: Instead of buying quilling paper and the quilling tool separately, I suggest purchasing this kit from Amazon because it comes with both (plus more) and is a really good price!
How to Make It
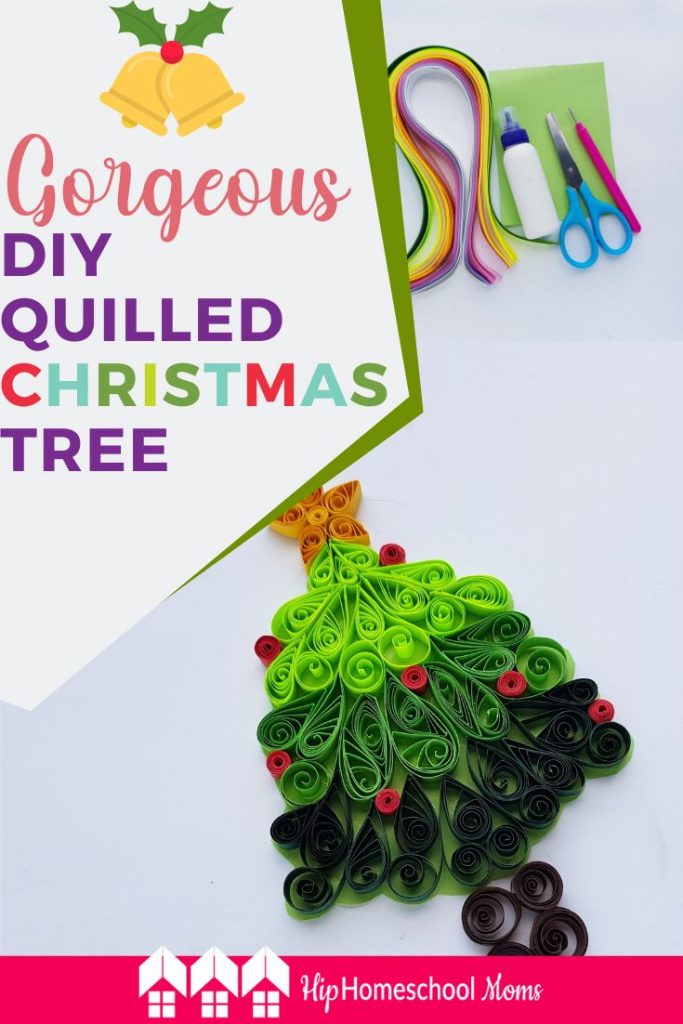
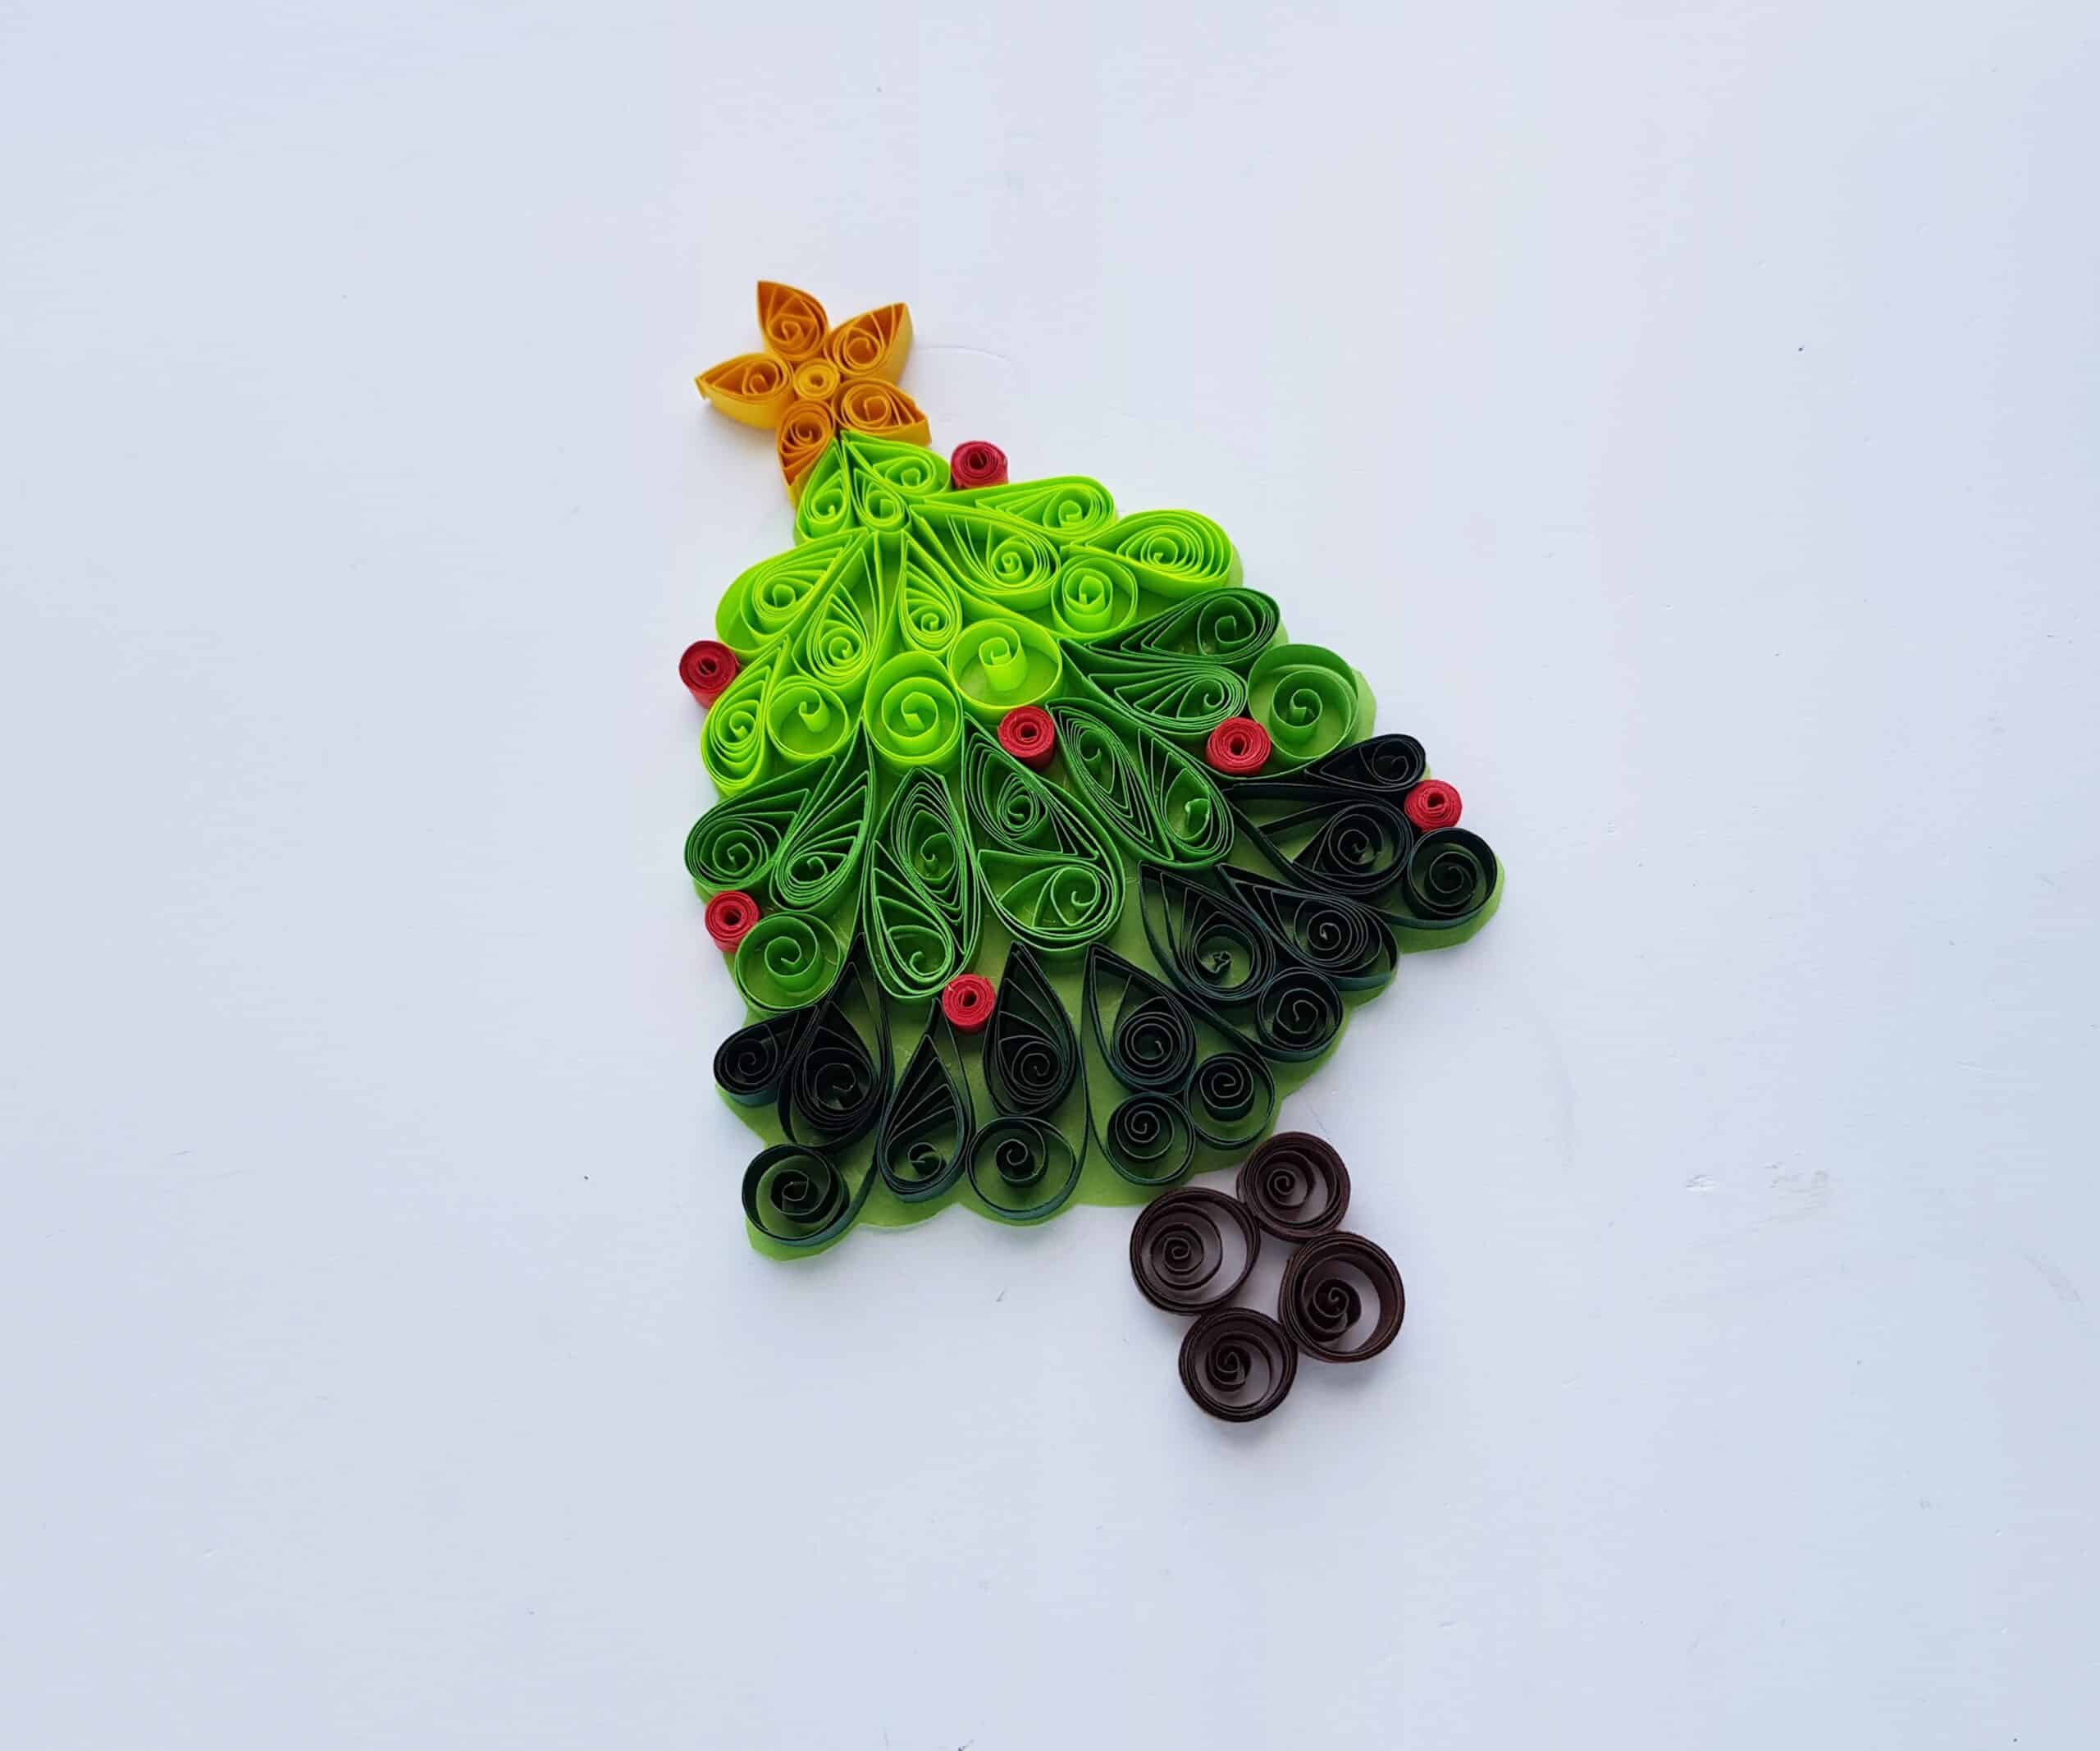
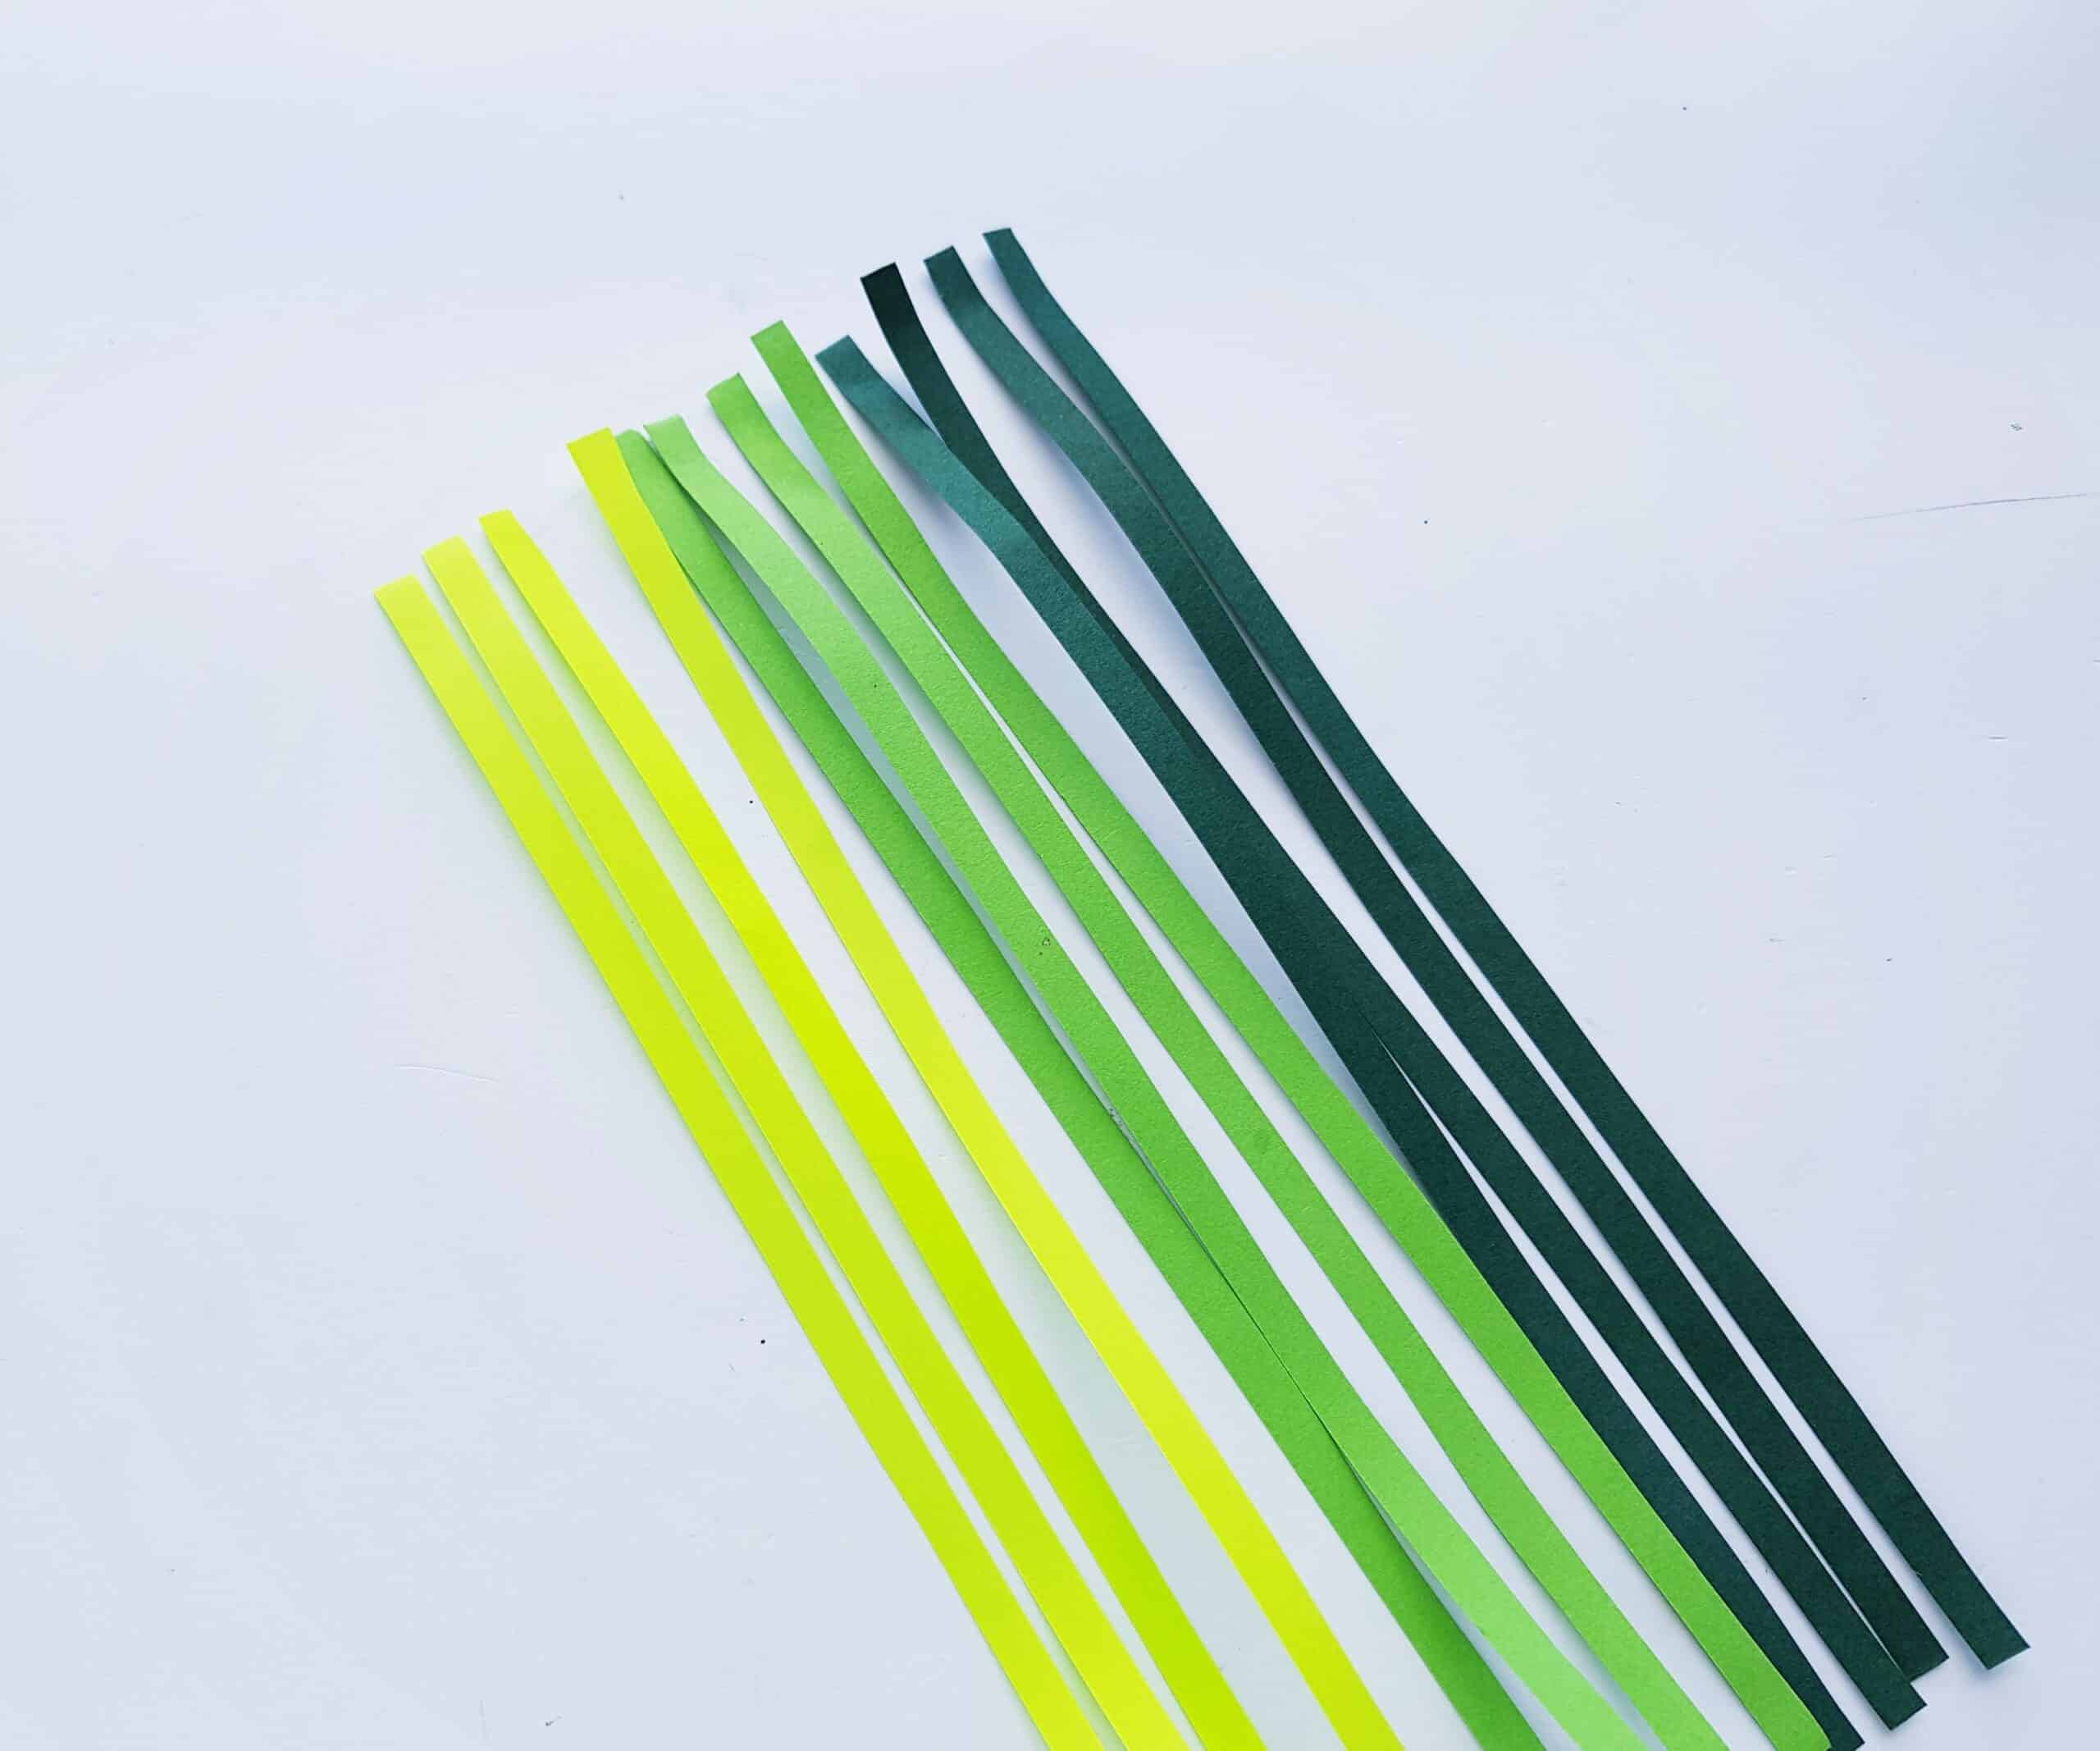
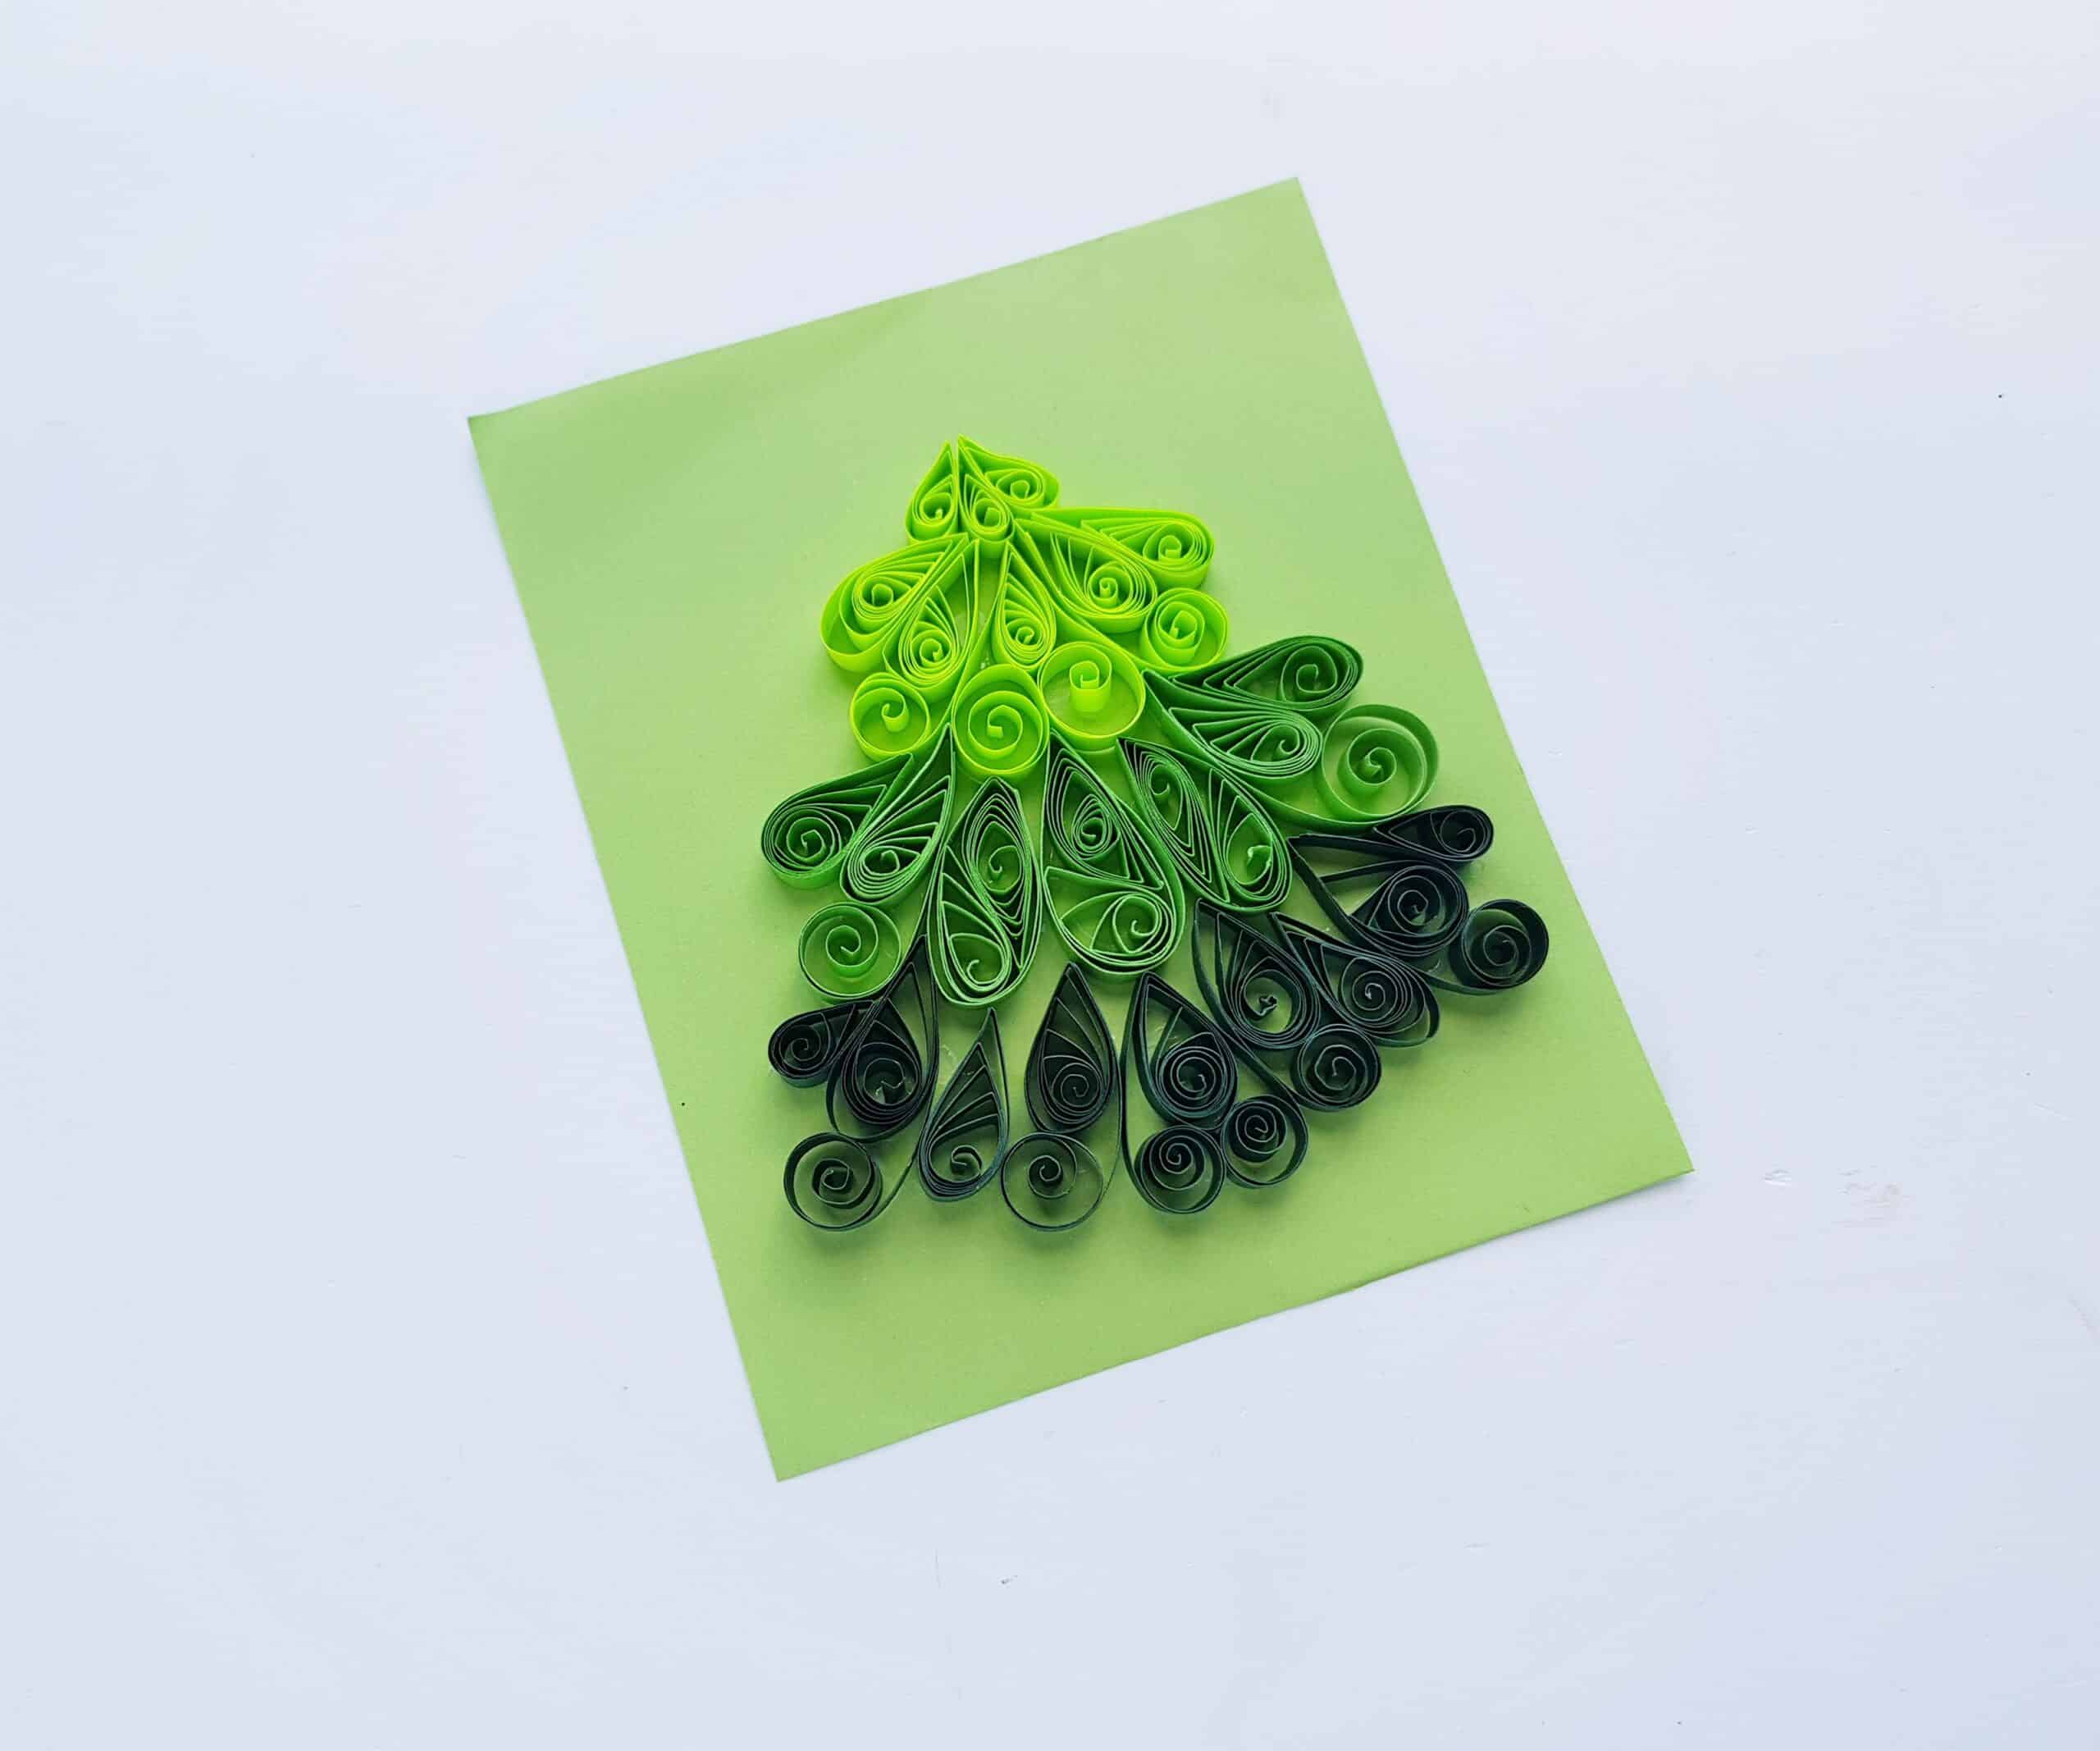
Firstly, you’ll want to select three different shades of green quilling strips for this craft. This will result in the three, differently-colored tiers. If you look at the picture of the finished product (above) you may notice that there is some variety in the size of the quill strips. If you want to achieve this in your project, you can cut some strips into 12 inches and some into 6 inches.
Now it’s time to pull out your quilling tool. Take a strip (any of your green shades will do) and coil it tightly with the quilling tool. Carefully take out the coiled strip from the tool–it will look something like this. I’m going to refer to this shape simply as a “coil,” from now on.

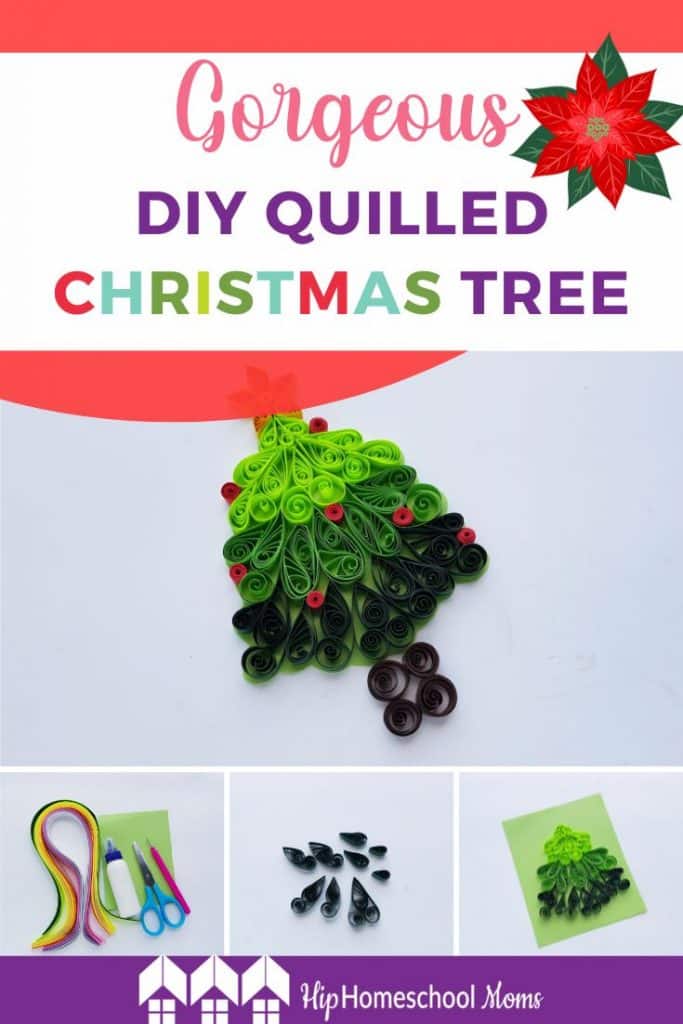
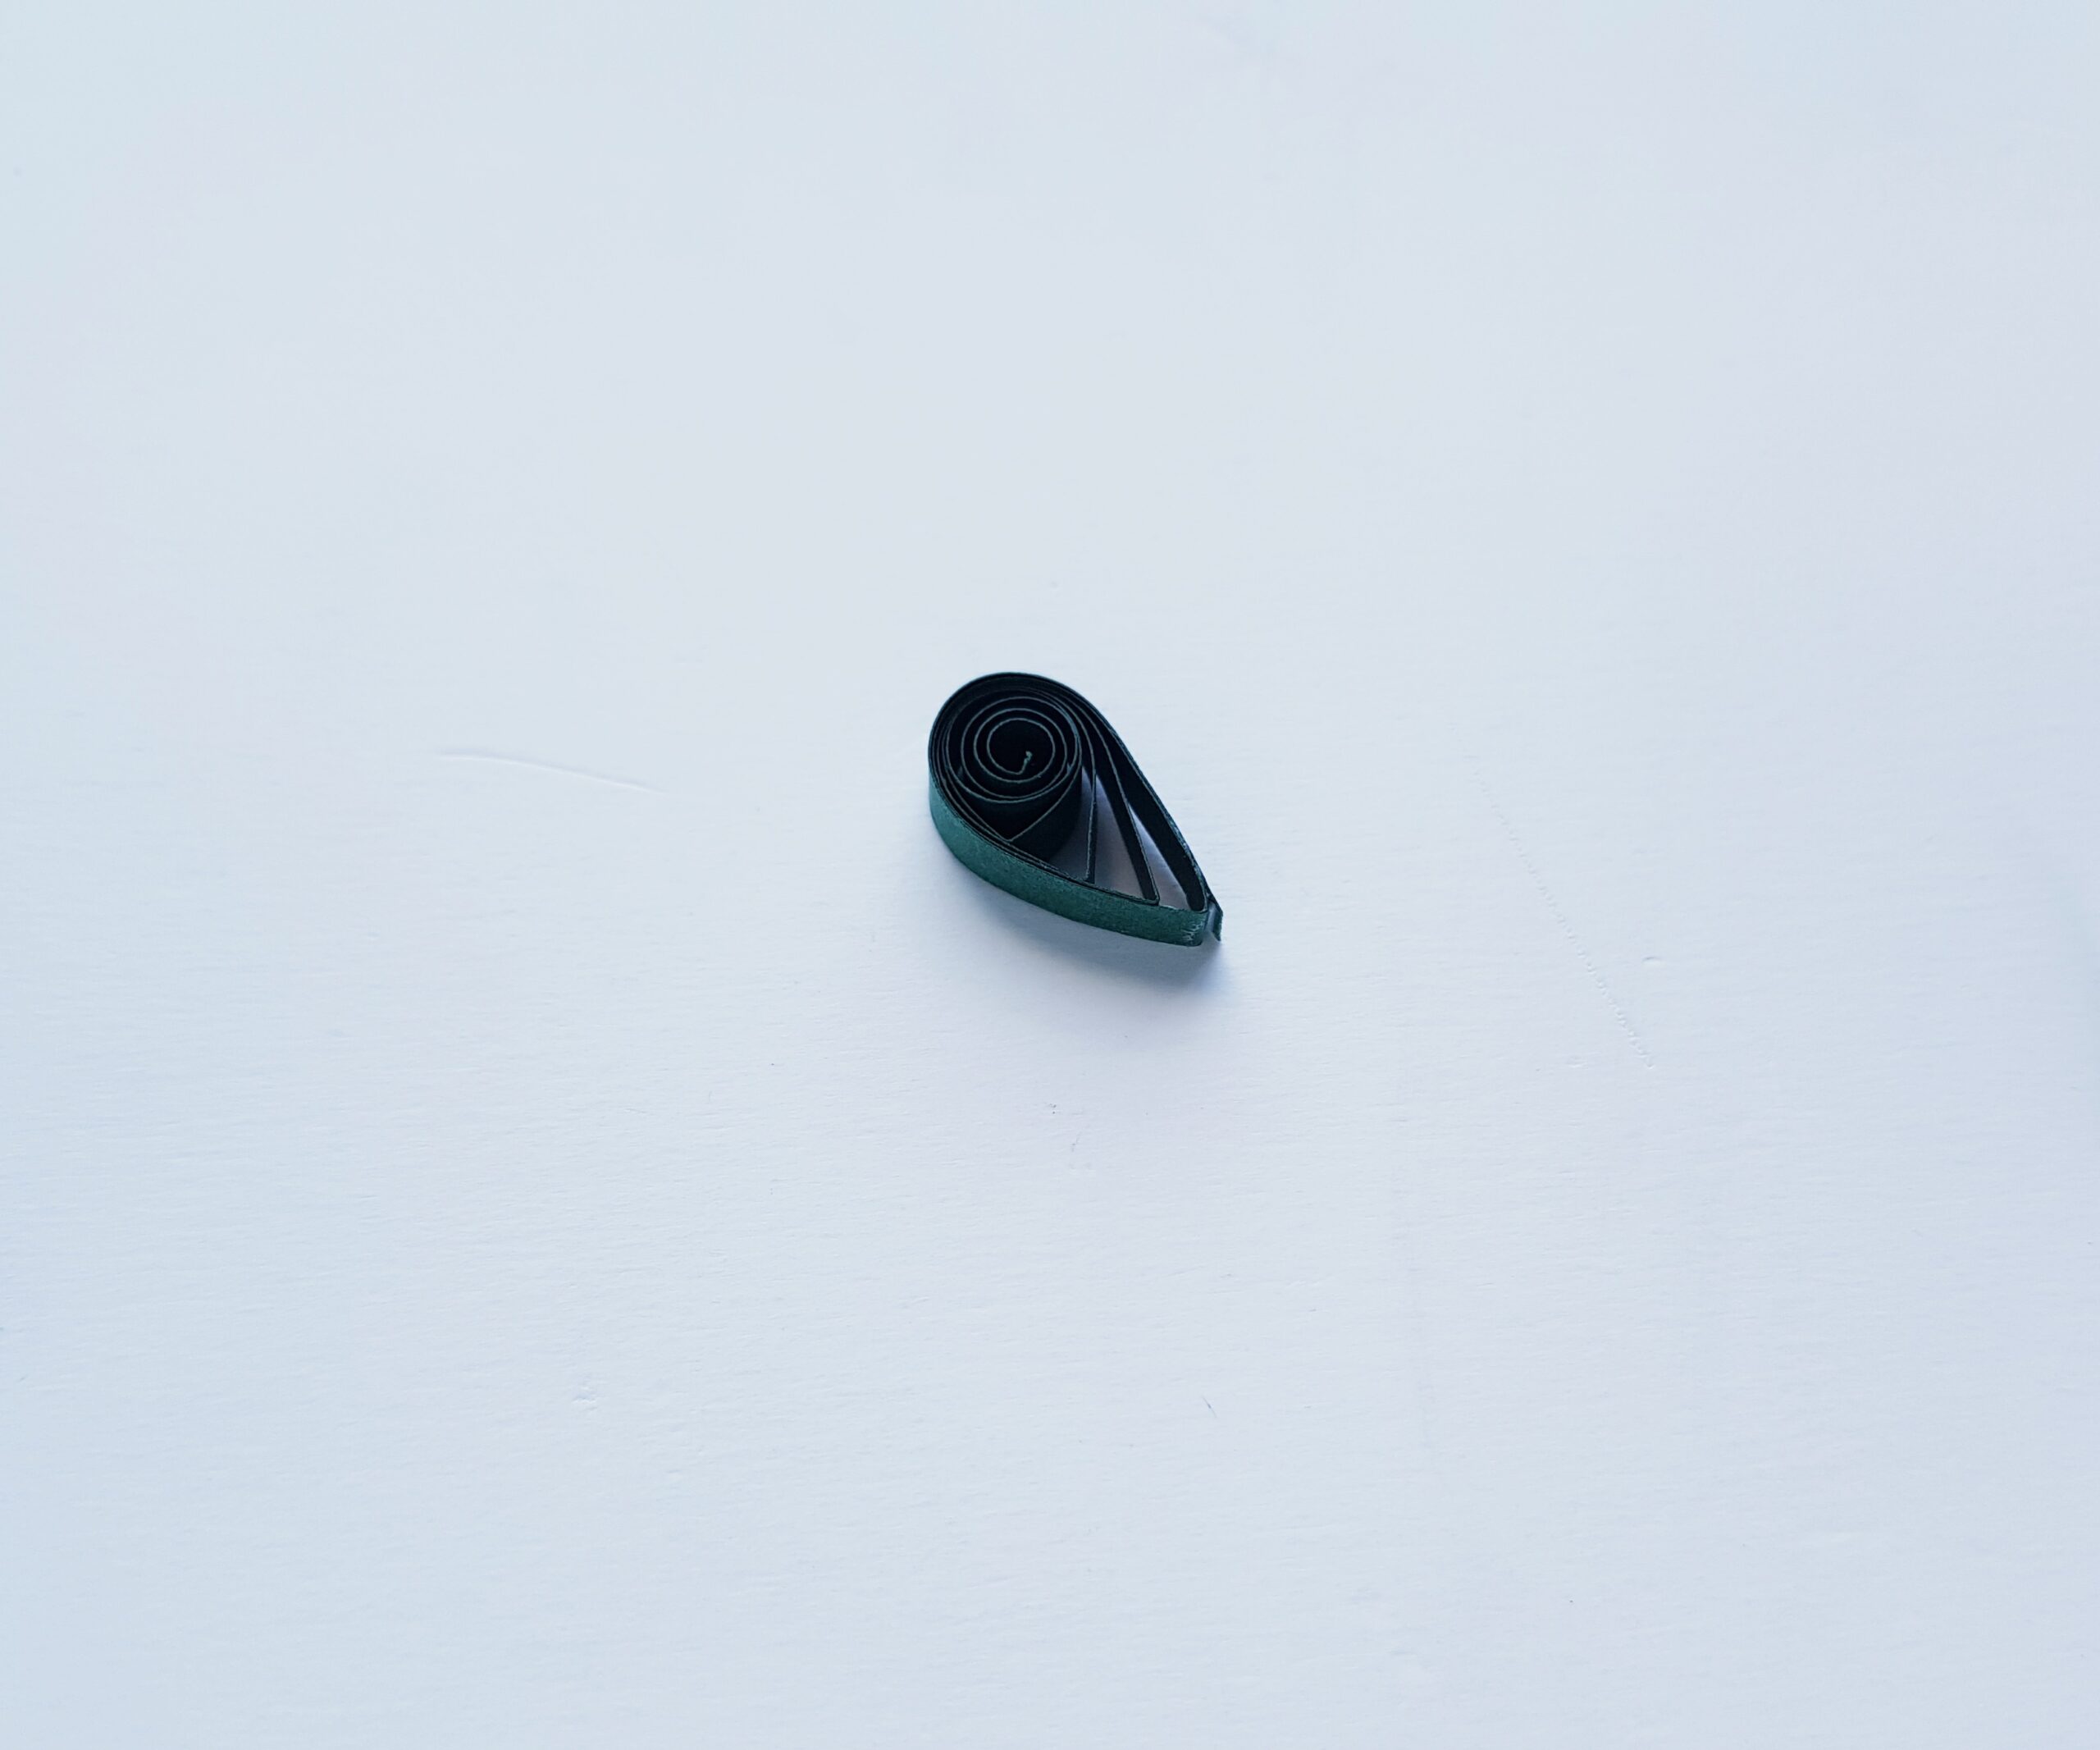
Next, we’ll turn the coil into a “tear drop.” To do this, allow the coil to loosen up a bit and then pinch the coil on one side to create a teardrop shape. Put a little glue on the open end of the strip to secure it.
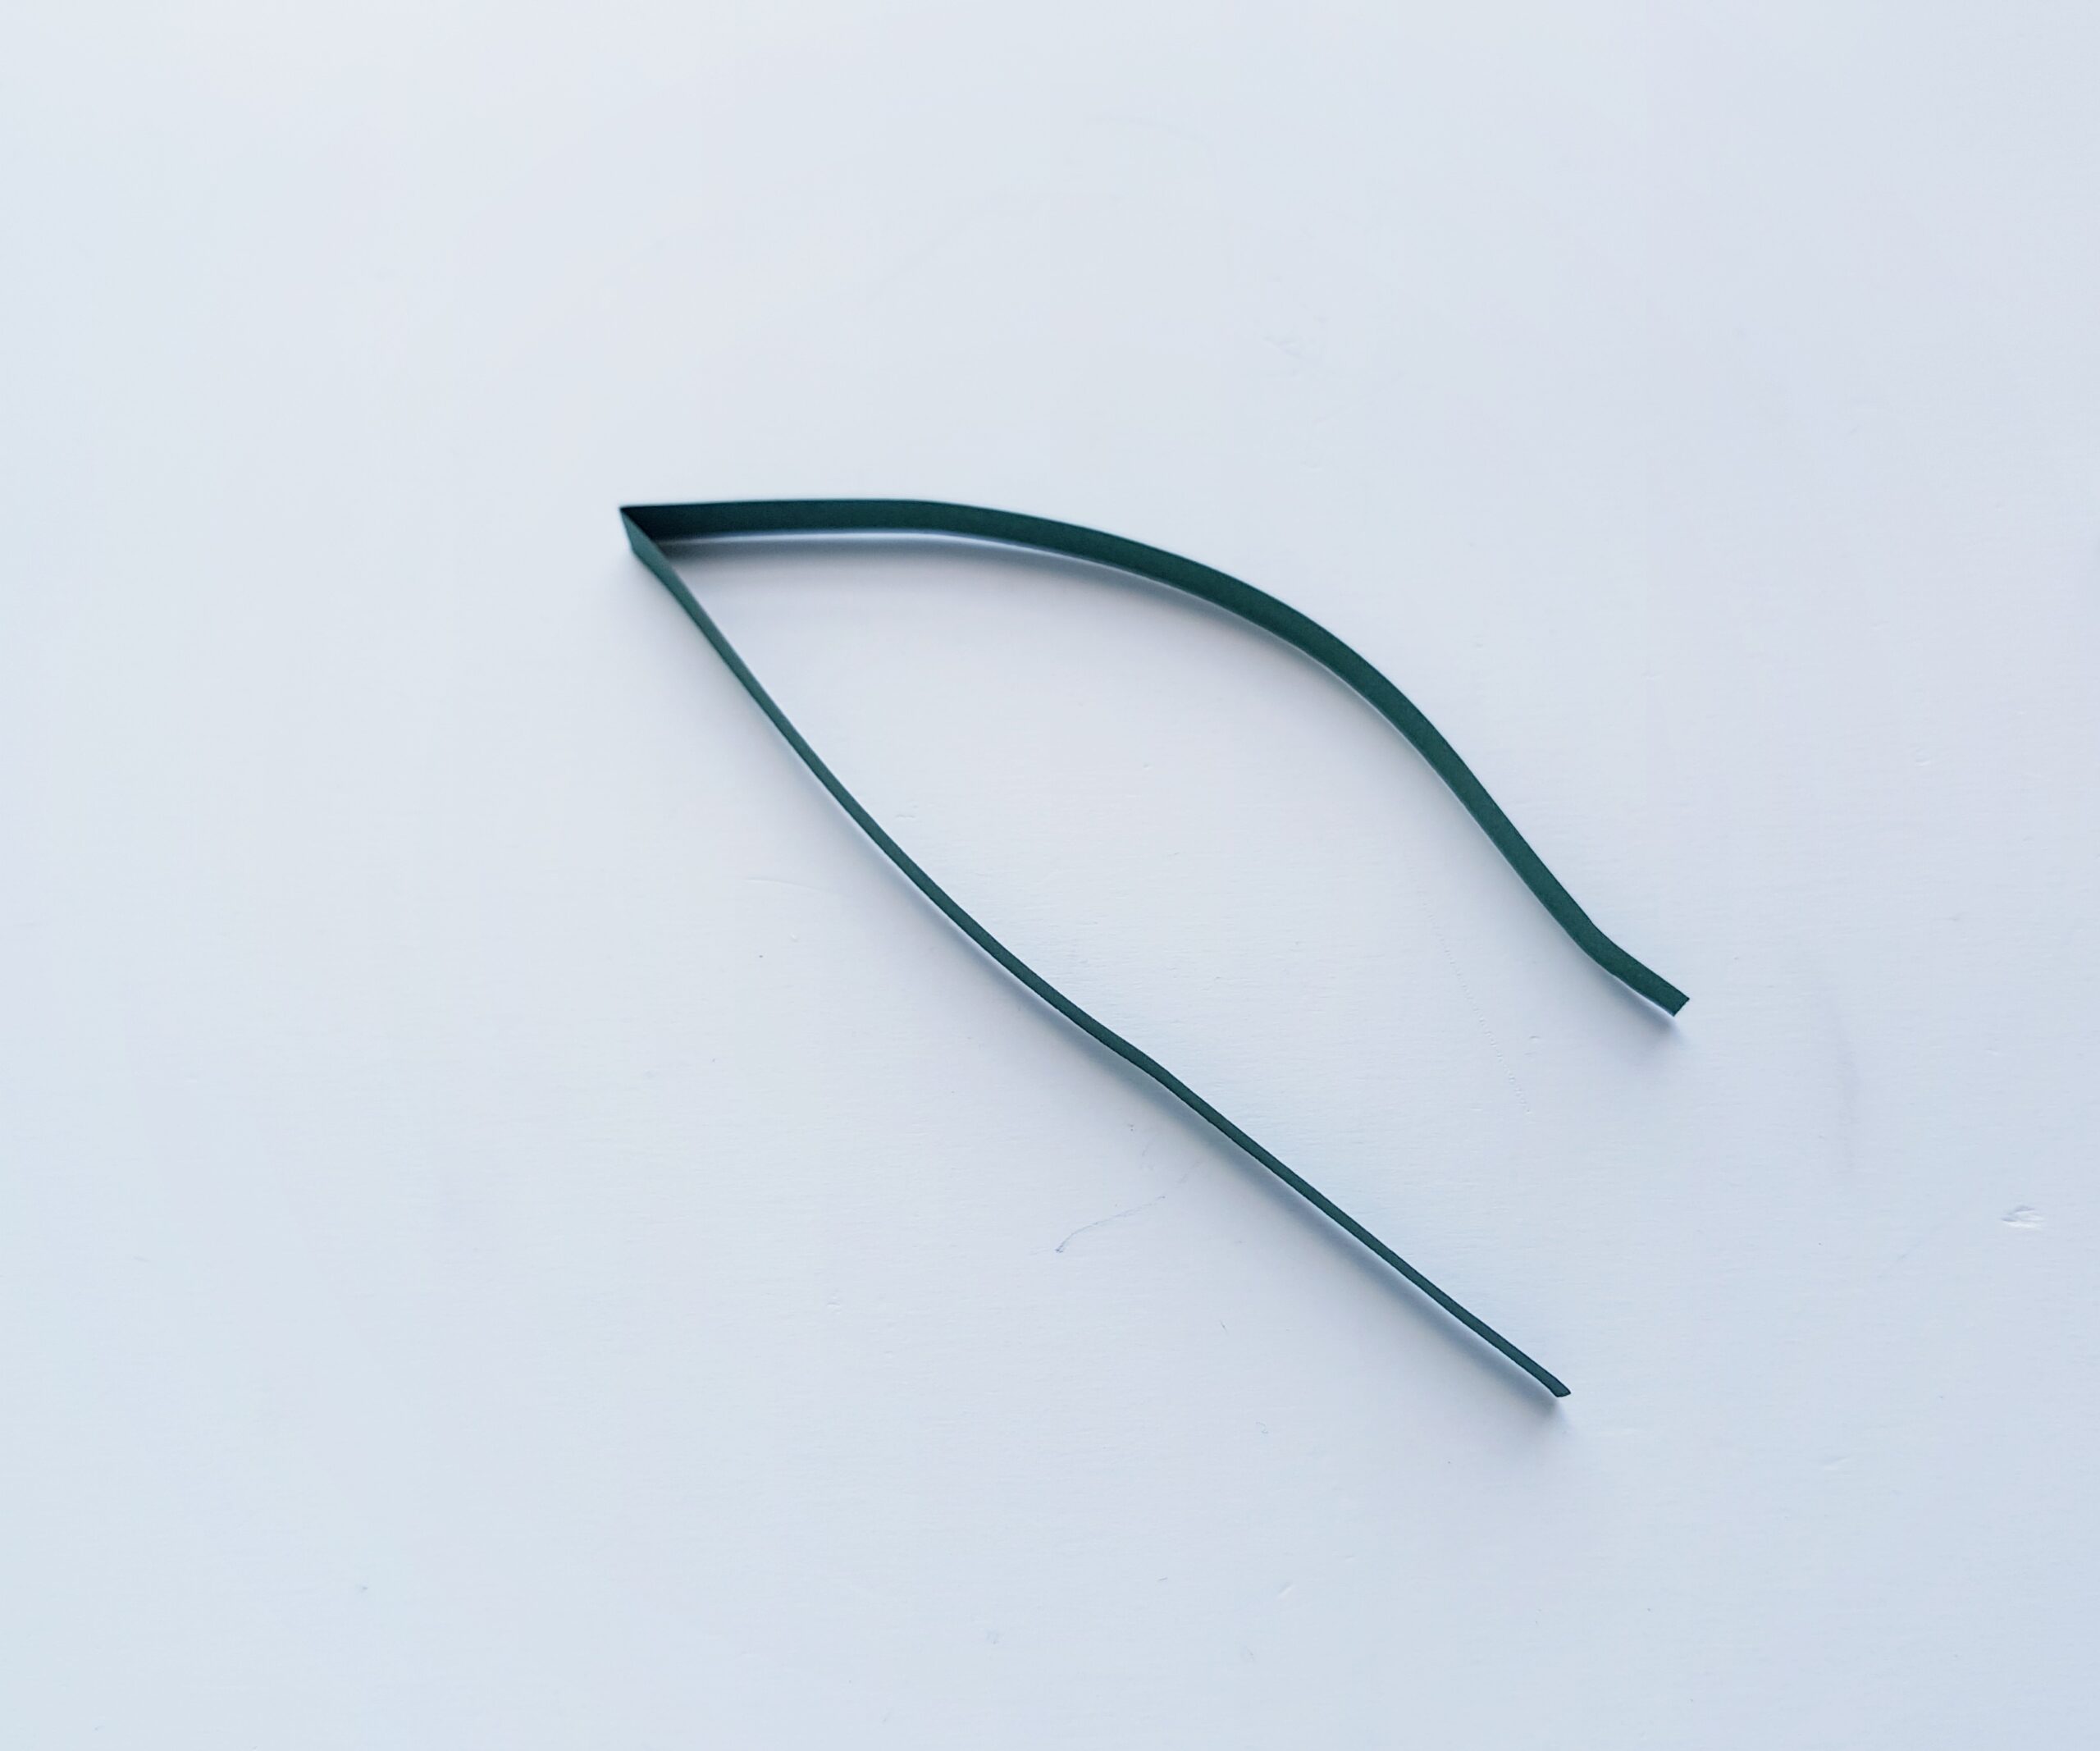
The third basic shape you’ll need to know how to make is a “heart.” To make a quilled heart, take a 12 inch long strip and fold it in half, as shown.
Use the quilling tool to coil the two sides of the folded strip, going in an inward direction all the way up to the bend in the middle. This will form a heart shape.

To make another, more complex looking shape, you can place the teardrop shape inside of the heart shape (between the 2 twirls of the quilled heart shape). This makes a sort of triangle shape (albeit a very elaborate and decorative one). If you look at the picture of the finished product, you can see the shape you just created in several places in the design.
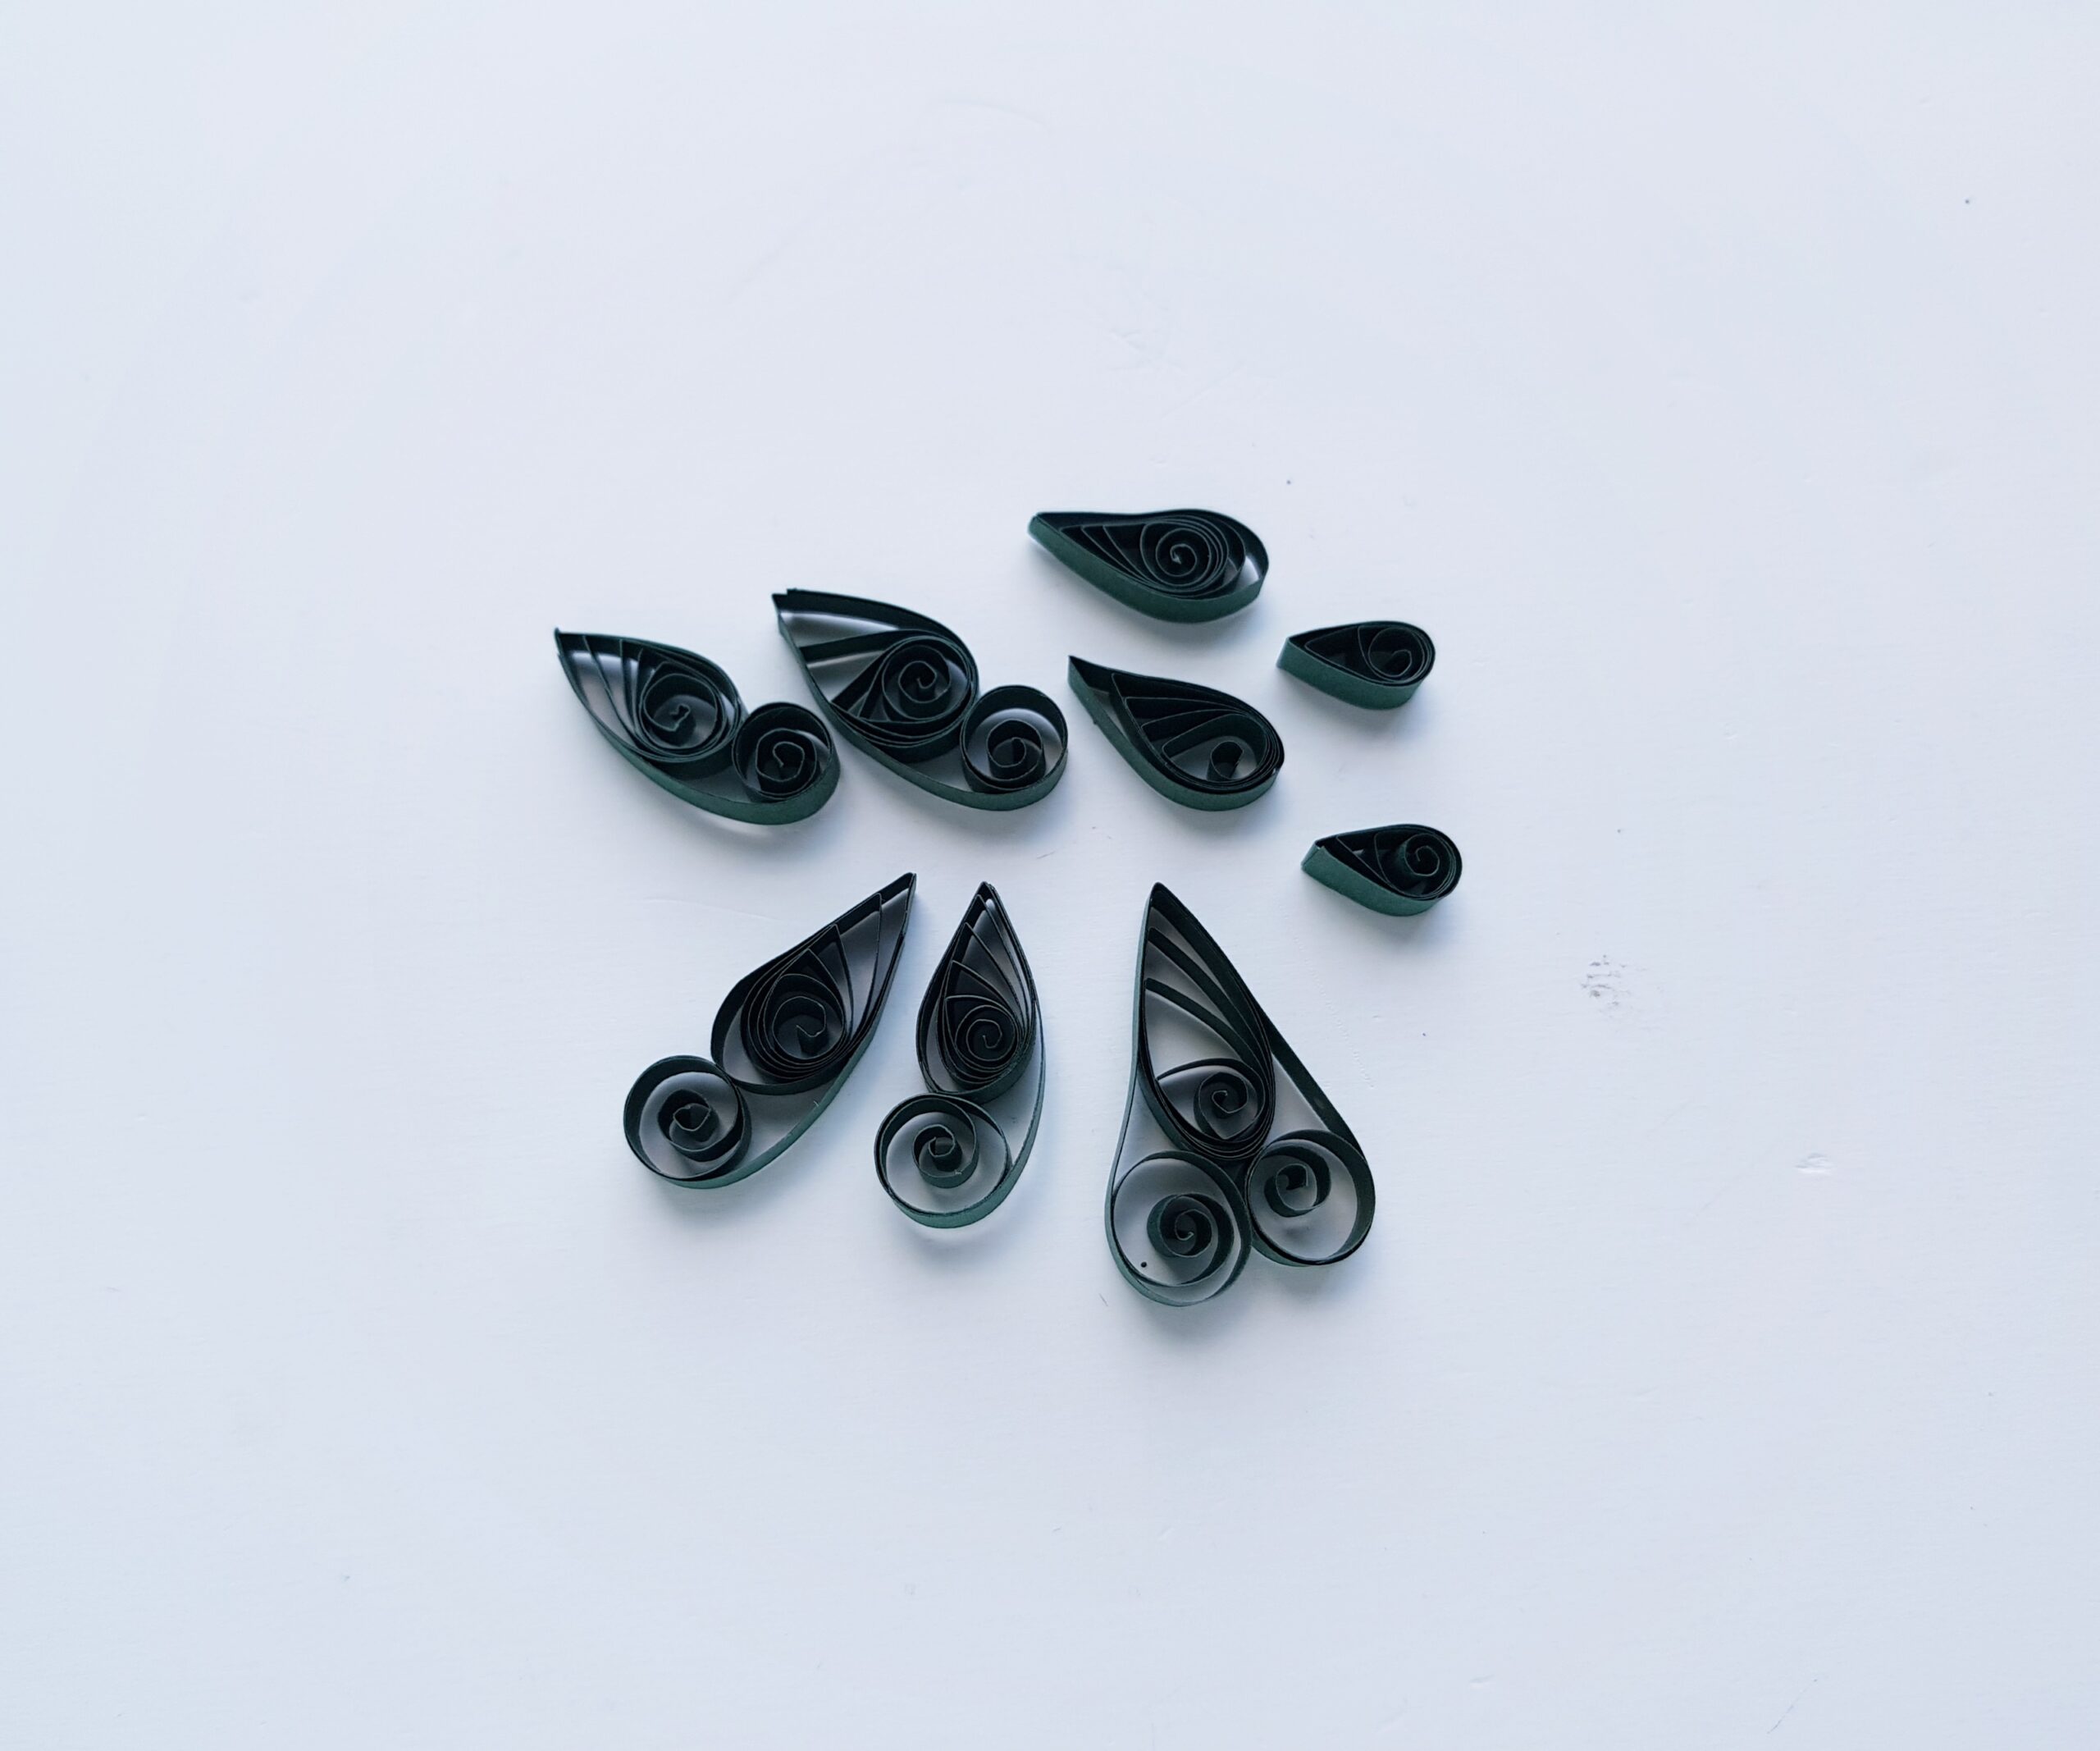
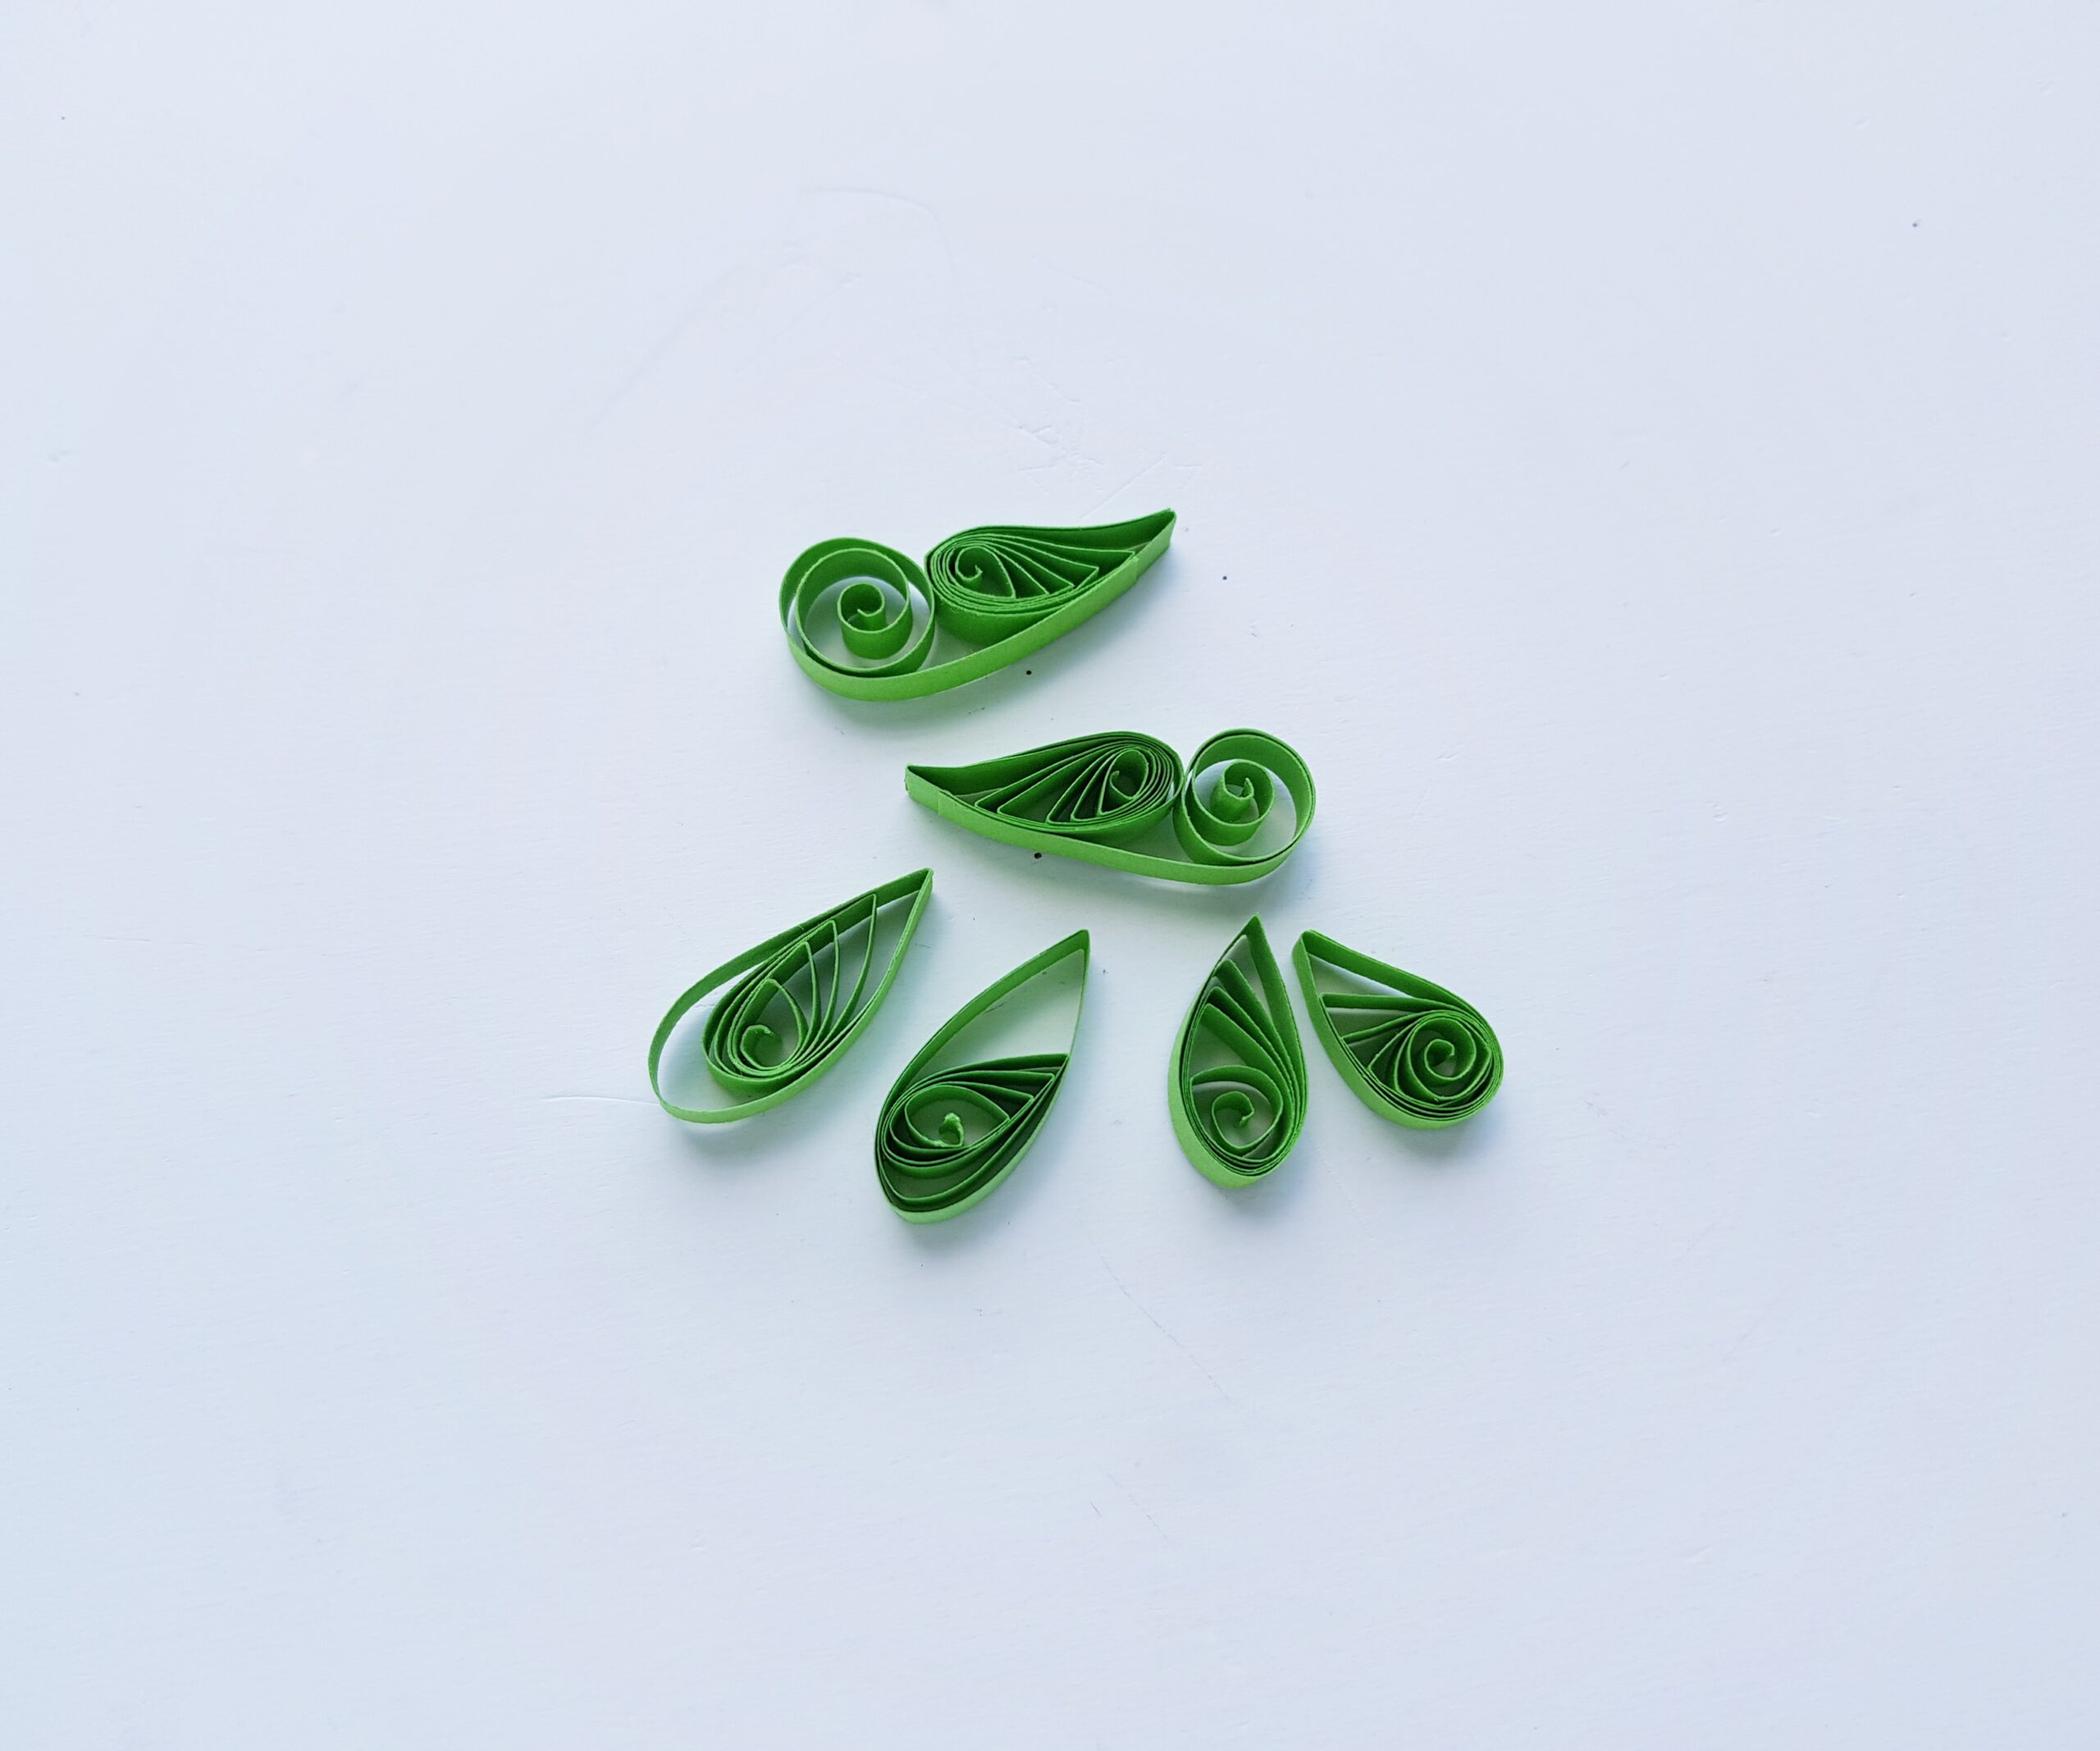
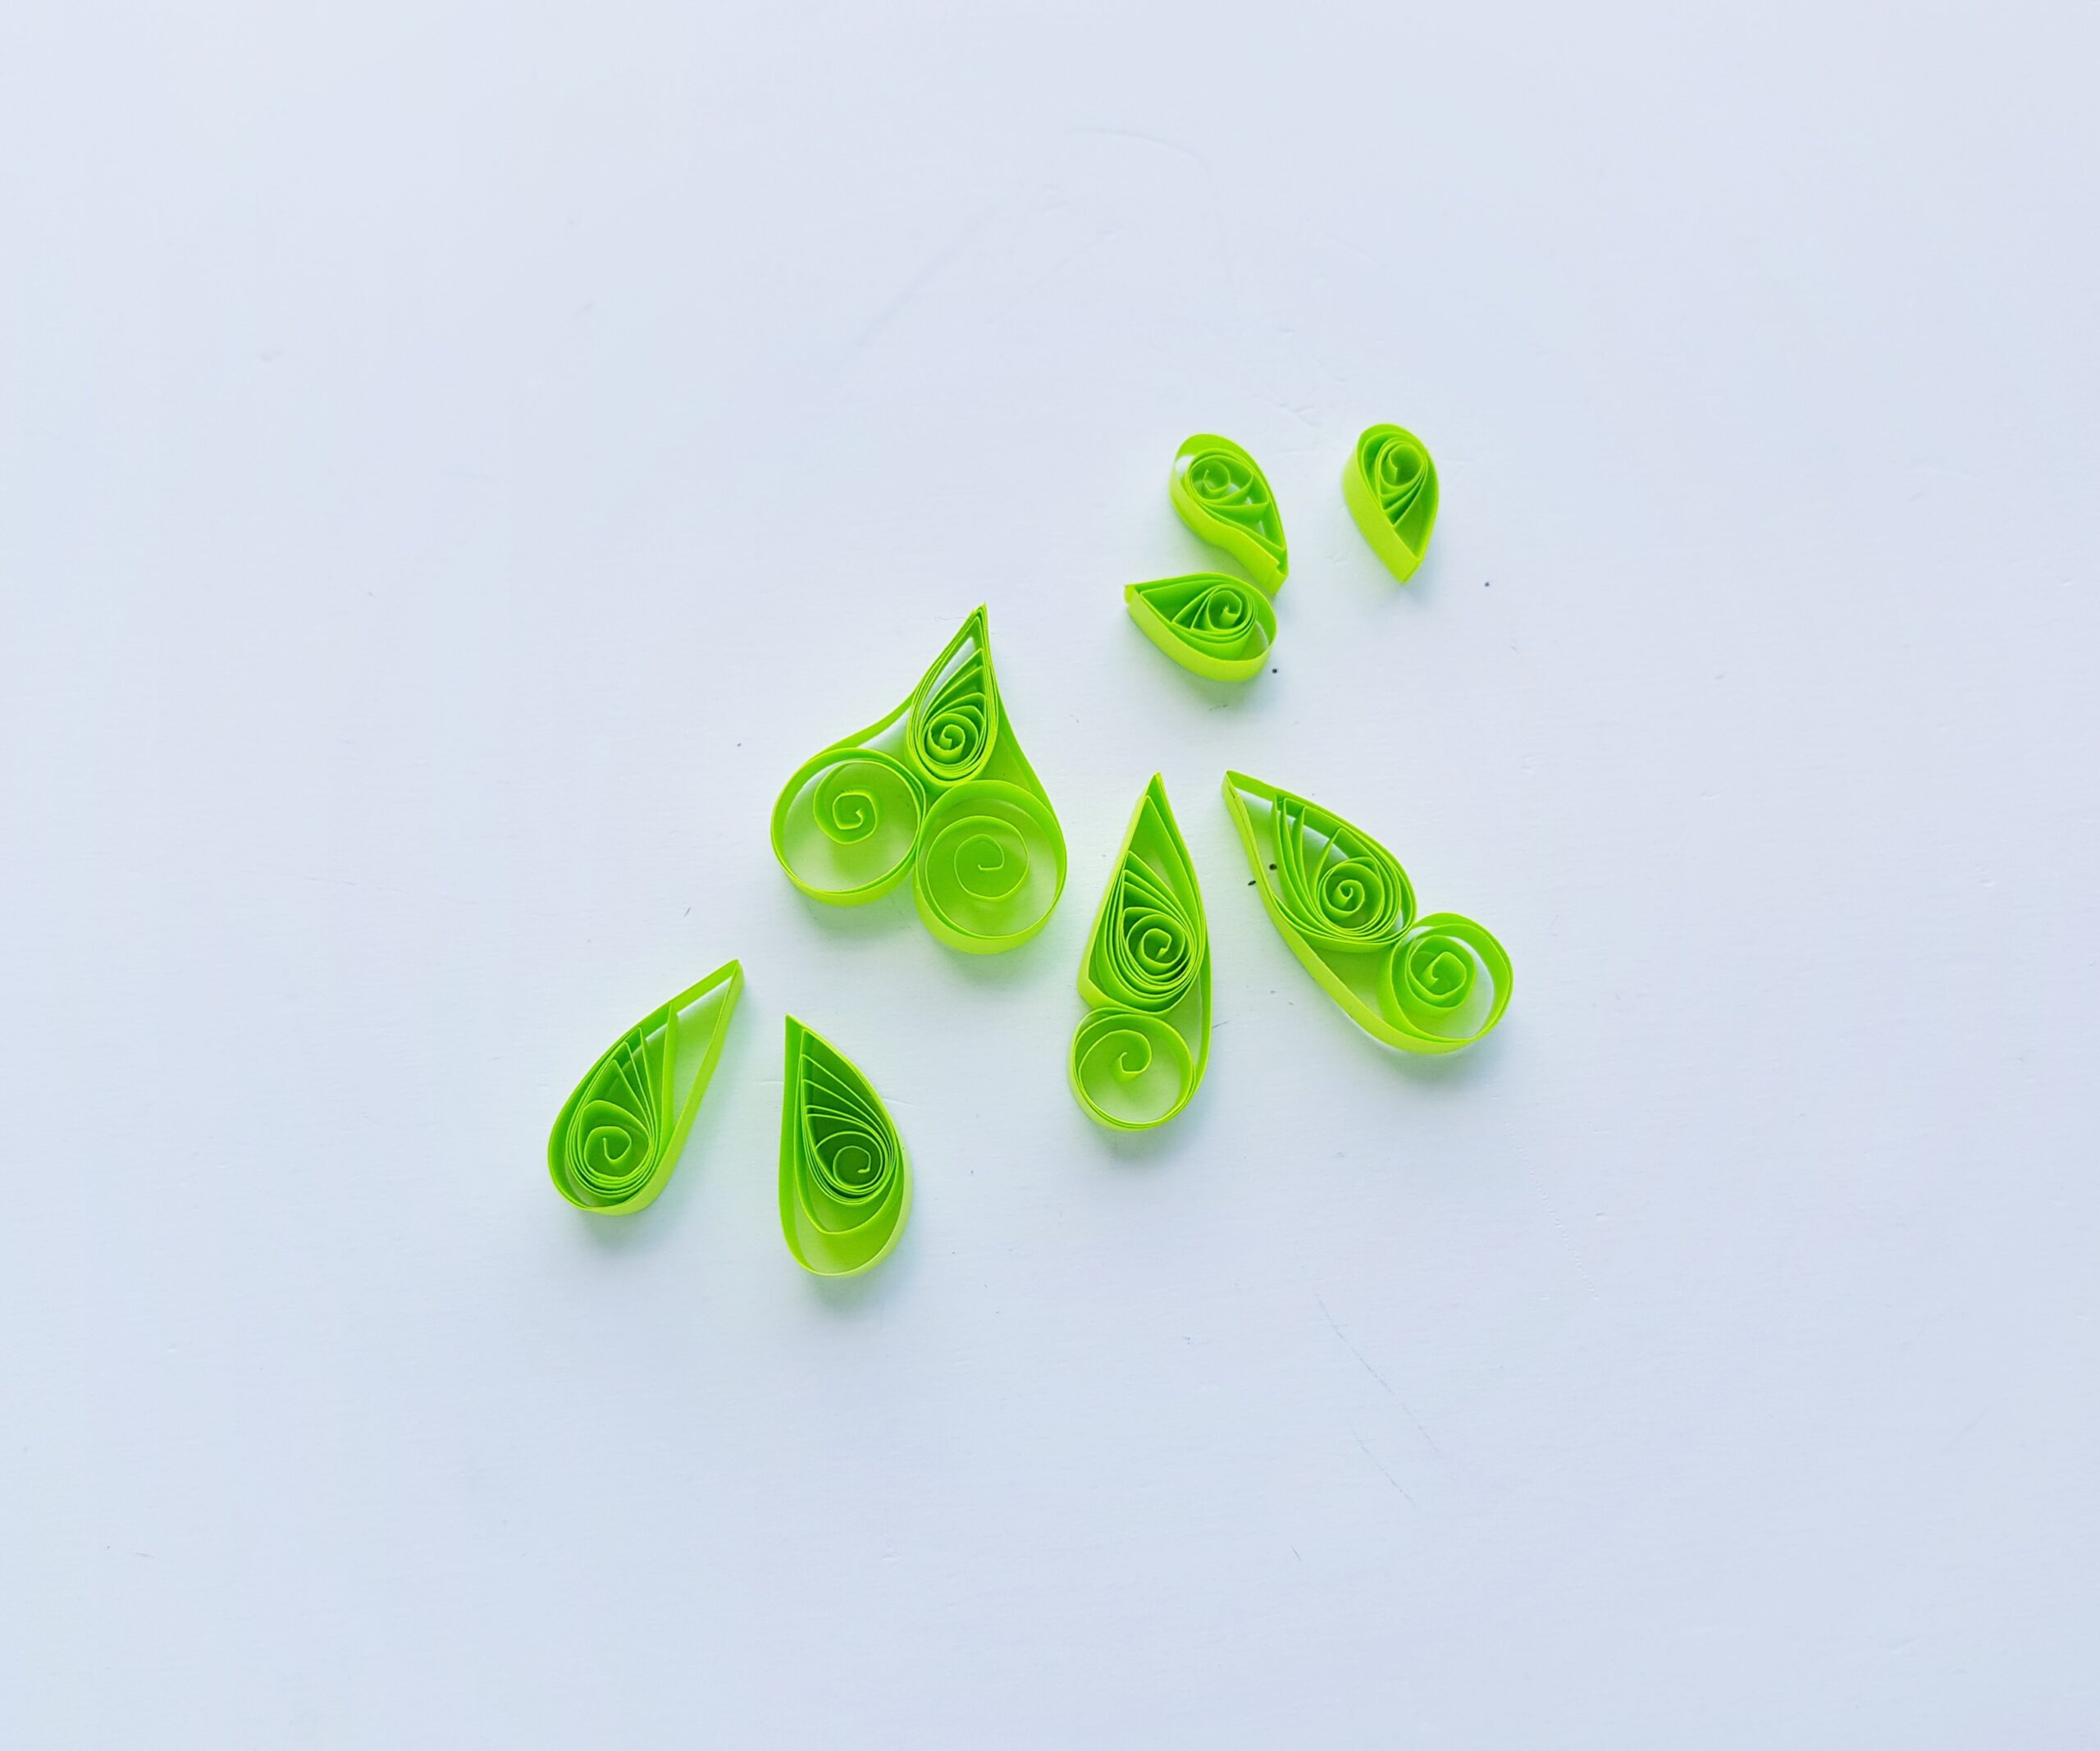
Now that you know how to to make these basic shapes, you’re going to use them to create some different quilled designs that will ultimately be arranged into your Christmas tree. Don’t worry about it being exactly like the tree in our photo—yours will be original. However, here are some shapes that will work well for your tree design. You’ve already practiced making them in the steps above, so it will be easy!
- Coils
- Heart shaped coils
- Tear drop shaped coils
- A few heart shapes with tear drops inside
- Some tear drops with a coil attached
Go ahead and create a variety to choose from, in all three shades of green!
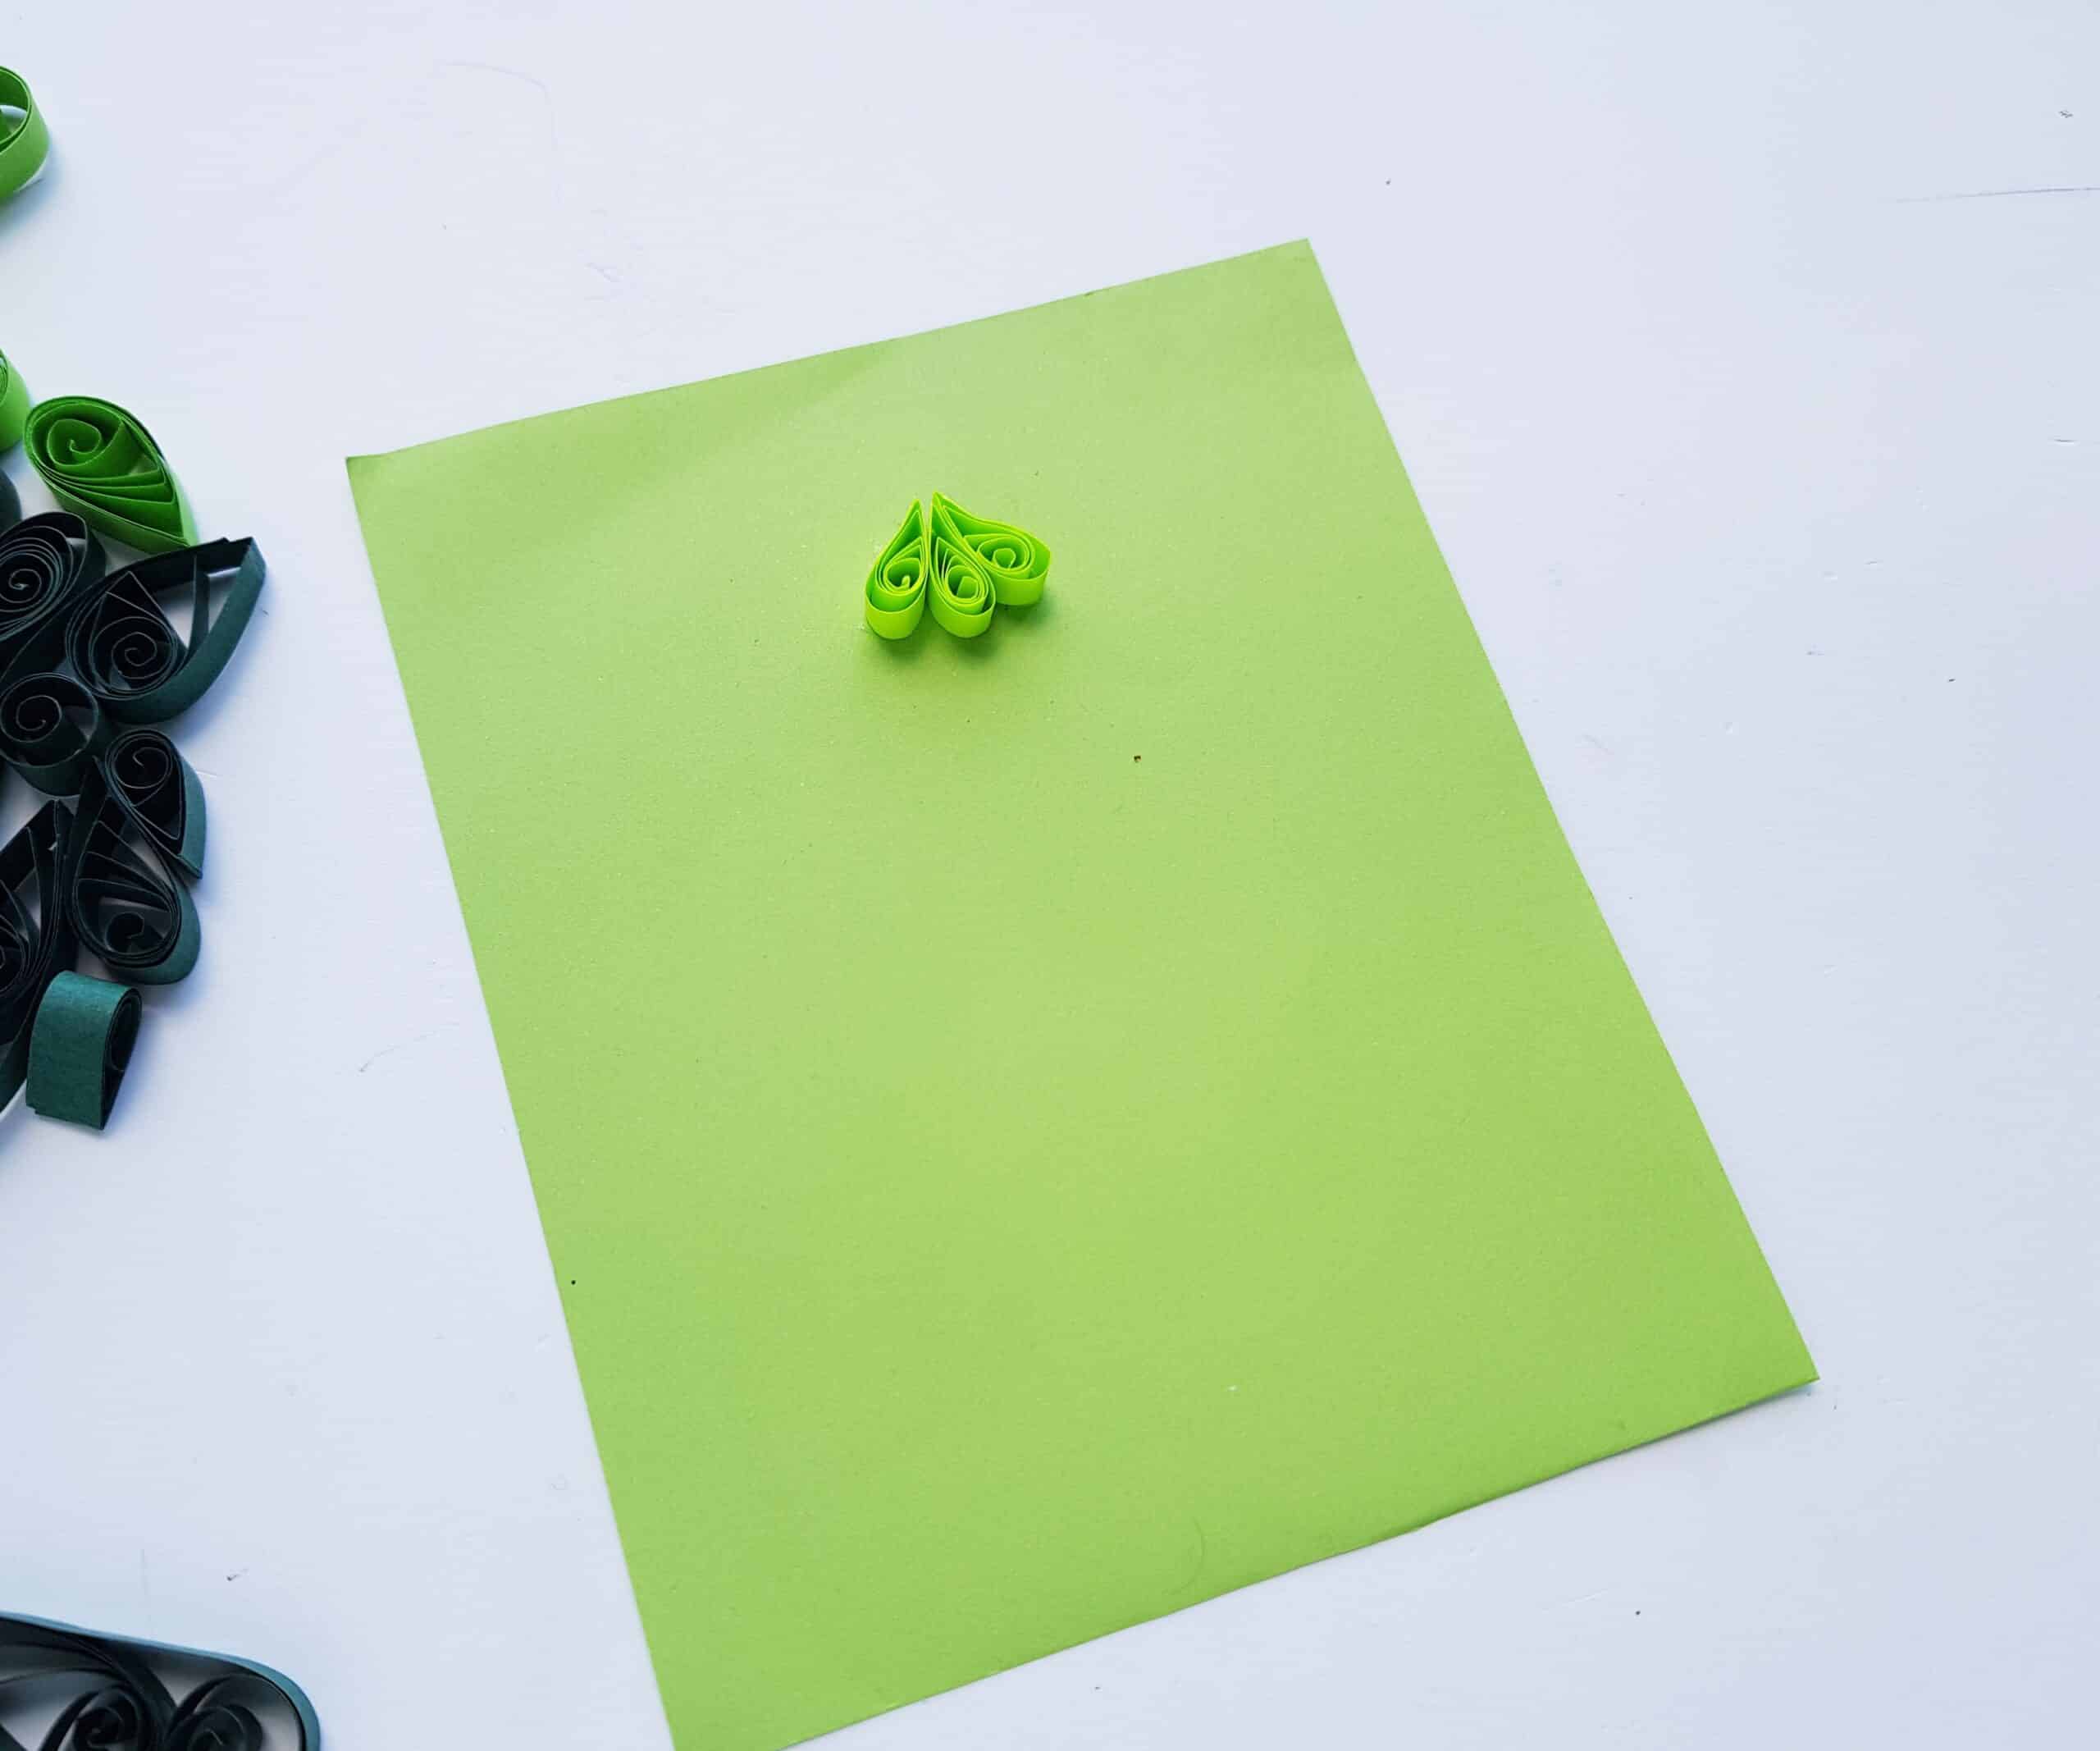
Once you’ve created a large collection of quilled pieces in all of the green shades, put them all in the same place and grab a green piece of construction or craft paper. Now is when you get to bring out your (and/or your childrens’ inner architect). This is going to really appeal to kids who love Minecraft or Legos.
You want to start working on the top portion of your tree, first. For tiers going from top to bottom, I started with the lightest color on top and the darkest on the bottom. Of course, you don’t have to do it that way, but I think it turned out looking nice!
I found that three teardrop shapes worked perfectly for the very top, “point,” portion of the tree. If you’d like to do it this way, then just arrange three teardrops into a treetop-like point and glue them to the craft paper.
Still using the light green shade, arrange some more quilled shapes under the three tear drop shapes to expand the top tier. Once you’re happy with the arrangement, glue each quilled strip into place.
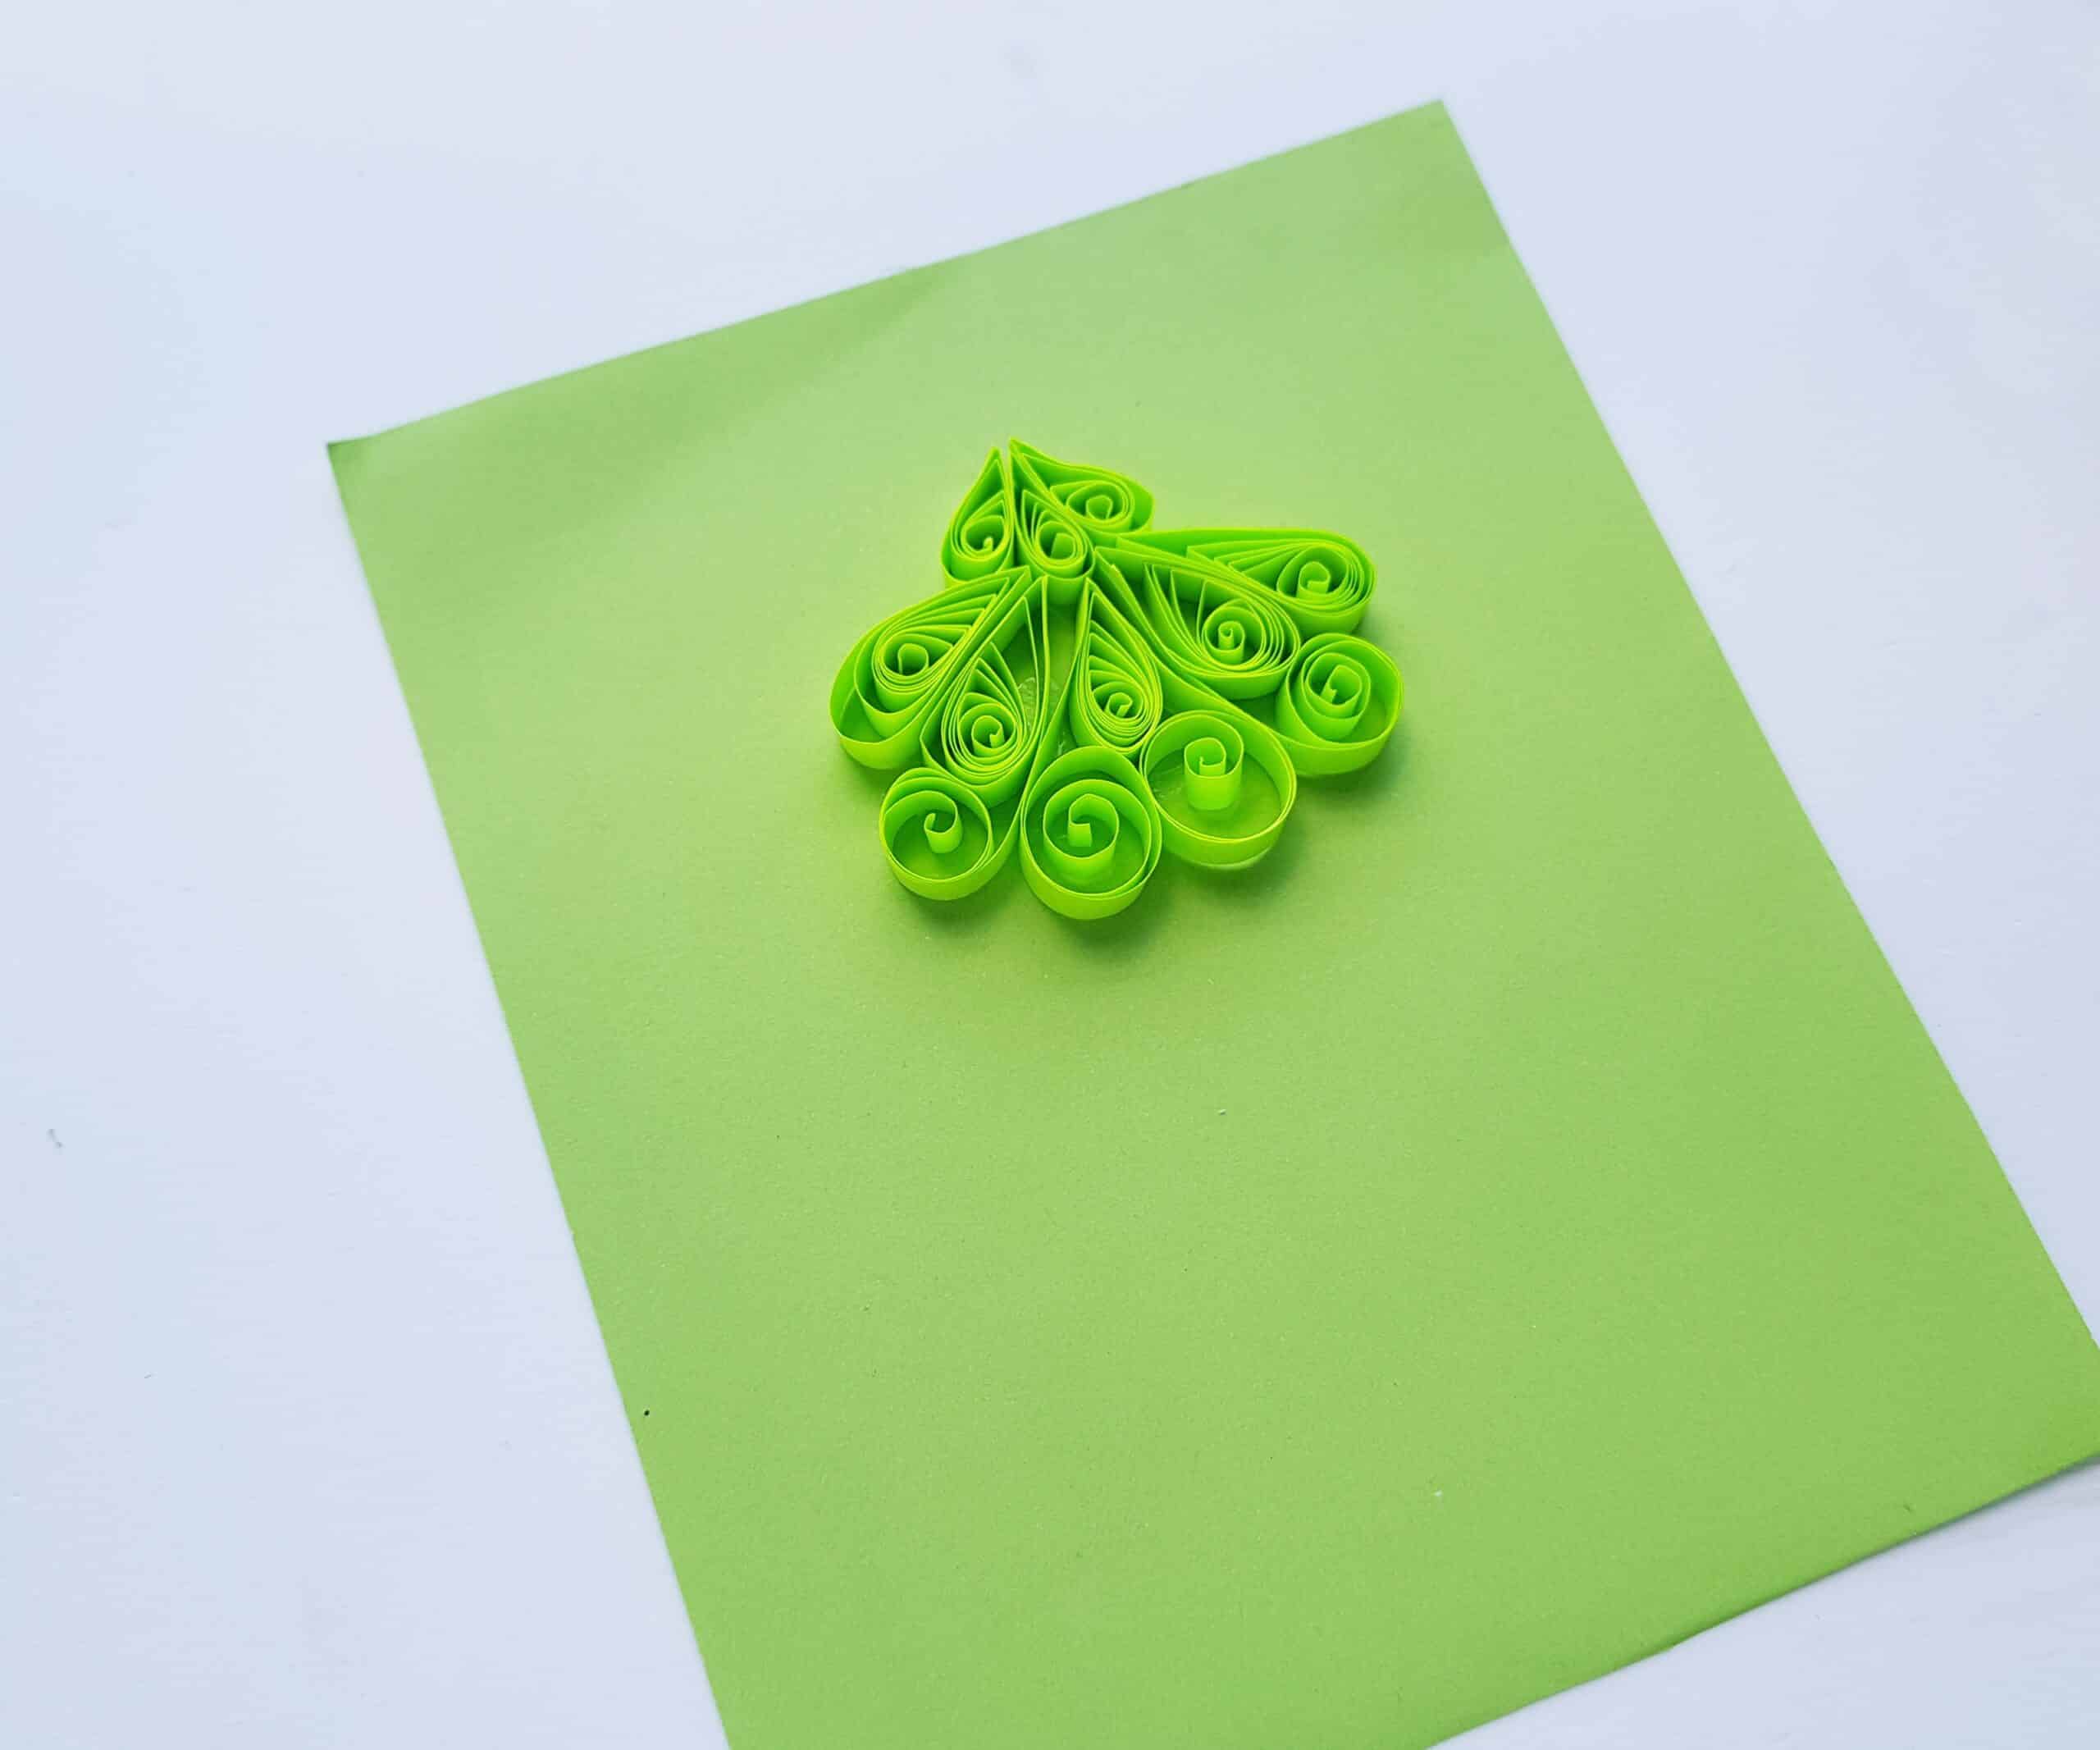
You’ll use the same method to build your tree for the next two layers. For the middle layer, you can see that I used a heart shape (with teardrop in the middle), a teardrop attached on both sides, and two teardrops on the outside.
However, you don’t have to use these same exact shapes. It’s fun to build your own from the quilled shapes that you created. Think of it as a creative challenge! Just keep in mind that you want to get wider as you go down–you know, for that classic Christmas tree shape.
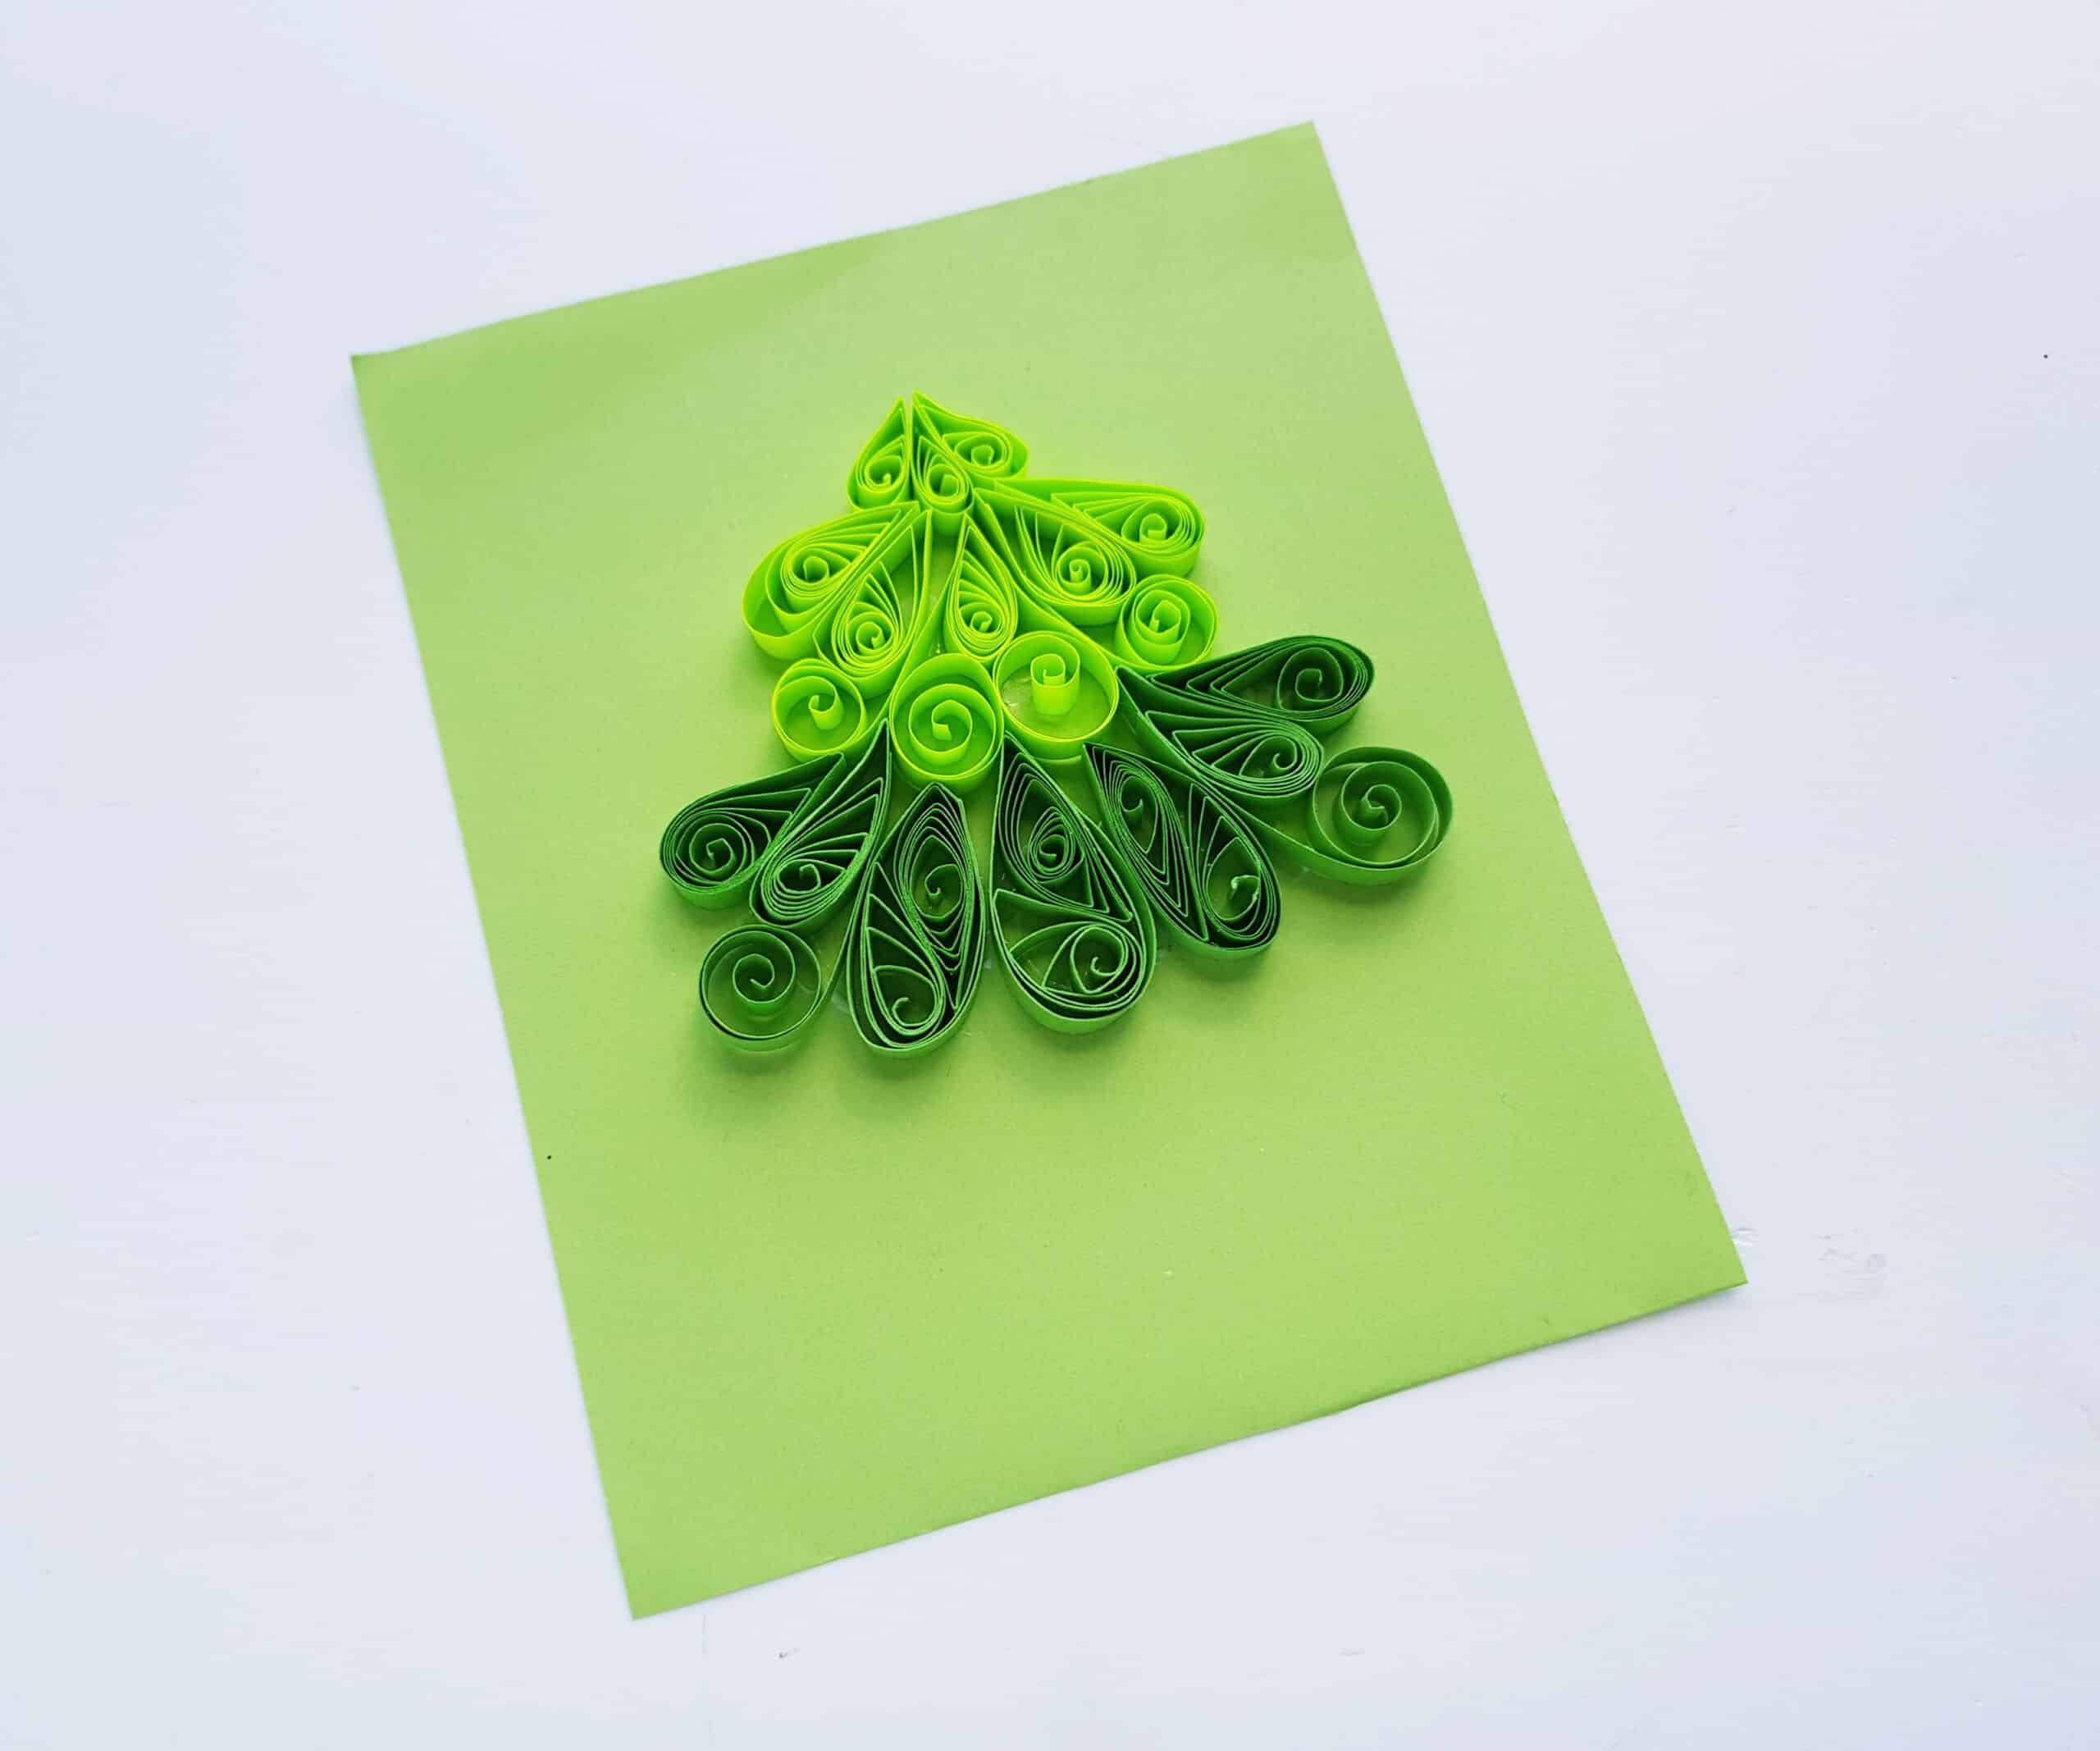
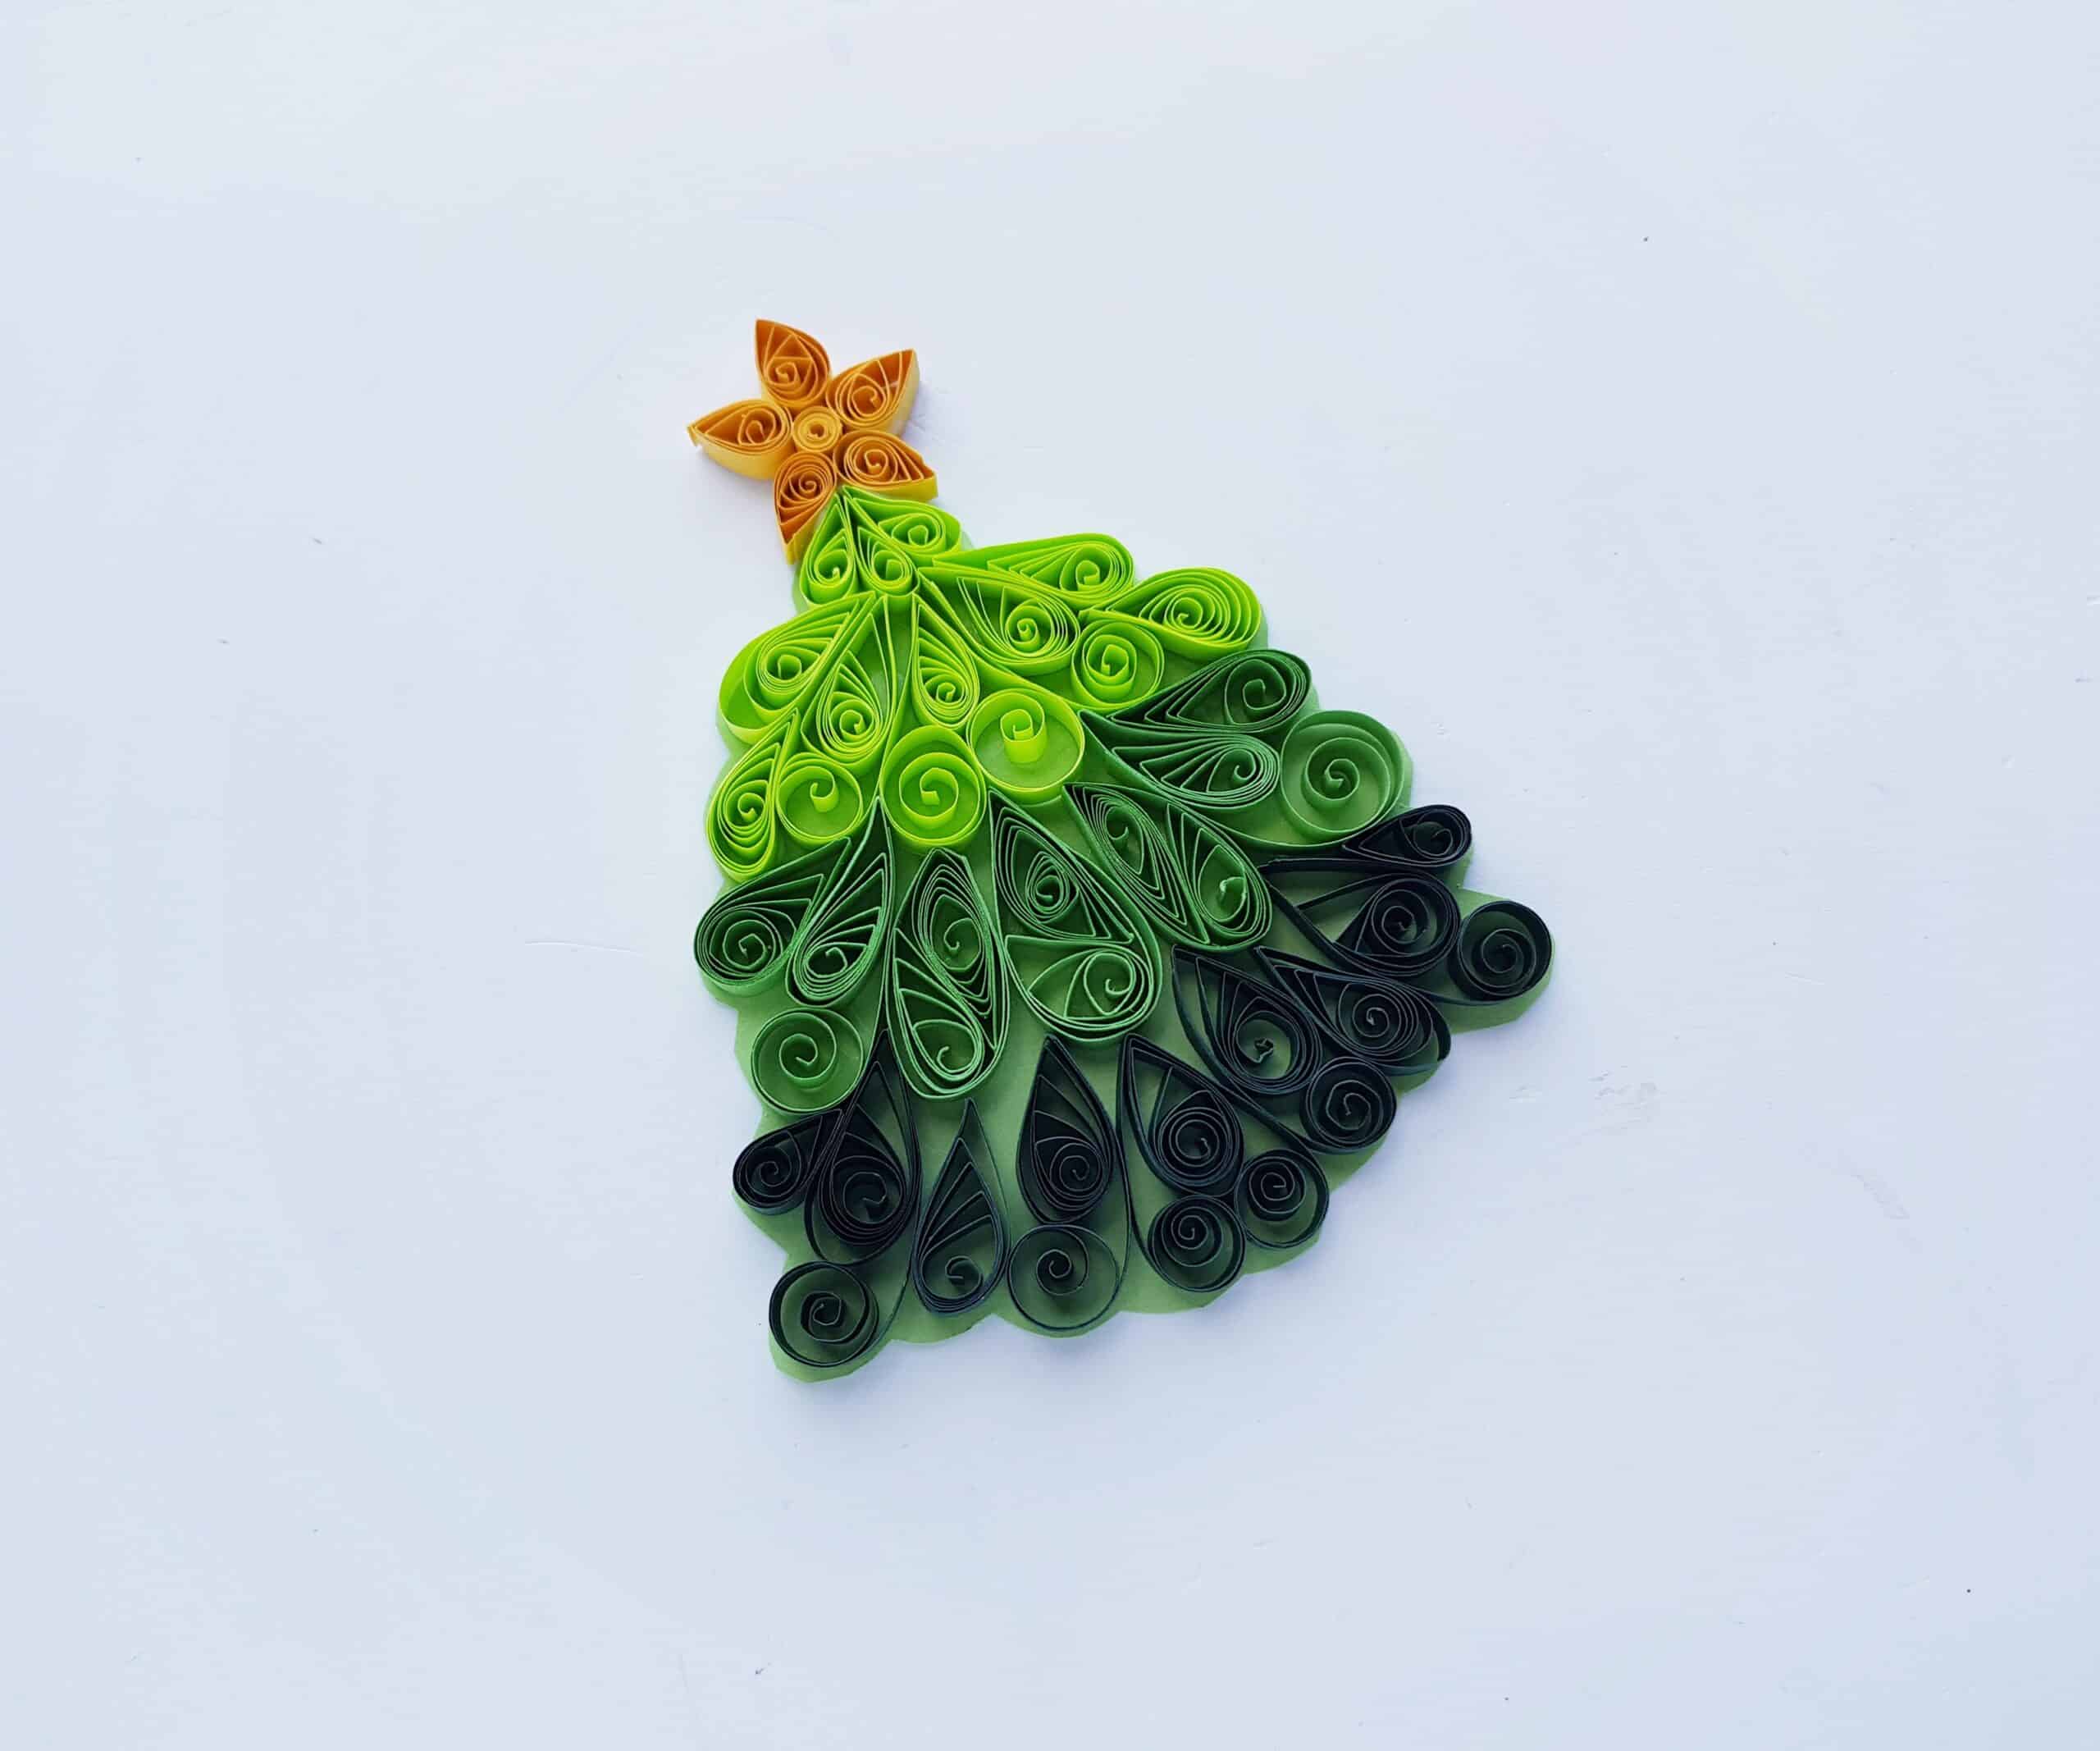
For the fourth layer, I used the darkest green quilled shapes. Remember that you have the freedom to play around with different arrangements and color variations before you glue anything down. You can even mix up the shades of green in each tier, or do more than four tiers! Just have fun and be creative.
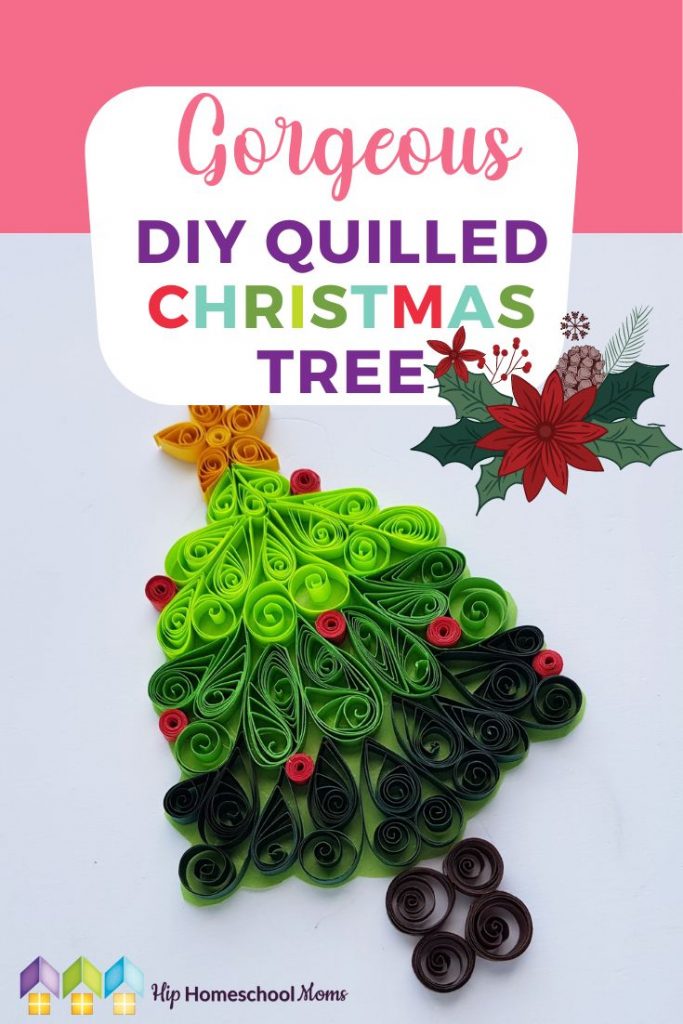
When you are happy with your paper tree, it’s time to add the finishing touches. The first thing you need is a star for the top! A five-point star isn’t hard to making with a quilling tool and yellow strips. You need to make five tear drop shapes and a regular coil for the center. (See, you’ve got this quilling thing down now.)
And then the tree needs something to stand upon. Quill four loose coils using brown quilling strips. Arrange them into a square shape to form the trunk of the tree.
You also may want to quill some small (and tight) coils to make ornaments for your tree! We chose red, but you can really use any color (or colors) that you like! For a beautifully decorated paper tree, slide the small coils into empty spaces in your tree (first put a little bit of glue on the outside). When everything is just the way you want it, you can carefully cut your design out, leaving the green paper as the backing.
You’re finished, and I’m sure your DIY quilled Christmas tree is gorgeous!

If you make these Gorgeous DIY Quilled Christmas Trees at home, you may want to loop a bit of string through one of the teardrops on top so that you can hang it on your tree (or so that your child can give away his/her handmade ornament as a gift). You could also use the quilled tree to decorate a beautiful, thoughtful handmade card. There are a lot of ways to use these beautiful paper trees to make your home even more festive this Christmas season! Even more than that, we hope you enjoy the fun memories you make while you create them!
Are you planning to make these Gorgeous DIY Quilled Chrimas Trees with your children? What will you do with the finished products?