
Rabbits: Barnyard Treats and Reads Series
For our ongoing “Barnyard Treats and Reads,” we’re sharing a creative way that you can transform Nutter Butter cookies (the treats) into one of our favorite farm animals! We will also give you suggestions for fun and informative books to share with your children, featuring the same animal as that week’s treat! What could go better together than a treat and a good read?
Last time, we brought you a creative (and tasty) way to teach your kids about sheep. This week, we’re going to talk about rabbits! Rabbit farming is becoming increasingly popular. These furry creatures are being raised for various reasons: meat, for show, or to raise/sell as domesticated pets. There are also many books featuring rabbits that would be wonderful to share with your children if you are studying these animals.
But before we talk about books, let’s start with your rabbit-inspired “treat”! Kids and adults alike will have a great time decorating these Nutter Butter cookies. Making these together would be a great way to kick off (or wind up) a study of rabbits.
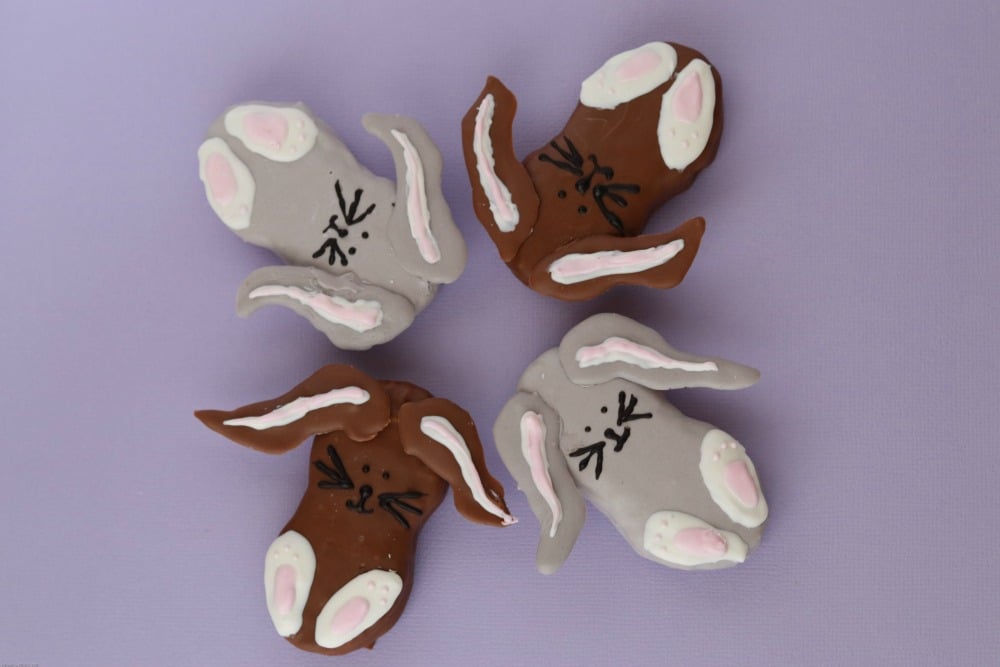
The Treats: Rabbit-Inspired Nutter Butter Cookies
Since the Nutter Butter cookies are already, well, cookies, this recipe is really all about decorating the cookies to look like rabbits. It’s a really fun kitchen activity to do with kids! To get started, you will need: 10 Nutter Butter cookies, coconut oil, brown melting chocolates, white melting chocolate, black melting chocolate, pink melting chocolate and candy eyes.
You’ll also want: some ramekins (or small ceramic bowls), a dipping wand, a wire cooling rack, some parchment paper, and some toothpicks.
(For the full recipe with more detailed ingredients and instructions, be sure to read all the way to the bottom of this post!)
NOTE: For a time-saving tip and information about how to simplify the cookie-decorating process, see the note just above the printable recipe (near the end of this article.)

Place a shallow pan of water on top of a double boiler. Set several ramekins inside the pan and add each color of melting chocolates to its own ramekin. In addition to brown, black, white, and pink, you will also create gray by adding one black melting chocolate to 1/4 white melting chocolate. Add a tiny bit of coconut oil to each ramekin and stir it in. This will help your chocolate get nice and smooth.

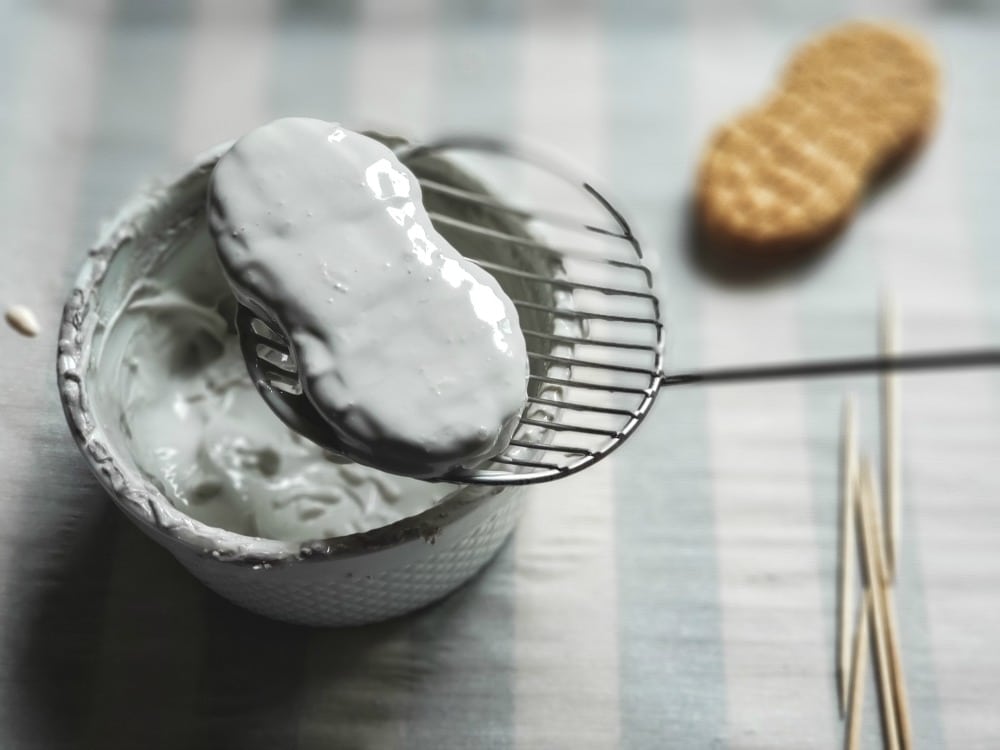
Using wand or fork, dip Nutter Butter cookies in gray and/or brown chocolate until thoroughly coated. If you are making these to share or to bring to a special event, having rabbits in both colors makes for a nice presentation.
Hover above dish as chocolate drips off. Use a toothpick to pop any air bubbles that form. Set on wire rack to harden.
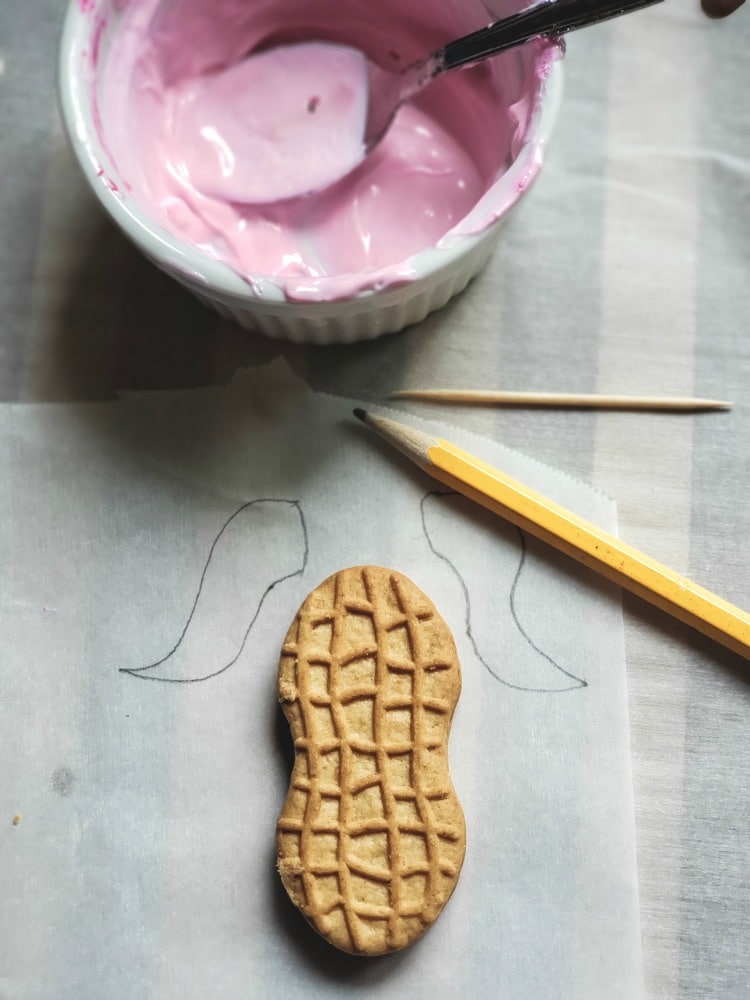
To create the ears, tear off a strip of parchment paper and place it on a plate or cookie sheet. Place a Nutter Butter cookie on the paper to get an idea of how big your floppy ears should be. Hand-draw ears with a pencil, and then fill in the pencil drawings with chocolate by using a piping bag or forming with a toothpick (see picture below). You’ll want to fill in the ears with brown or gray. (You can go back to add the pink later.)
Make extra ears (some of them won’t make it) and set them in the refrigerator to harden.
It won’t take long for the ears to harden. After they’ve spent several minutes in the fridge, pull them out and attach them to the cookie/body of the rabbit. The easiest way to do this is to dip a toothpick into the still-melted chocolate in one of your ramekin bowls and use it as a “glue” for the rabbit ear. Place a dot on the back of each one and press it into the top of a Nutter Butter cookie. You have to work quickly because your fingers will melt the small pieces of chocolate if you hold them too long.

Next, dip your toothpick into the melted white chocolate and draw two oval shapes on the bottom part of each Nutter Butter Cookie for the feet. Use another toothpick and the melted pink chocolate to add the details pictured above: the pink inside of the ears and the pads/toes for each foot.
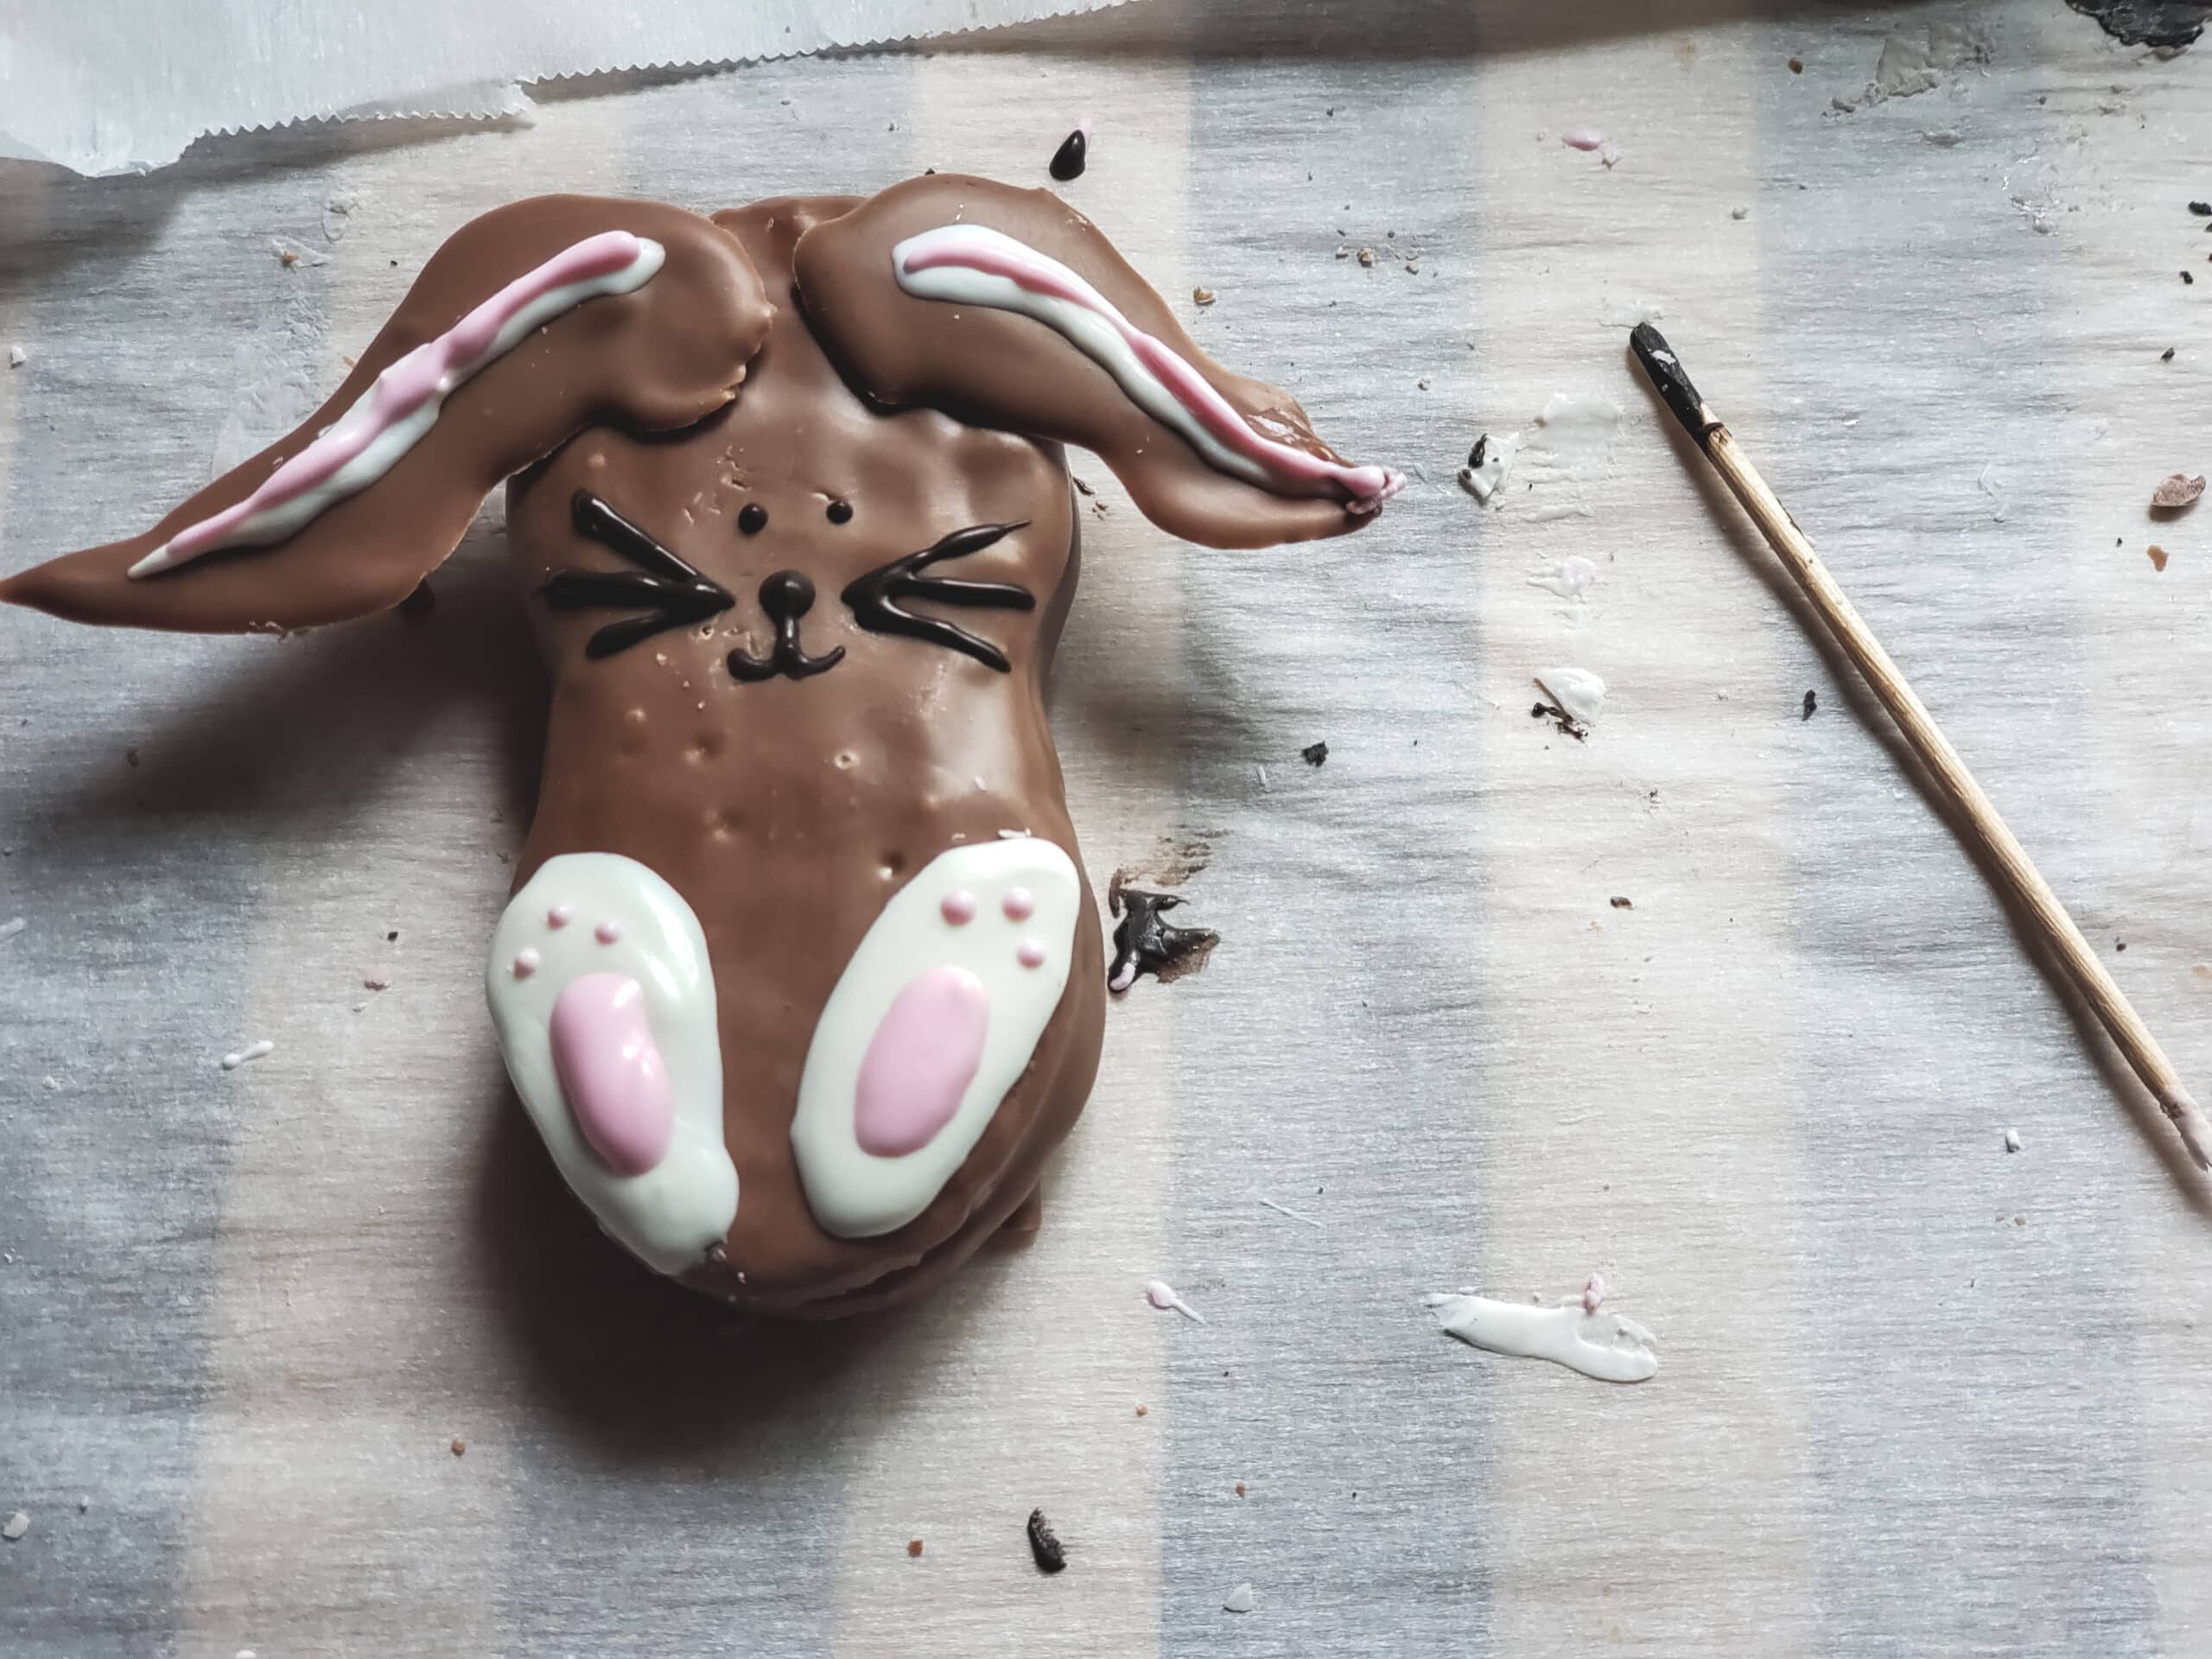
Now all that’s left is to add the face! You can be creative here, of course. However, we dipped the toothpick into the black melted chocolate and did the simple design shown above. It helps to keep a paper towel on hand, especially for this part. If you mess up, you can quickly wipe it off and try again.
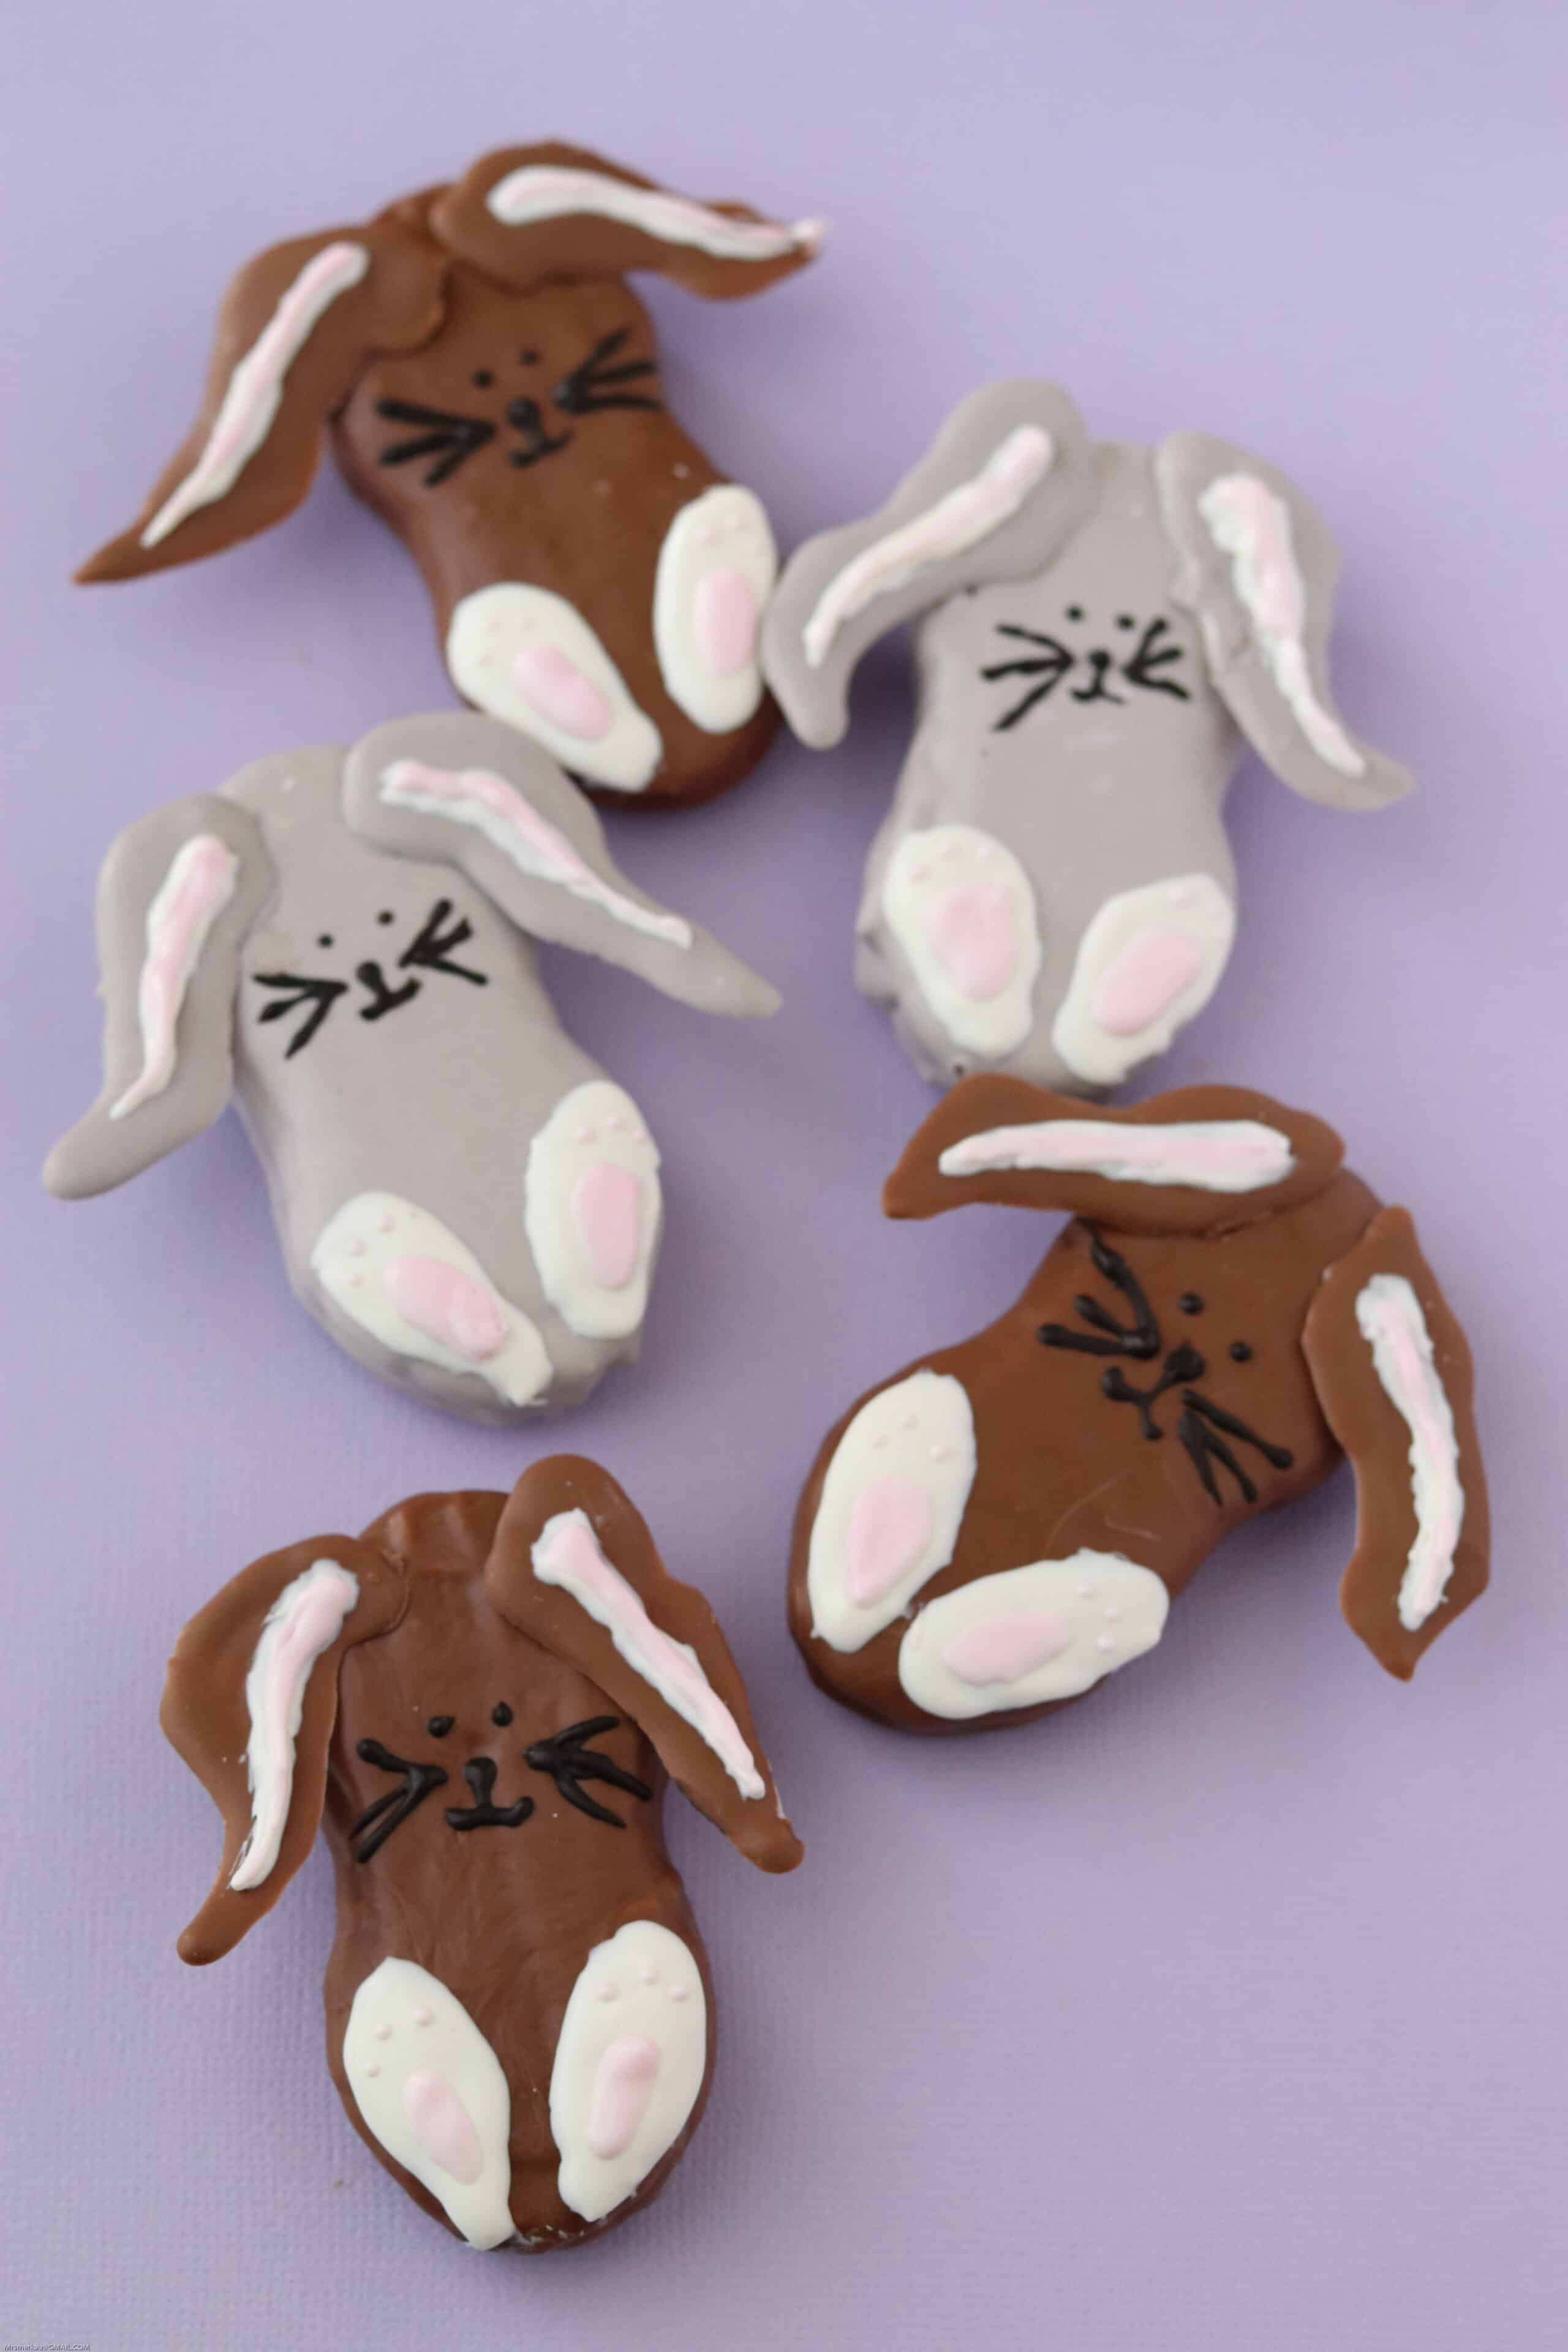
The end result is tasty…and adorable! Allow these cute cookies to harden all the way and then you can store them in an airtight container.
The Reads: Books for All Ages about Rabbits (and Bunnies)
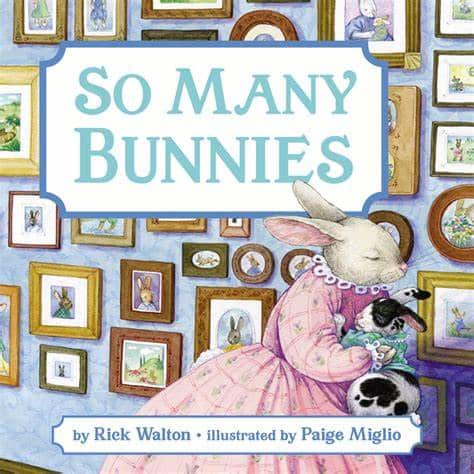
So Many Bunnies by Rick Walton
For Ages: 0 – 4
This board book is great for even the youngest children. The story, about a Mother Rabbit with lots of baby bunnies, engages young listeners via rhyming while also exposing them to the ABCs and counting skills!
The Rabbit Listened by Cory Doerrfeld
For Ages: 3 – 5
This sweet story about a boy and his friend, the rabbit, teaches children about the importance of listening to those we care about.

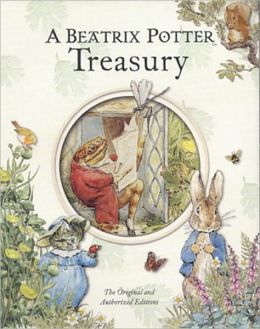
A Beatrix Potter Treasury by Beatrix Potter
Ages 5 & up
The whole family will enjoy this cozy, classic collection about Peter Rabbit and his friends. This treasury includes ten Beatrix Potter stories with original artwork by the author.
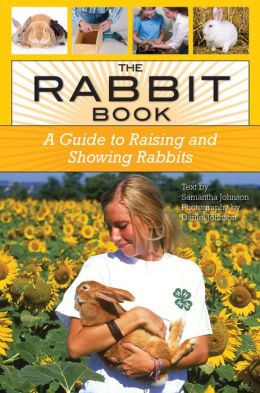
The Rabbit Book by Samantha Johnson
Age: 10 & up
If you or your child are interested in raising/ showing rabbits, this is an awesome, easy-to-understand resource that can help get you started!
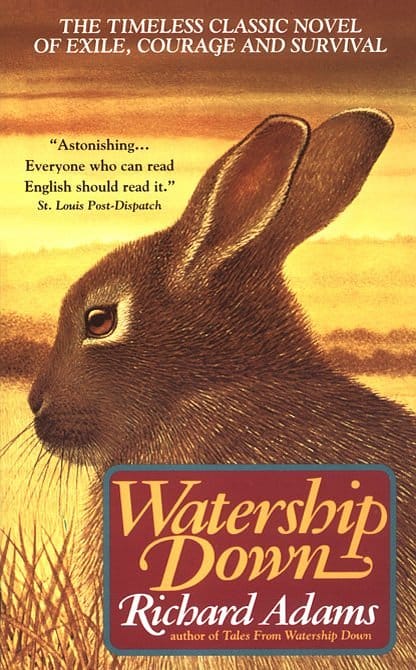
Watership Down: A Novel by Richard Adams
Age: 12 & up
This classic work of British literature is a rabbit-centric adventure that teens and adults will enjoy!
We hope you enjoyed this week’s “Treats and Reads,” all about rabbits! We’d love to know how your treats turned out and which books you decided to read!
NOTE: If you’d love to make these cookies but need to simplify the process, just use Wilton Cake Decorating Icing (in 9 oz. squeeze bottles) instead of using the melting chocolates as described in the recipe. Some icing in tubes/bottles doesn’t harden well, so be sure (if you use a different brand) that you choose one that will harden.
Rabbits: Barnyard Treats and Reads Series
Serves: 12
These rabbit-inspired Nutter Butter cookies are part of our “Treats and Reads” series. They are adorable, yummy and fun to make with kids! Make them while studying rabbits, for a birthday party, or for a baby shower!
Just a few ingredients
Additional Items
Instructions
- Set up double boiler with shallow pan and ramekins for each color chocolate. Fill with water till half way up side of ramekins. Be careful not to get water inside them as it will seize the chocolate. Turn heat to medium low.
- Add chocolates and smidge of coconut oil to each, stirring to combine as they melt. To create gray: combine 1 black melting chocolate to 1⁄4 cup white chocolate.
- Using wand or fork, dip nutter butter cookies in gray and/or brown chocolate until thoroughly coated. Hover above dish as chocolate drips off. Use a toothpick to pop any air bubbles that form. Set on wire rack to harden.
- To create the ears, tear a strip of parchment paper. Place a nutter butter on the paper and gauge the size of the floppy ears. Hand draw ears with a pencil. Fill pencil drawings with chocolate by using a piping bag or forming with a toothpick. *make extra and put in refrigerator to harden.
- Work quickly to attach ears as the warmth of your fingers will melt the thin chocolate. Using a toothpick, dip into the base color of the face and attach ears by dabbing on back of ears or on the head where you plan to place the ears.
- With a piping bag filled with white chocolate or using a toothpick, draw a white line down the middle of each ear and create large bottom feet in oval shapes. Let harden and dip a toothpick into the pink to form small pink pads and three dots for the bottom of the toes.
- Finish the face by dipping a toothpick into the black chocolate and creating tiny dots for the eyes, nose and little mouth. Carefully draw three whiskers on each side of the nose, using minimal amount of chocolate to start. Helpful hint: if you make a mistake, moisten a paper towel and very gently rub away the chocolate before it sets.
- Set to dry and harden.
- Store in airtight container.


These look like fun!
This is wonderful. Thank you so much!!
How adorable and yummy! I’ll have to try this with my little 😊
My daughter is 3 and I Love this idea!!! Definitely will be putting it into our school schedule!!!
These are absolutely adorable!!
So cute! My daughter would love those!
Oh my word!!! These are the most adorable things ever!
These are so cute. I love them. Making them this week
These bunnies are so cute and my 5 year old would just love them! Especially if we pair them with the beloved Beatrix Potter. He will listen to her stories for hours if I am willing to read that long!
My son has a bunny that he shows for 4H. This is perfect for him!!!
These are adorable! We live in Chicago and have soooooo many of them hopping around here so my son will definitely love these.
My daughter loves to cook! She would love to make these rabbit cookies.
So cute!
So cute
How cute! I love being able to tie in food with a lesson! ❤️
so cute!
Super cute!
My 6th grader will love making these and my preschoolers will love eating them. Haha
Such a cute idea!!
Love to eat things that go along with what we read!
This is such a cute idea! We are covering small animals next month and I am so excited to do this with the kids.
So cute! Love this!
I miss those days. My youngest is going into 7th grade this year, but maybe I can talk her into making these Nutter Butter rabbits. 😊
Have her help you make them to give to a younger child! 🙂
Great info and such a cute idea! I’m sure ours will “nail it” lol
My daughter can’t wait to make these!
I have to try this.
This is why I decided to try homeschooling this year! The opportunity to do these sorts of projects with my daughter is so exciting to me. Can’t wait to learn all I can!
Those are adorable!
I love this! So cute!
Thank you so much!