Beautiful Quilled Menorah Craft for Hanukkah
Creating crafts with your kids can provide a wonderful, hands-on opportunity to talk about the reason you celebrate certain holidays. If you’re looking for a great Hanukkah craft to do together in preparation for the “Festival of Lights,” look no further! This beautiful quilled menorah is perfect to make with your children as you talk about the story of Hanukkah and the symbolism of the menorah. This also provides a great opportunity to teach your kids the beautiful art of quilling paper!

What You’ll Need:
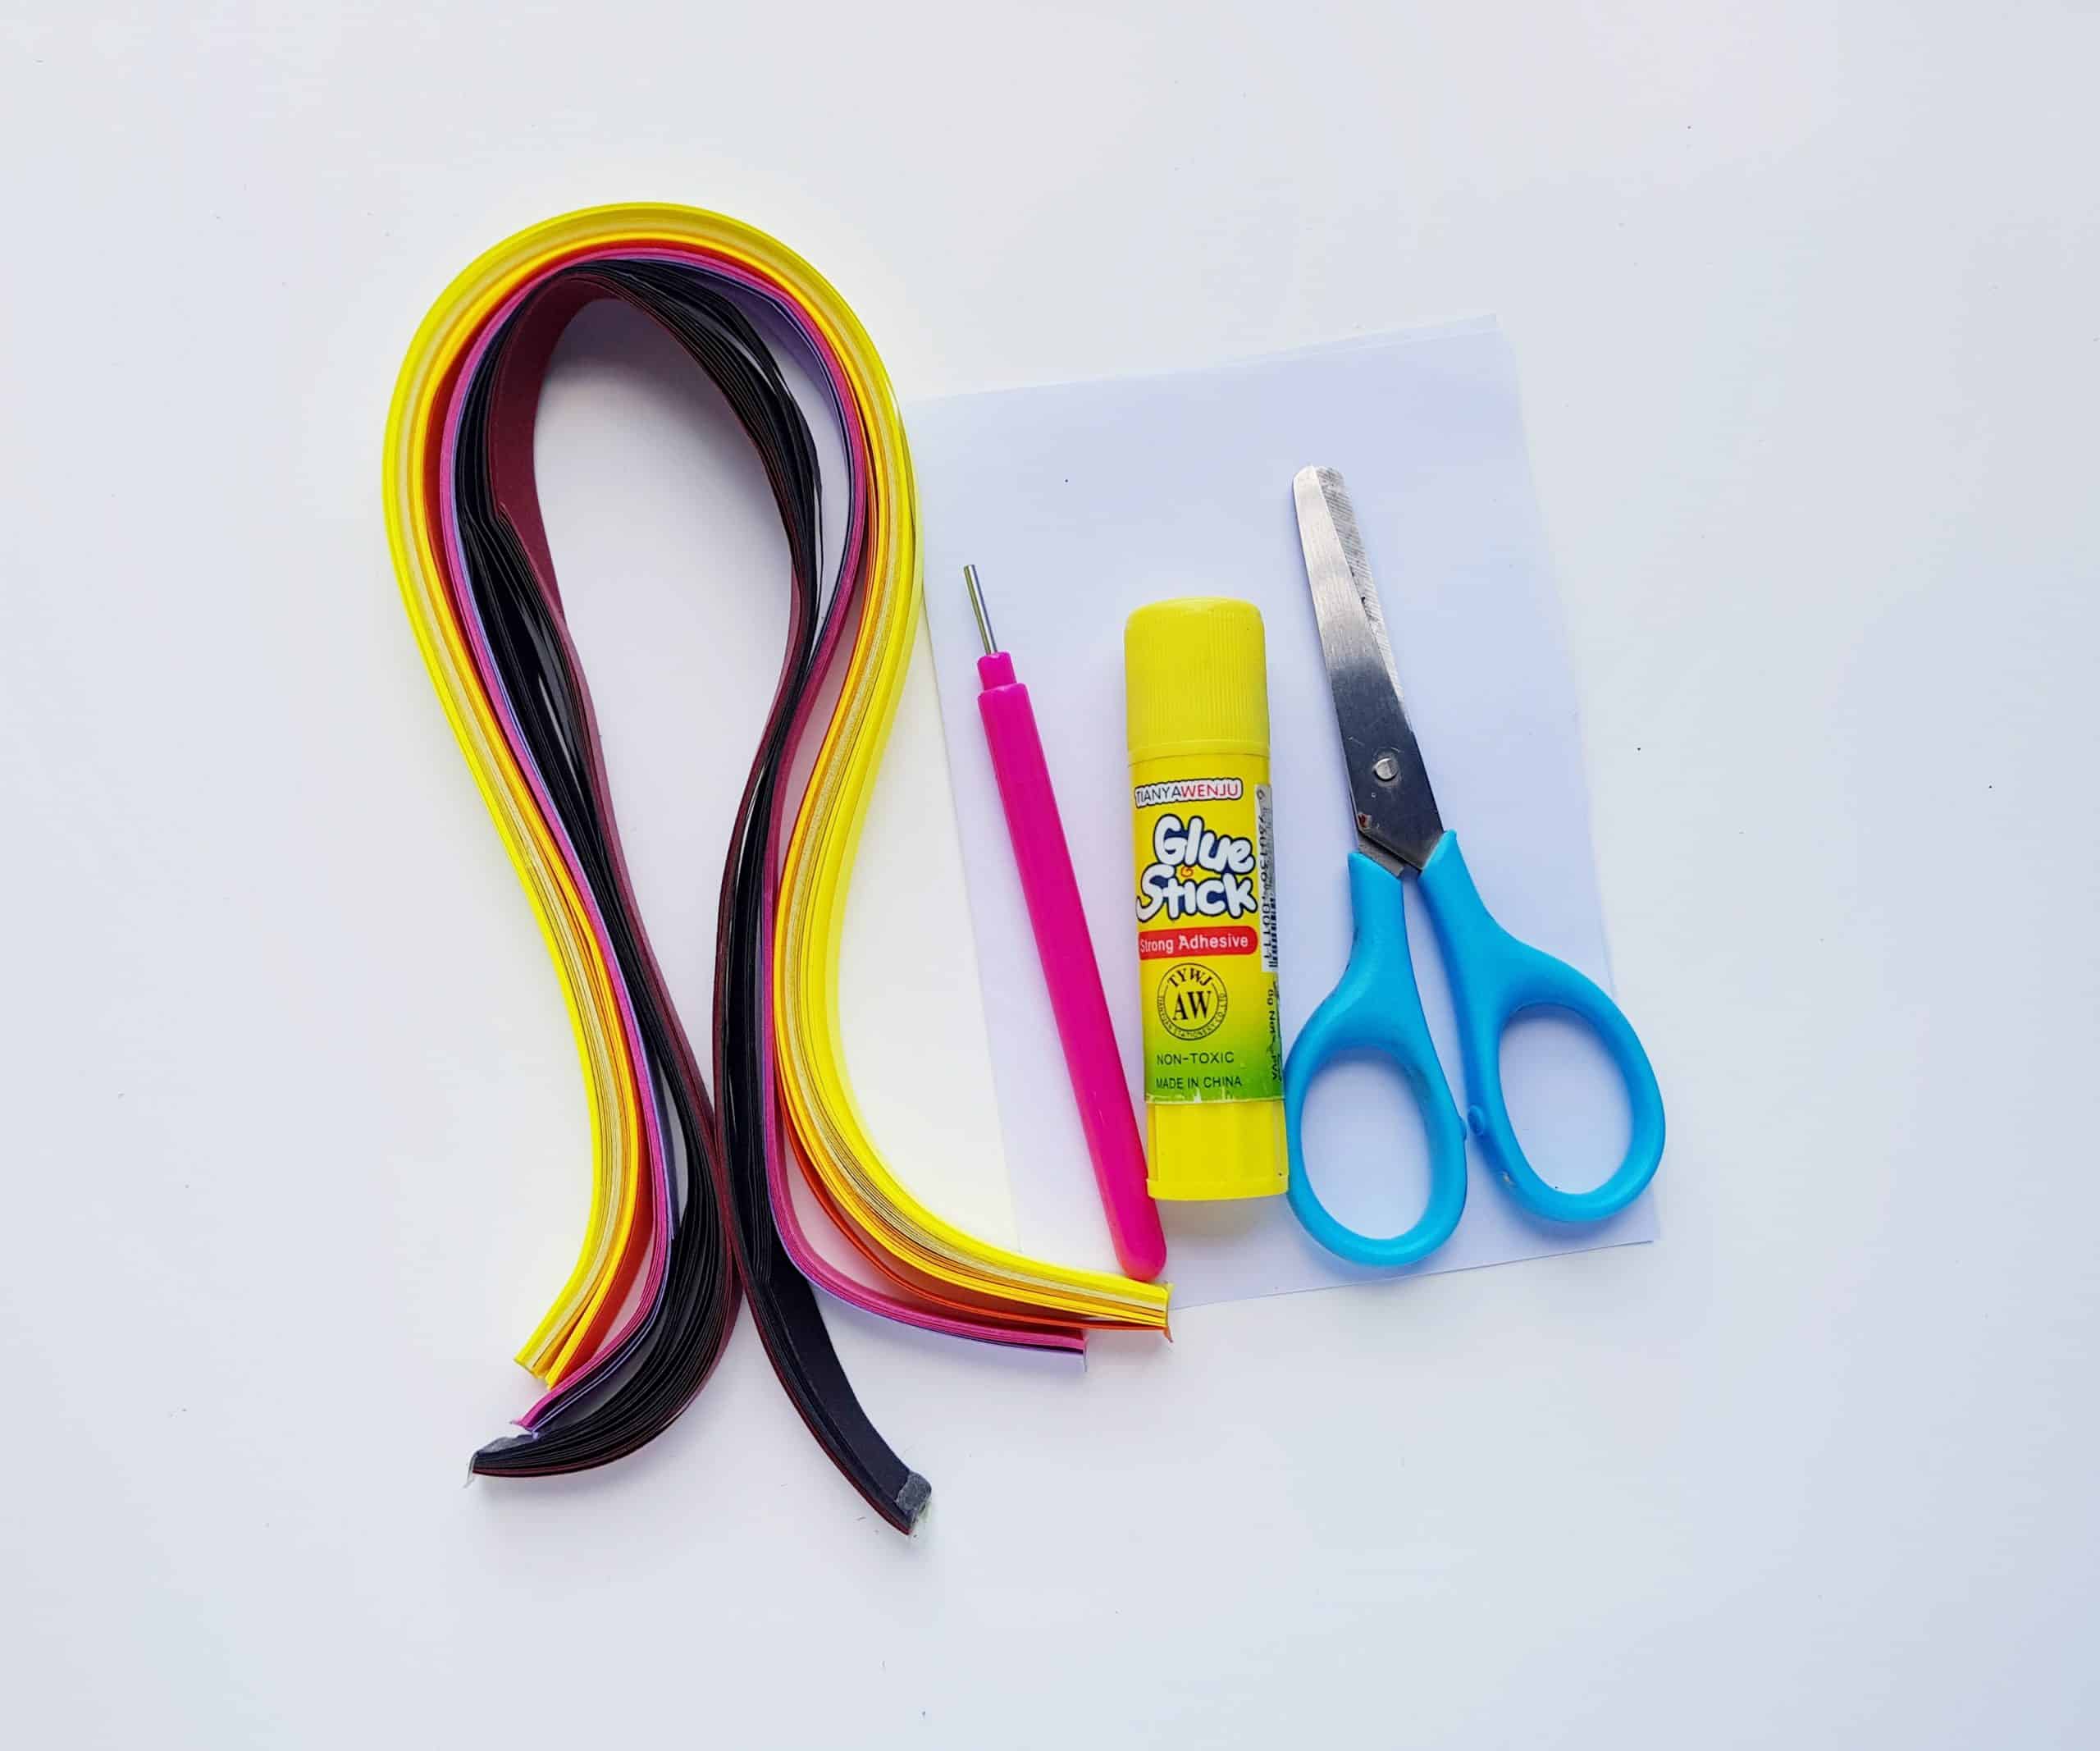
- Paper quilling strips
- Colored craft paper
- Slotted quilling tool
- Pencil
- Scissors
- Craft Glue
Note: Instead of buying quilling paper and the quilling tool separately, I suggest purchasing this kit from Amazon because it comes with both (plus more) and is a really good price!
How to Make It:
The first part of this gorgeous craft you will work on is the flames for the candles. You’ll need to select some longer (12 cm) yellow quilling strips and shorter (6 cm) orange quilling strips for this part. 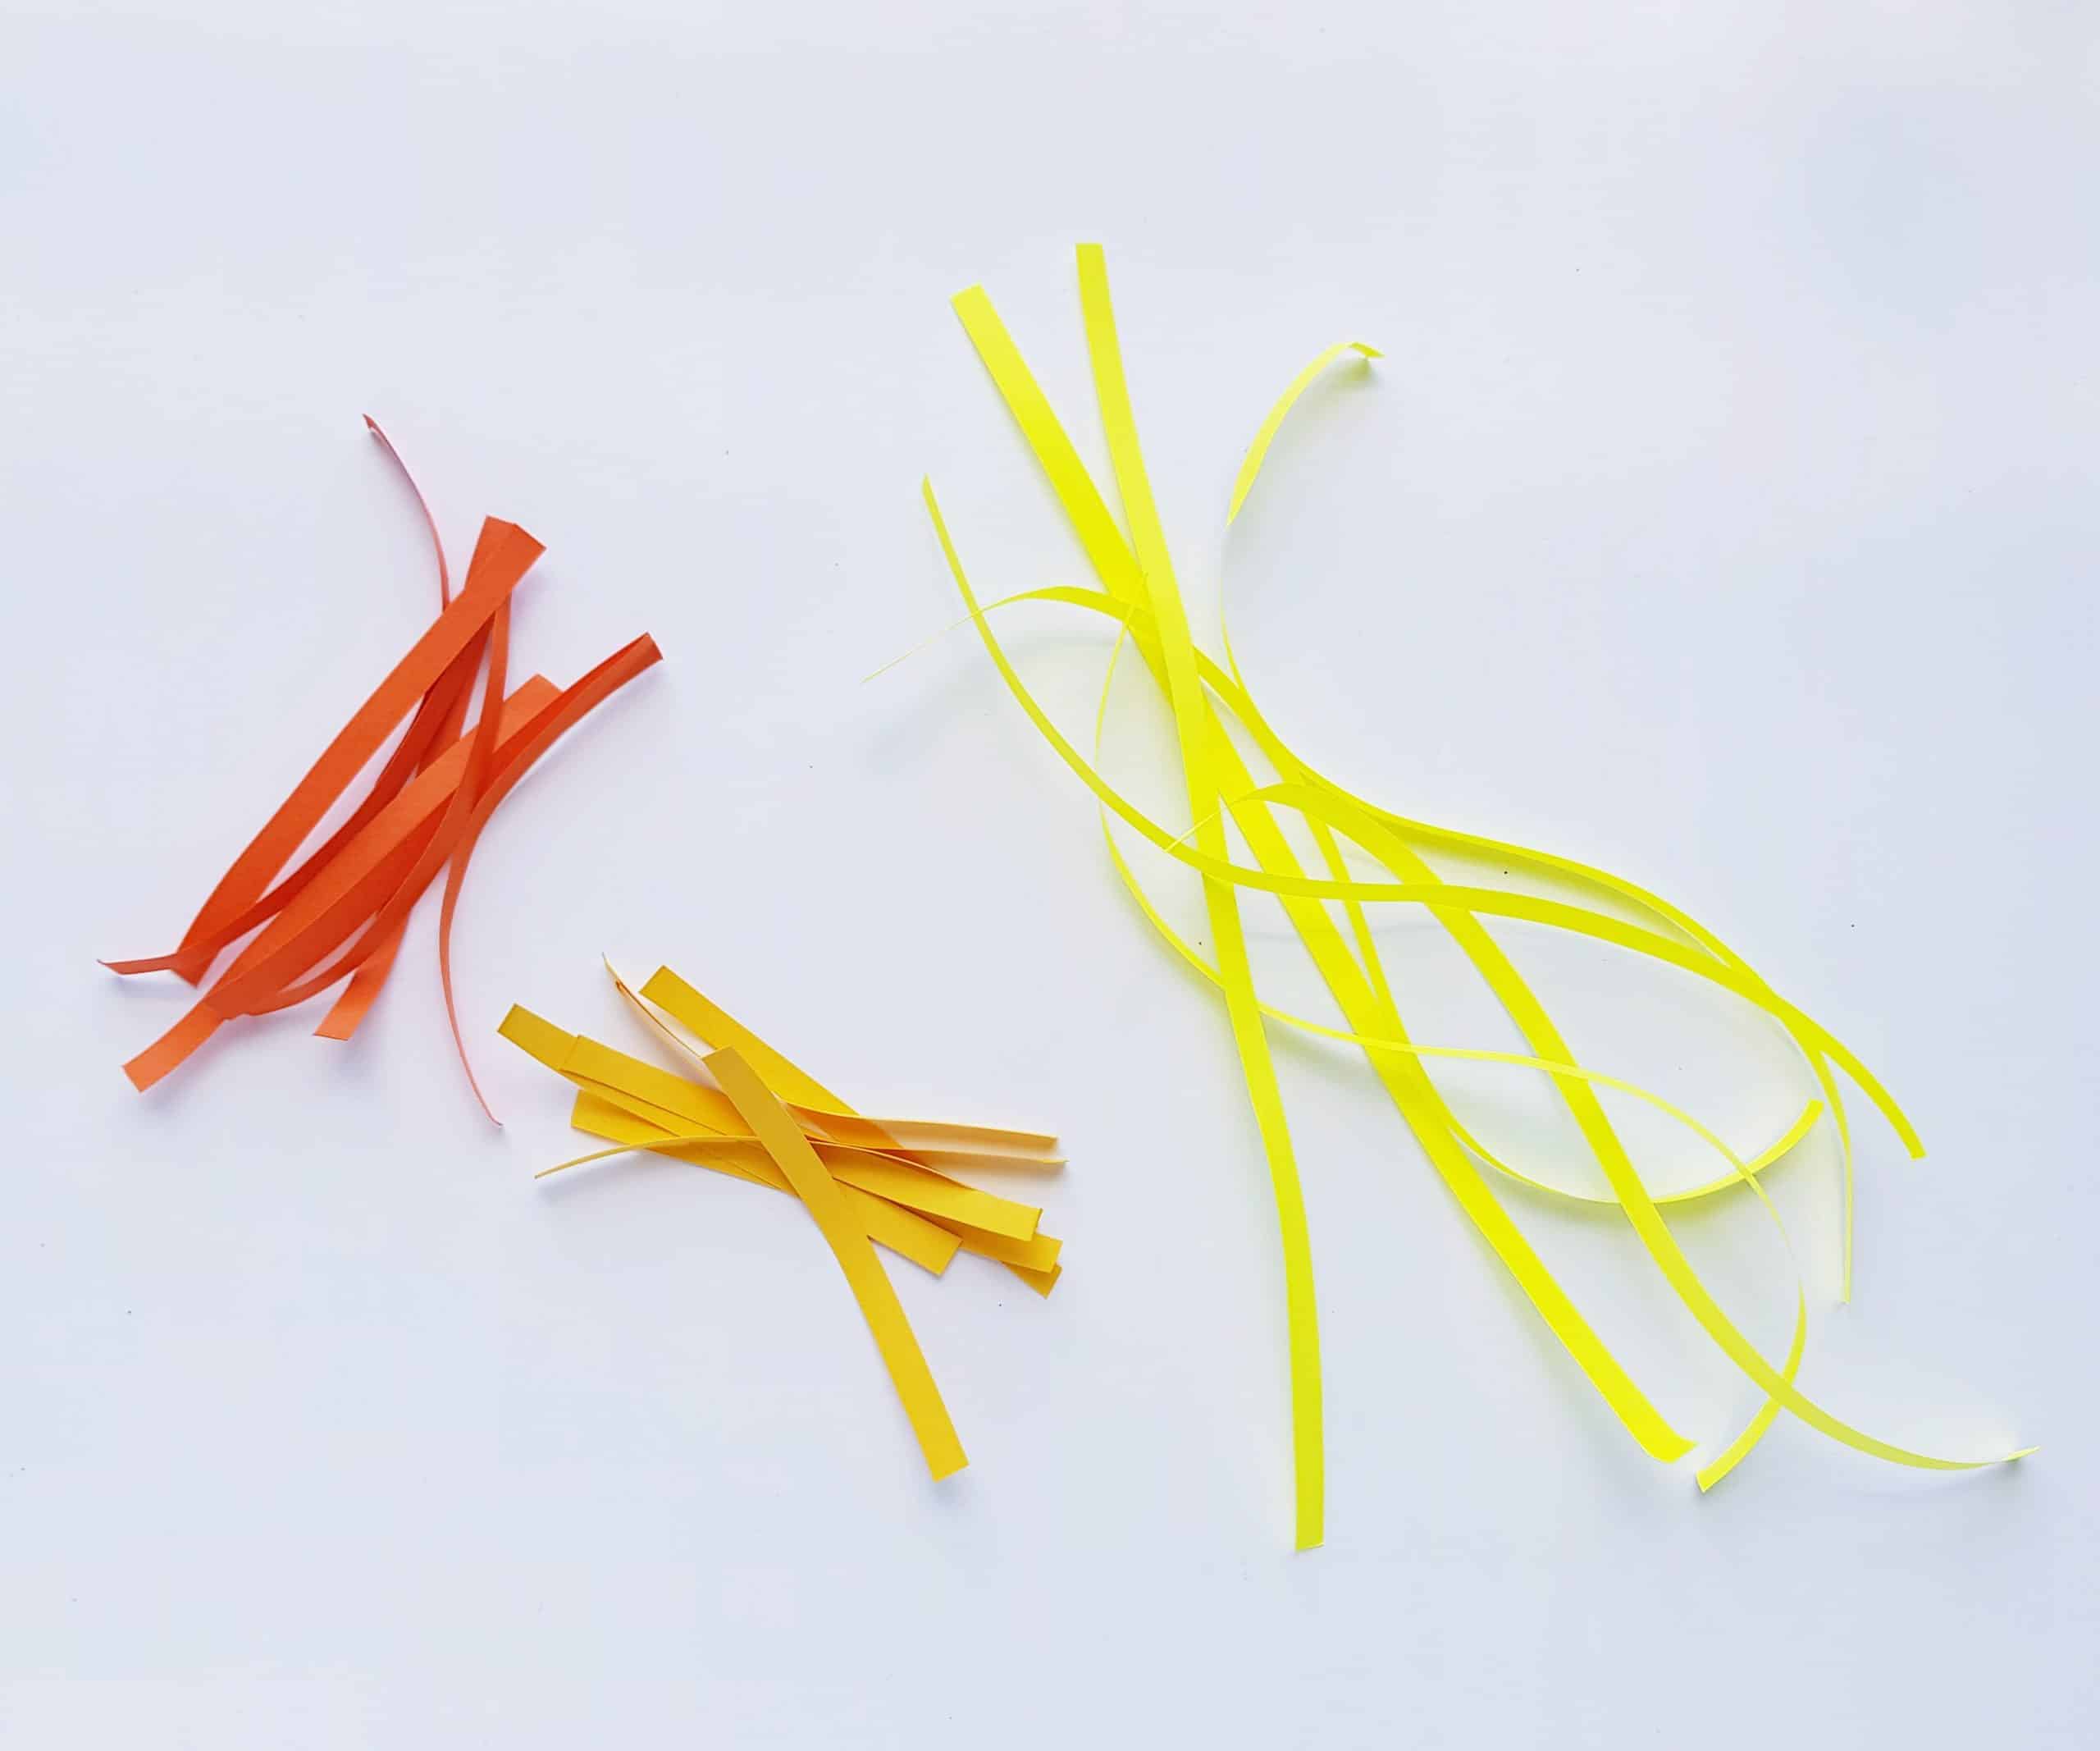
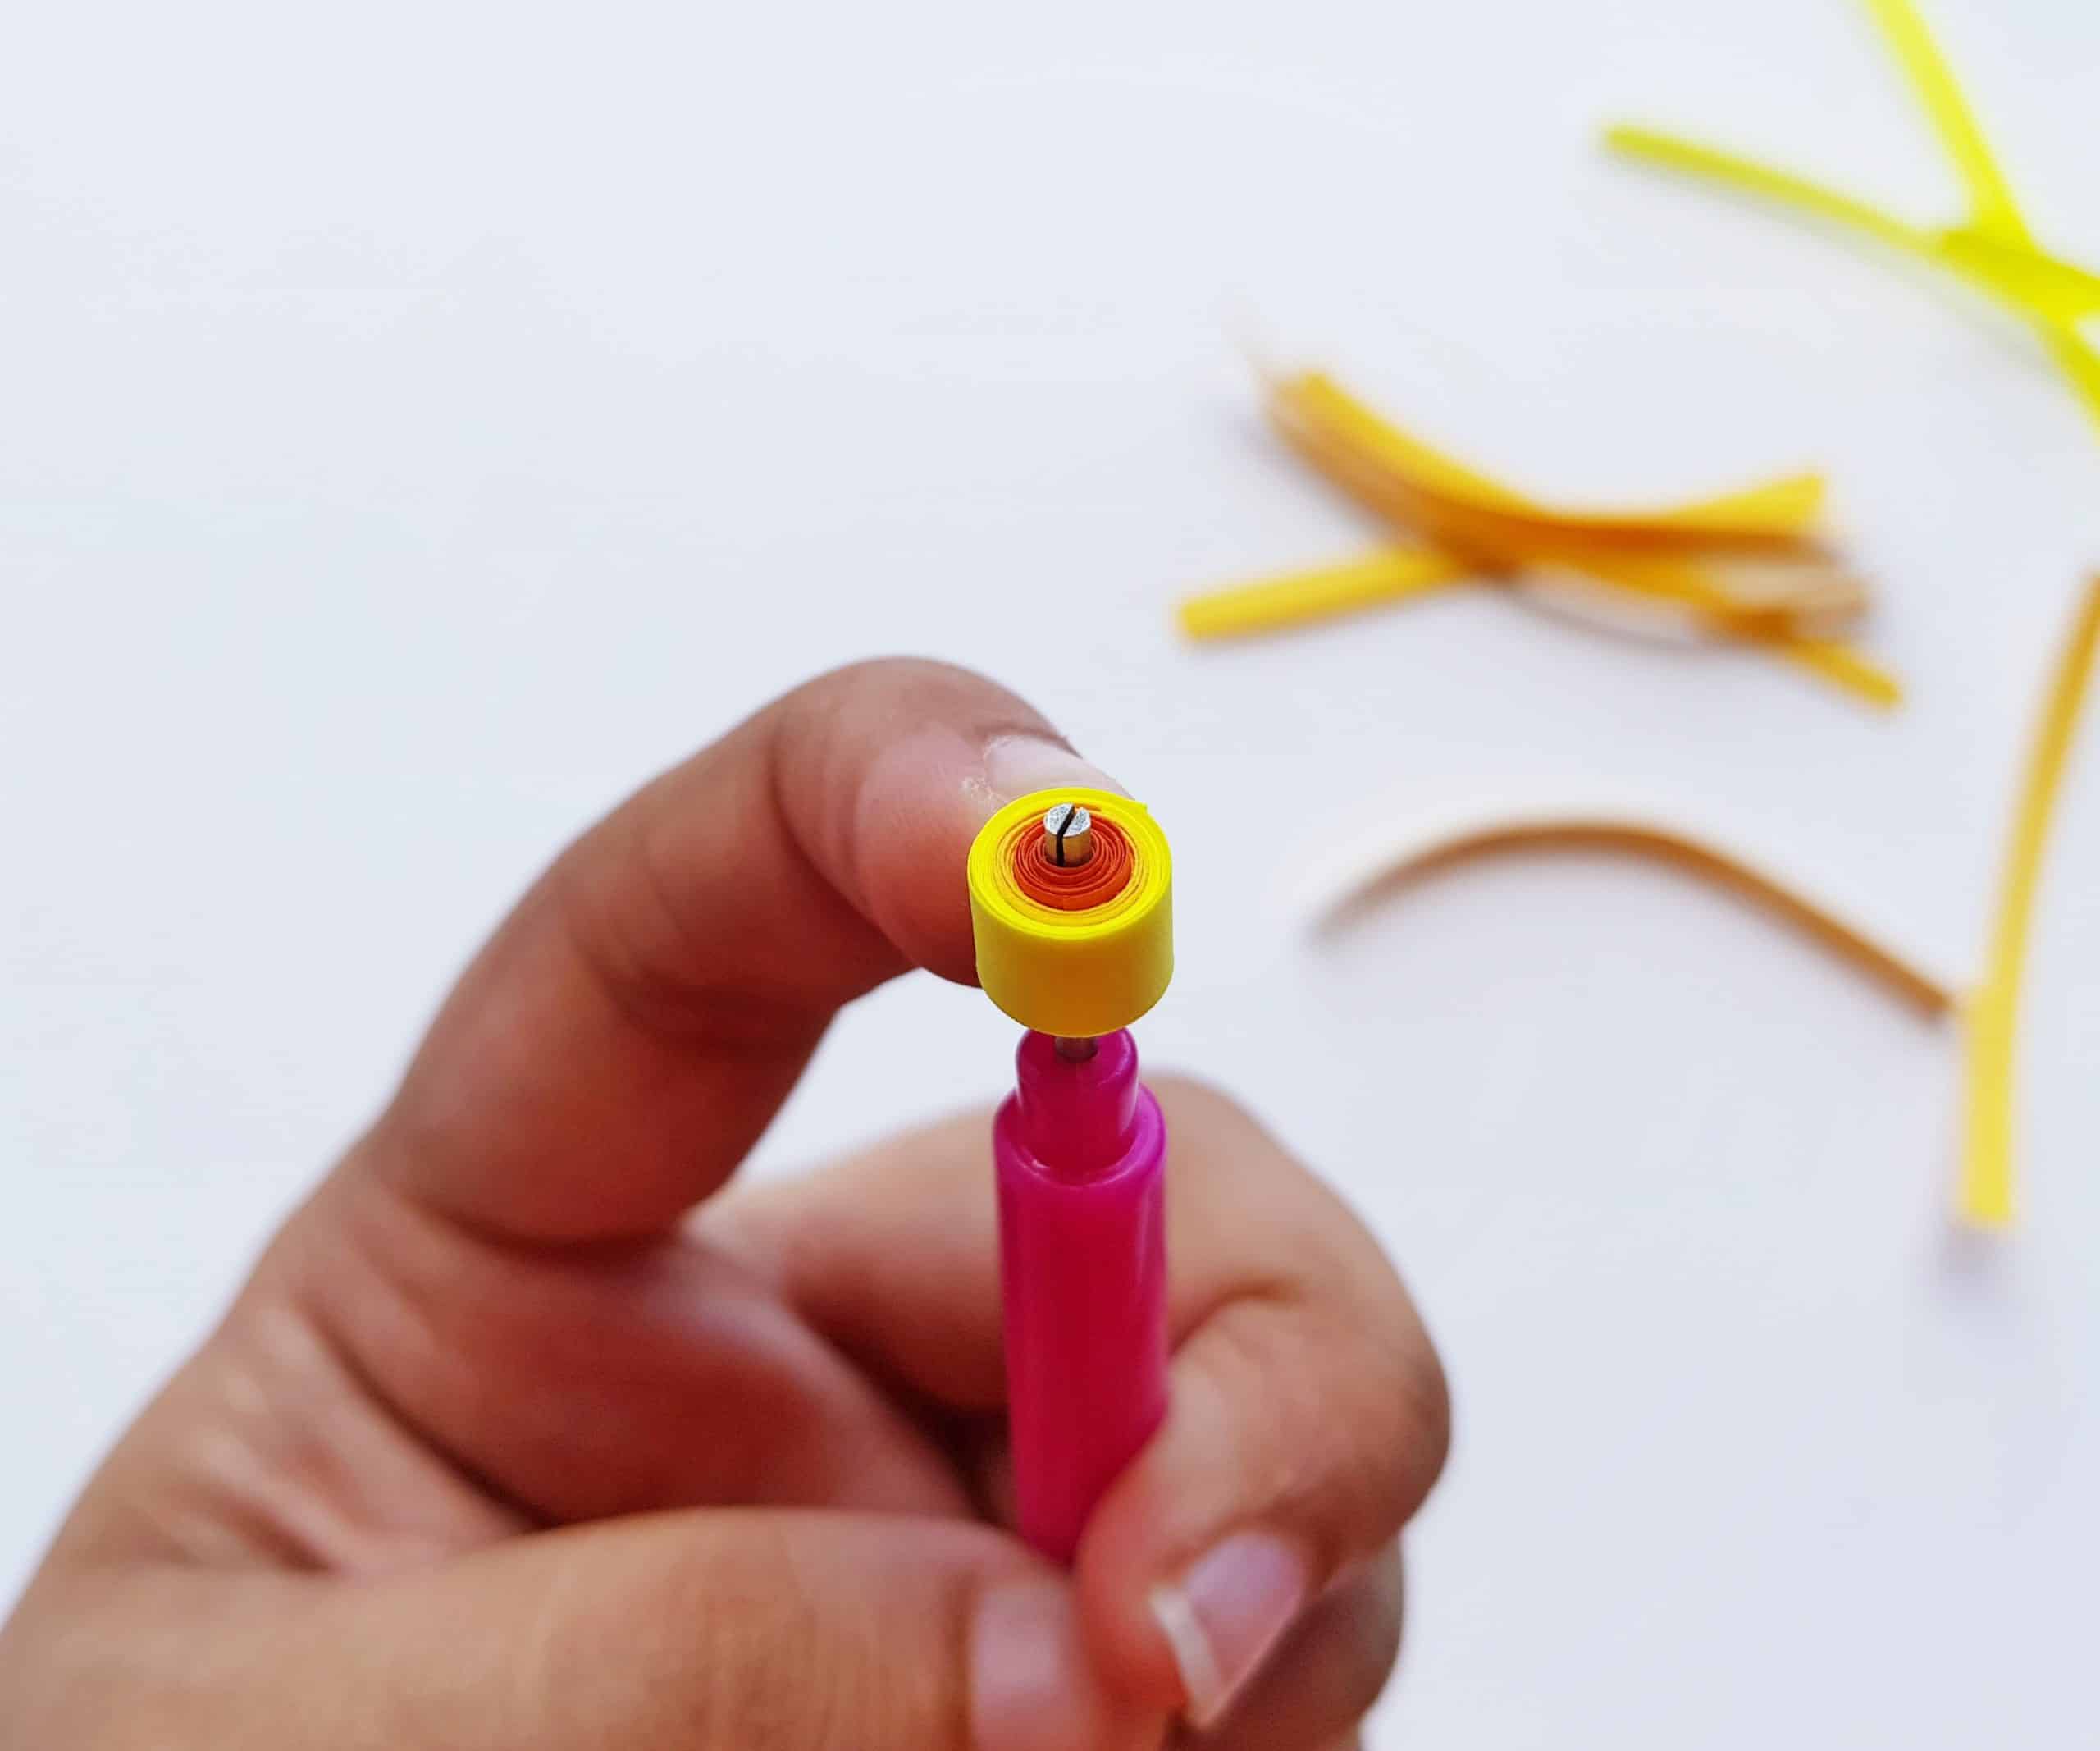
Using your quilling tool, create a tight curl out of the 6 cm orange-colored strip. Hold the end tightly without releasing the coil from the
quilling tool. Now add the yellow colored strip and coil it tightly around the orange coiled strip.

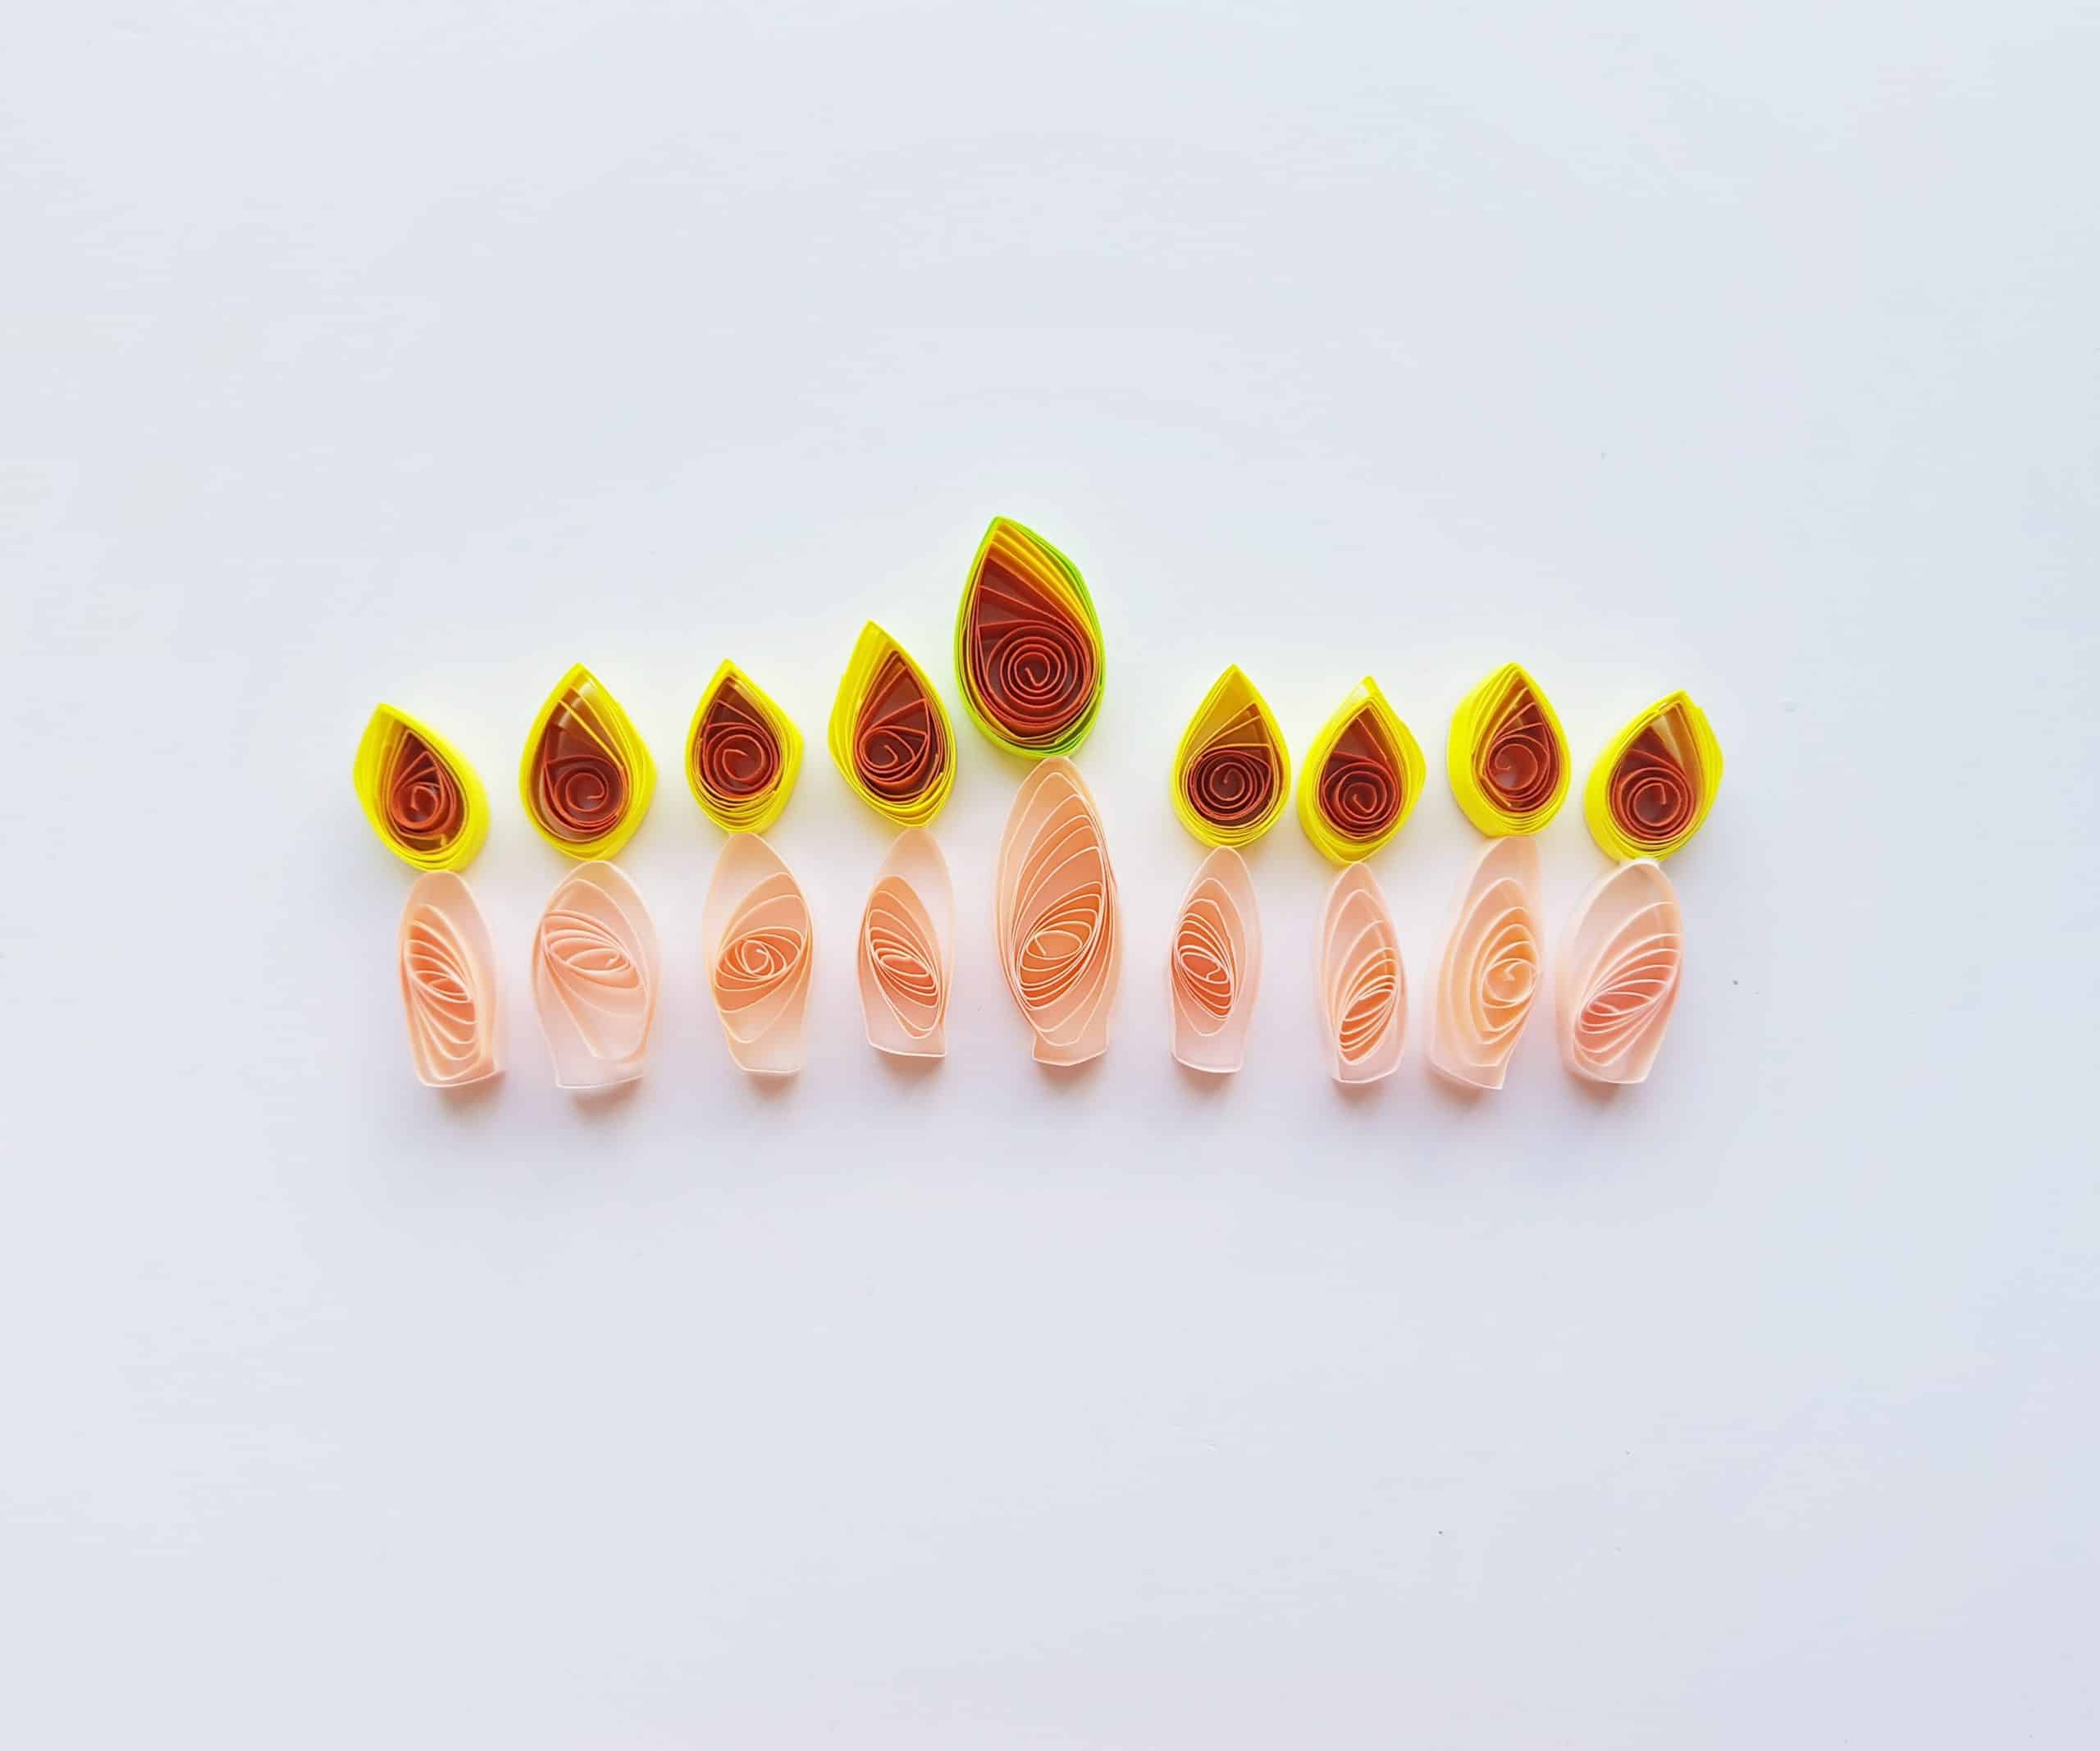
Now that you have your 9 flames, you need 9 candles to go with them. Grab a long-ish (about 10 cm) coiling strip in the color you’d like to use for your candles. Using the quilling tool, make a loose coil and then press the coil on both sides (essentially squishing it into a longer, thinner shape). This creates the “candle.” Now that you’ve got the hang of it, make 8 more candles! You will want one candle (the center candle) to be slightly larger than the others. When you have the 9 flames and 9 candles, you can put them together with a bit of glue and lay them out to dry. The flames and candles should look something like this:
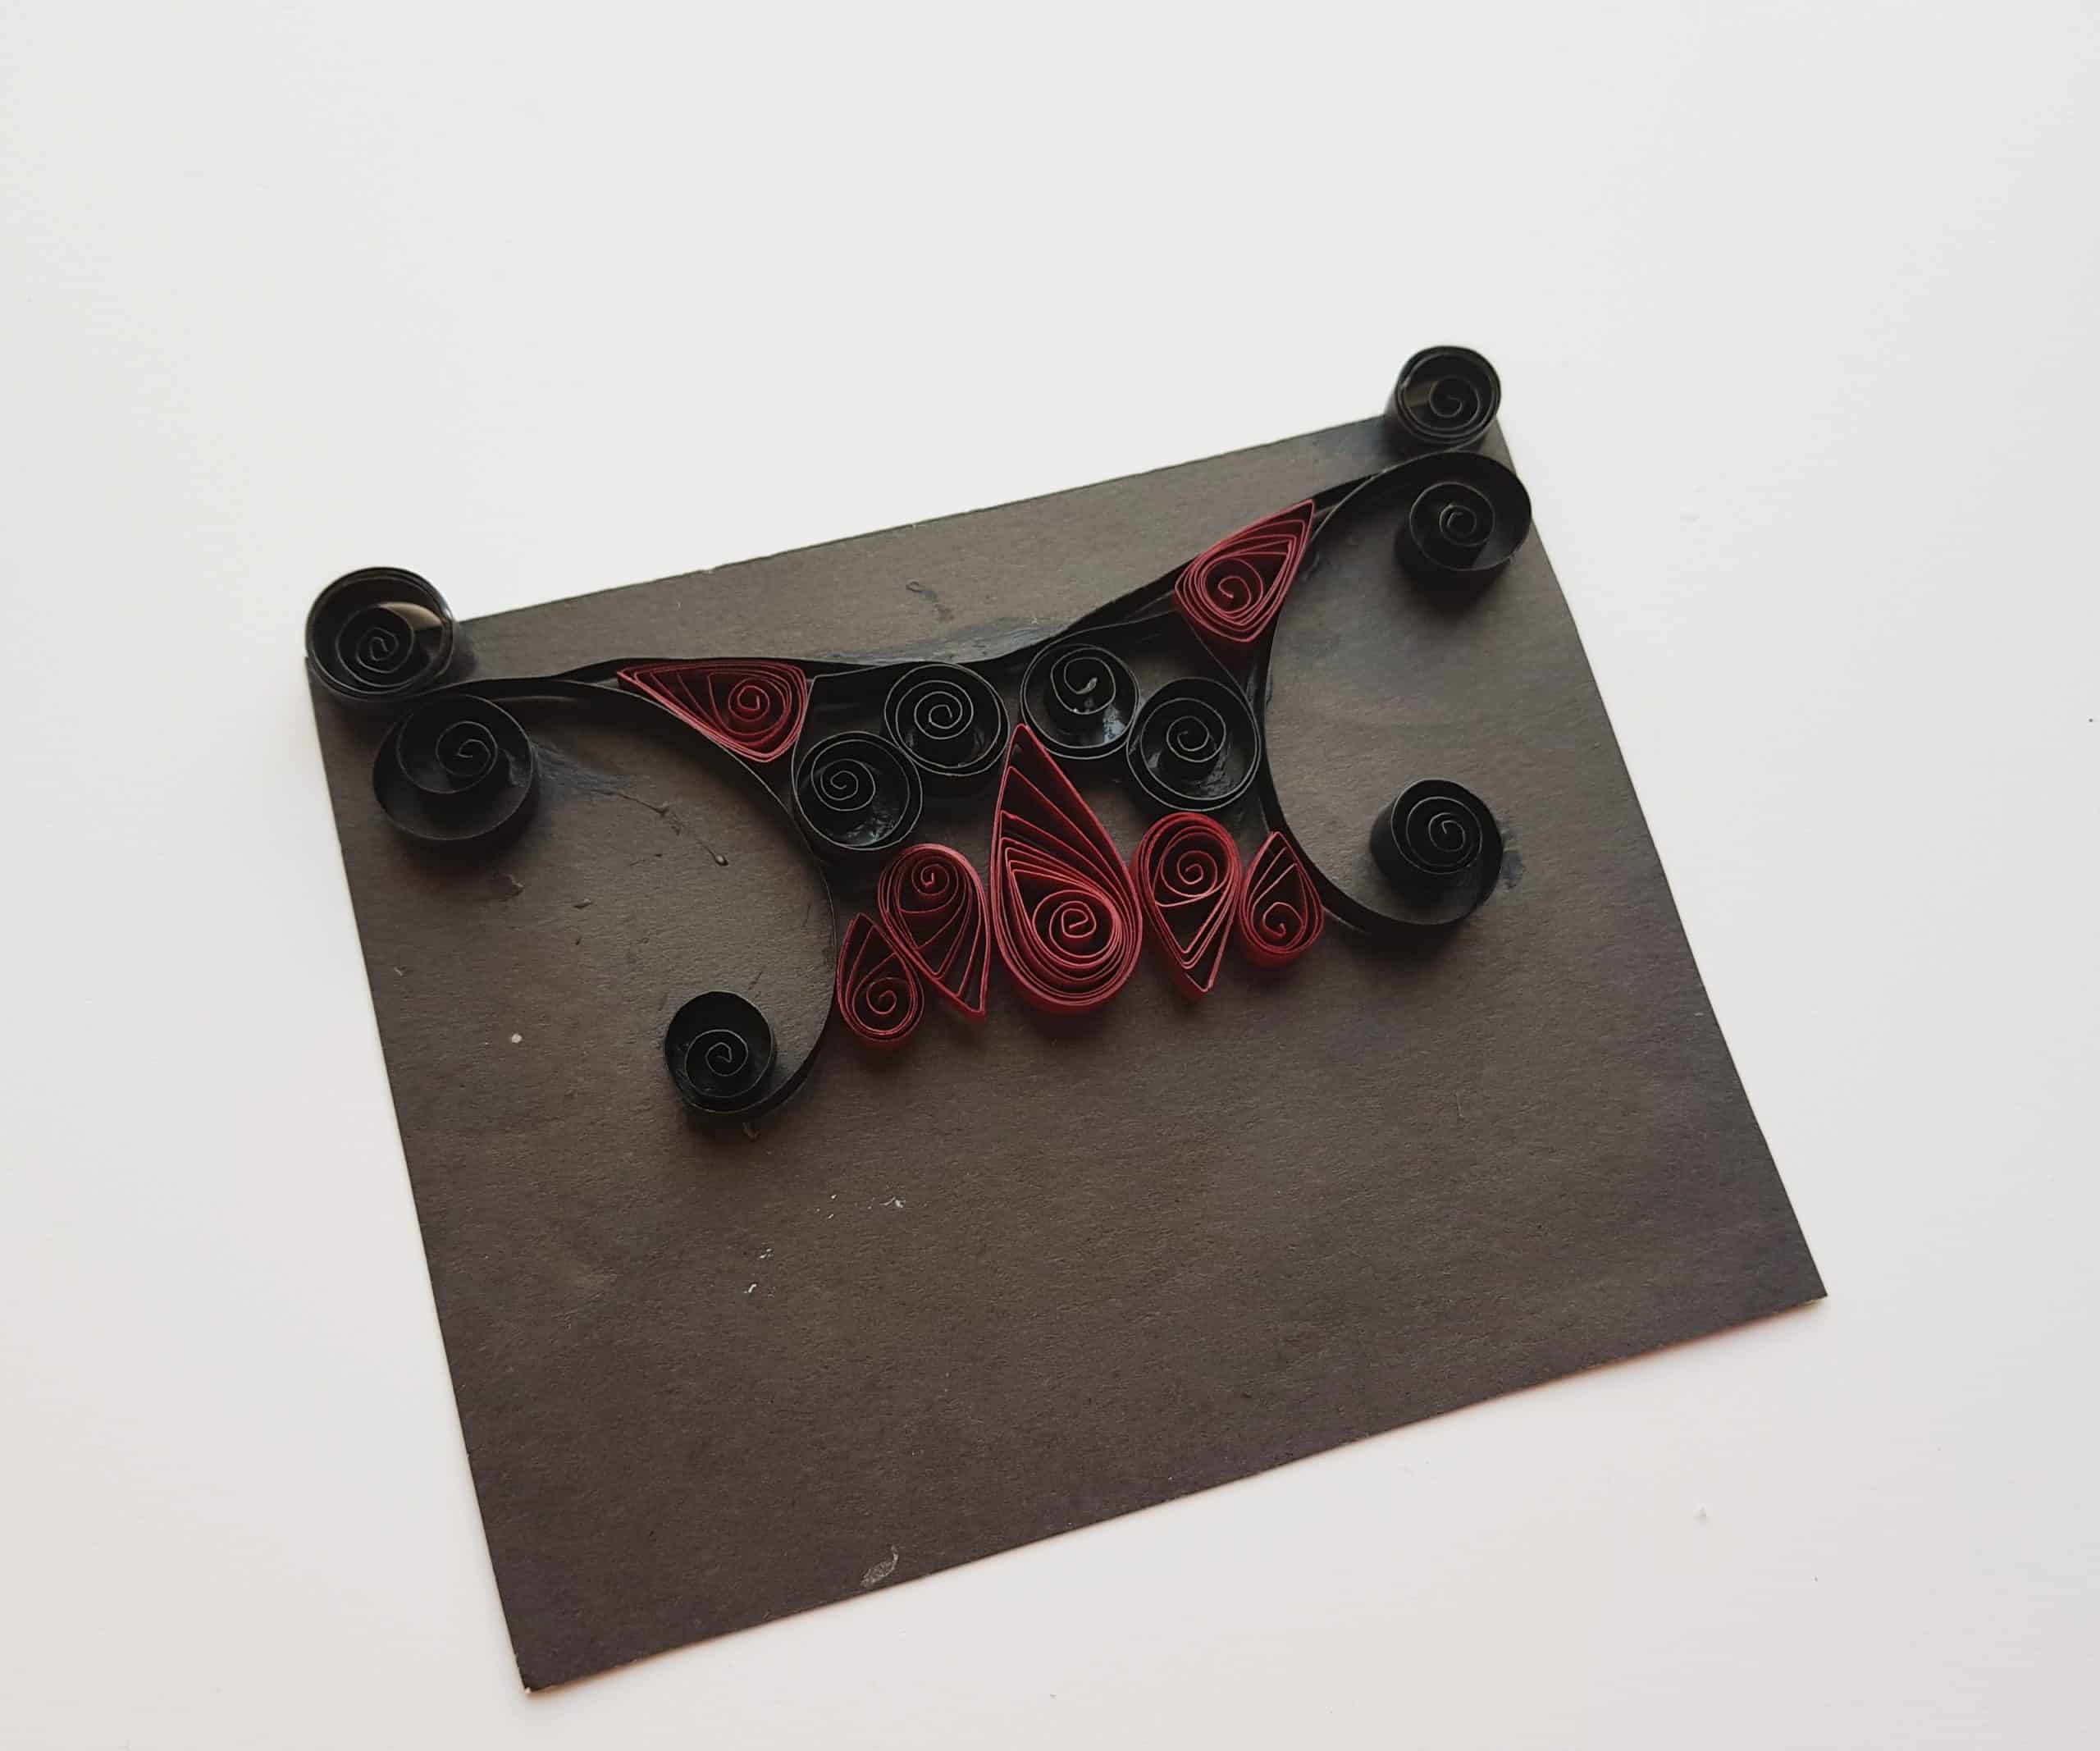
Next it’s time to make the candle holder. Select your quilling paper color (or colors) of choice for the menorah. I went with black and scarlet. You’ll be attaching the quilled papers that you make for this part of the craft directly to a piece of craft paper, so make sure to pick a piece of paper that looks coordinated! I’m making a black and scarlet mixed quilled candle holder (stand), and I used a piece of black construction paper for the background.
To make the base of the menorah, you’ll need two, 10 cm quilling strips. Use the quilling tool to curl 3 cm of both sides of the strips, and then glue them to the paper, as shown. Keep in mind that the gap between the 2 coiled strips should be the width of the menorah.
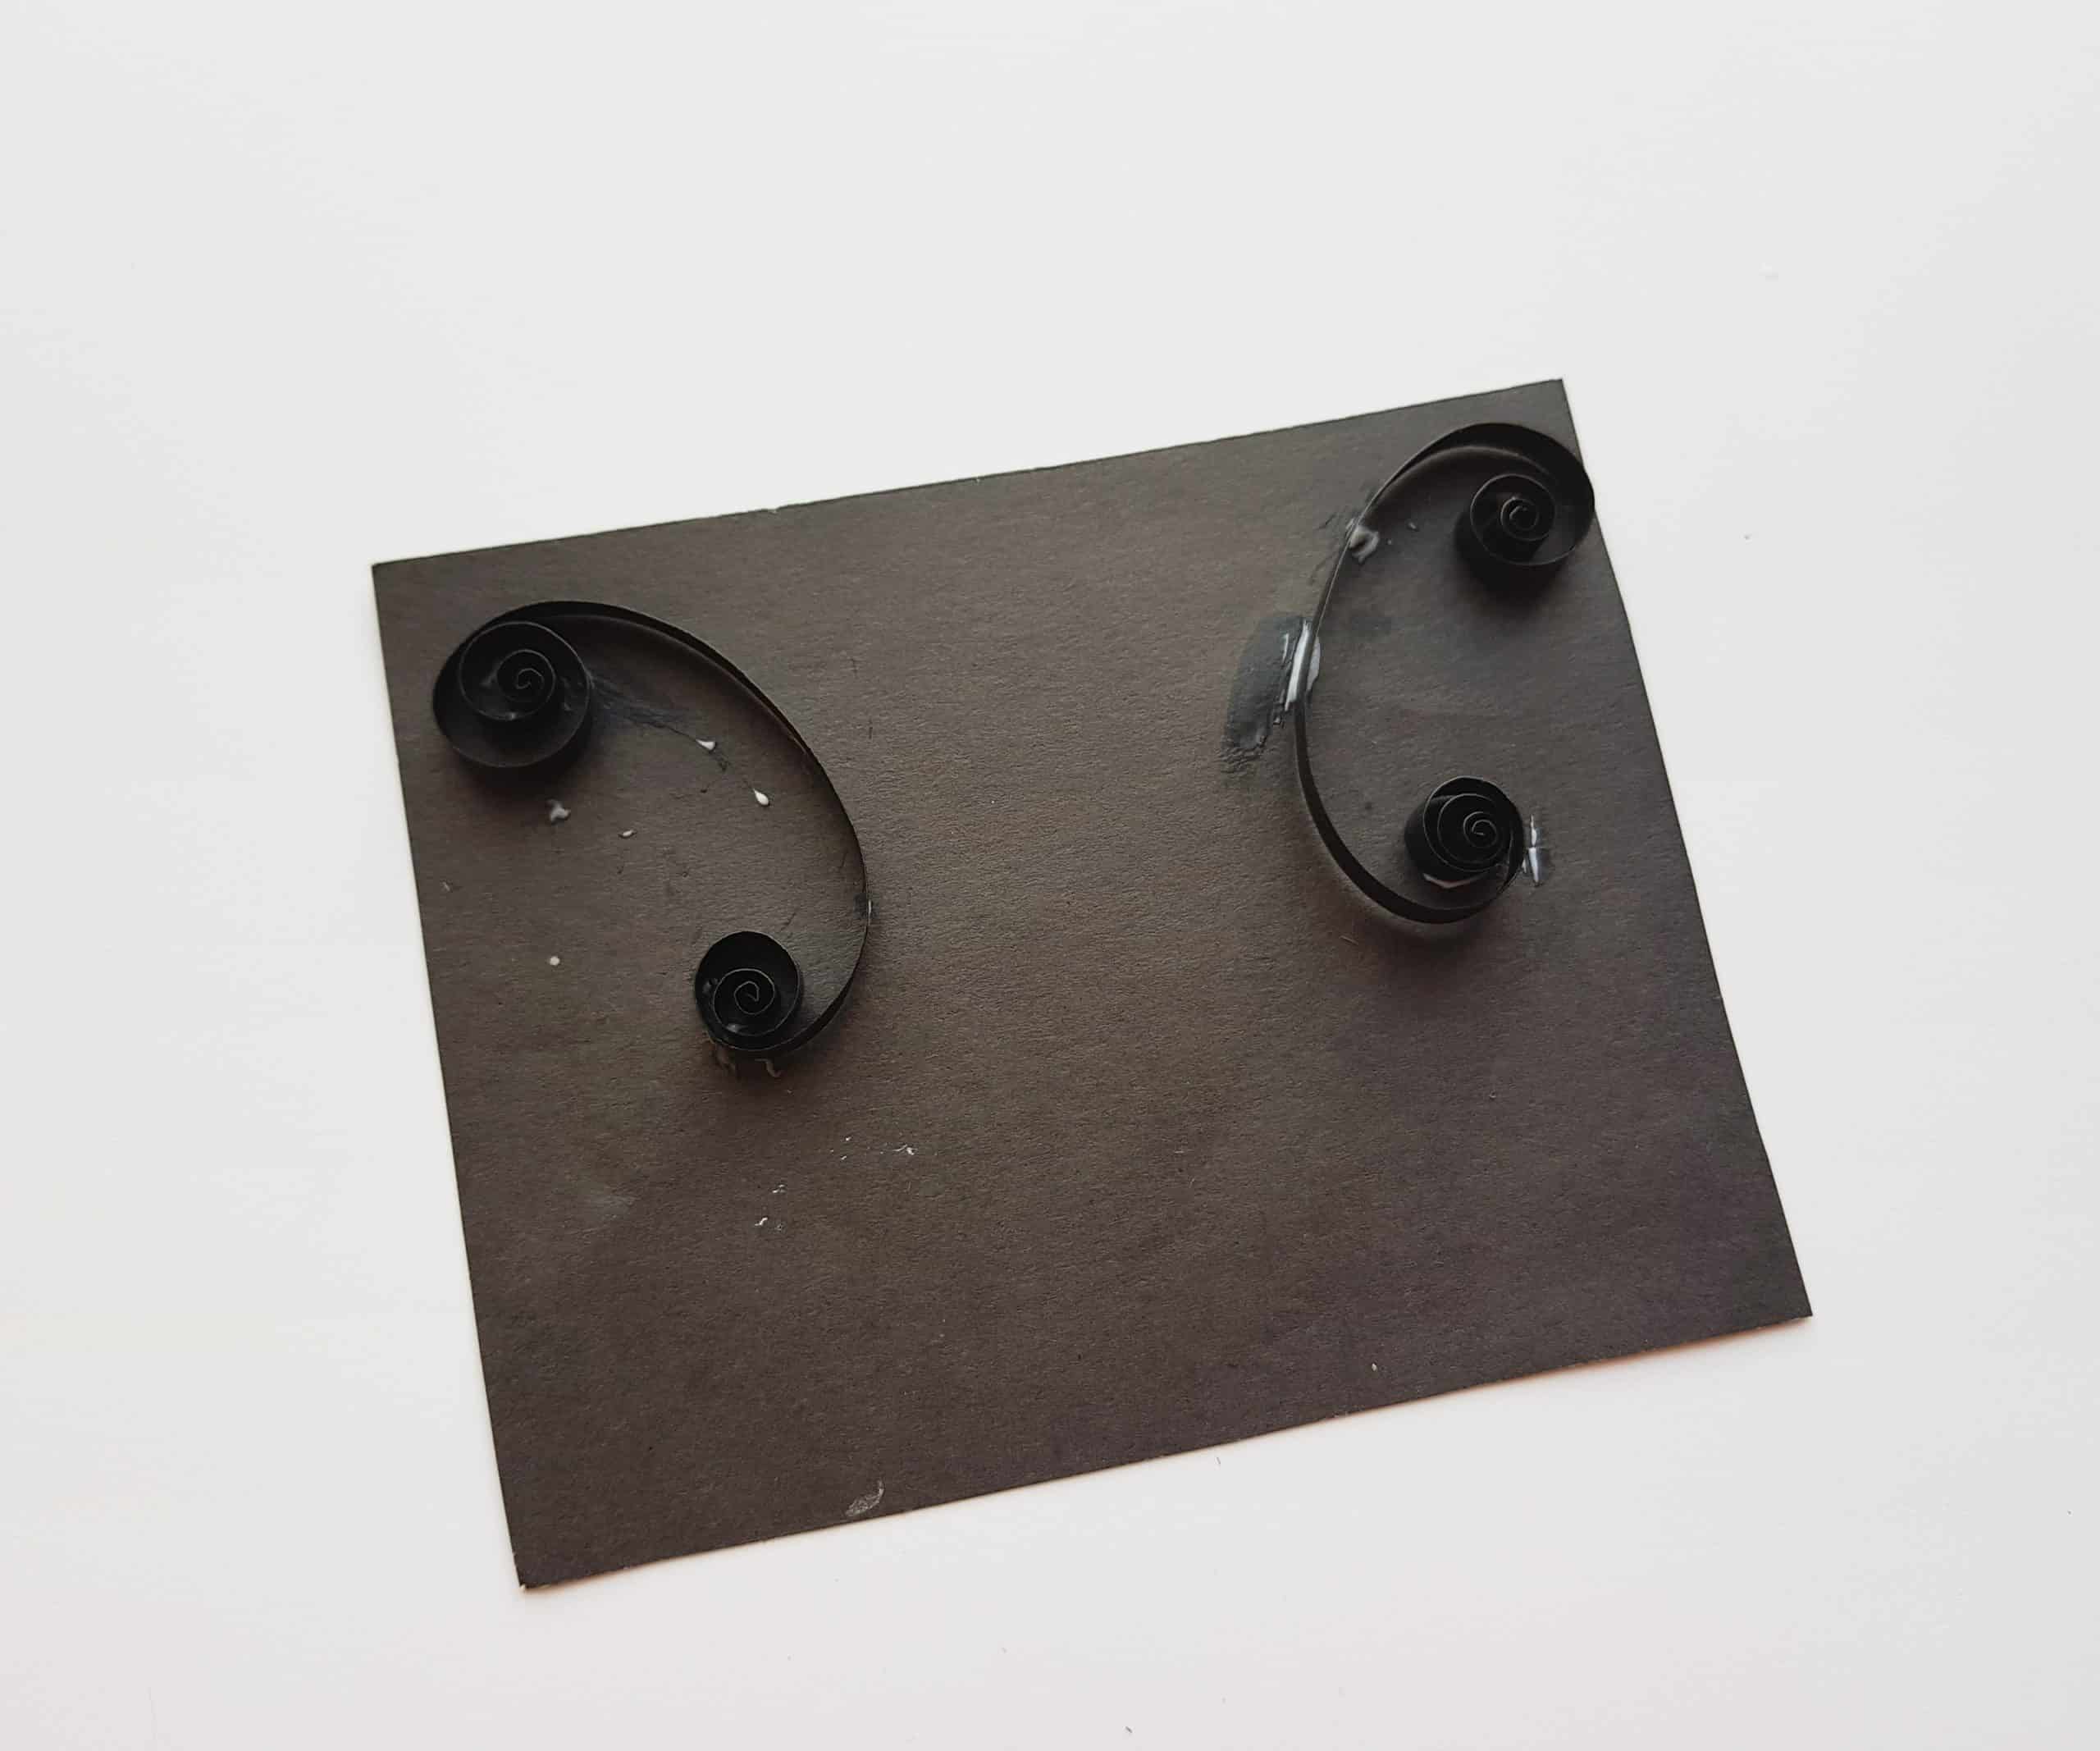
Grab another long black strip and similarly coil its 2 open ends a little. This piece will act like a bridge between the other two pieces, with the curled parts facing upwards.

Next, you can use your imagination as you create various quilled shapes and coils (and teardrops and hearts) to fill in the shape of your quilled candle holder. If you need a bit of direction on how to create these various shapes, we walk you through some of them in our quilled Christmas tree craft.
I mostly used teardrop shapes and heart shapes to fill in the shape of my menorah . I’d suggest making shapes and playing around with the arrangement. When you have something you’re happy with, glue it down to the piece of paper! Try to make sure that the bottom is relatively flat and even.
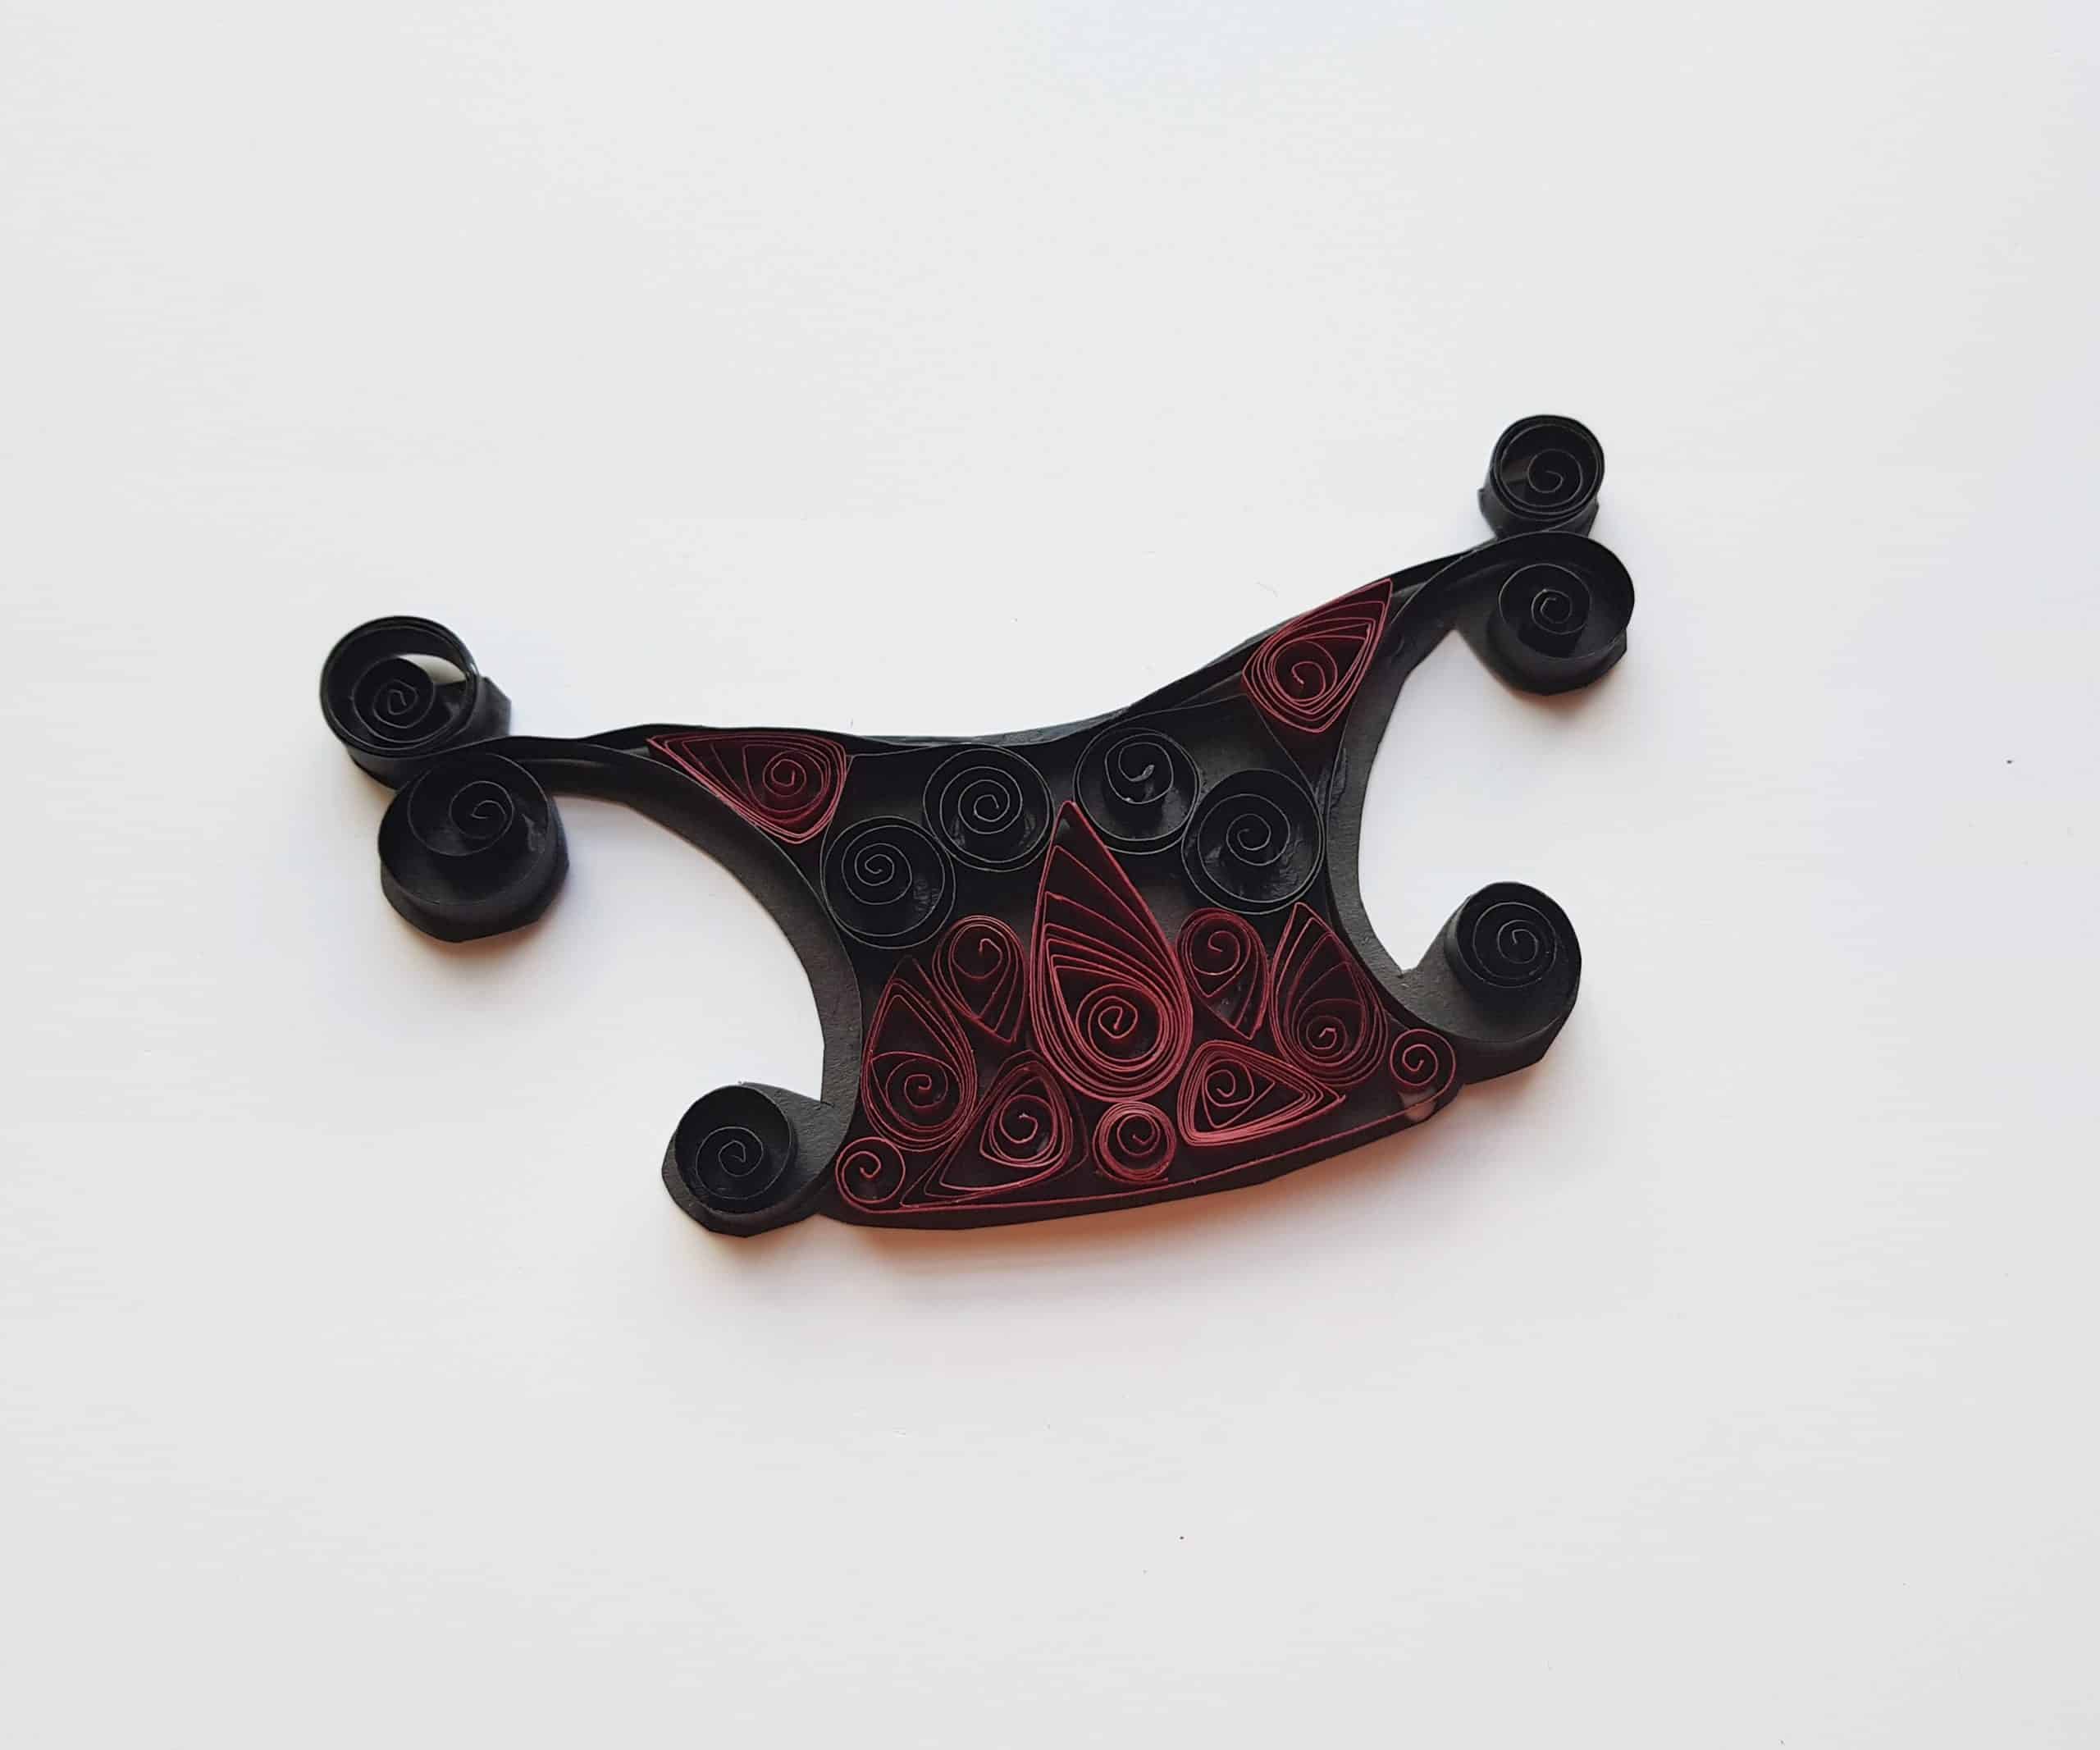
Once the glue dries, carefully cut out the shape surrounding the quilled pattern.
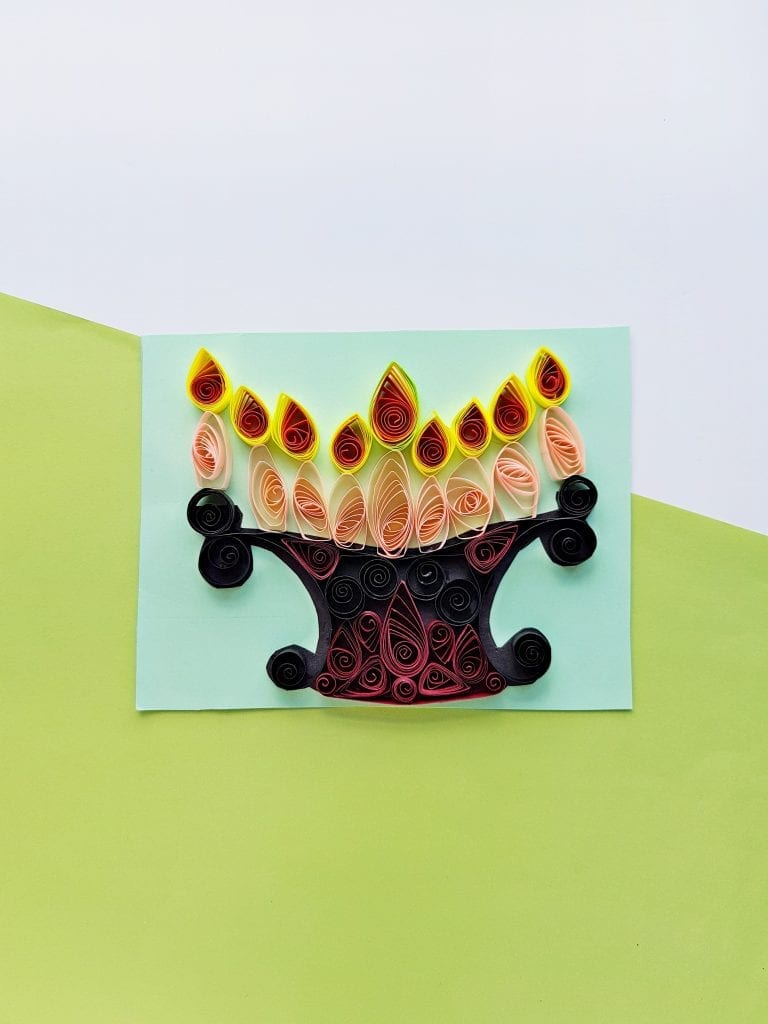
For the final step, take your quilled candles with flames and carefully glue them on top of the quilled candle stand. You’ll want the candles on the opposite ends to go on top of the curved parts of your candle stand, and you’ll also want to pinch the candle and flame in the center a little bit extra to make it taller than the three candles to each side of it. Your end result should look like this:
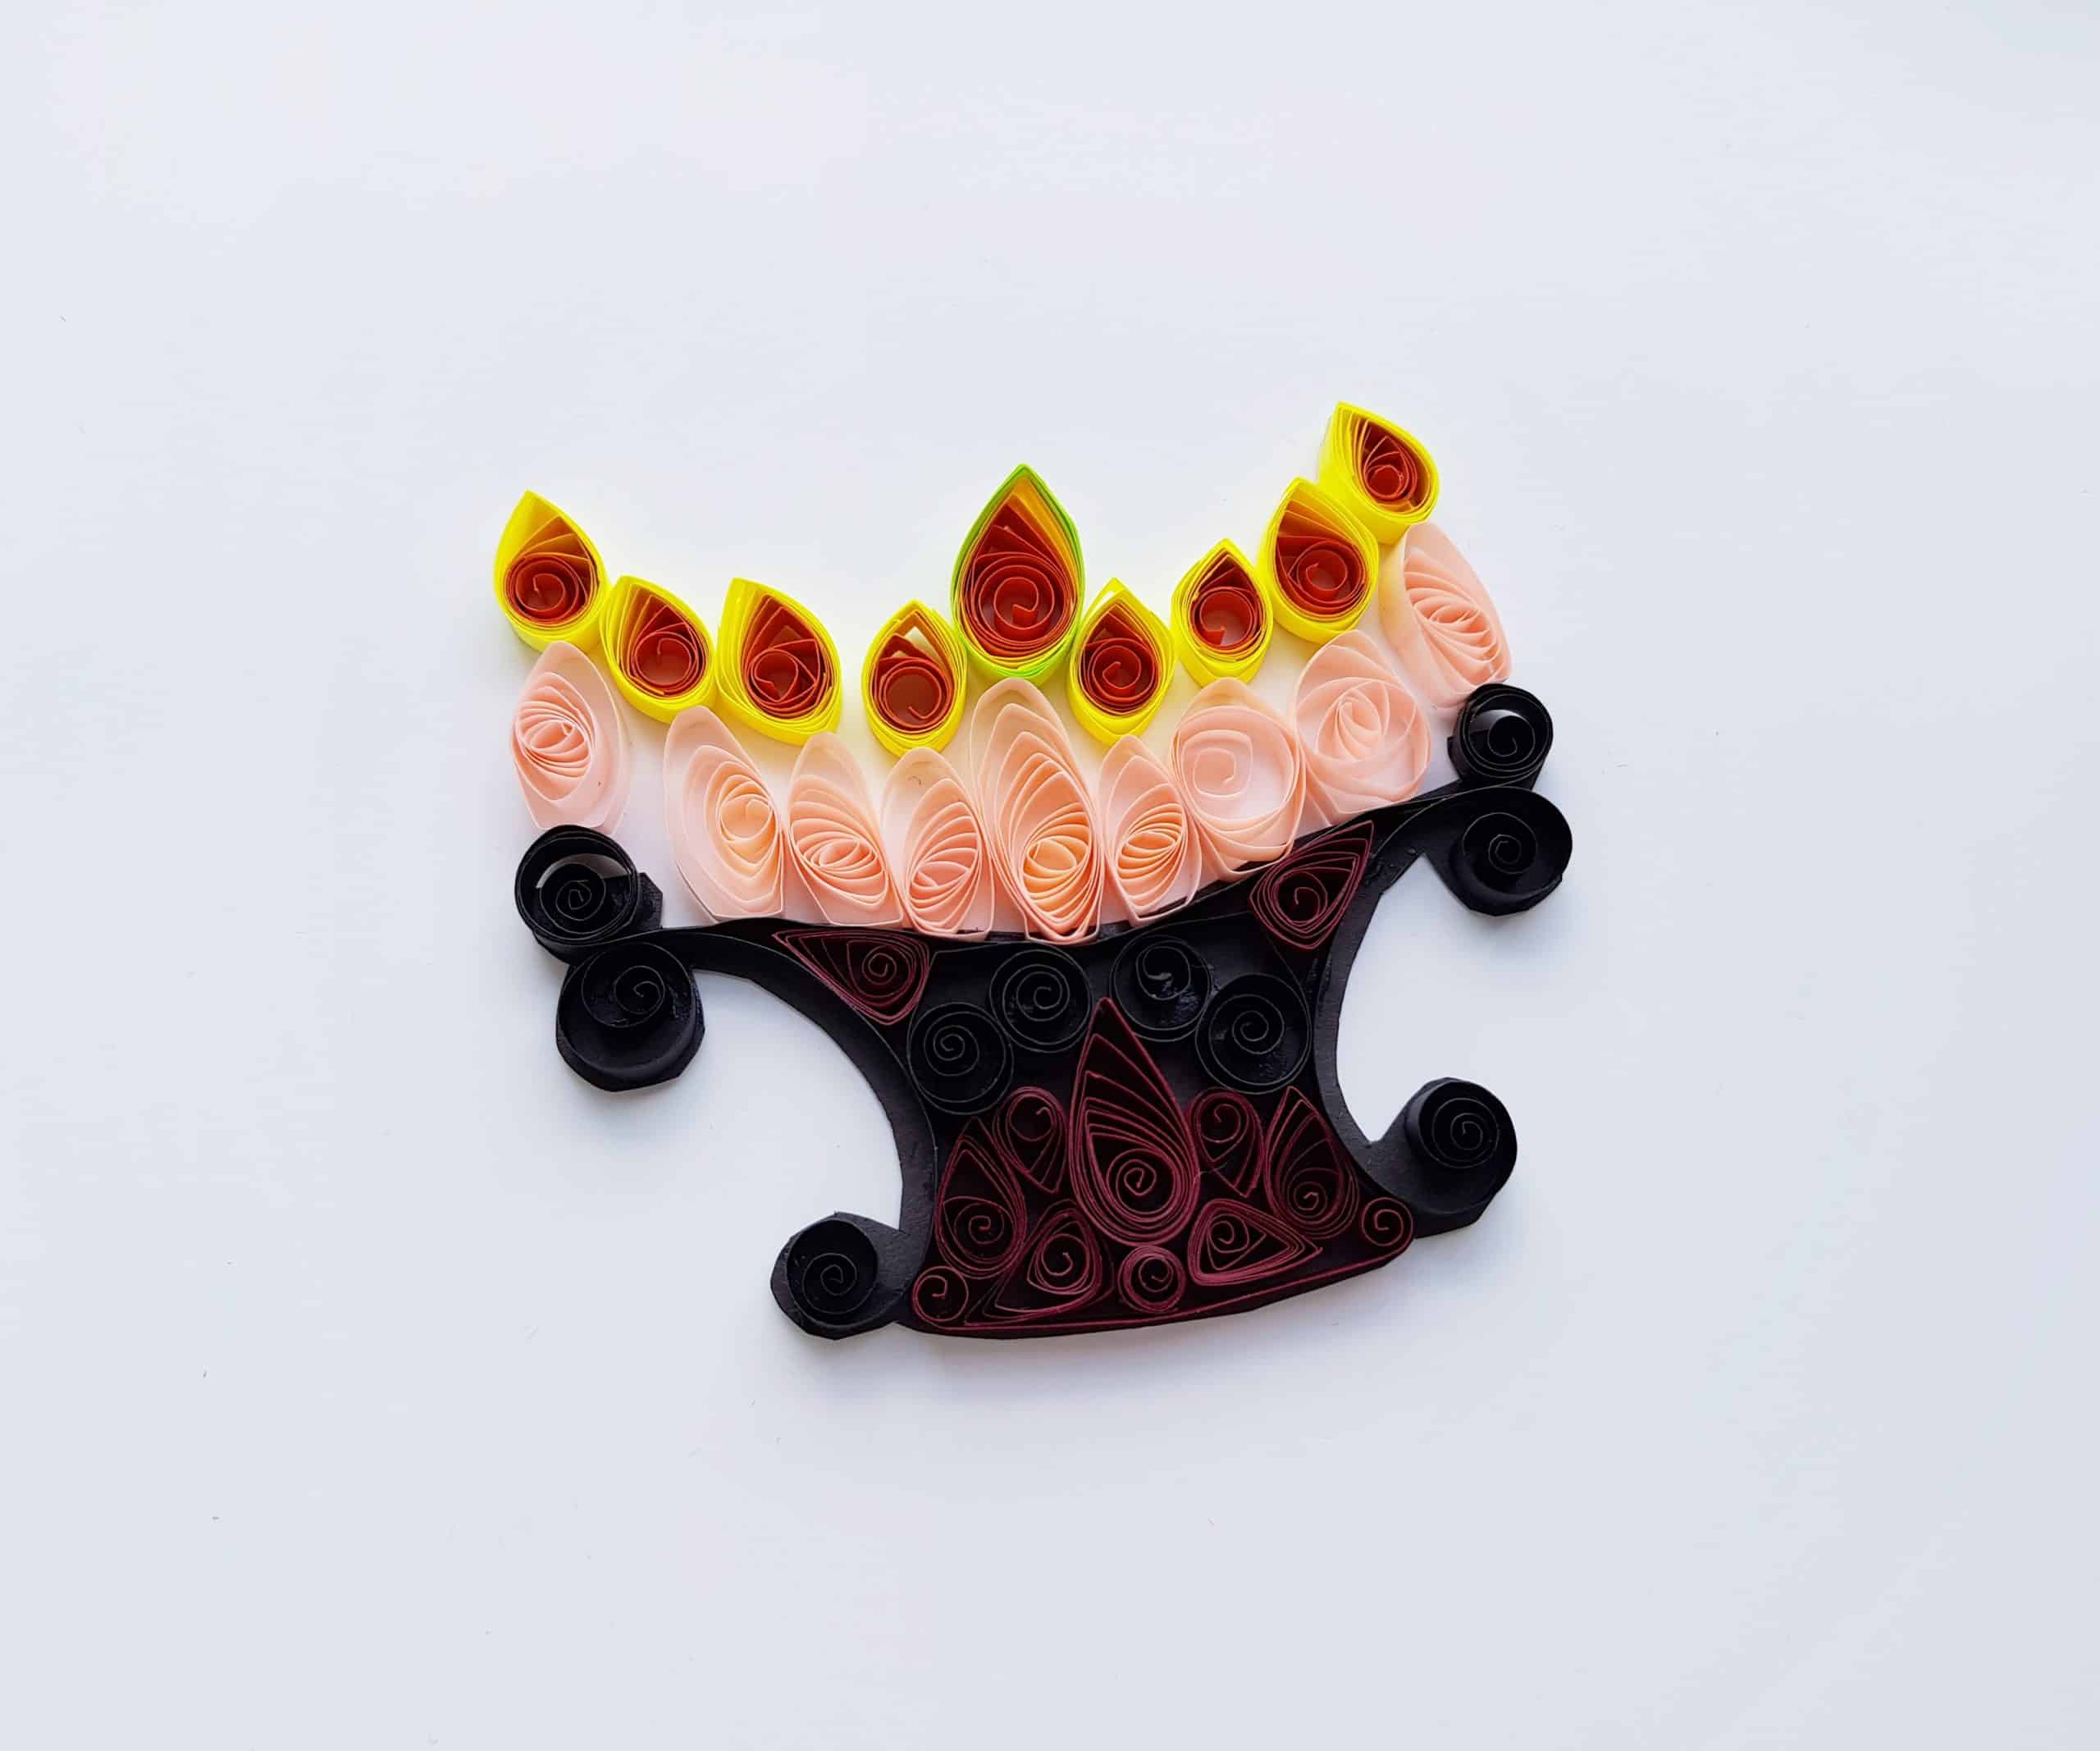
Now that your beautiful, quilled menorah is finished, you can use it as decoration in your home, glue it onto another piece of craft paper to make a Hanukkah card, or even make several to use as place cards/or favors at a festive gathering. Happy Hanukkah!
Do you celebrate Hanukkah? If so, how will you use this quilled craft as part of your festivities this year?