
Paper Cone Christmas Tree Craft

‘Tis the season to be crafty! Today we’re bringing you a simple and elegant Christmas craft that you can make with your kiddos and use to decorate your home! This Paper Cone Christmas Tree is simple to make, but it ends up looking really pretty and festive. You could make several to create a Christmas tree forest scene, or use one for the top of a mini-Christmas tree! If you’re feeling extra fancy, you could even make some of these to top some lavishly wrapped presents! However you use the end result, we hope you enjoy making these Paper Cone Christmas Trees!

What You’ll Need:
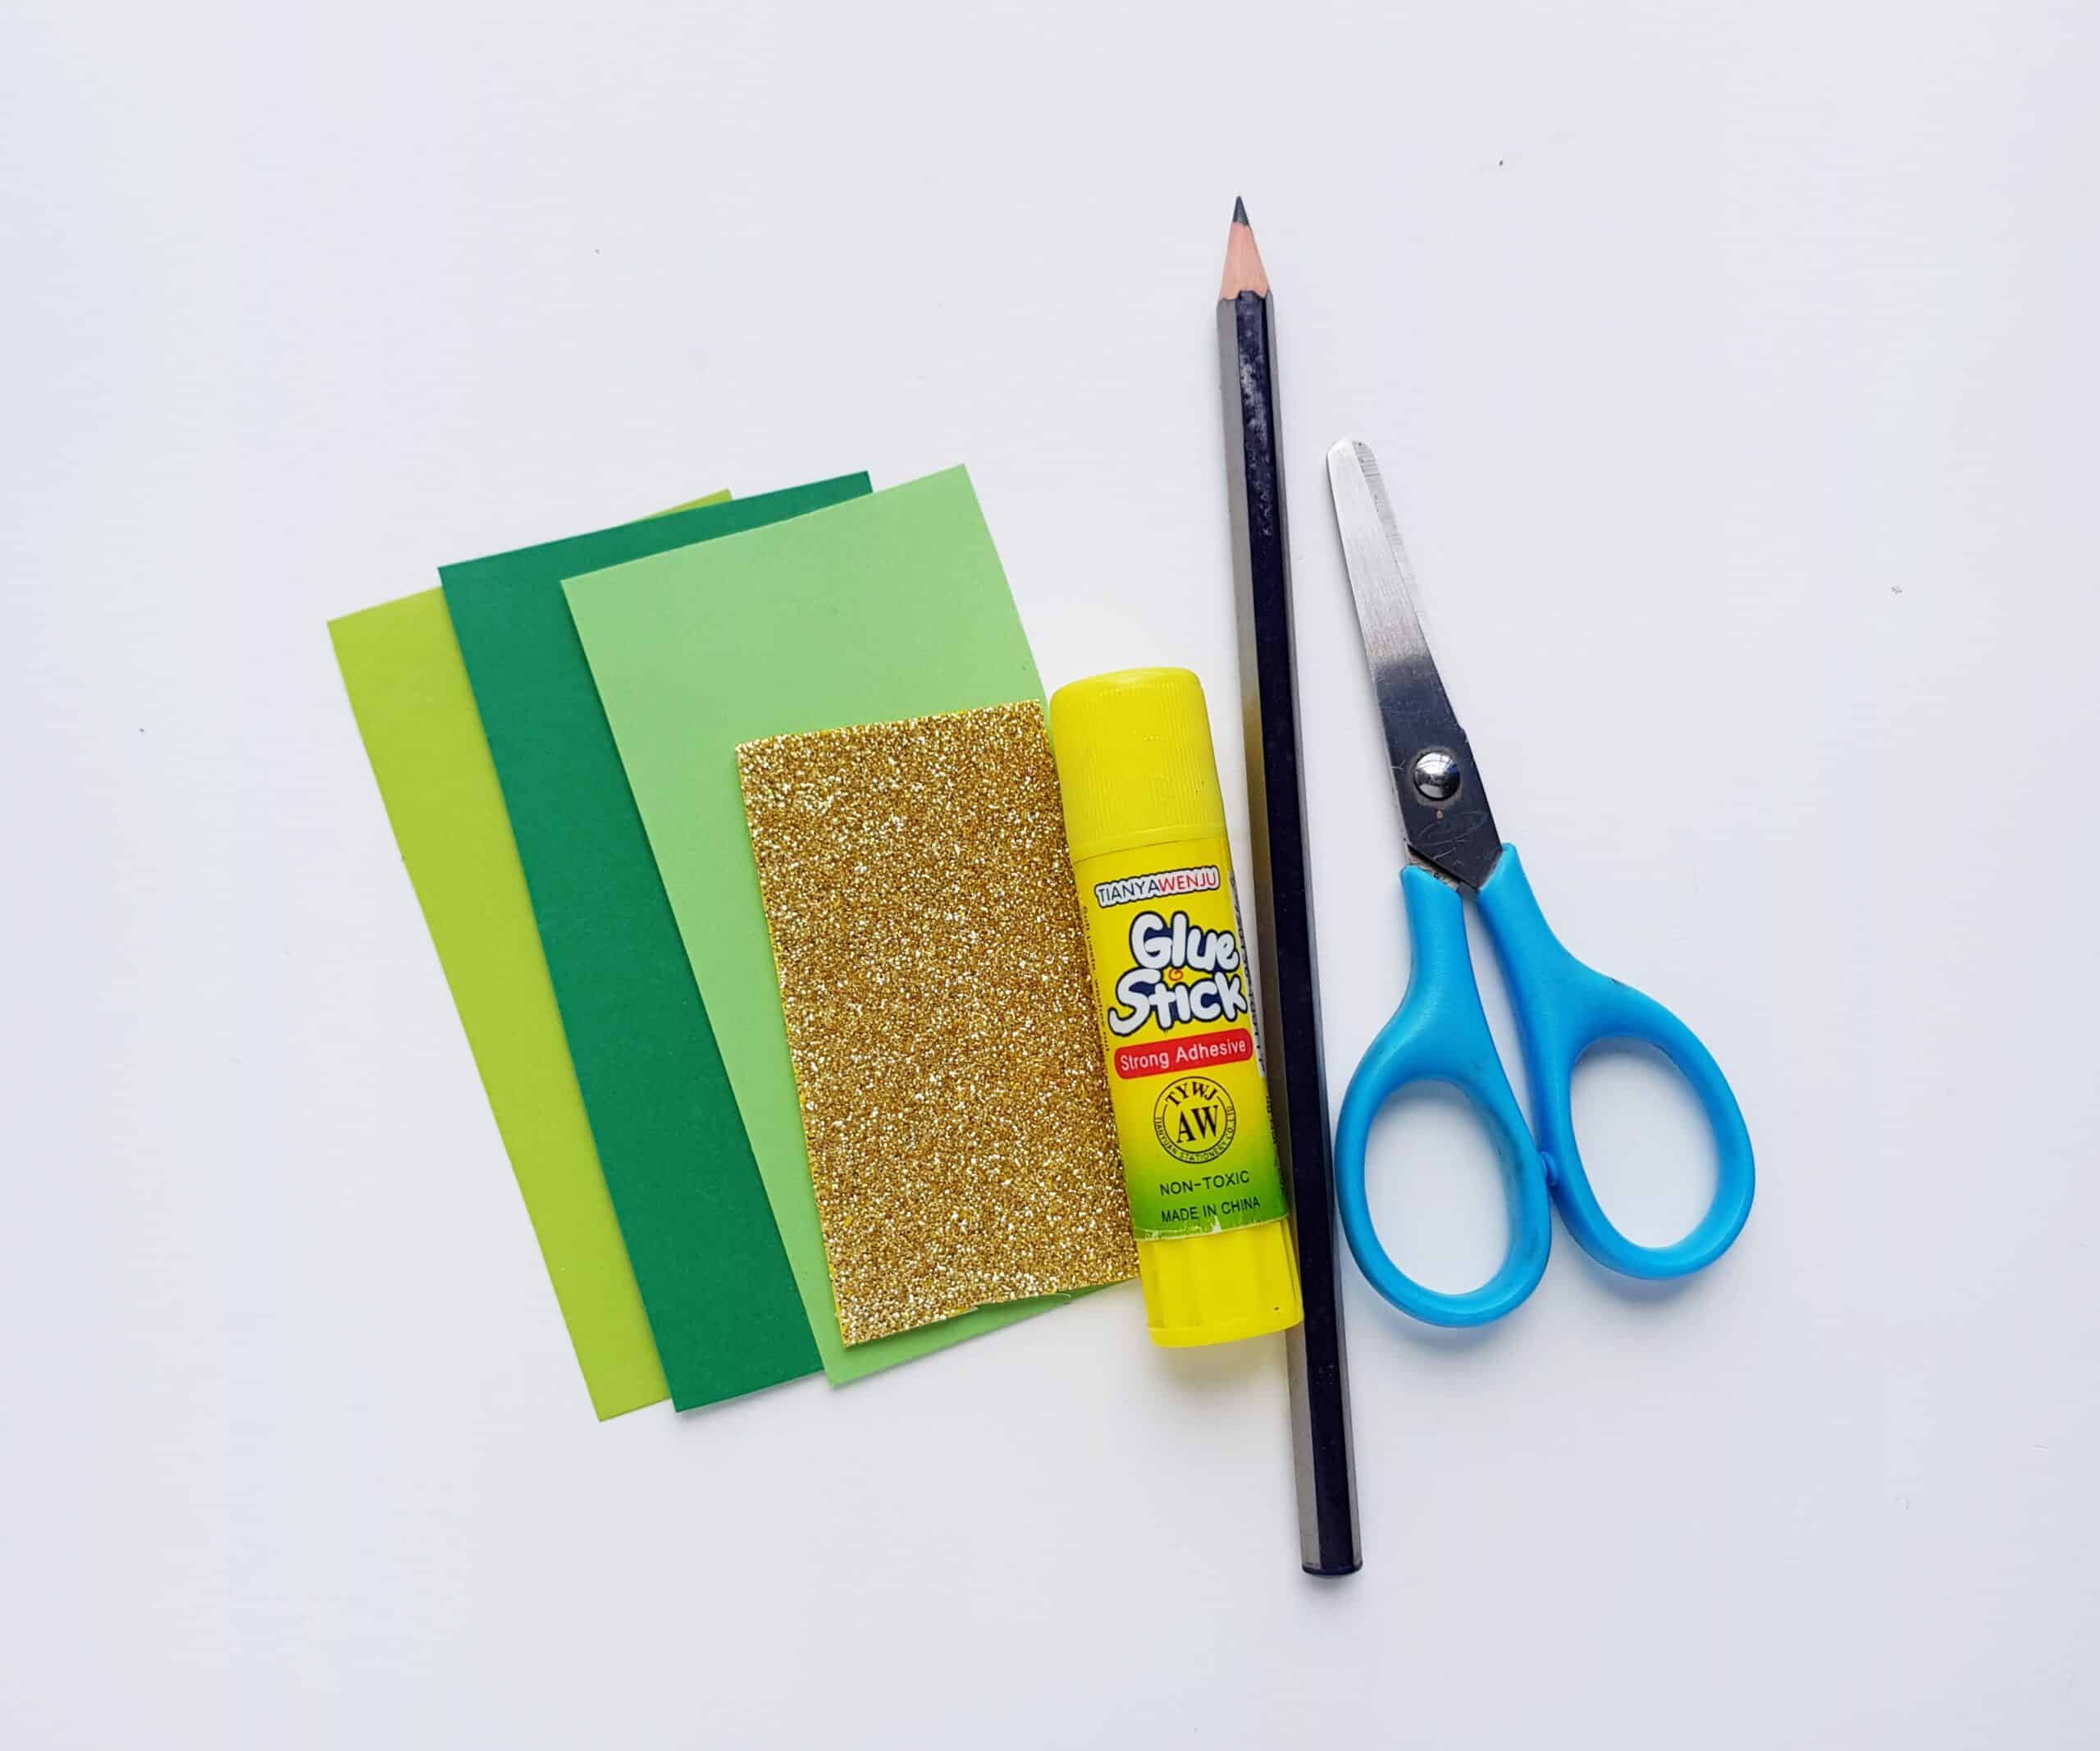
- Colored cardstock paper
- Glitter sticker paper
- Pencil
- Scissors
- Craft glue
- The free printable PDF template (provided at the end of the tutorial)
How to Make It:
To get started making this Christmas tree, select three (more if you want) different shades of green card stock paper. Print the provided PDF template and cut out the patterns. Next, trace the patterns onto the cardstock papers. Then you can cut the designs out in the green shades of your choice!

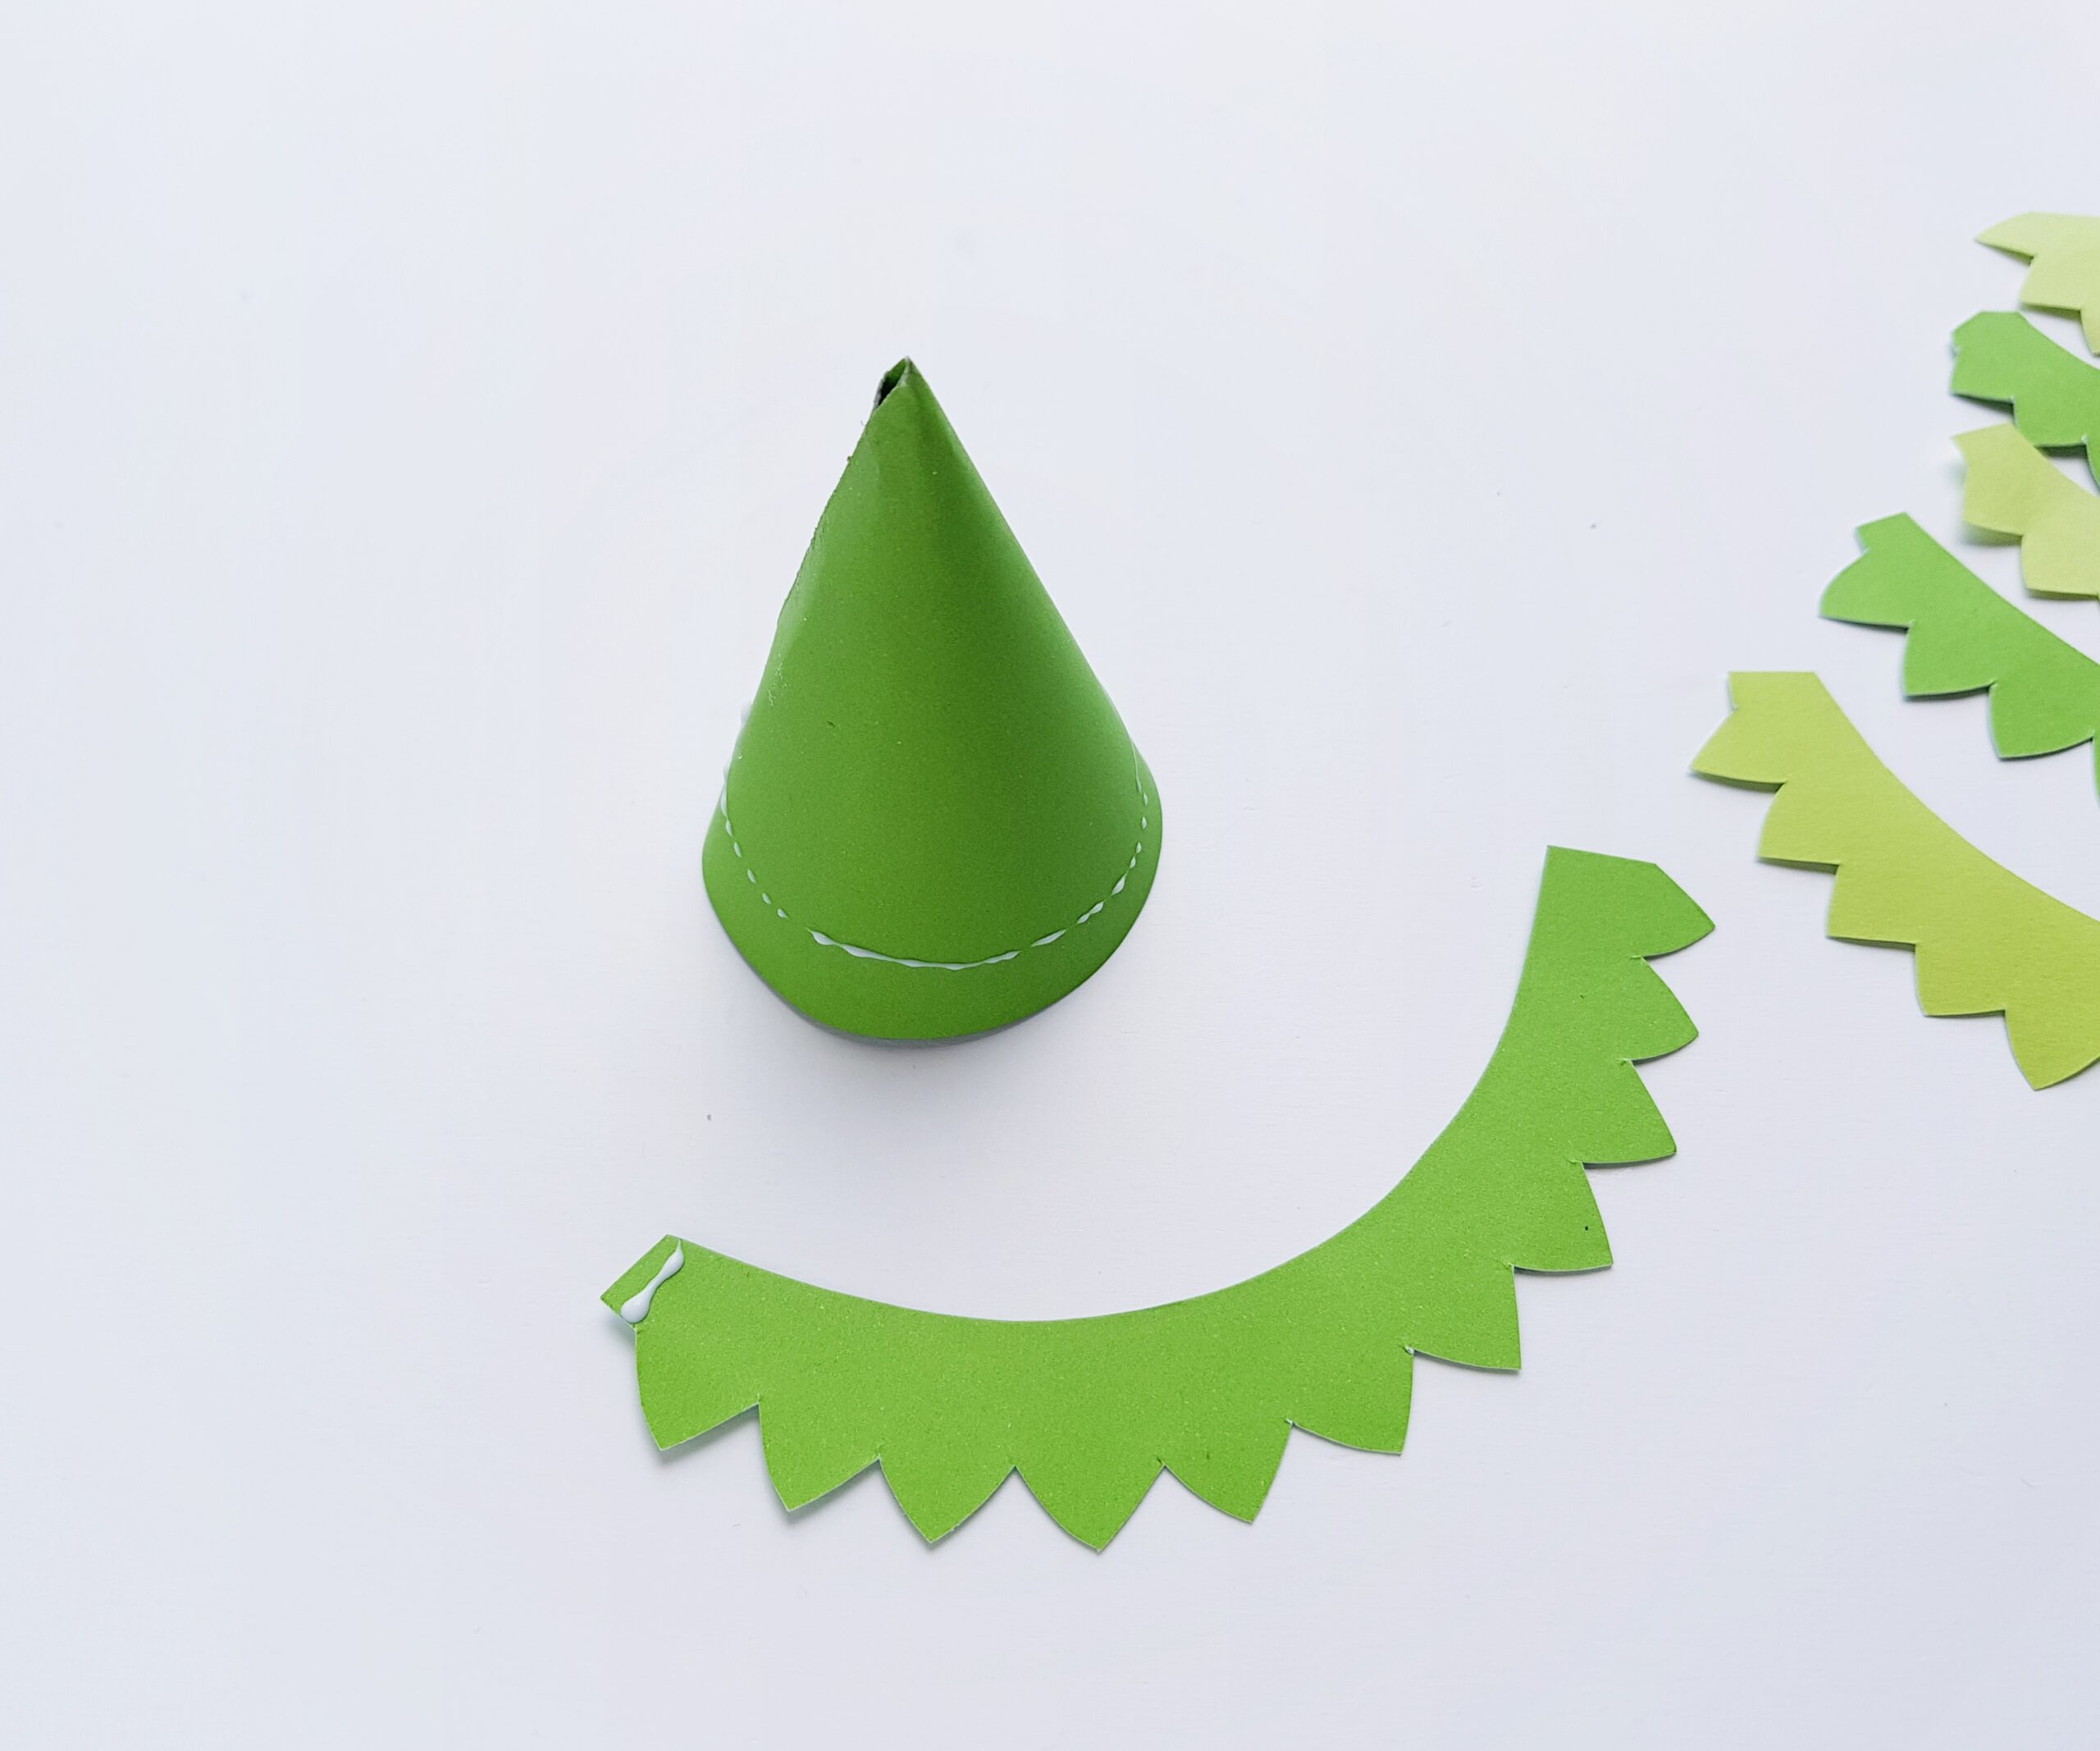
Next, take the pattern that you cut out that was labeled “cone” on the template. Roll the pattern into a (you guessed it) cone. There is a little extra flap in the pattern, which you will apply some glue to and press down to secure the shape.

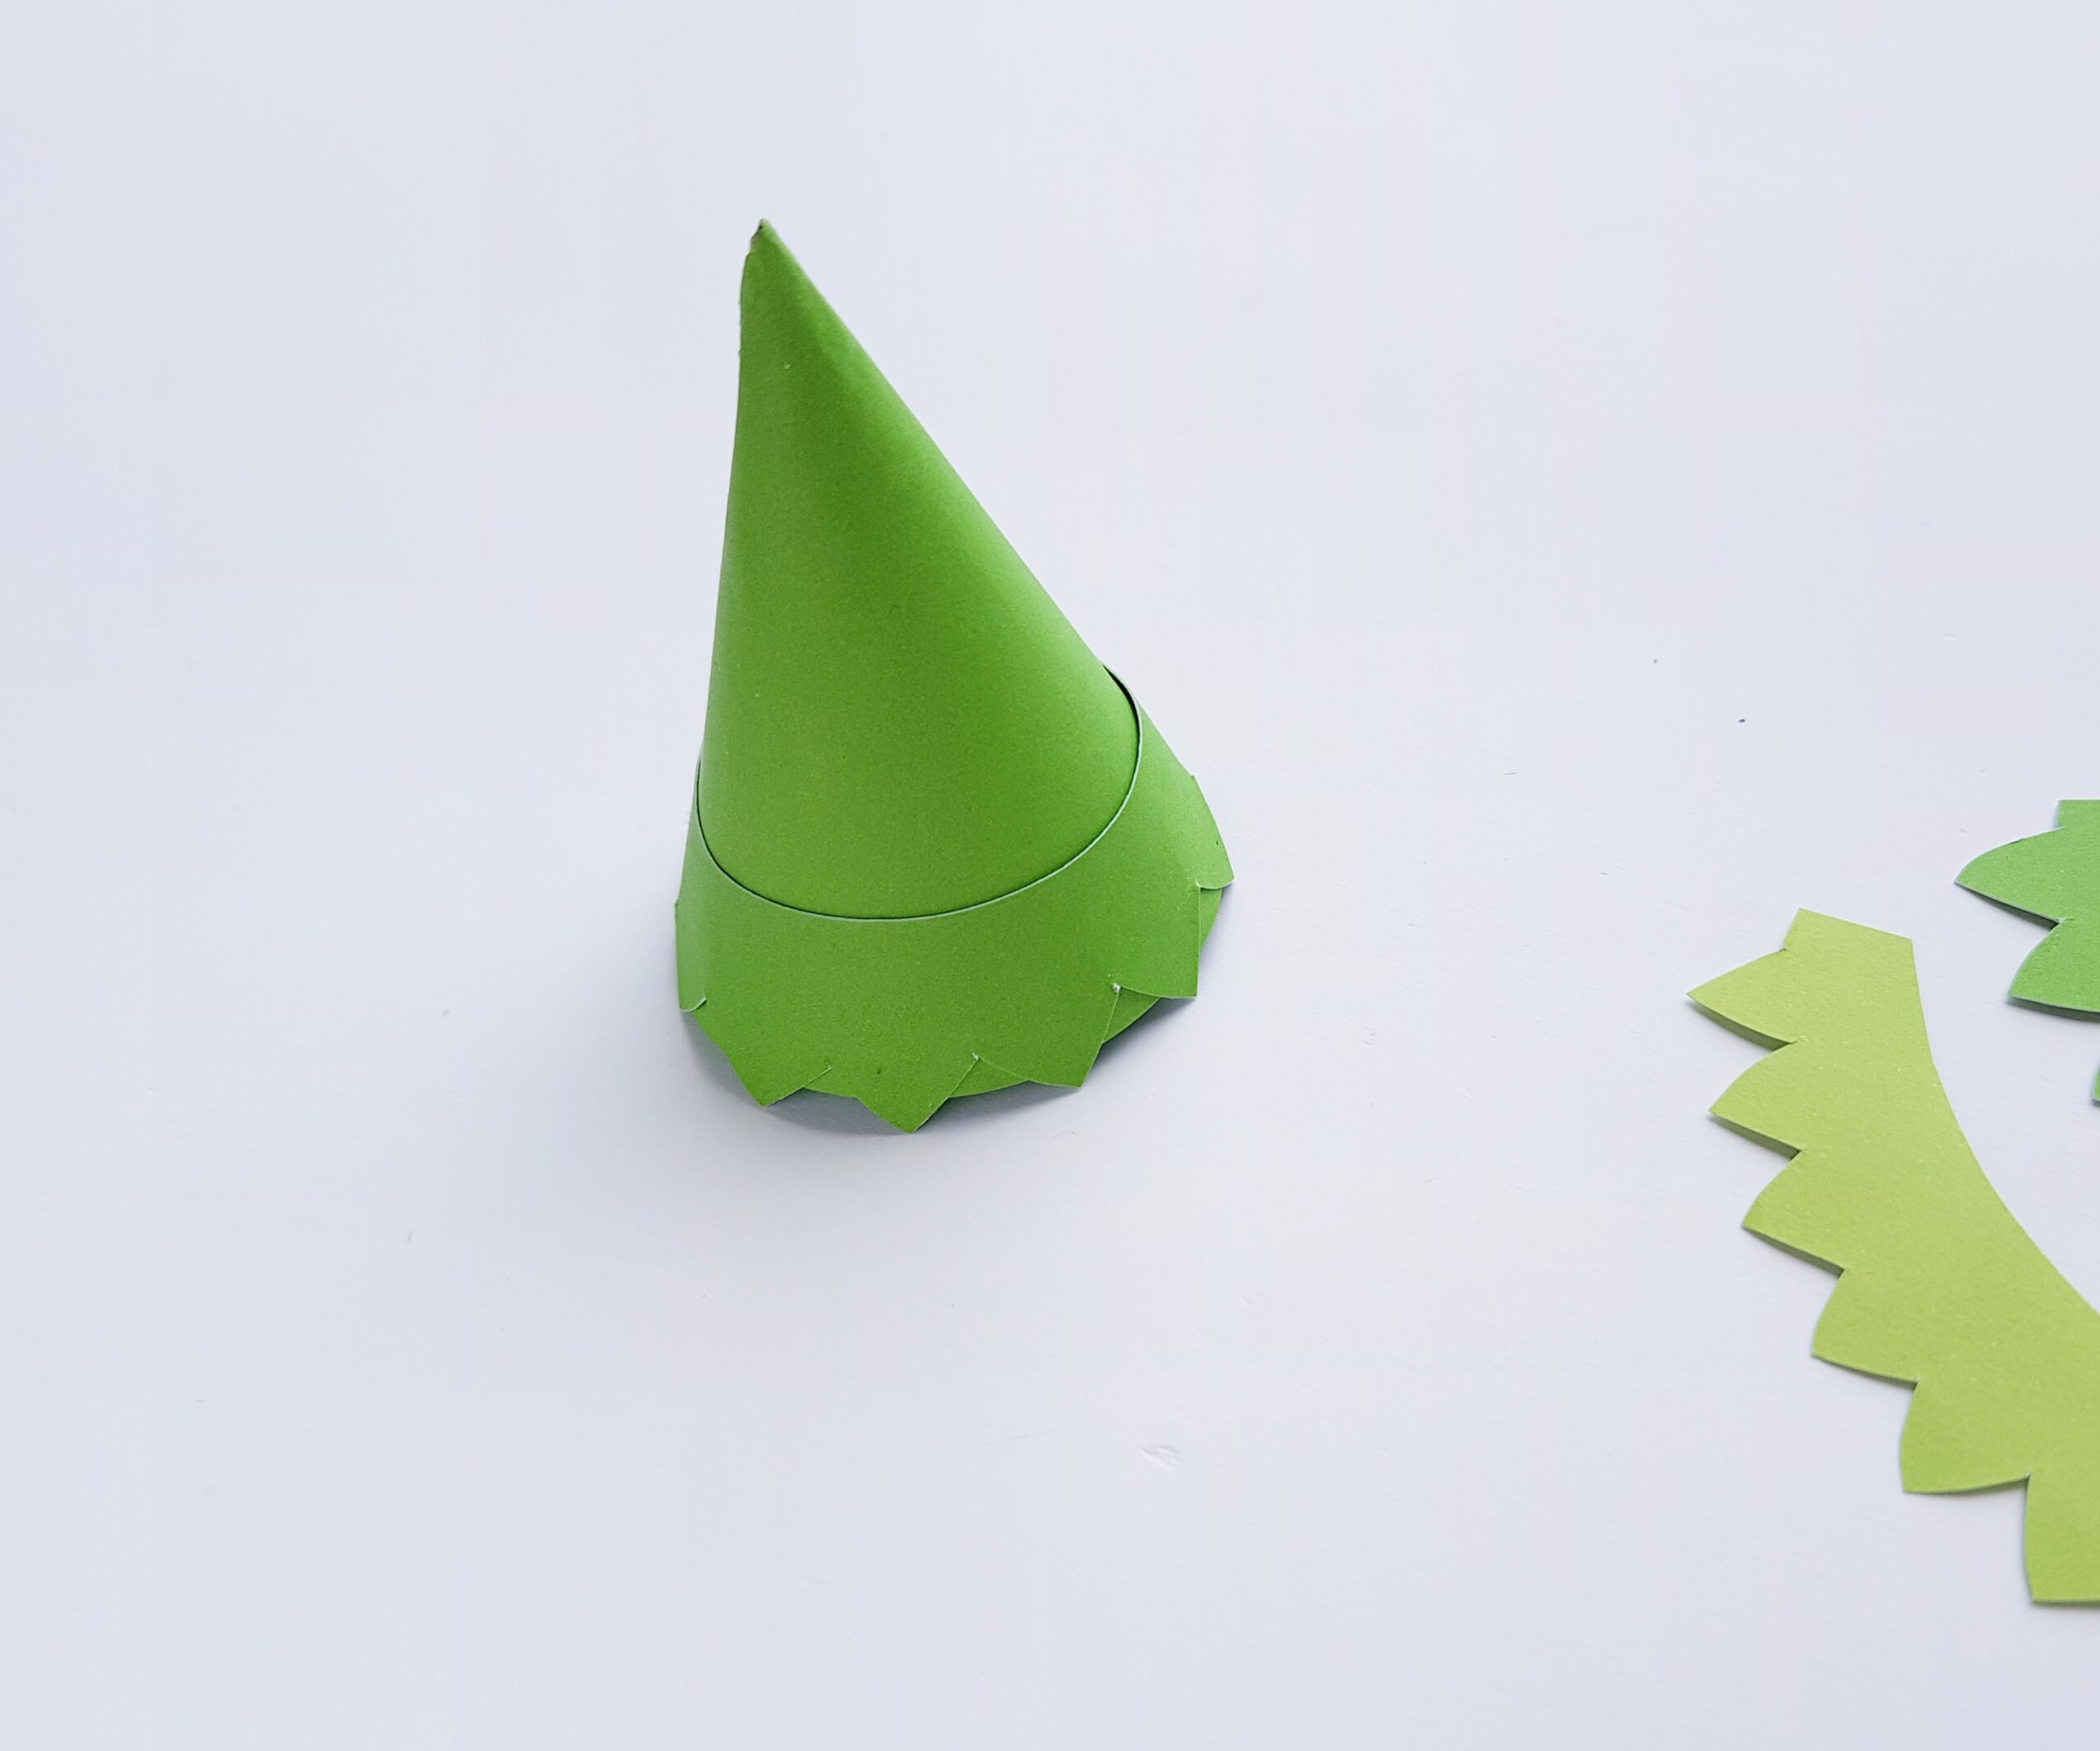
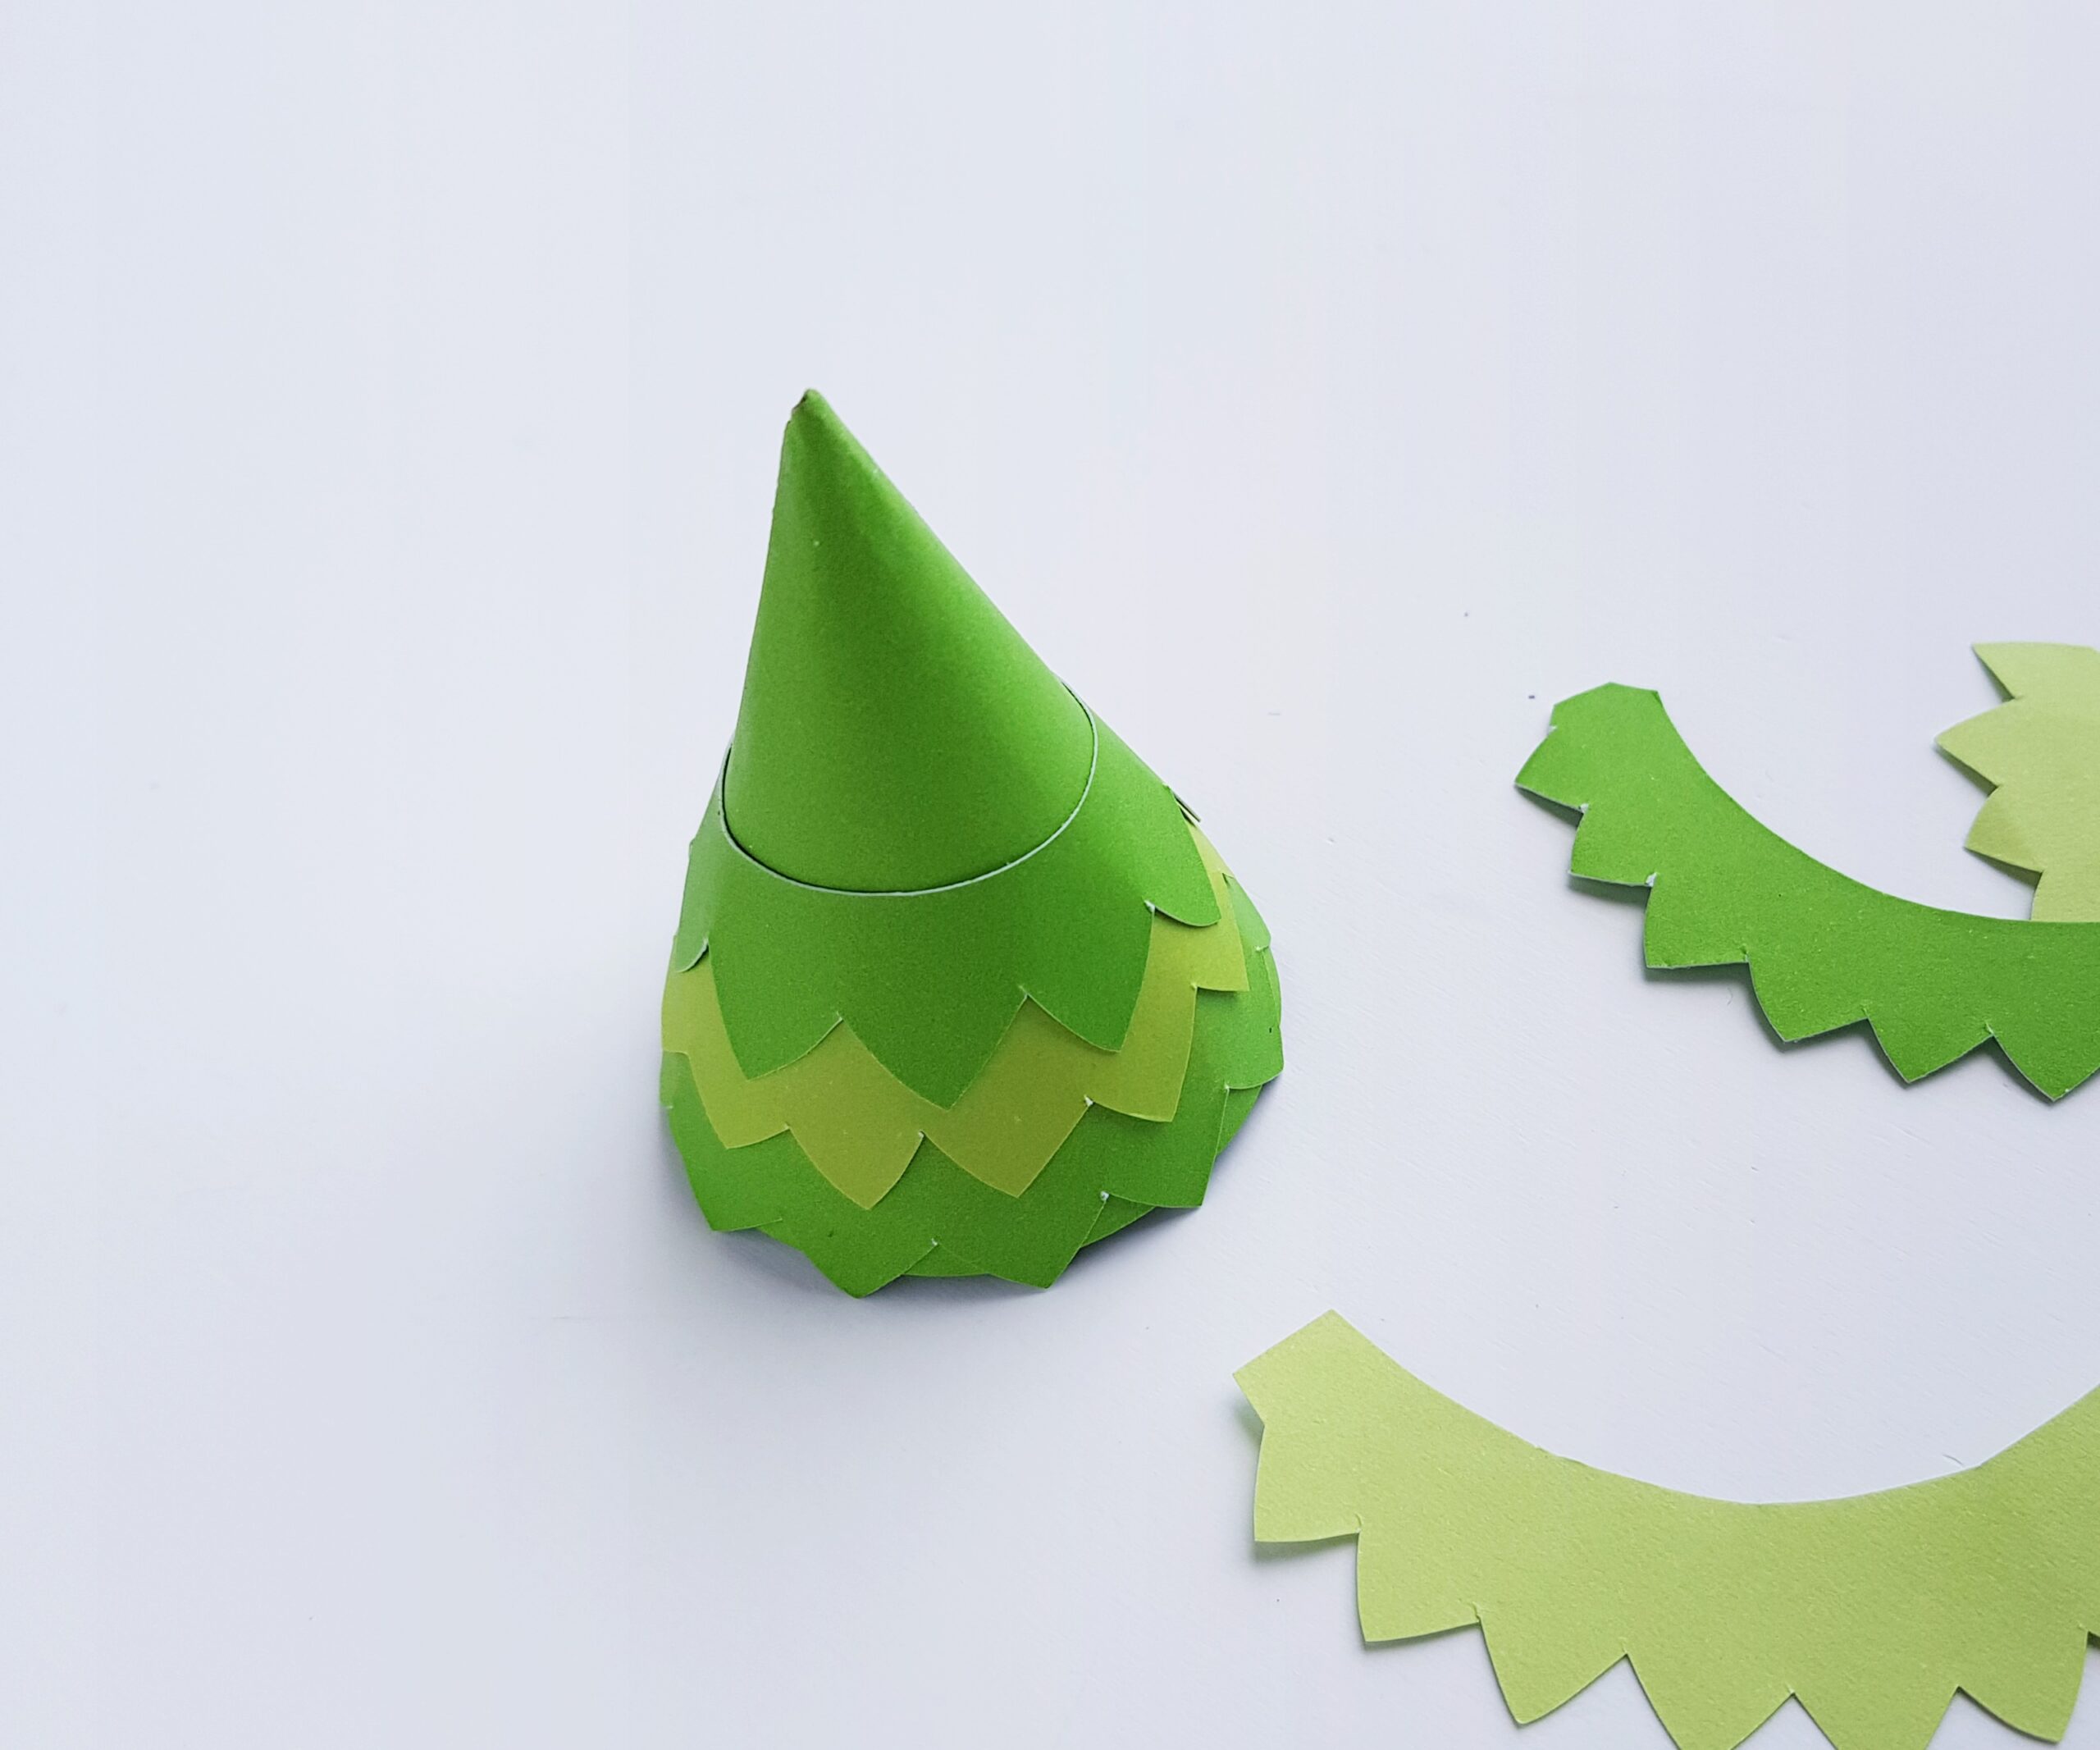
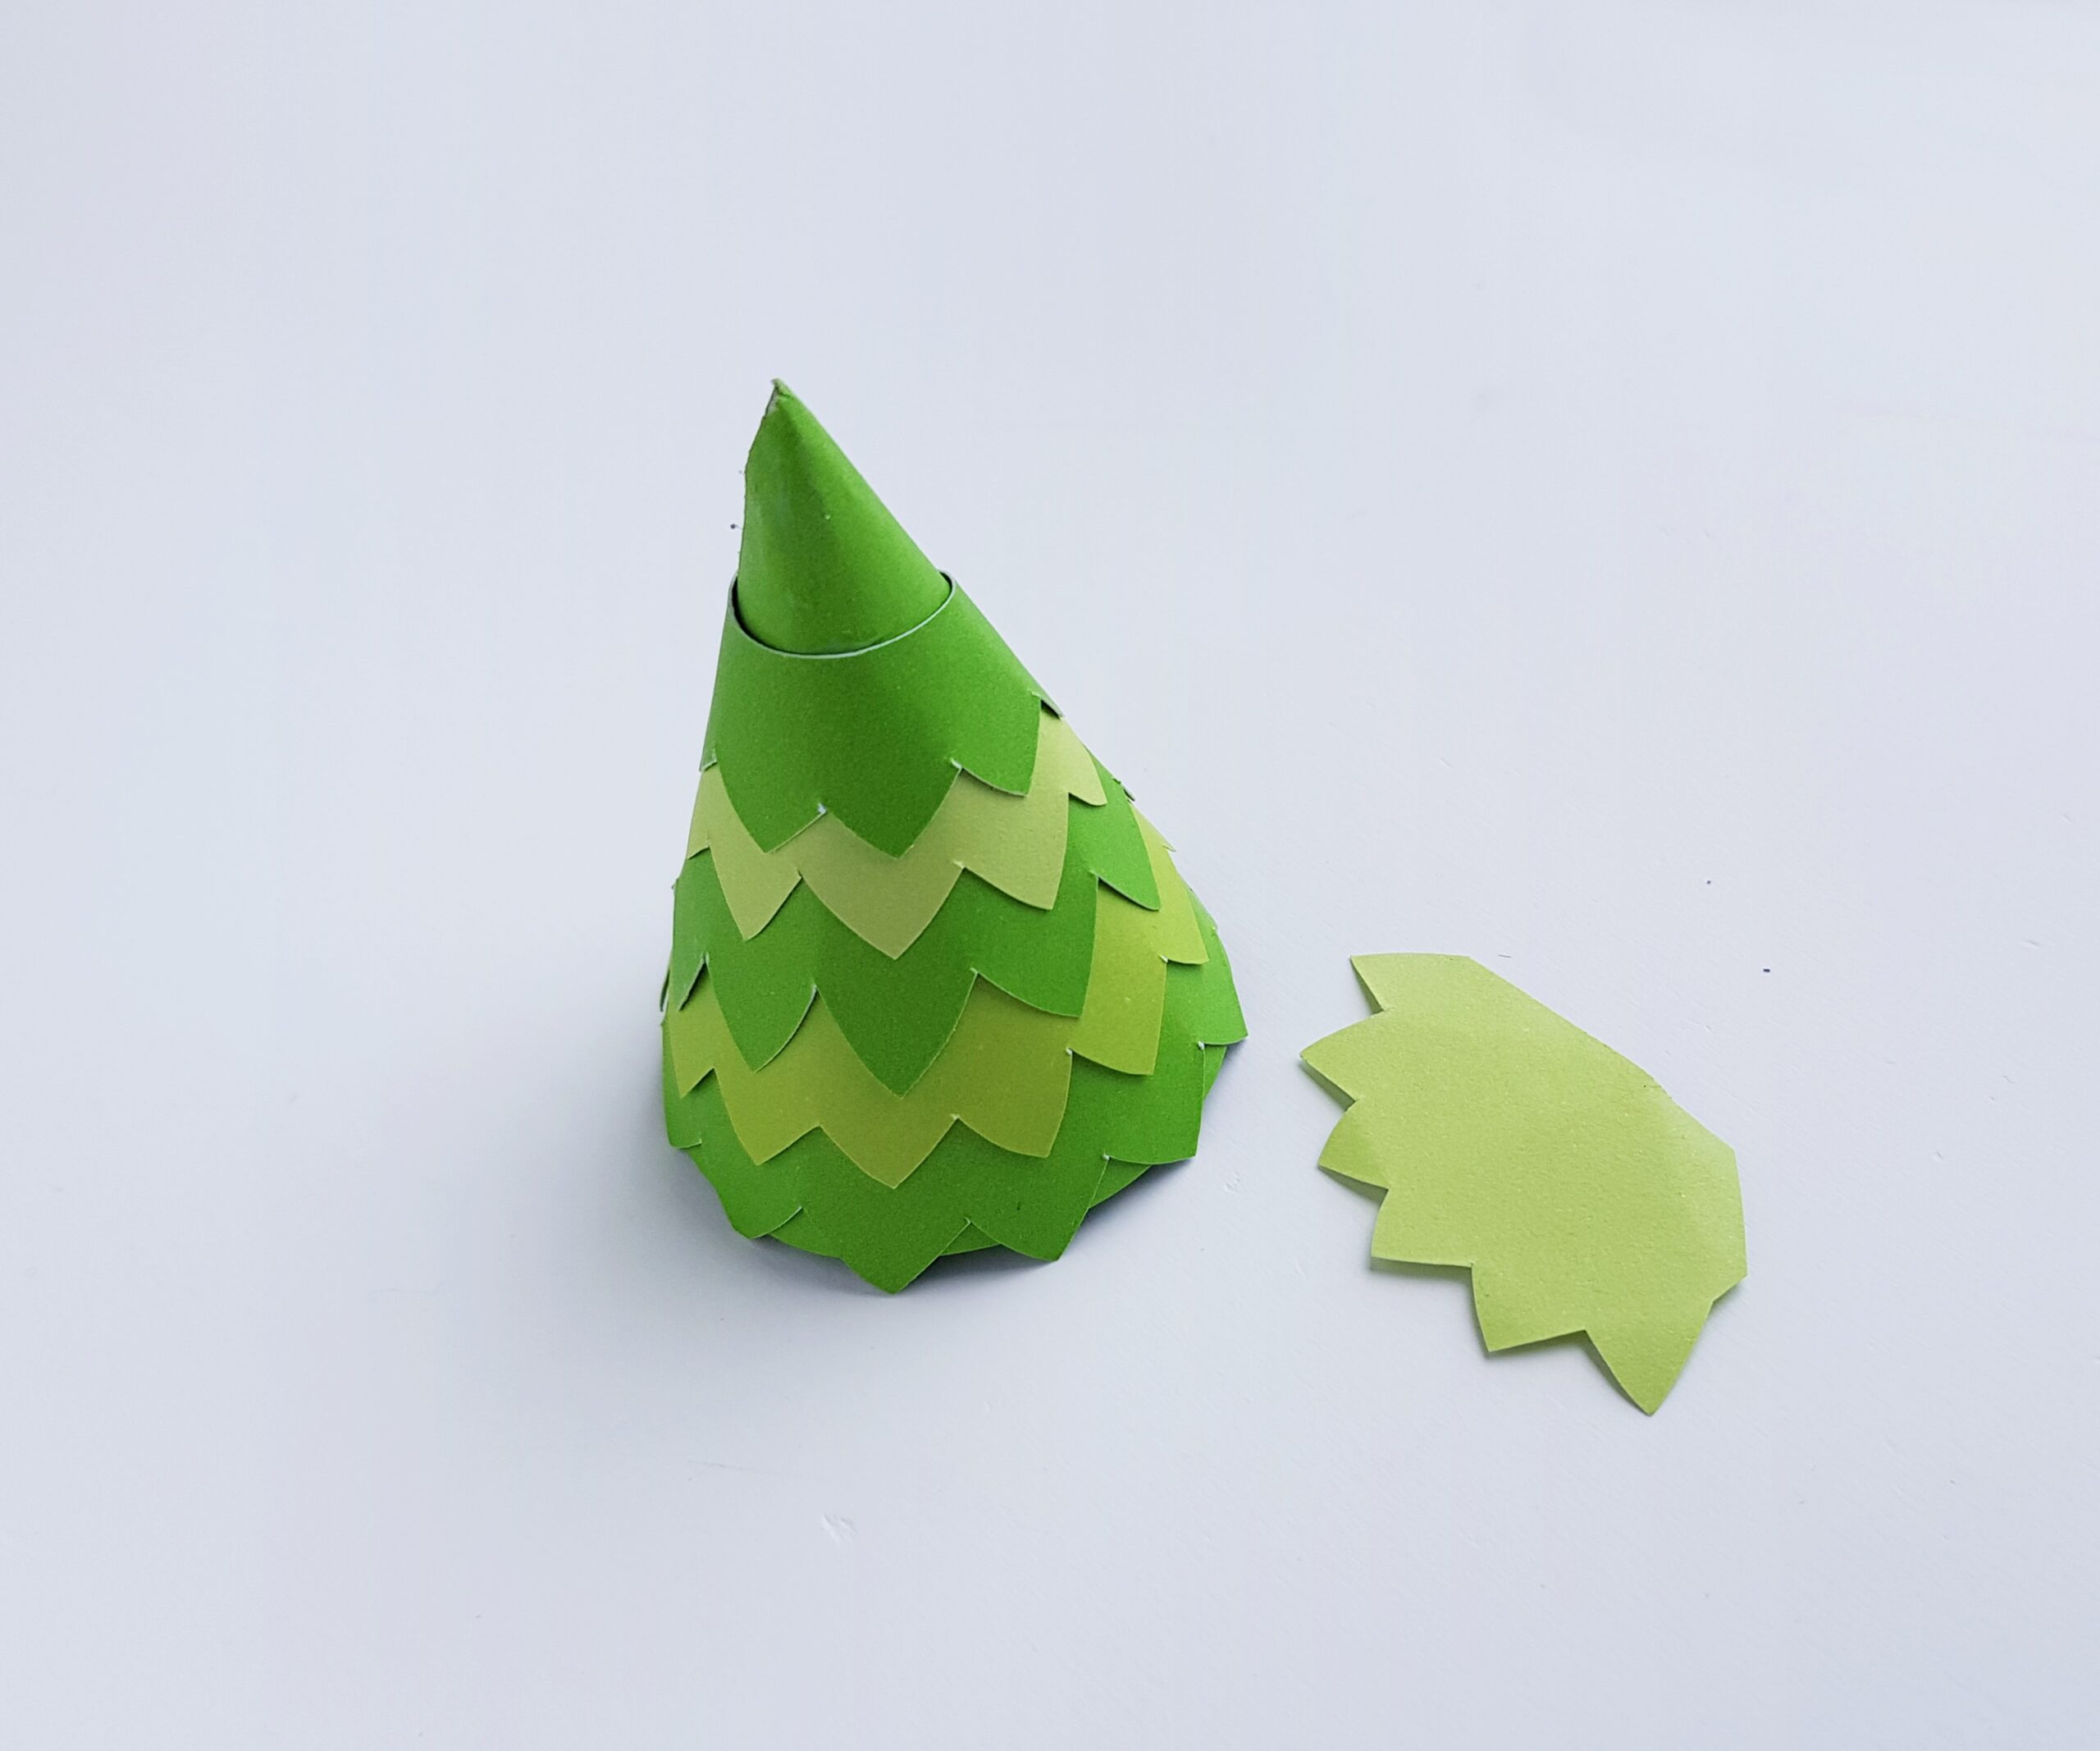
Once you’ve given the cone a few moments to dry, you are going to work with those zig-zag paper borders you just cut out. Select the longest pattern first and attach it around the bottom side of the cone. You can either apply glue on the back side of the pattern or apply glue on the cone, which ever seems easiest to you.
Carefully wrap the border around the bottom of the cone and hold it for a few moments until the glue sets.
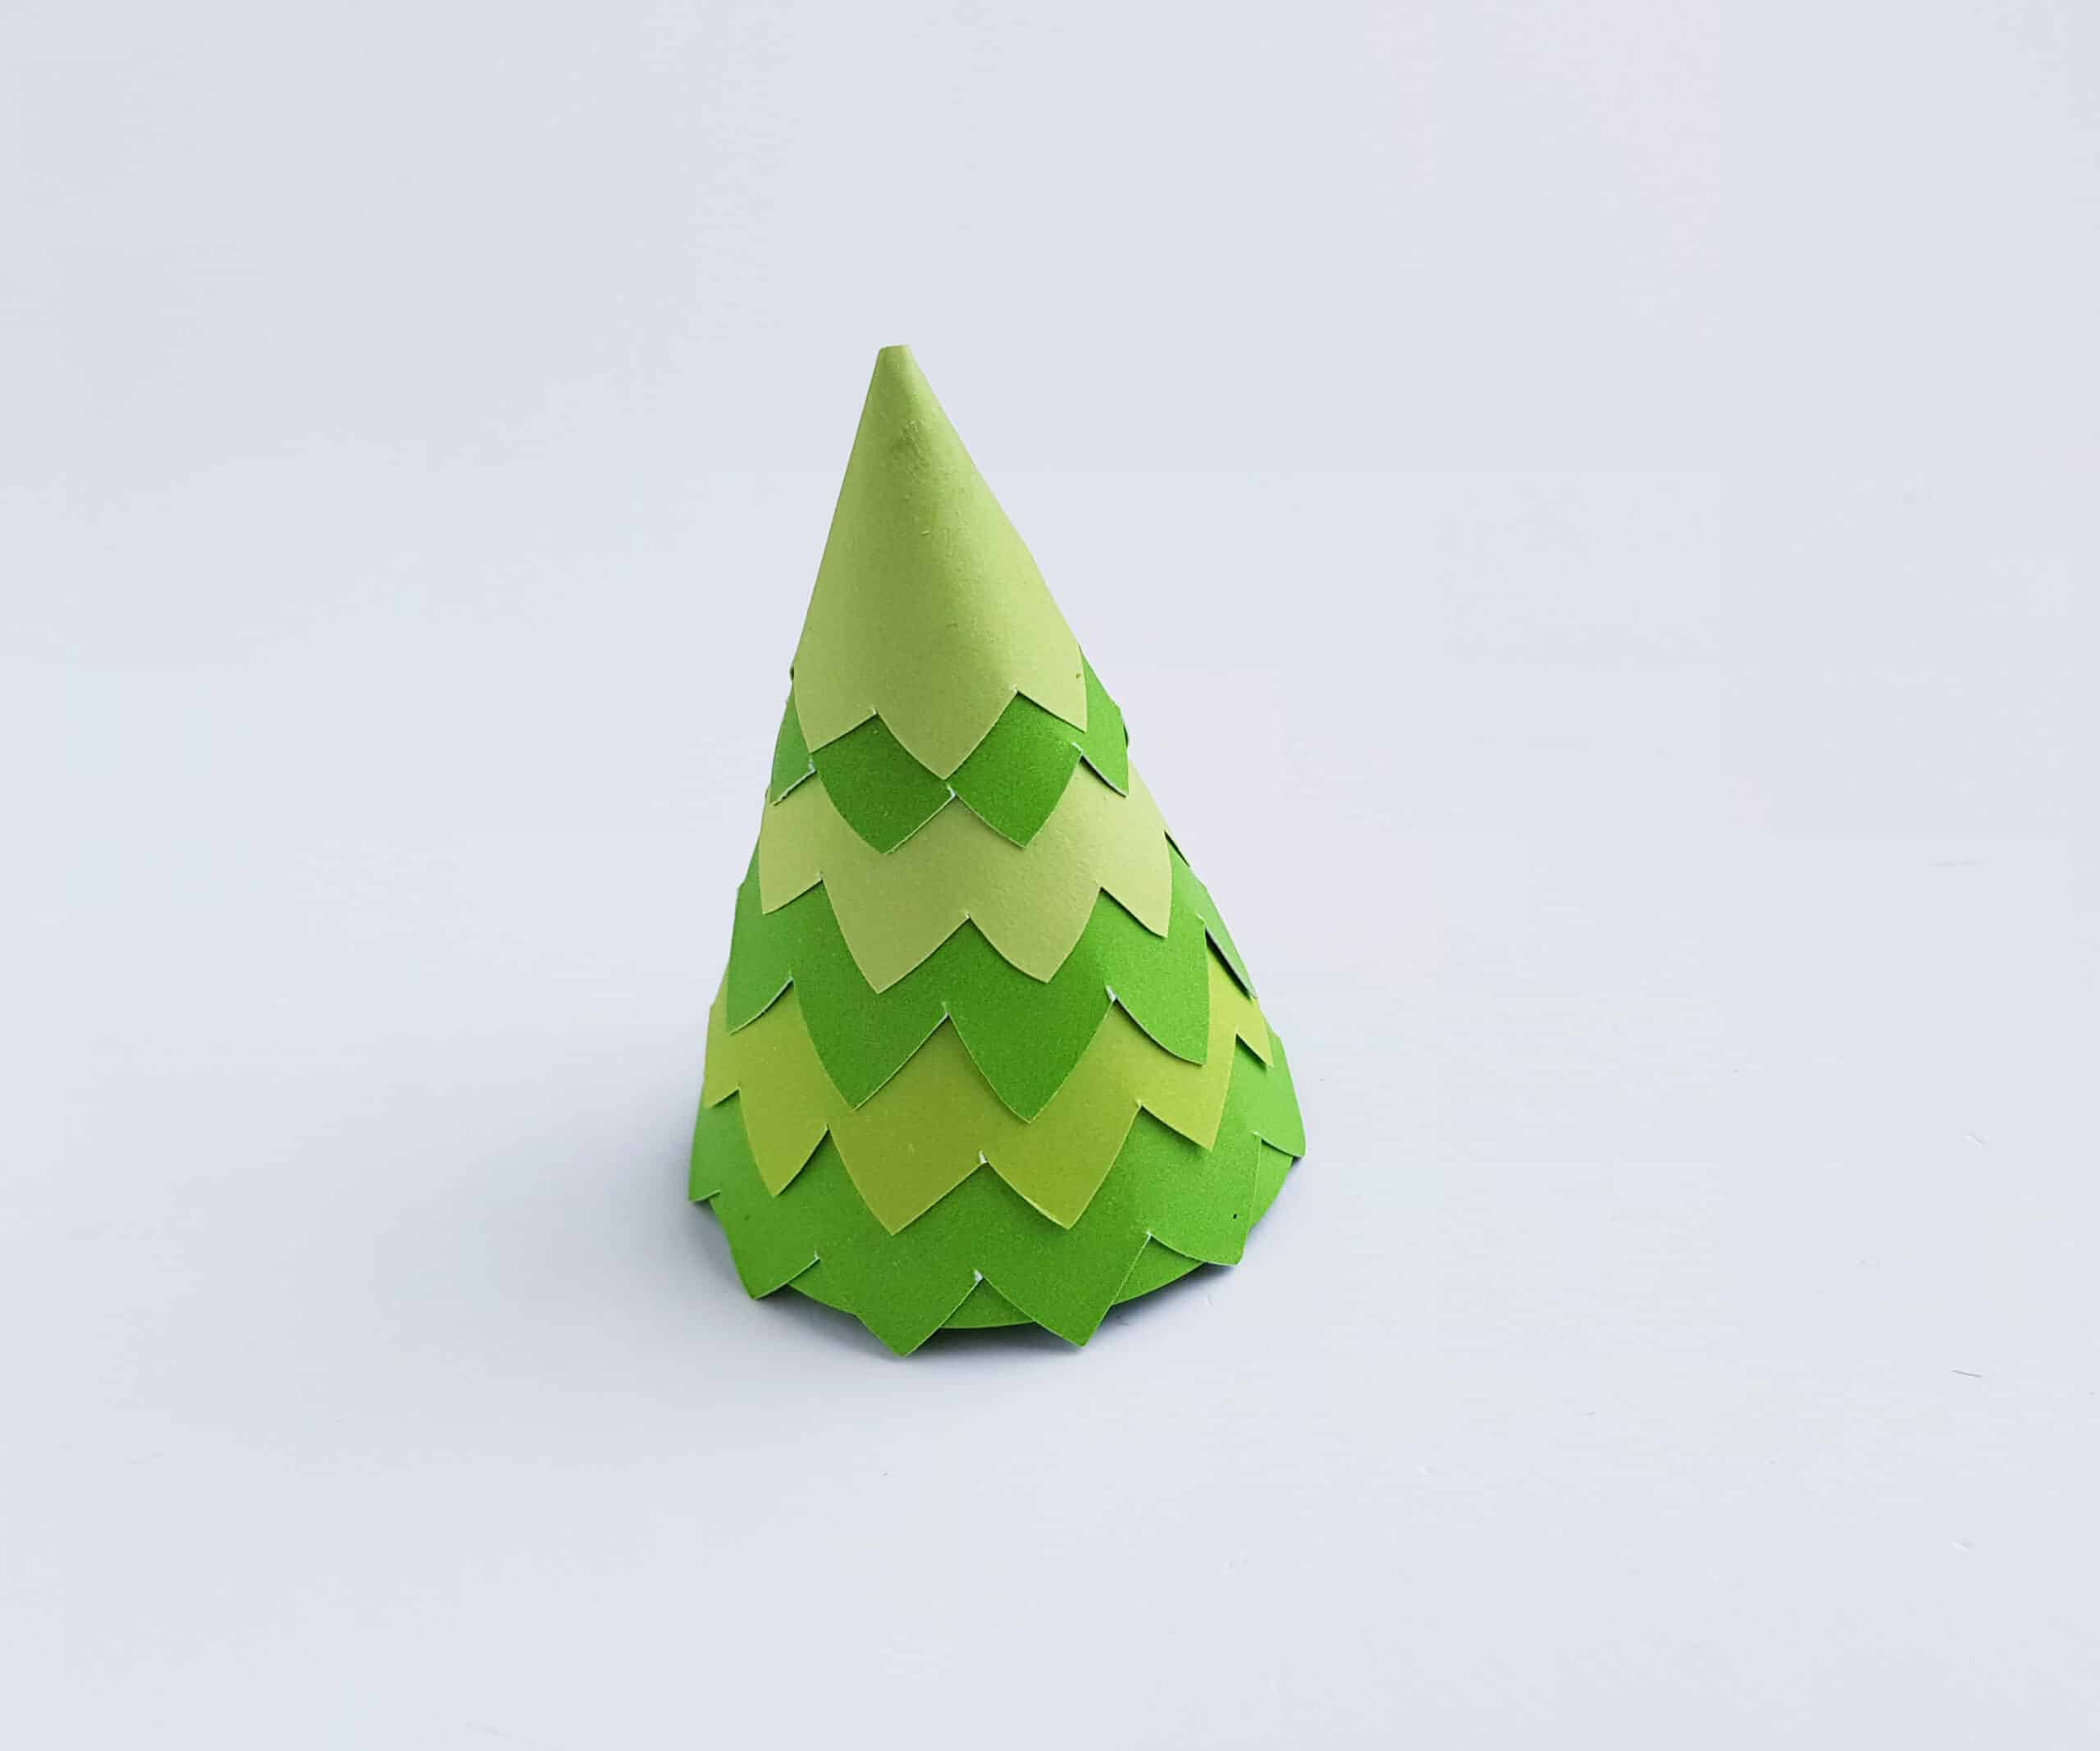
For a final, glamorous touch, cut out a star shape from the golden glitter paper (or any other color as you prefer) and attach it on the top of the Christmas tree.

We hope you have fun making and decorating with these Paper Cone Christmas Trees! How will you use the end result? Drop us a comment and let us know!
And don’t forget to grab your free Paper Cone Christmas Tree Template by clicking the link below!
To get your template, click this link!