Leaf Chromatography Experiment

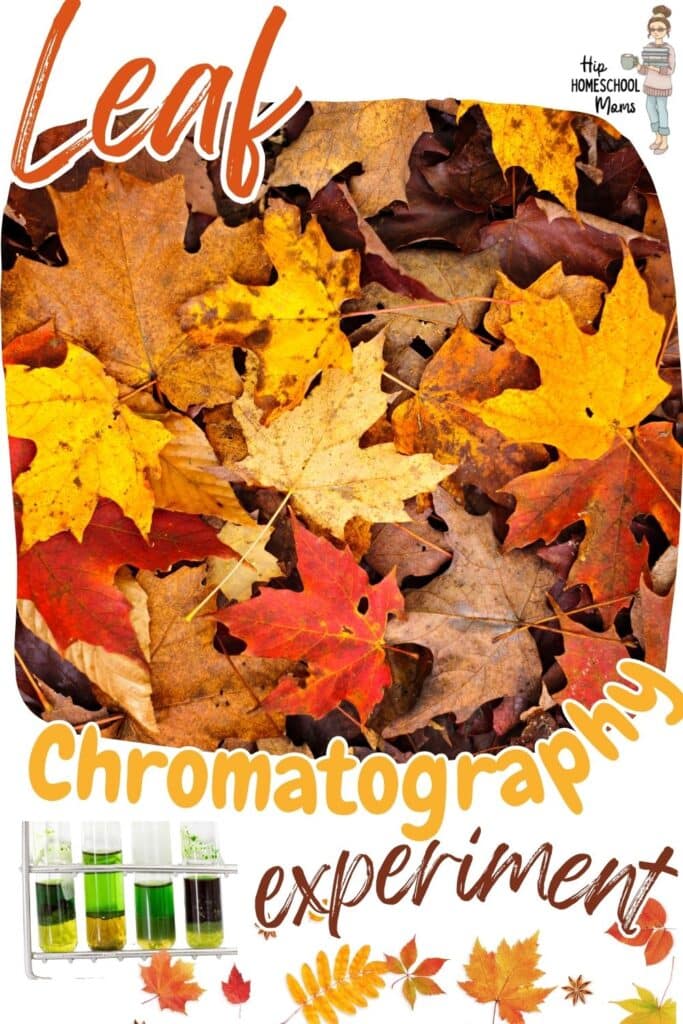

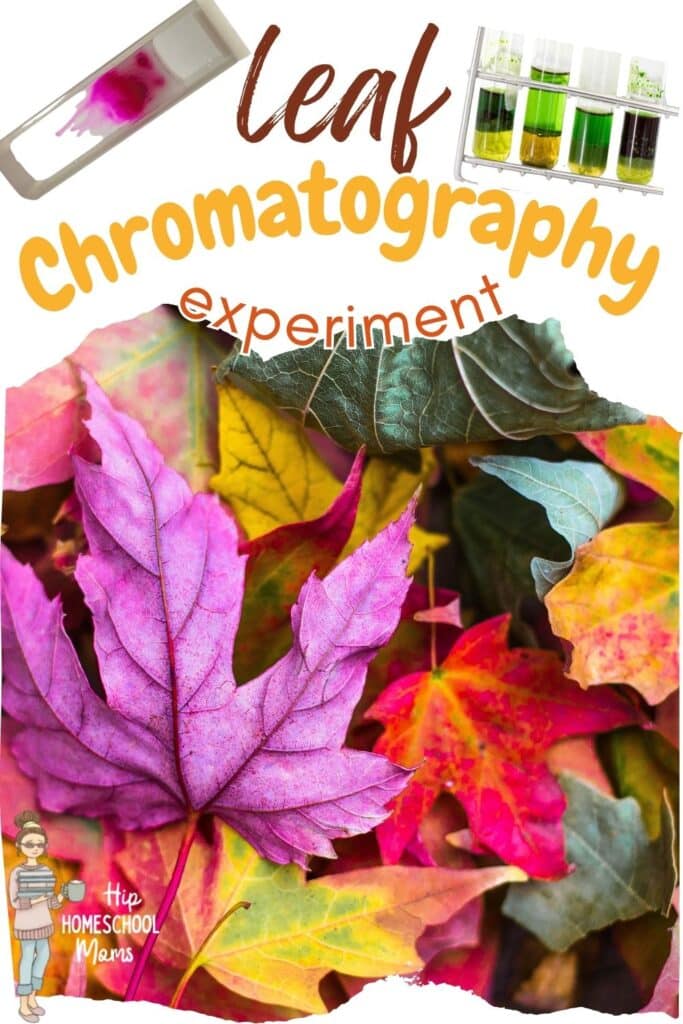
We’re going to conduct a leaf chromatography experiment with step-by-step instructions in this post. This is a terrific fall-themed science experiment you can do with your homeschool class.
If you’re teaching younger kids, you can focus on the experiment itself with some basic explanations. If you have older children, you might want to jump deeper into the idea of chromatography—what it is, how it works, and why it’s useful in the study of science.

What Is Chromatography?
Chromatography is a scientific way of separating things that are mixed. Think of it as if you had a smoothie with lots of different ingredients, like strawberries, bananas, and spinach, all blended into one. With chromatography, you’d be able to break it down or “reverse engineer” and separate the strawberries from the bananas and the spinach, so you can see what each part of the mix is made up of.
In real life, scientists use chromatography to separate and identify different chemicals or compounds in liquids or gases. For example, it’s used to test water quality, check food for contaminants, or even solve crimes by analyzing substances at a crime scene.

How Does Chromatography Work?
Chromatography works kind of like when you accidentally spill coffee on a paper towel, and you see the liquid spread out and leave behind a stain. It’s all about separating things that are mixed together, and it does this by using two parts: a stationary phase (which doesn’t move) and a mobile phase (which does move).
Before talking specifically about our leaf chromatography experiment, let’s talk about the basic idea behind chromatography:
You have a mixture of stuff that you want to separate (let’s say, ink or a liquid). You place that mixture onto the stationary phase, like a piece of paper or a special kind of gel. Then you introduce the mobile phase, which is usually a liquid or gas that moves through the stationary phase.
As the mobile phase moves, it pulls the different parts of the mixture along with it. The cool thing is that some parts of the mixture move faster than others because they “stick” to the stationary phase more or less. For example, in paper chromatography, different colors in ink will travel up the paper at different speeds, making them separate out.
It’s like a race! The components that like to hang out with the mobile phase move ahead, while the ones that are more “sticky” stay behind. In the end, you get a nice spread of different parts of the mixture, and that’s how chromatography shows what’s inside.
Leaf Chromatography Experiment—Explaining the Science
Leaf chromatography is a fun and fascinating way to see the different pigments (colors) inside a leaf. Even though most leaves look green, they actually contain other pigments that aren’t always visible to the naked eye. A leaf chromatography experiment lets you separate these pigments and see them individually!
We’ll jump into the experiment in a moment, but first, here’s how it works in a nutshell:
- Collecting the pigments: First, you crush or grind up a leaf to break open the cells and release the pigments inside. This green mixture is where the magic happens! The main pigment you’ll see is chlorophyll (the green stuff that helps with photosynthesis), but leaves also have other pigments like carotenoids (yellow/orange) and anthocyanins (red/purple).
- Setting up chromatography: You take a strip of paper (usually filter paper) and place a drop of the leaf’s pigment mixture at the bottom. Then you dip just the bottom of the paper into a solvent, like rubbing alcohol, which helps dissolve the pigments and carries them up the paper as it travels upward.
- Watching the separation: As the solvent moves up the paper, it pulls the pigments along with it. But here’s the cool part: different pigments move at different speeds! Some stick to the paper more and move slowly, while others travel faster with the solvent. Over time, the pigments separate into different bands of color on the paper.
- Seeing the hidden colors: After a little while, you’ll start to see different colors appear—greens, yellows, maybe even some reds or purples. These are the pigments that were hiding in the leaf all along! Chlorophyll is usually the most dominant and shows up first as green, but you’ll also see the other pigments that contribute to a leaf’s true color, especially in the fall when leaves change color.
Leaf chromatography is not only a fun experiment, but it also shows how plants contain a whole rainbow of colors that help them capture sunlight and store energy. It’s like unlocking a colorful secret hidden in every leaf!
This video explains the process for kids in a visual way:
Leaf Chromatography Experiment
We will do a fun fall science experiment that explains how leaves change colors before they fall to the ground. Even though the trees look so bare and forlorn in the winter, we know that in the spring more will literally spring to life and once again provide beauty and shade for us. We can see our own journeys with Christ through these observations.
Note: If you are doing this leaf chromatography experiment as part of a co-op or Sunday school class, you’ll want to conduct the experiment at the beginning of the class session to allow time for the changes in leaf color to occur.
Material Needed for Leaf Chromatography Experiment
- two or three green leaves
- two or three autumn leaves (that have changed color)
- baby food jars with lids
- rubbing alcohol
- shallow pan
- hot water – (Hot tap water will do.)
- masking tape
- labels (If labels are not available, data can be written on masking tape.)
- plastic knife or spoon
- kitchen timer or clock
- coffee filters
Instructions for Leaf Chromatography Experiment
1. Collect two or three colorful leaves and two or three green leaves.
2. Label each jar with the name of the tree each leaf came from.
3. Tear leaves into small pieces and put them in the jars that have been labeled. (i.e. maple leaves go into maple leaf jars, etc.)
4. Fill each jar with enough rubbing alcohol to cover the leaves.
5. Carefully grind the leaves in the alcohol until they are totally pulverized, and then very loosely cover the jars with the lids, but don’t screw them on tight. Aluminum foil or clear plastic can be placed across the tops of the jars if lids are not available.
6. Fill the pan with about one inch of hot tap water and wait about thirty minutes until the alcohol begins to turn black. The darker, the better. Then jiggle the jars about every five minutes. If the water cools, replace water with hot water.
7. Cut the coffee filters into long, thin strips–one per jar, and then label each strip with the name of the type of leaf in each jar. When the alcohol is dark and murky, remove the jars from the water, take the lids off, and then place the coffee filters into each jar so that one end is in the alcohol and one end is sticking up.
8. Fold the free end of the coffee filter over the end of the jar and tape it in place. The alcohol will slowly move up the paper, dragging the colors with it. After thirty minutes (or more) you will be able to see different colors on the paper, depending on the type of leaf.
9. Remove the colored coffee strips from the jars and tape them next to each other on a piece of paper to dry.

Explanation of Leaf Chromatography
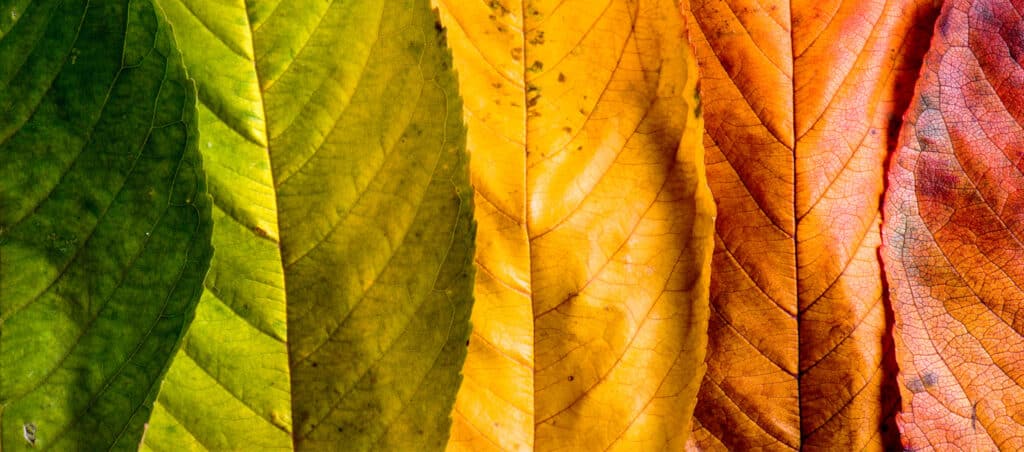
This leaf chromatography experiment shows helps illustrate how and why leaves change color in the fall. We know that leaves contain chlorophyll, which makes them green, and carotenoids, which colors them yellow, brown, red, or orange, depending on the type of leaf.
In our leaf chromatography experiment, the chemicals traveled at different distances up the filter paper as the alcohol evaporated, staining them with their hidden colors. That’s because, during the summer, light reacts with the chlorophyll in the leaves to make them green.
In the fall there is less light, therefore depriving the leaves of chlorophyll. With less chlorophyll, the leaves lose the ability to stay green. Some turn bright yellow because they contain carotene. In some trees, like maples, the sugar reacts to form anthocyanin.
These chemicals cause yellow leaves to turn red. Cold temperatures aid the formation of anthocyanin, and that gives us the fabulous fall landscape in the northern parts of our country.
We saw in this leaf chromatography experiment how God allowed chlorophyll, which makes leaves green, to be replaced by carotene and anthocyanin. In our lives, as we grow, we see how God allows youth and vibrance to be replaced by maturity and wisdom. God is present in every phase of life, working to make us more like His son, Jesus.
Enjoyed the post? Let us know if you tried this leaf chromatography experiment.
You might also enjoy:

Easy Fall Unit Studies for Homeschoolers