DIY Girl Gift: Handmade Scrunchies
If you’re a girl-mom, you are probably keenly aware of the resurgence of one of the biggest trends of the ’80s and ’90s: the Scrunchie. Scrunchies are having a comeback moment right now, for girls of all ages (from toddlers to teens)! Today’s DIY tutorial will show you how make your own, handmade Scrunchies, which you can then use for Christmas gifts (or as gifts any time of year). Use this craft yourself to make Scrunchies for your daughter/s, or use it to make Scrunchies WITH your daughters (or sons), so they can give these handmade accessories out as gifts to friends this holiday season! Don’t sew? Don’t worry! We’re including both sew and non-sewing options in this tutorial!
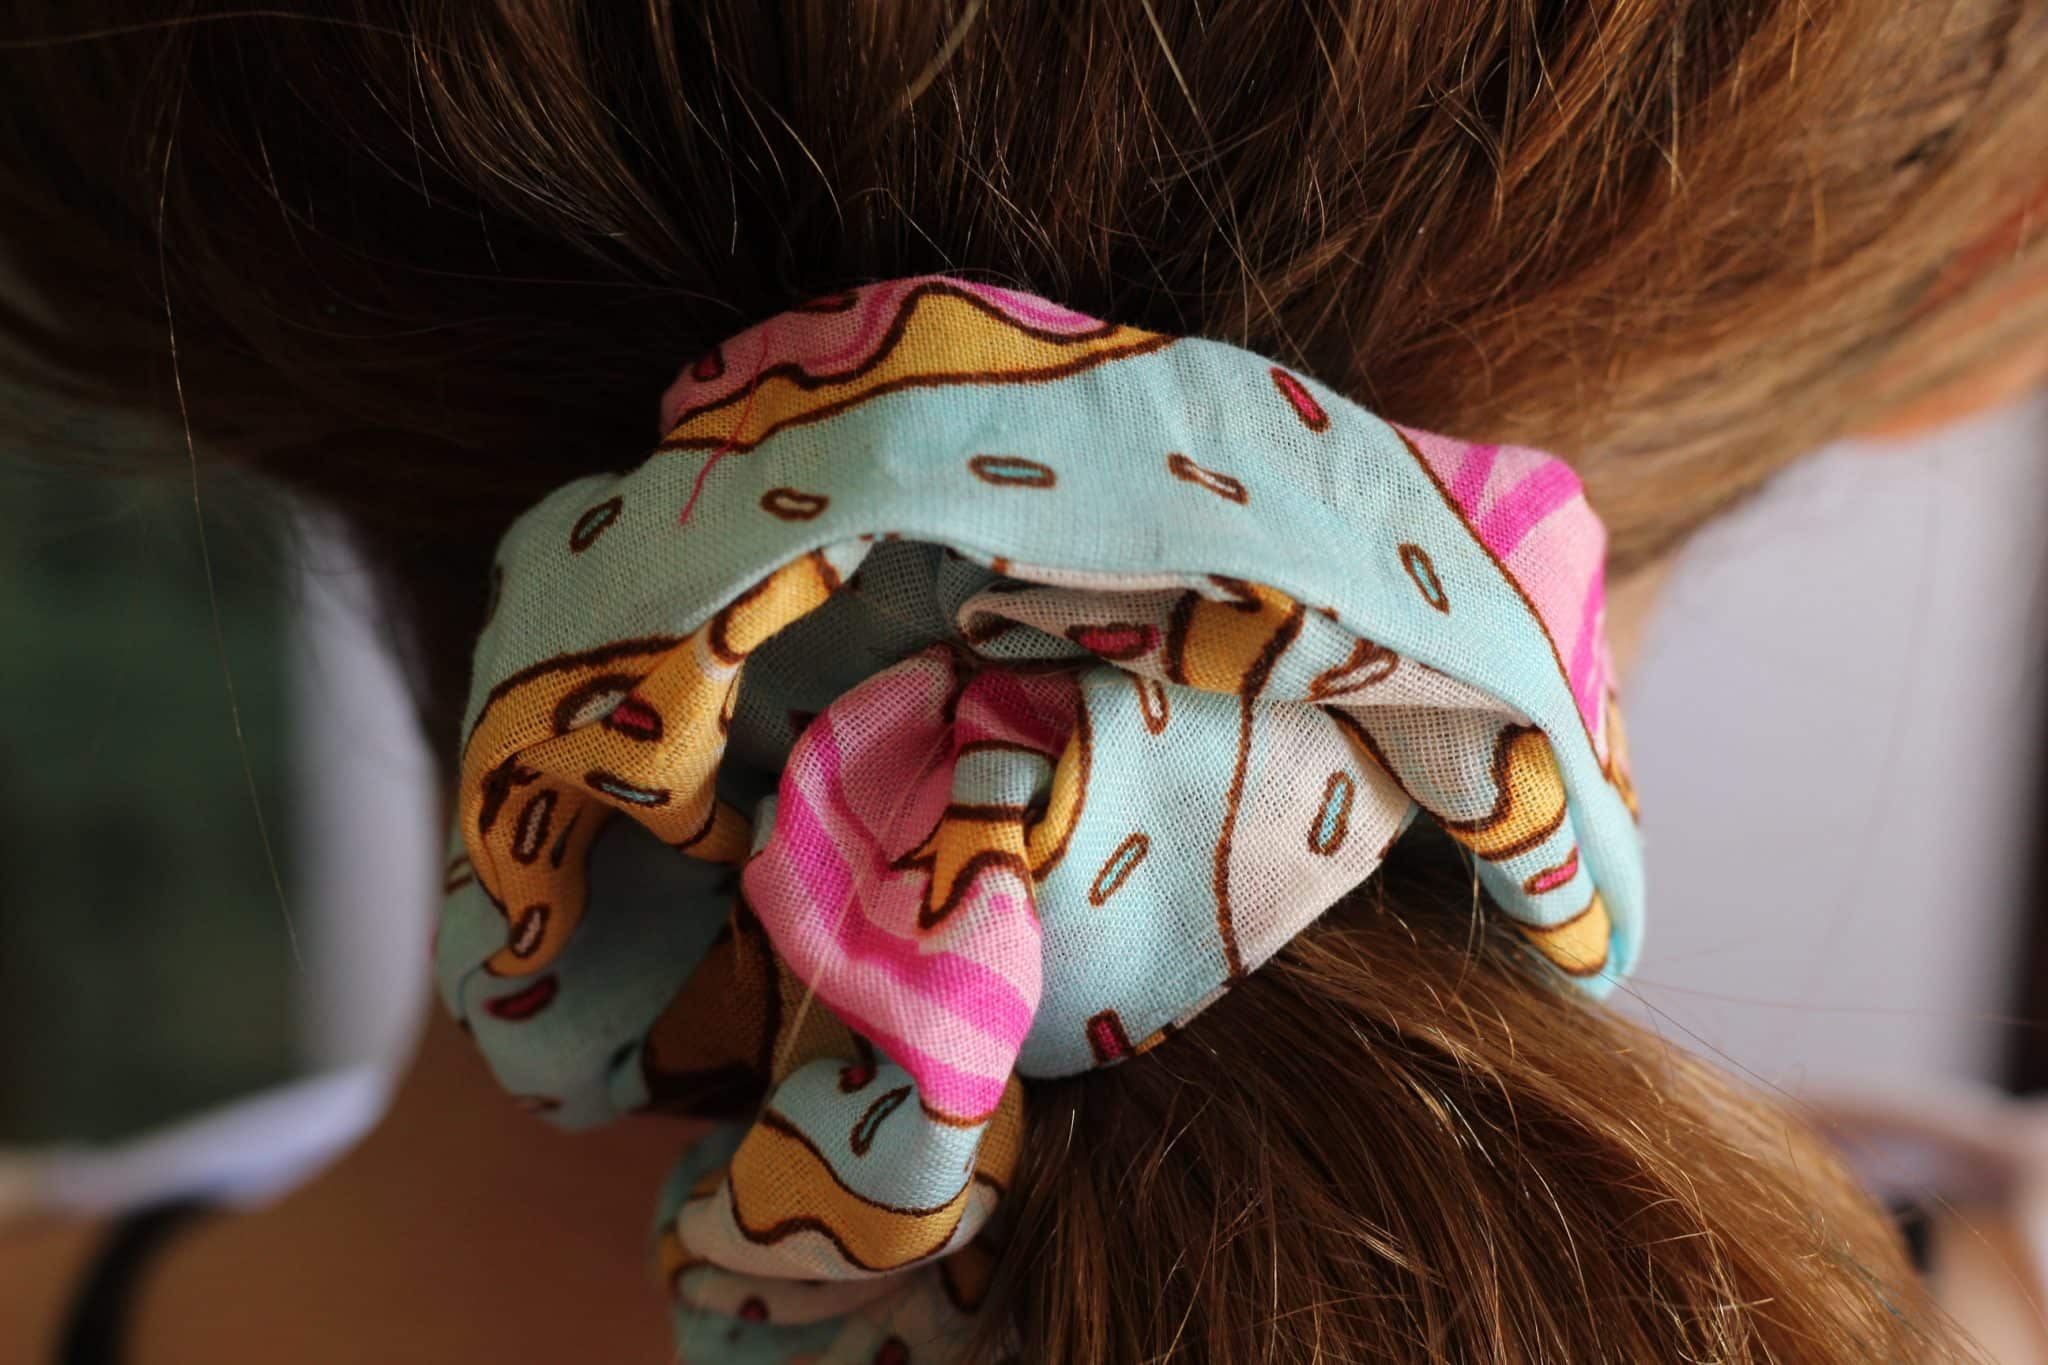
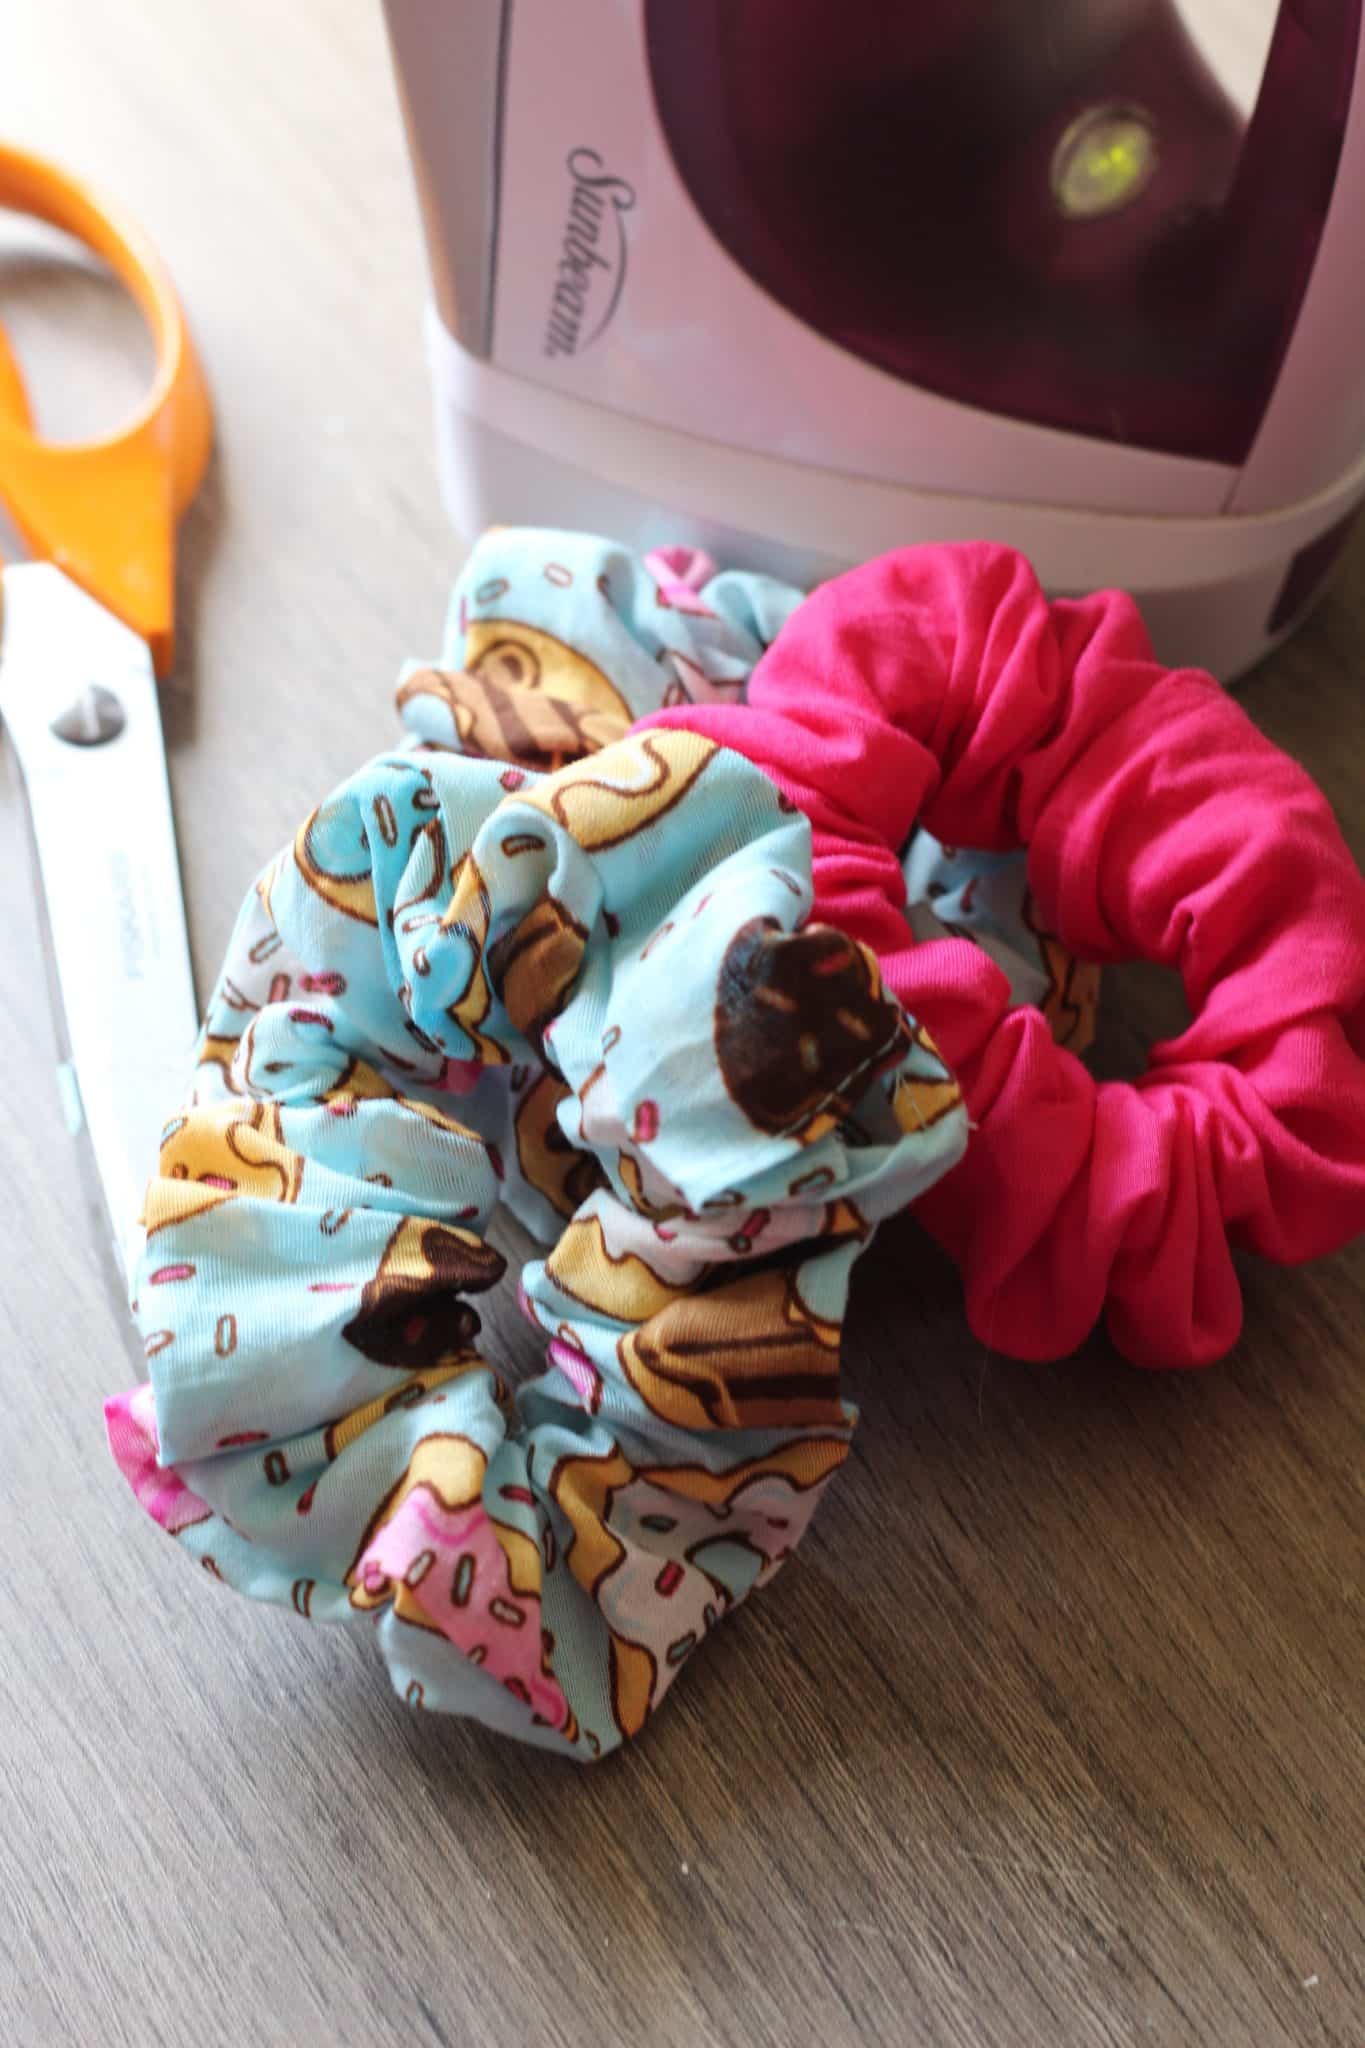
Recipients of your handcrafted Scrunchies will appreciate these fashionable accessories even more because of the care that went into making them. Because you get to select the fabric (we used handkerchiefs) you use to make your Scrunchies, you may even want to pick out funny or personalized designs to make your Scrunchies even more special (as you can see, we went with a donut design for some of ours!) Keep reading to find out how to make your own!
What You’ll Need:
- 2 handkerchiefs in a design of your choice (1 handkerchief makes about 4 Scrunchies)
- Iron-on Hem Tape/ or a sewing machine (depending on which method you want to use)
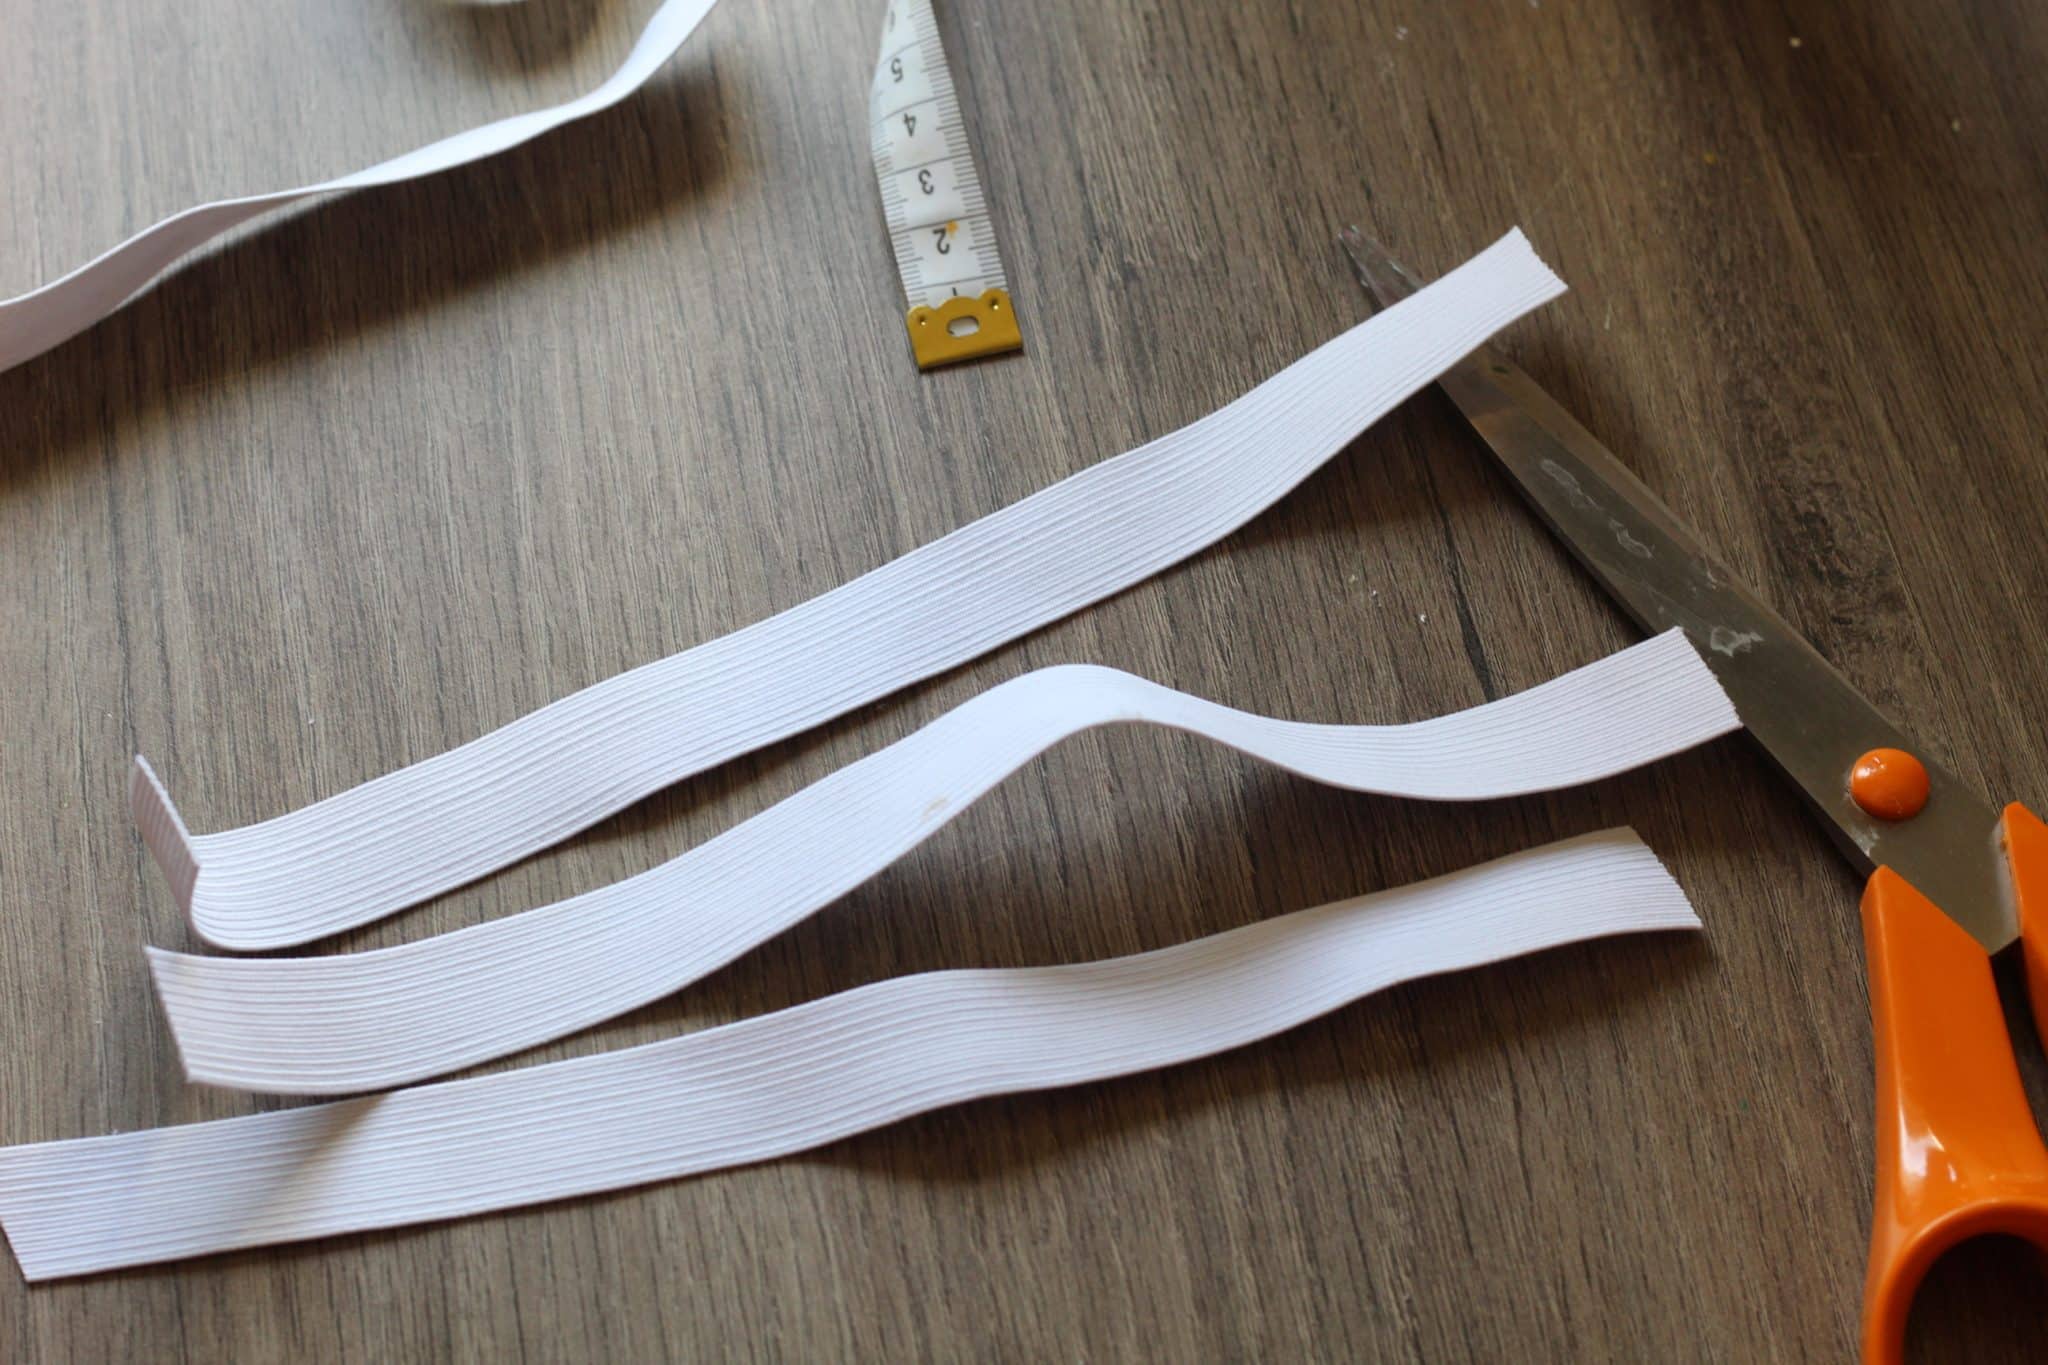
- Elastic
- Scissors
- Optional: Ruler and Tape
How to Make It (Two Ways):
Whether you love to whip out the sewing machine or not, you can still make these cute Scrunchies! We’re giving you “No-Sew” and “Sew” options for this craft.
No-Sew Option:
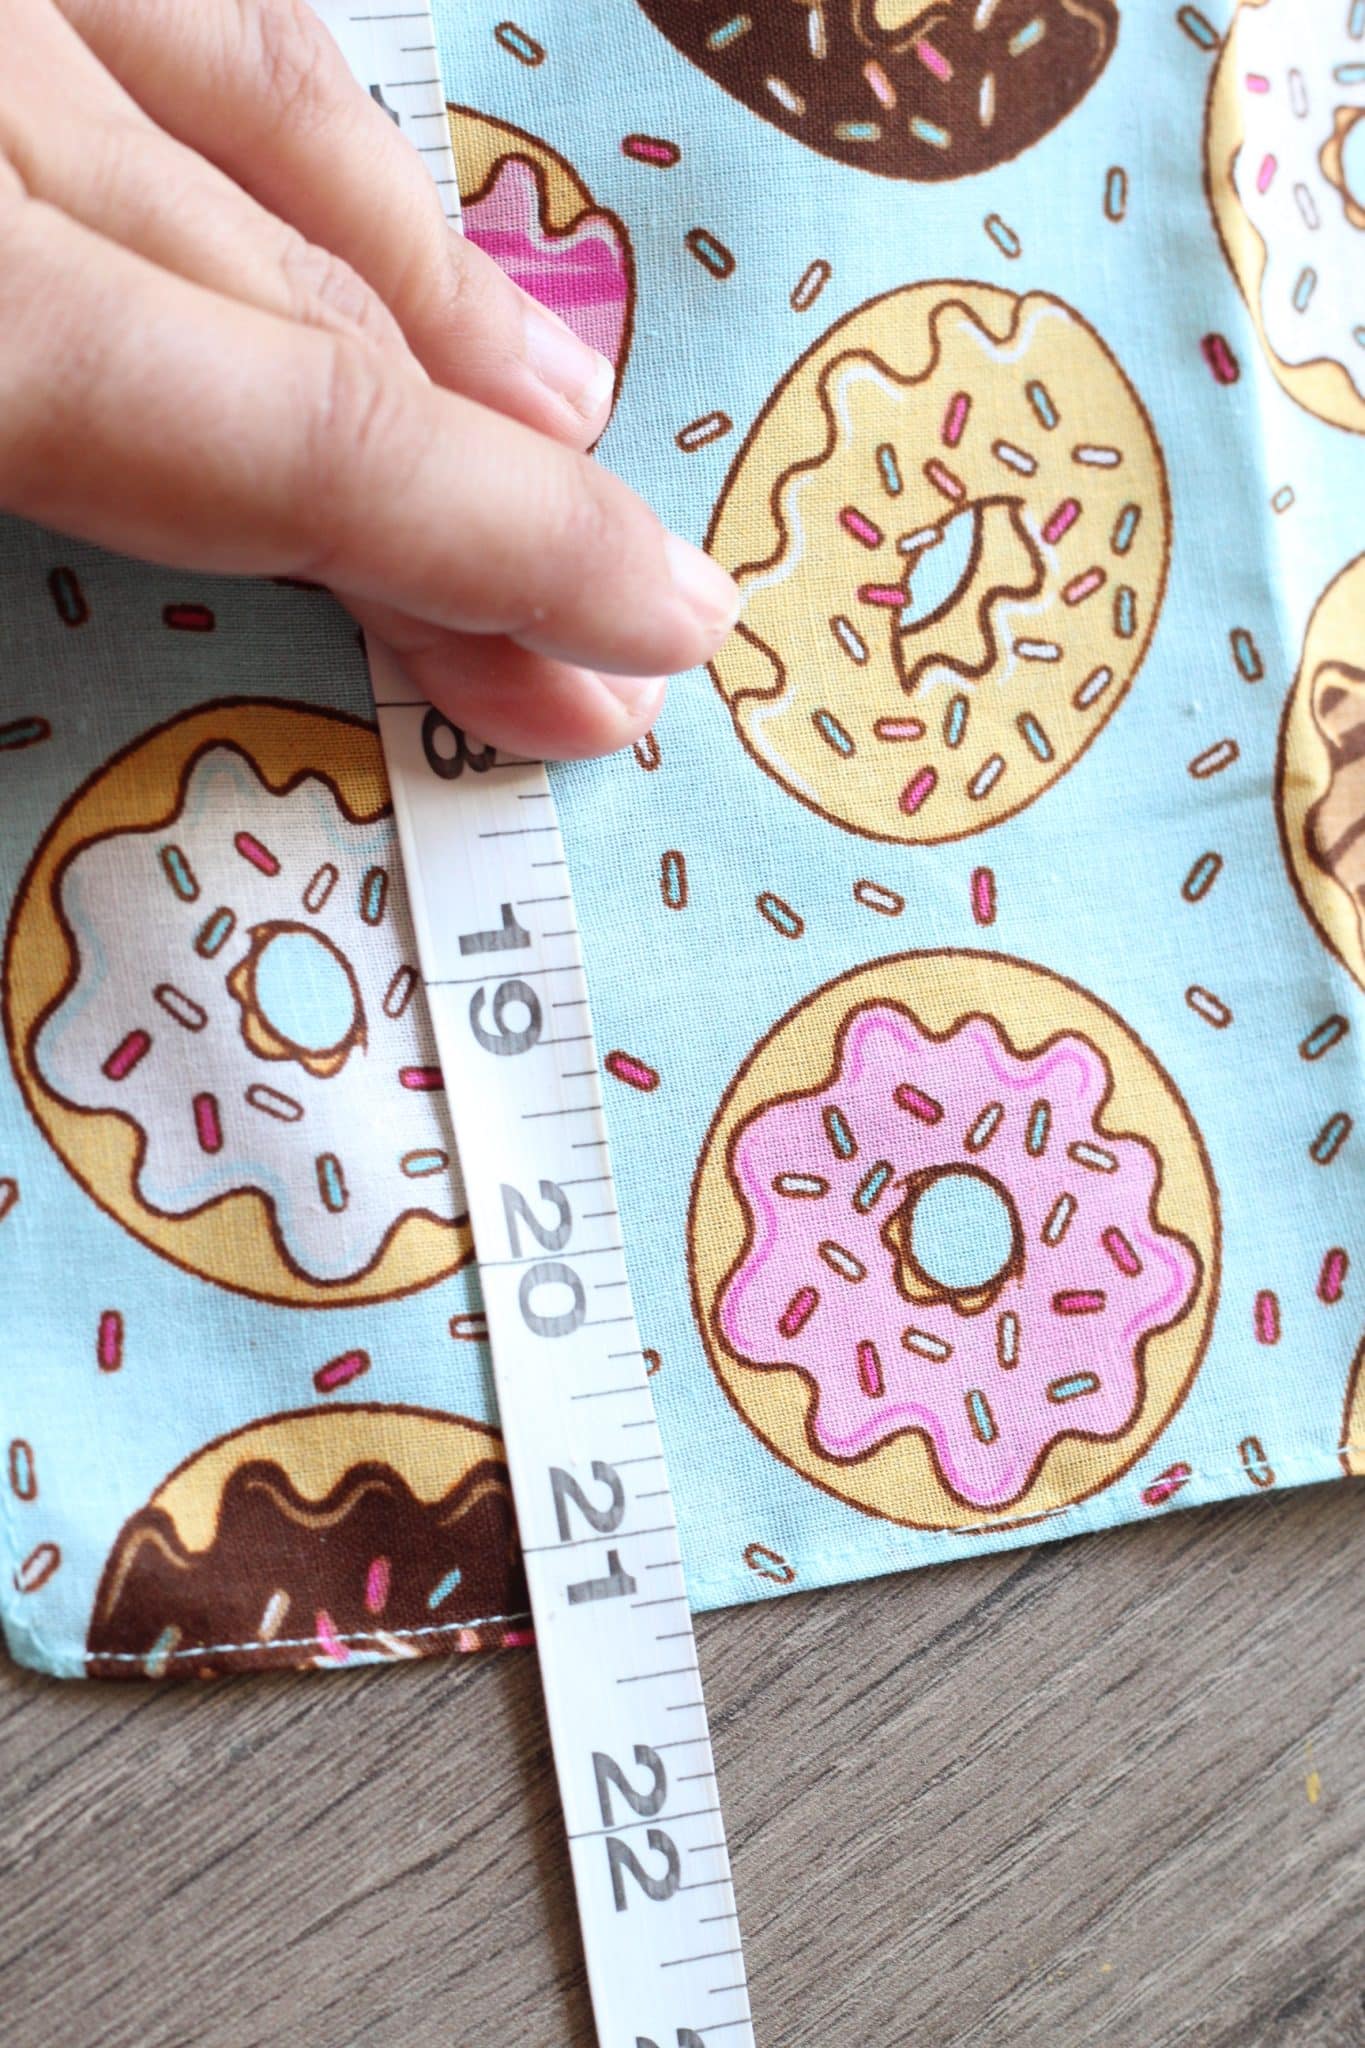
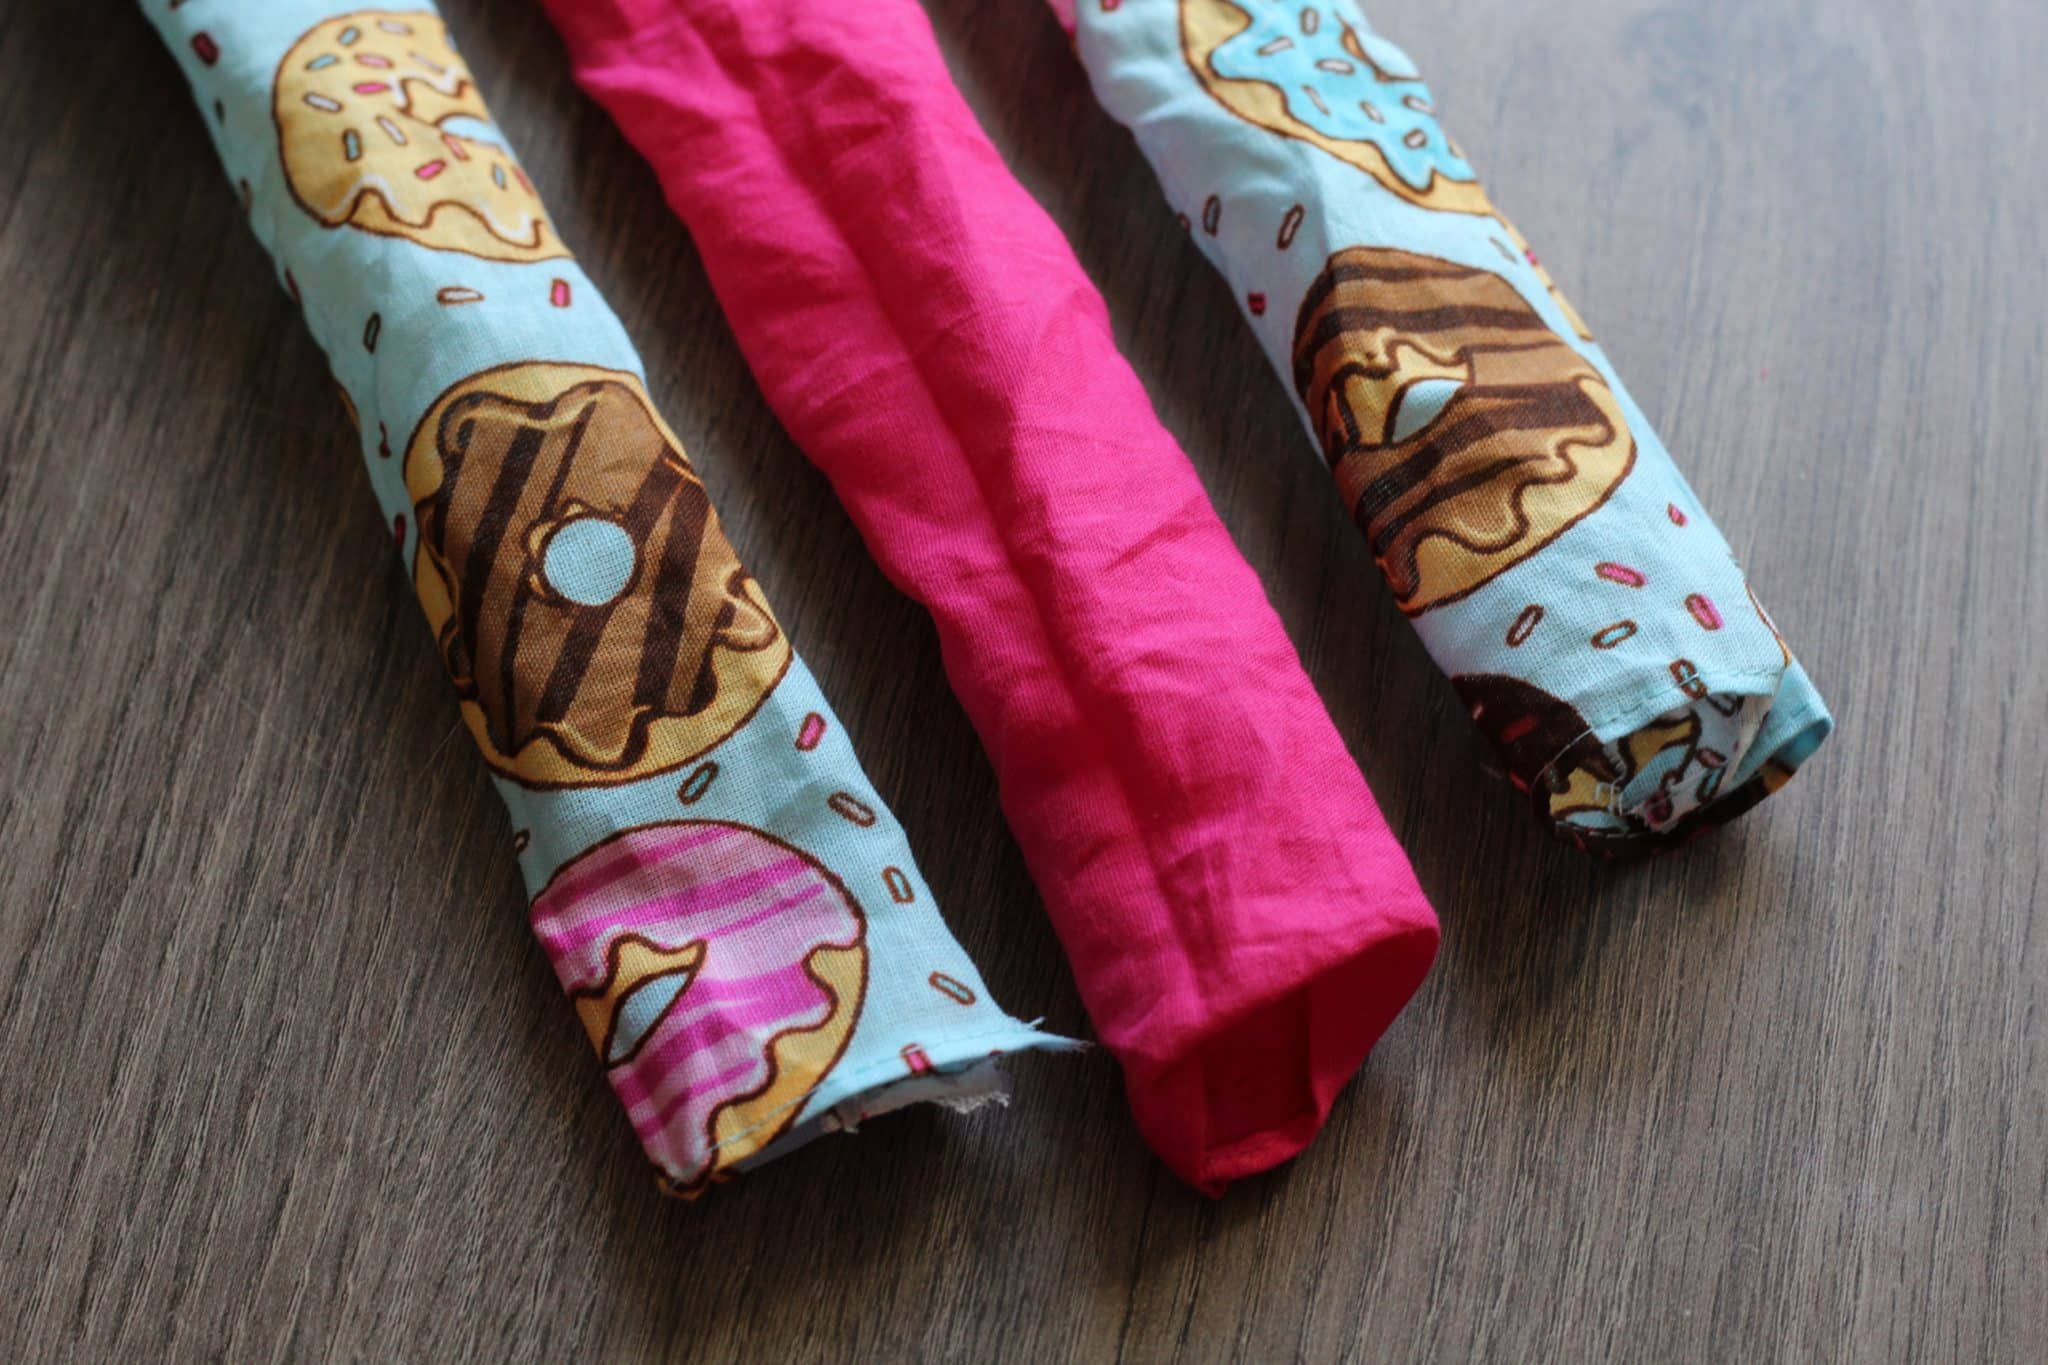
Cut handkerchiefs into 4 equal lengths. They usually come pre-folded, which makes it quite easy to cut them because you can use the crease of the fold as a guideline.
Note: This is the point at which the steps for the No Sew and Sew options diverge.
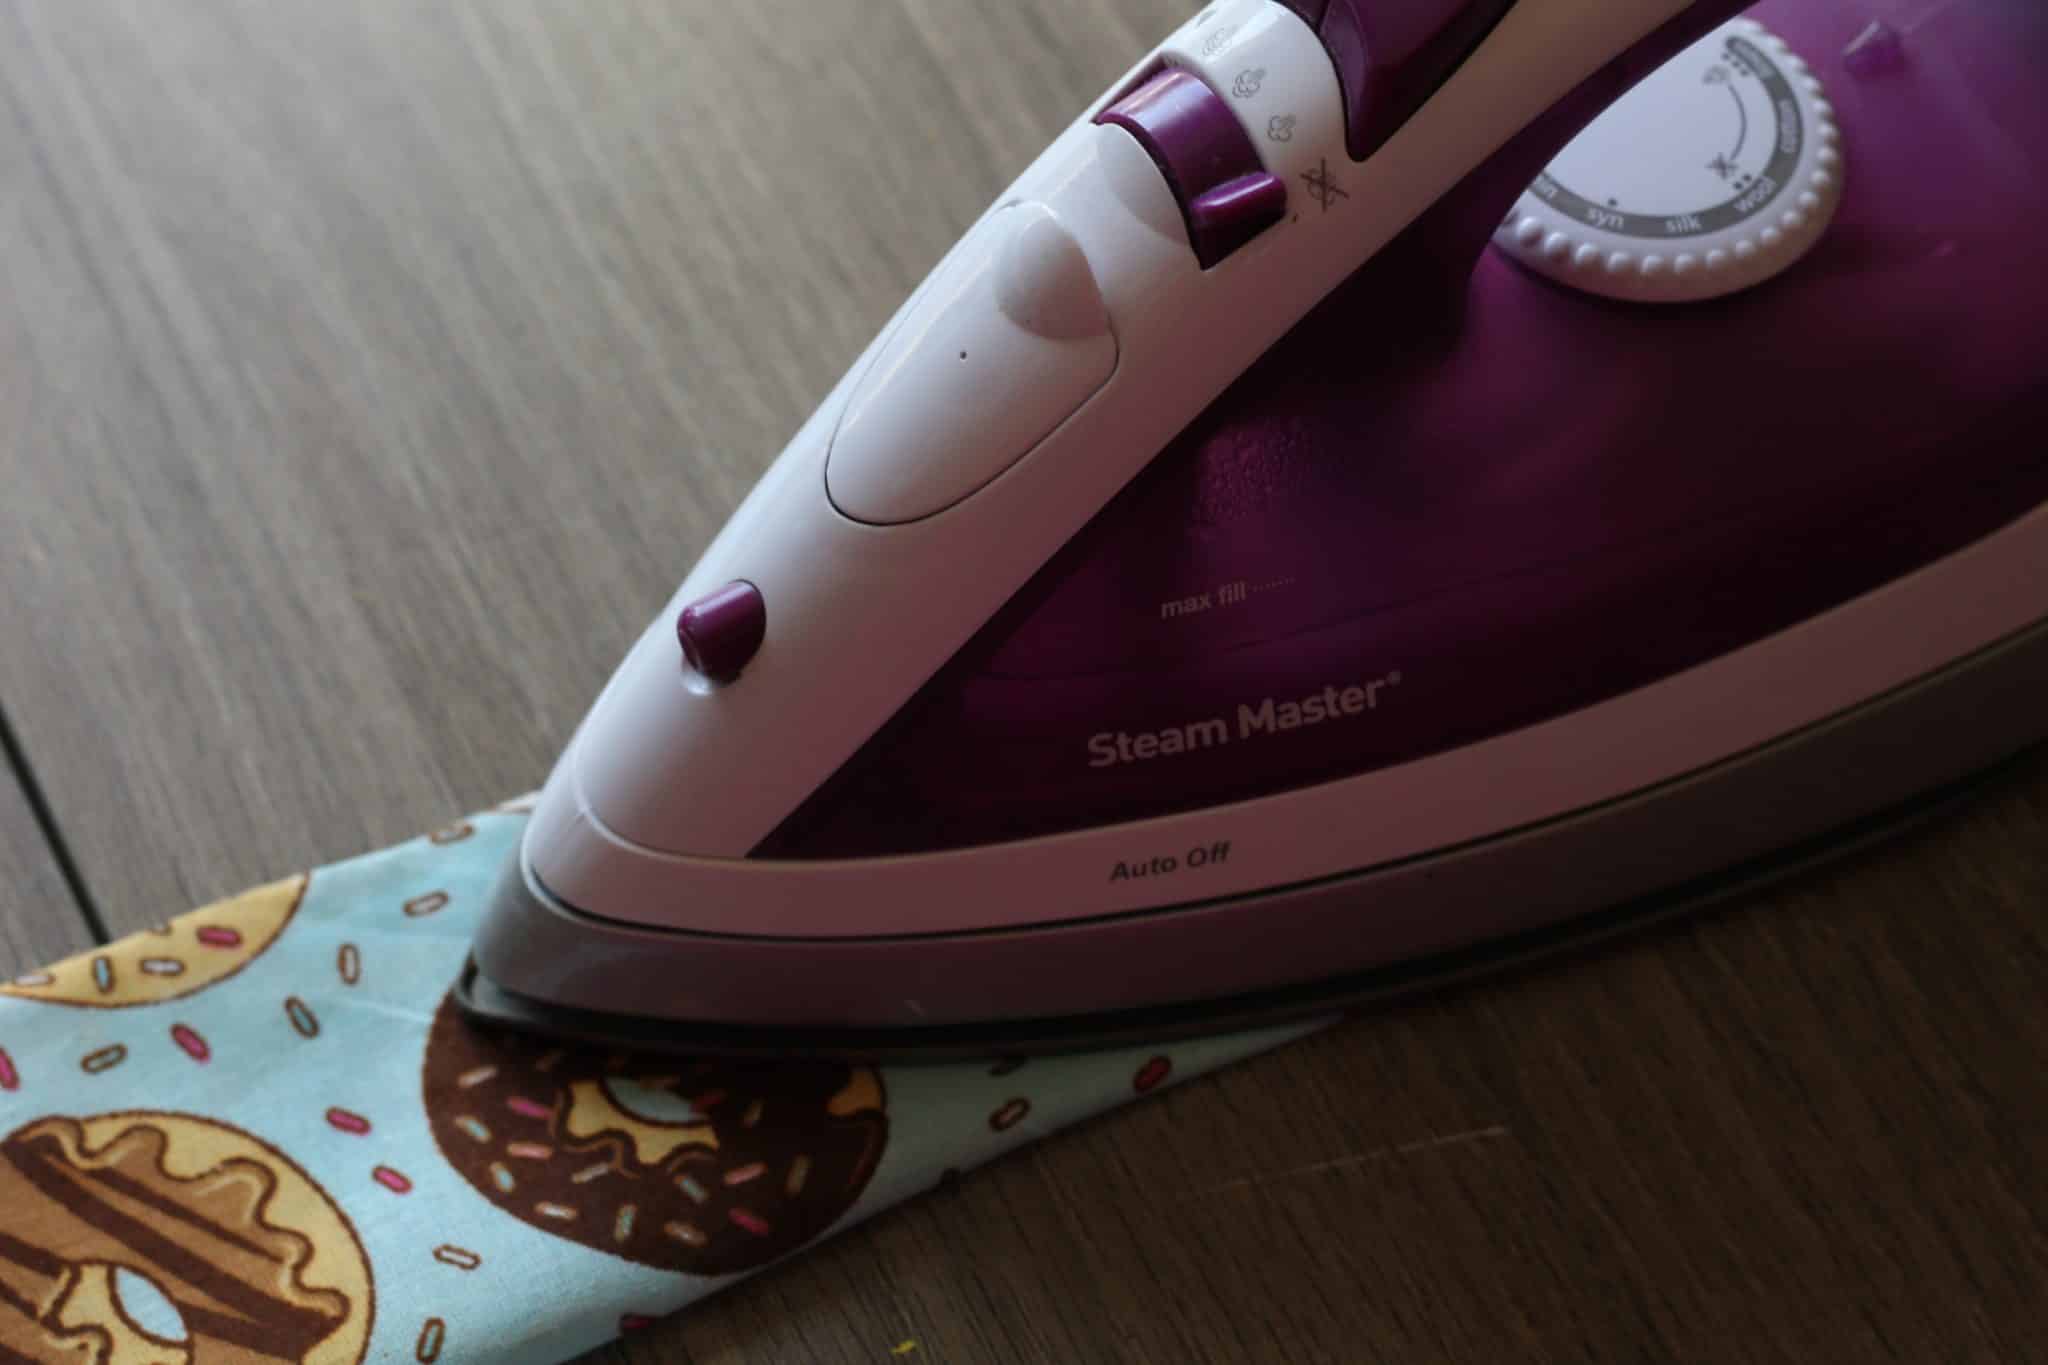
For the No Sew Option, cut a piece of iron-on hem tape to the same length as your fabric.

Lay iron-on hem tape close to the outside edge of your fabric strip. Then fold the fabric in half, so that the other outside edge lays on top of the one with the iron-on tape. Use your iron to activate the iron-on tape according to the package directions.
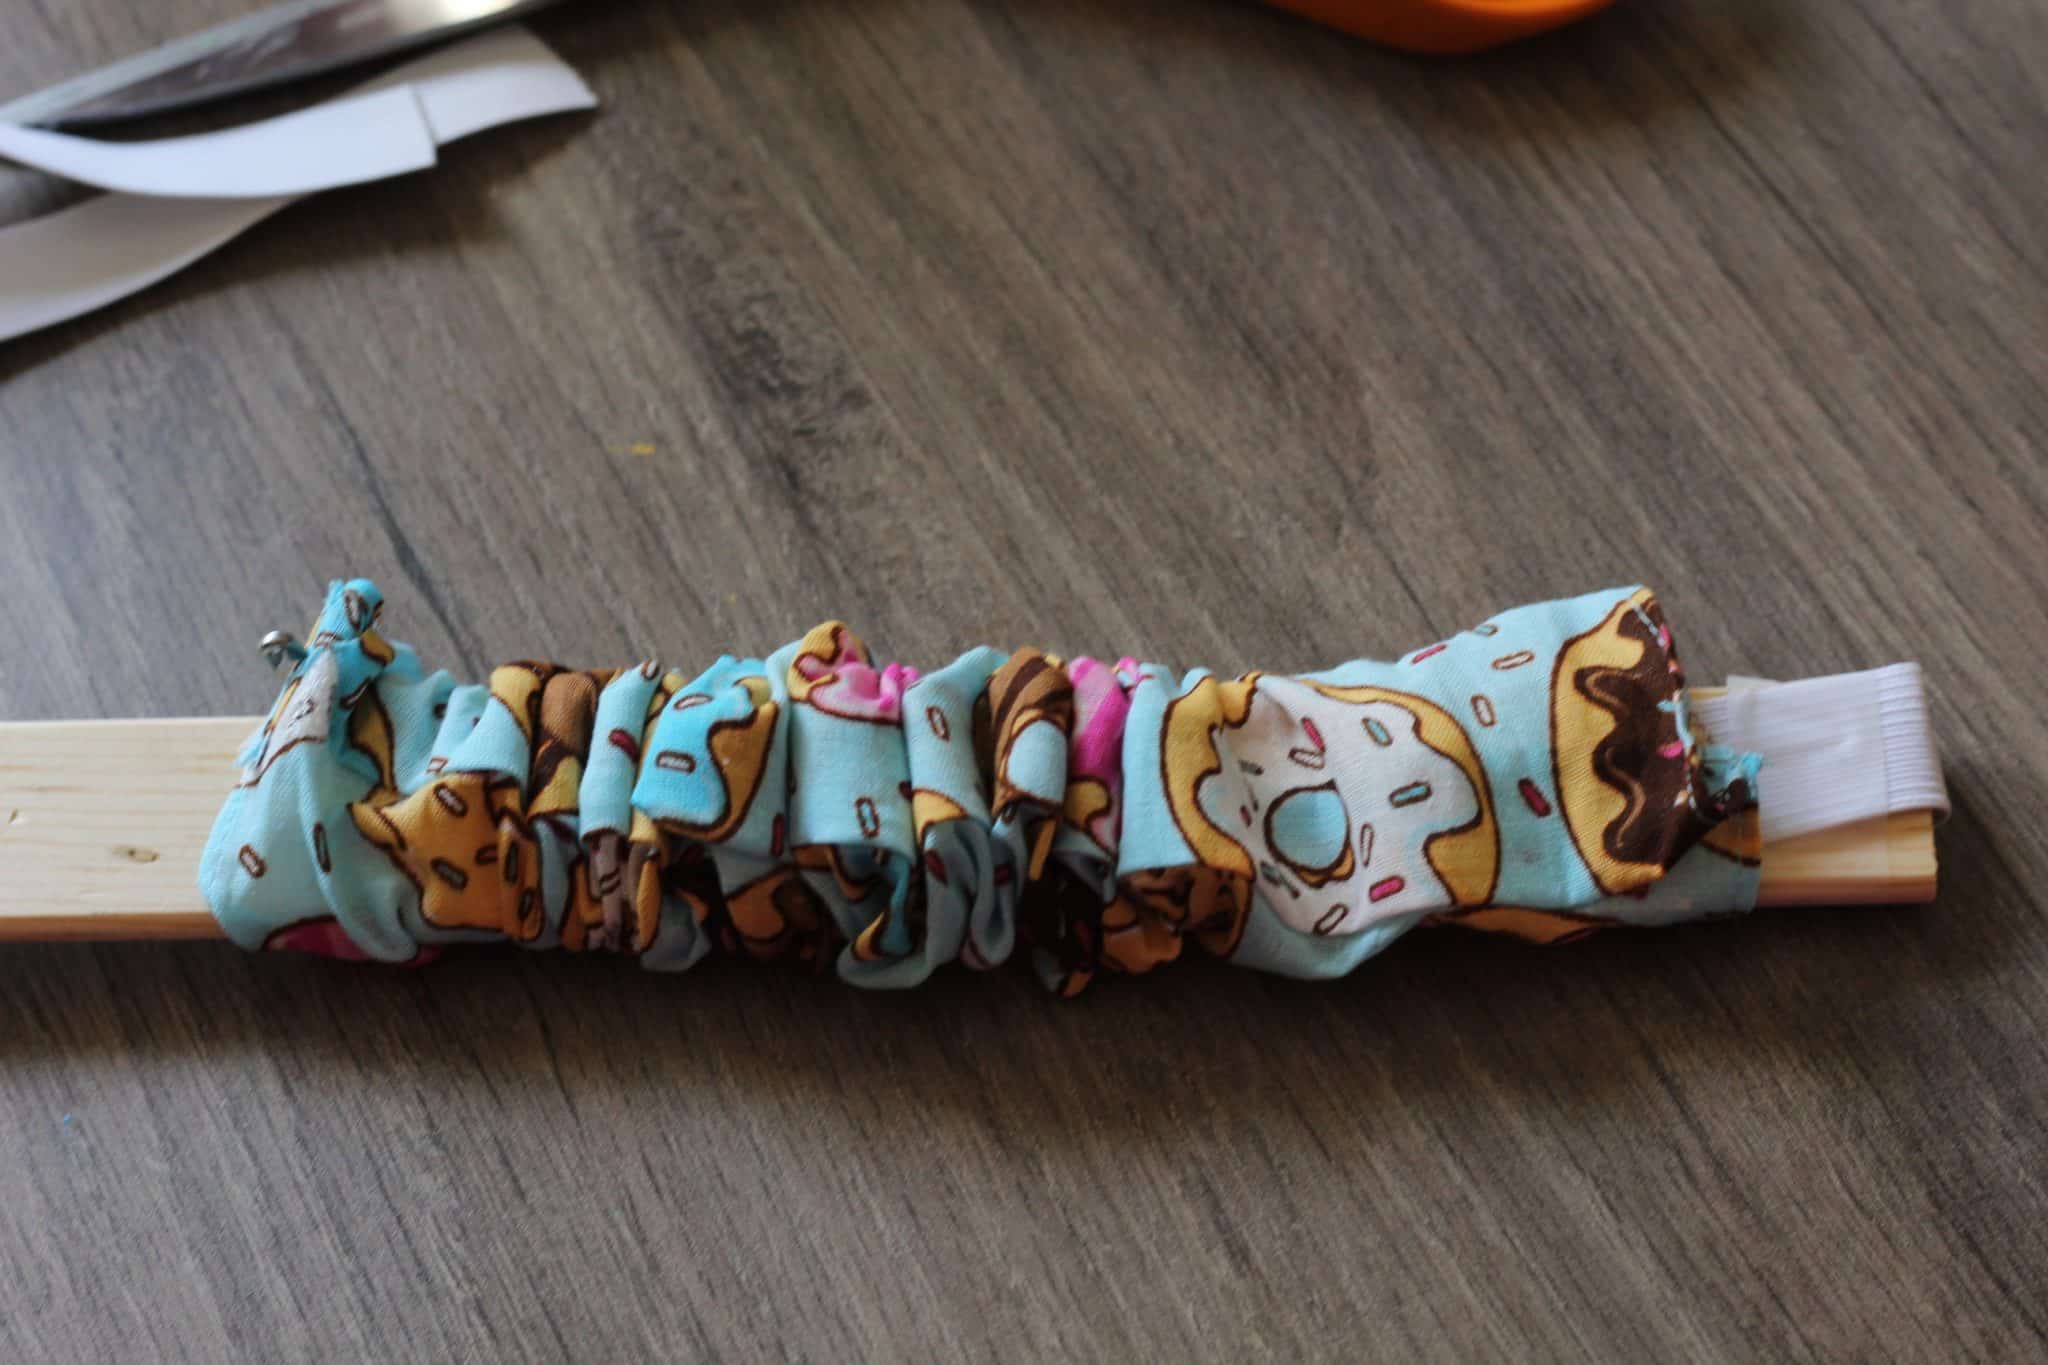
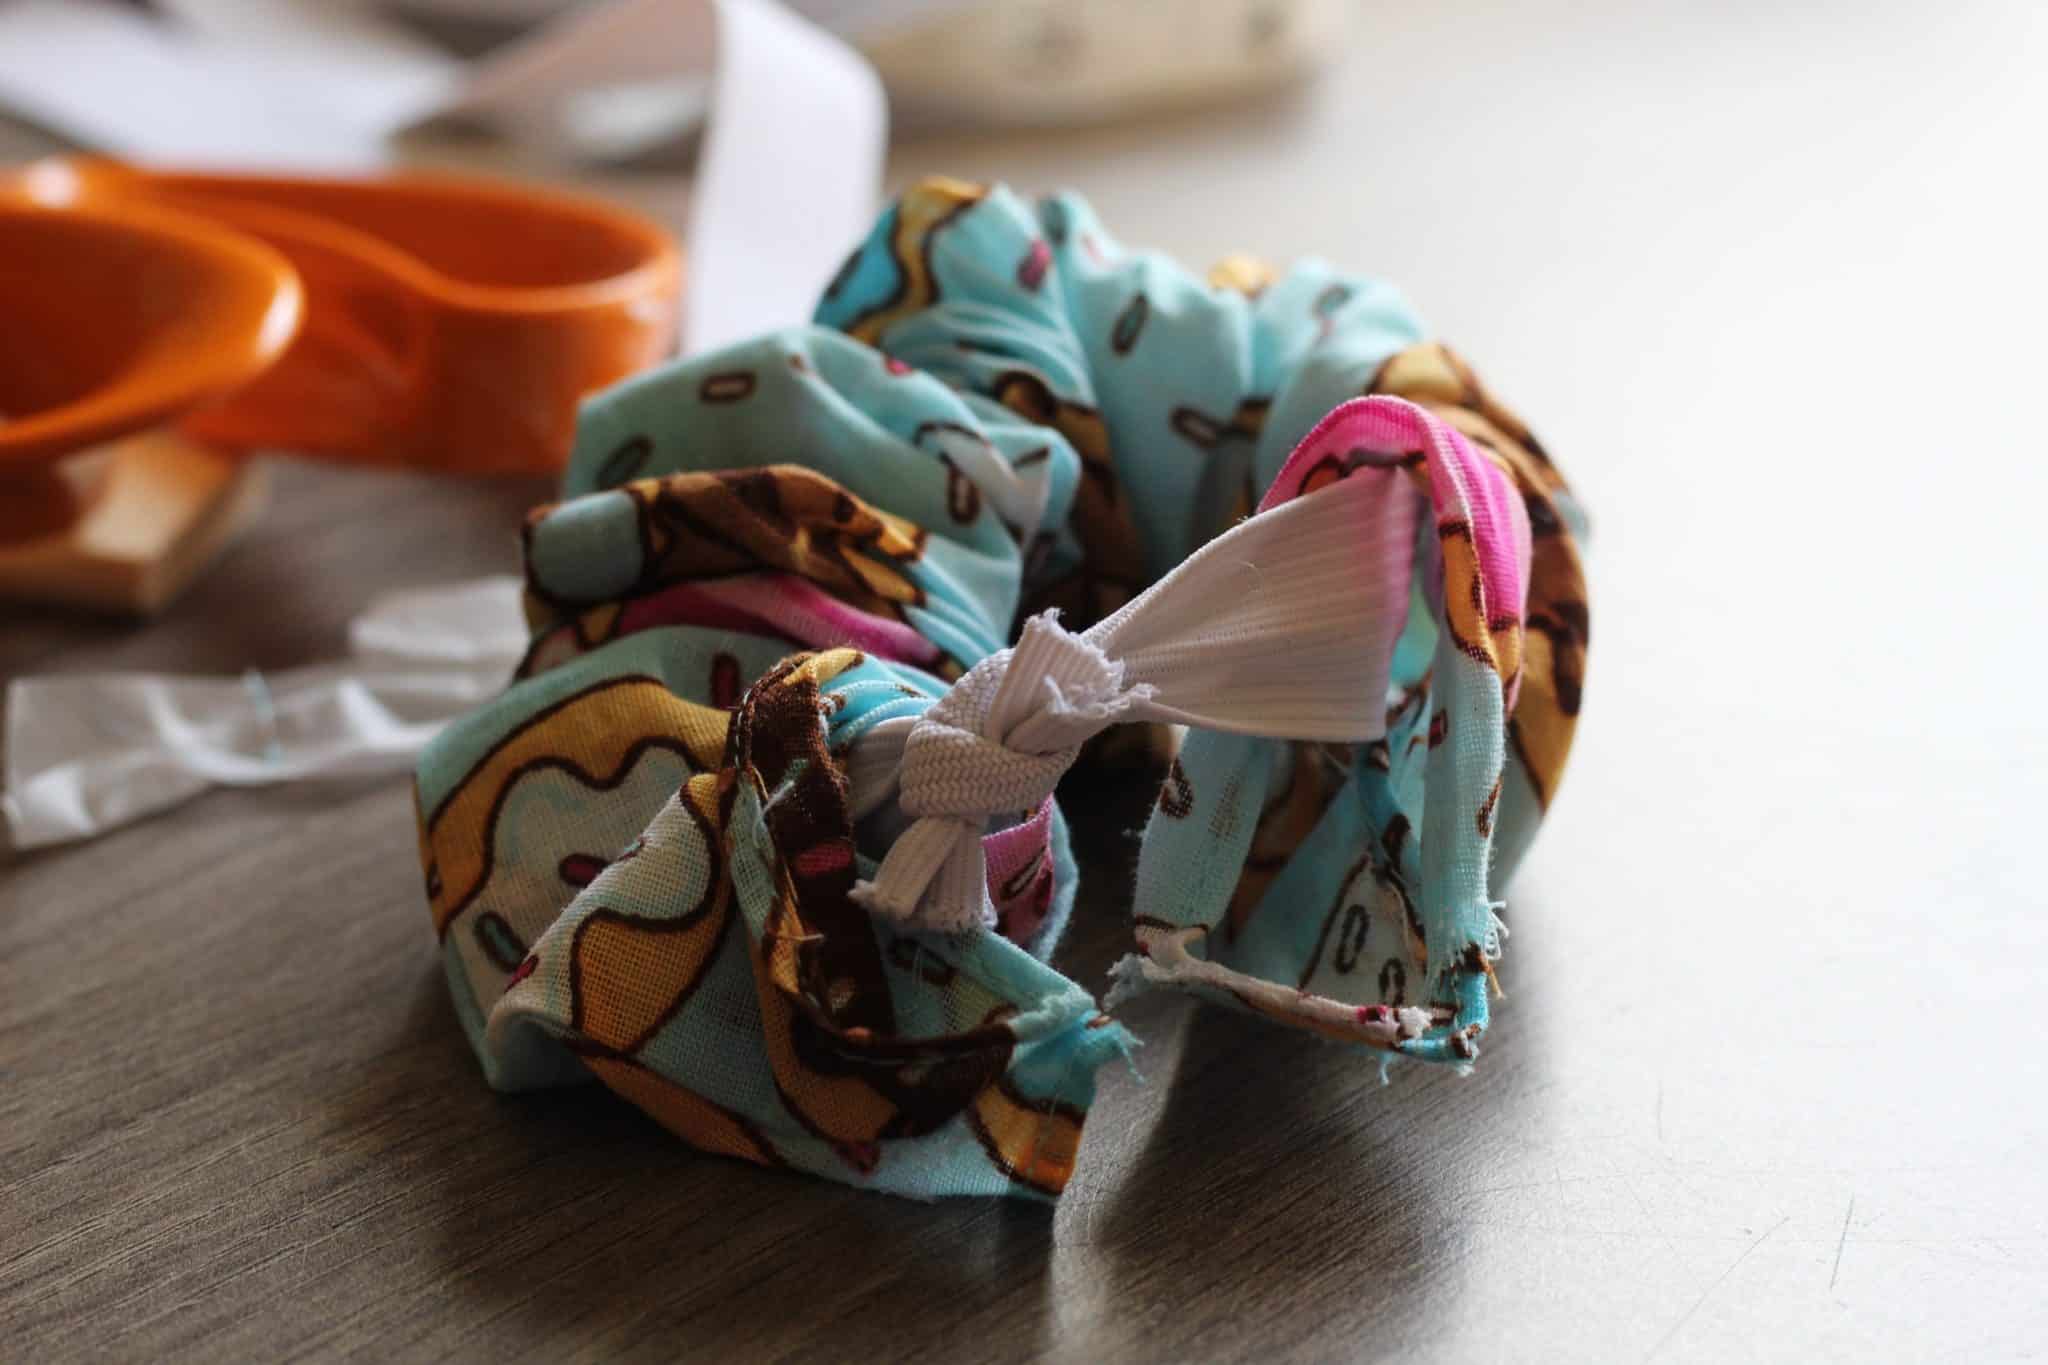

Your no-sew Scrunchie is now complete!
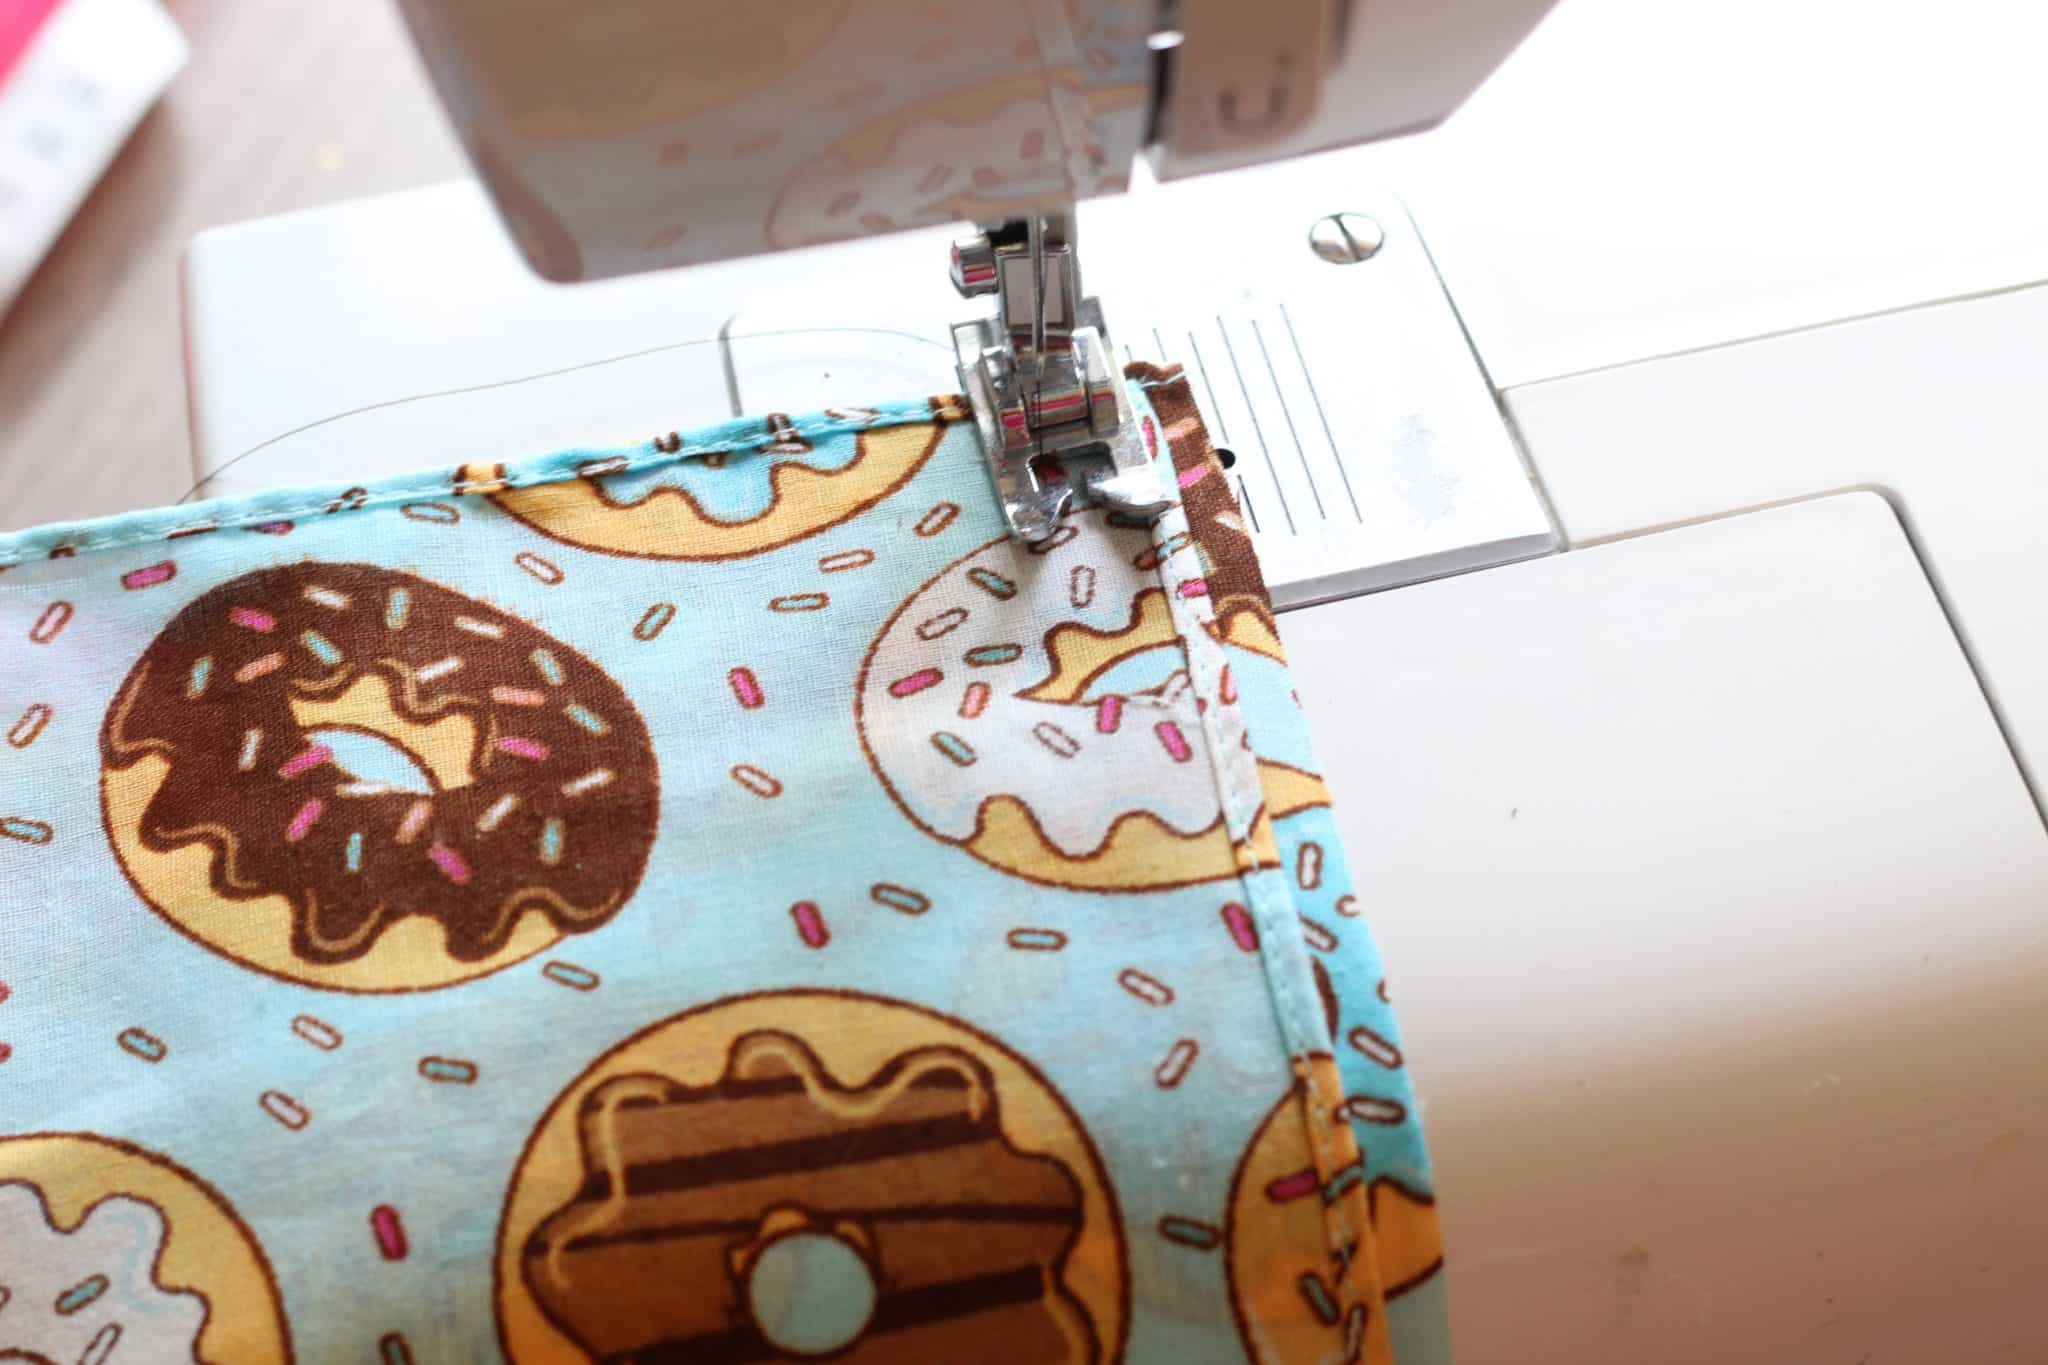
Sewing Machine Directions:
If you have a sewing machine and would rather make these Scrunchies that way, then that’s easy, too! You’ll use the same steps to measure and cut your fabric and elastic as in the first method. Next, fold the strips lengthwise and use your sewing machine to run a straight stitch through it. Start your stitch ¼” from the edge and run it all the way down.
Slide the fabric on either under underneath by ½.” Press ends together and then hand sew a blind stitch by running your needle and thread inside the two folds where the thread will not be seen, all the way around.
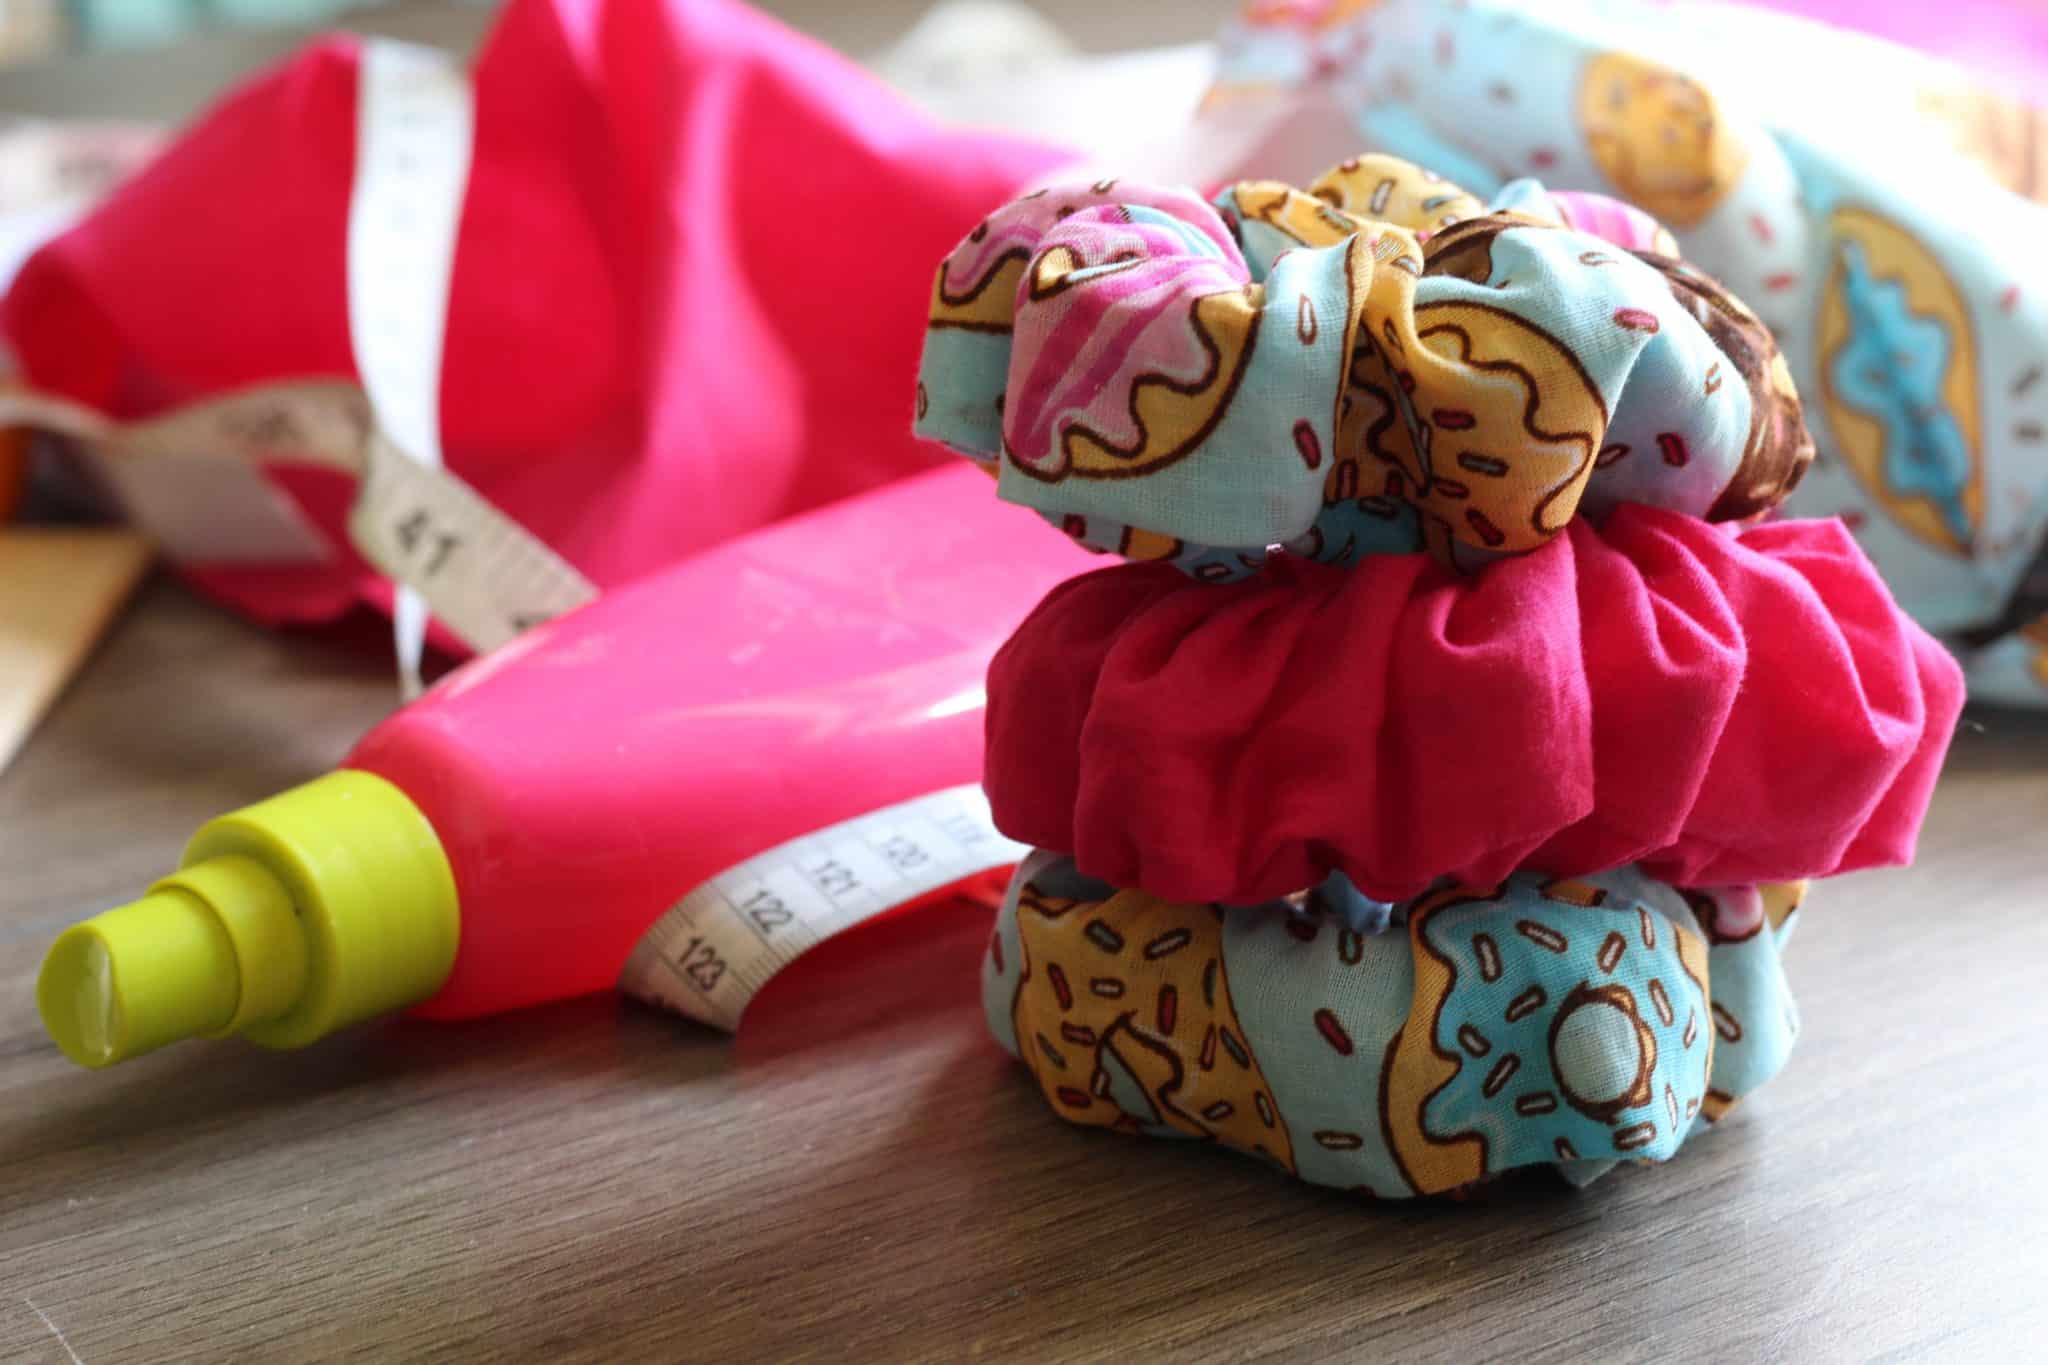
Are you planning to make these adorable DIY Scrunchies with your kids? We think they’d make perfect stocking stuffers or small gifts for friends! What sort of fun fabrics will you use to personalize your scrunchies?
You May Also Like

Easy DIY Christmas Gift: Eucalyptus Bath Salts
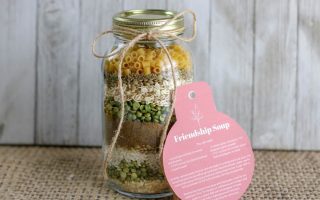
Friendship Soup: DIY Gift in a Jar (with Free Printable Gift Tags)