3D Papercraft: Cozy Winter Scene

It can be easy to feel a little down during winter once the holidays are over, but it’s important to remember that we can still celebrate some of the many wonderful things that there are to love about this season! Personally, winter is my favorite time of year to celebrate all things cozy. And one cozy activity to do indoors when it’s cold outside is crafting, of course! Today’s craft is a gorgeous 3D Papercraft featuring a winter scene that will remind you how very cozy winter-time can be. Whether you love winter or are feeling a little blue this time of year, this lovely craft makes for a cozy activity to use in your homeschool. This craft involves attention to detail and sequencing, which makes it a perfect activity for older children!

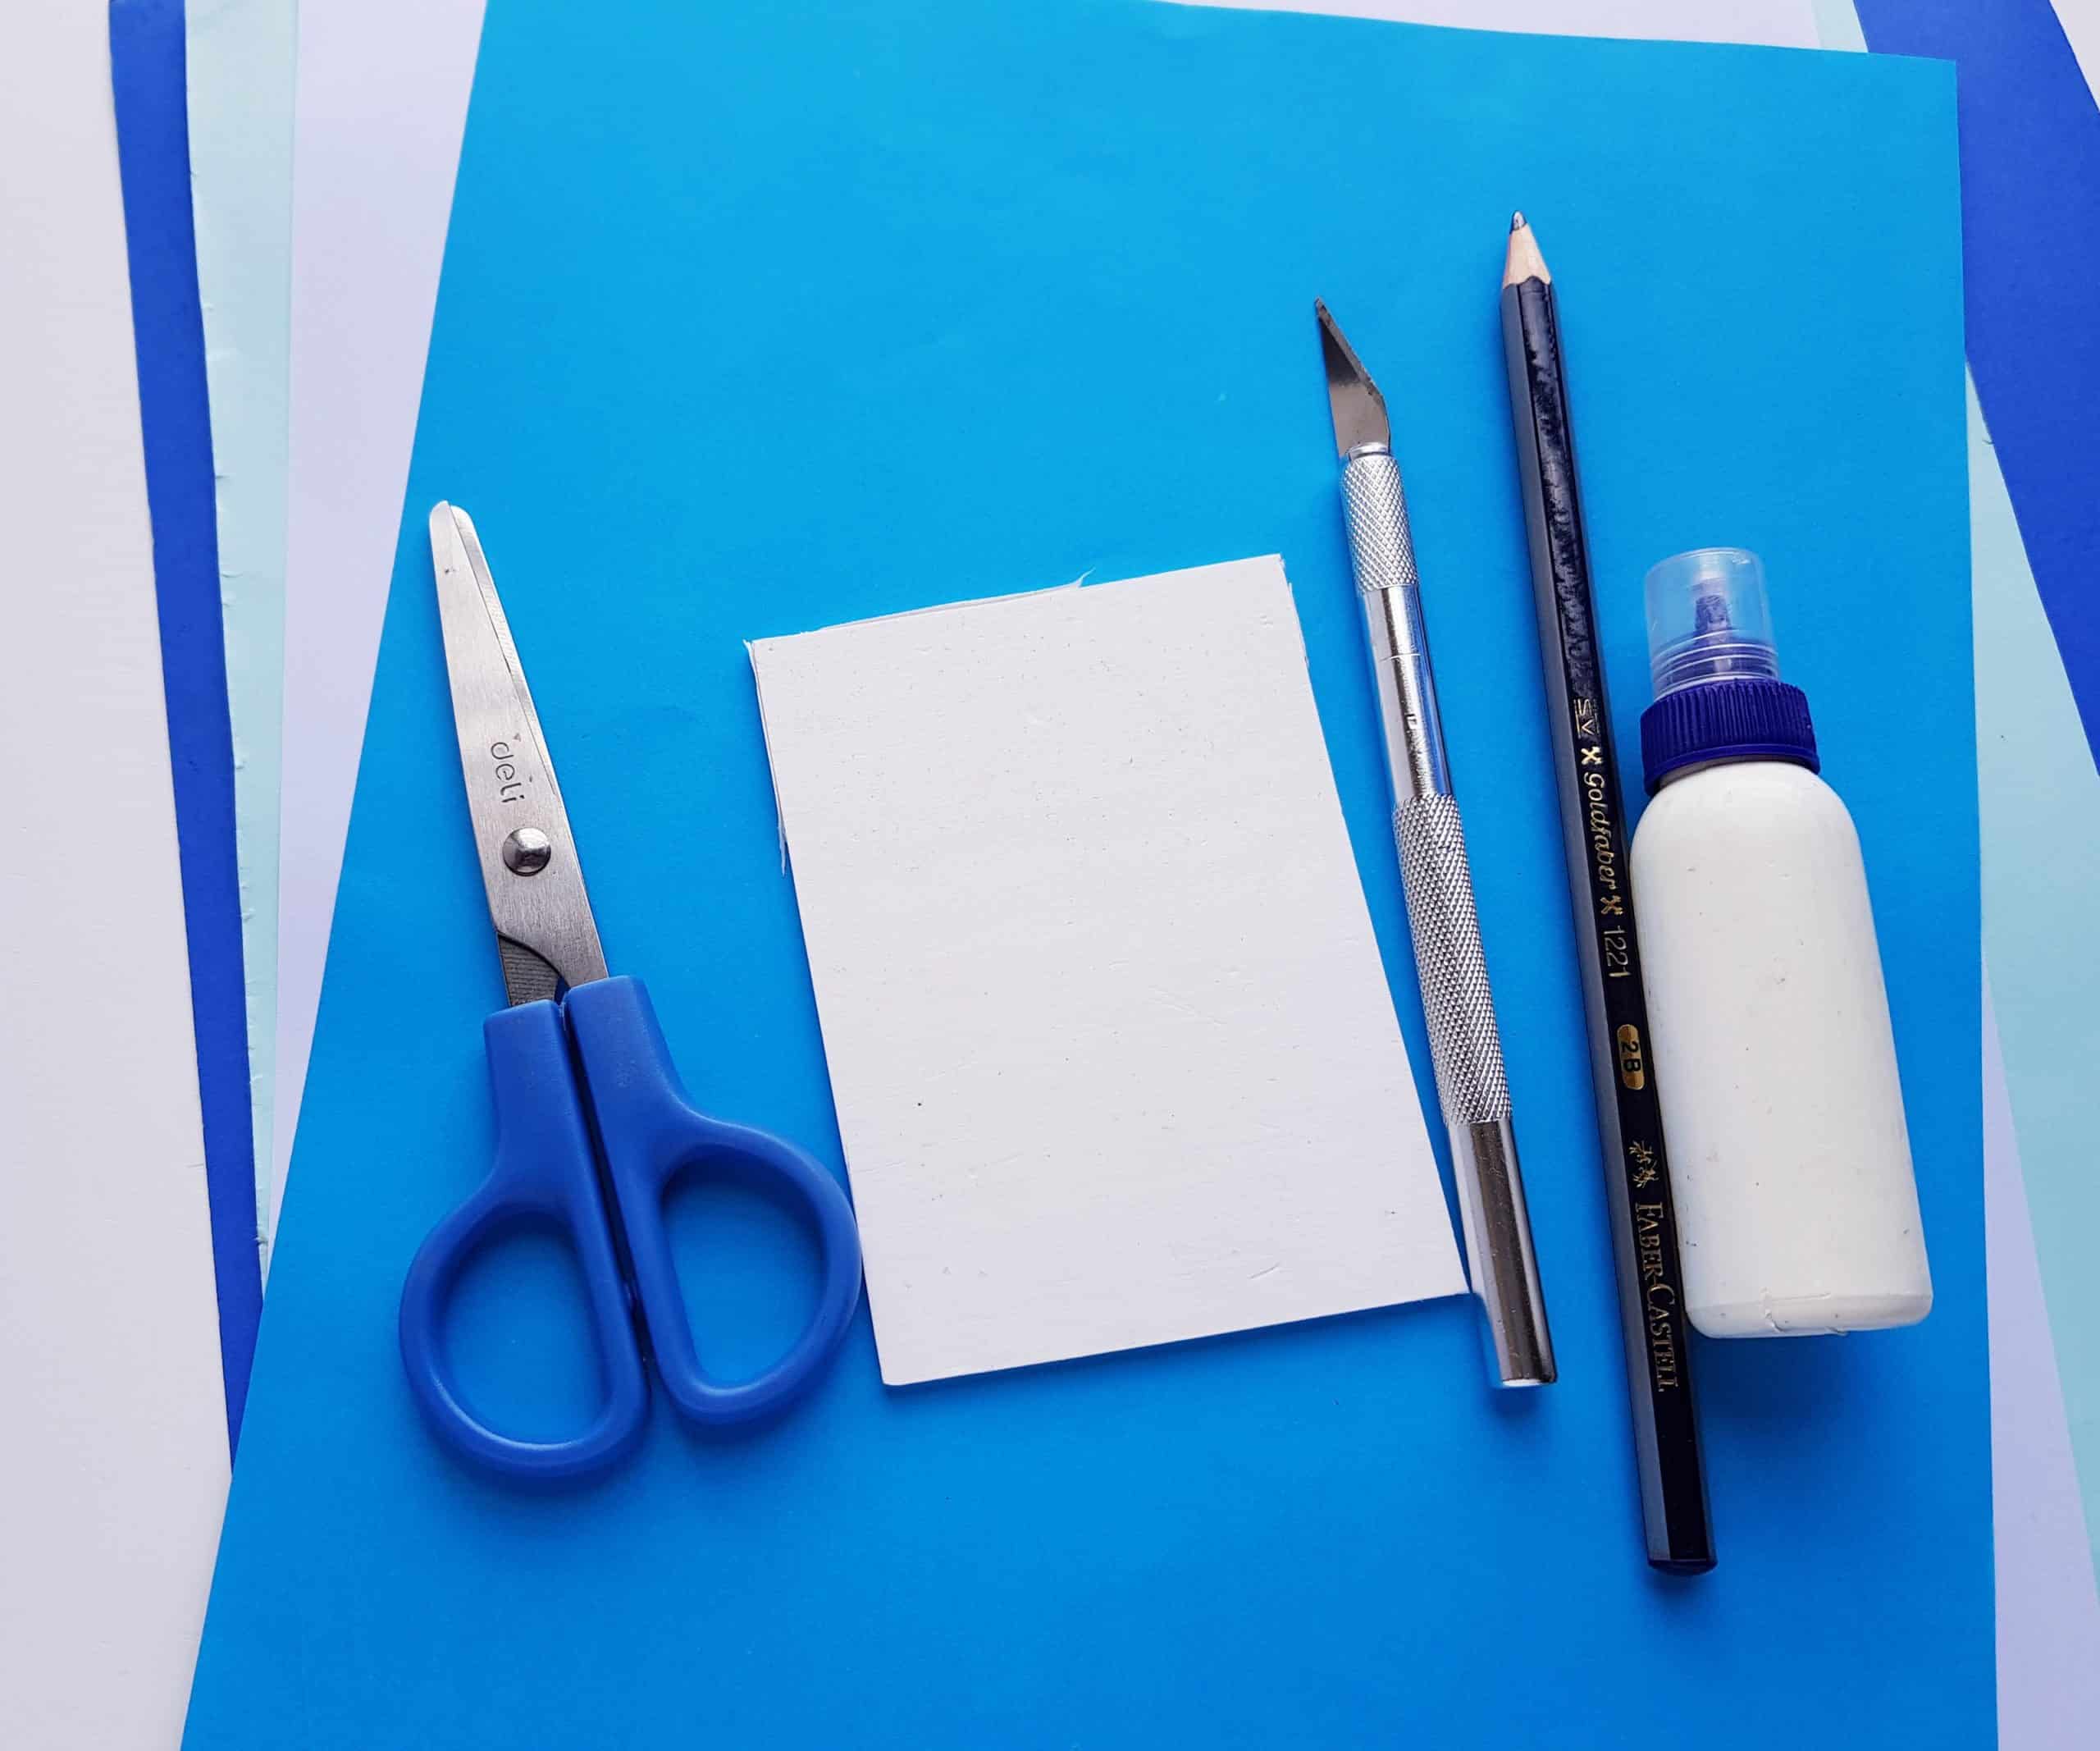
What You’ll Need
To make this craft, you’ll need the items below:
- Colored cardstock paper
- Pencil
- Scissors
- Craft glue
- X-ACTO knife
- Ruler
- Craft glue
- Craft foam board
- Crafting rhinestones (for stars)
Free Templates
We’re also providing free templates to help you make this craft at home. Be sure to print them out before you get started!
How to Make It
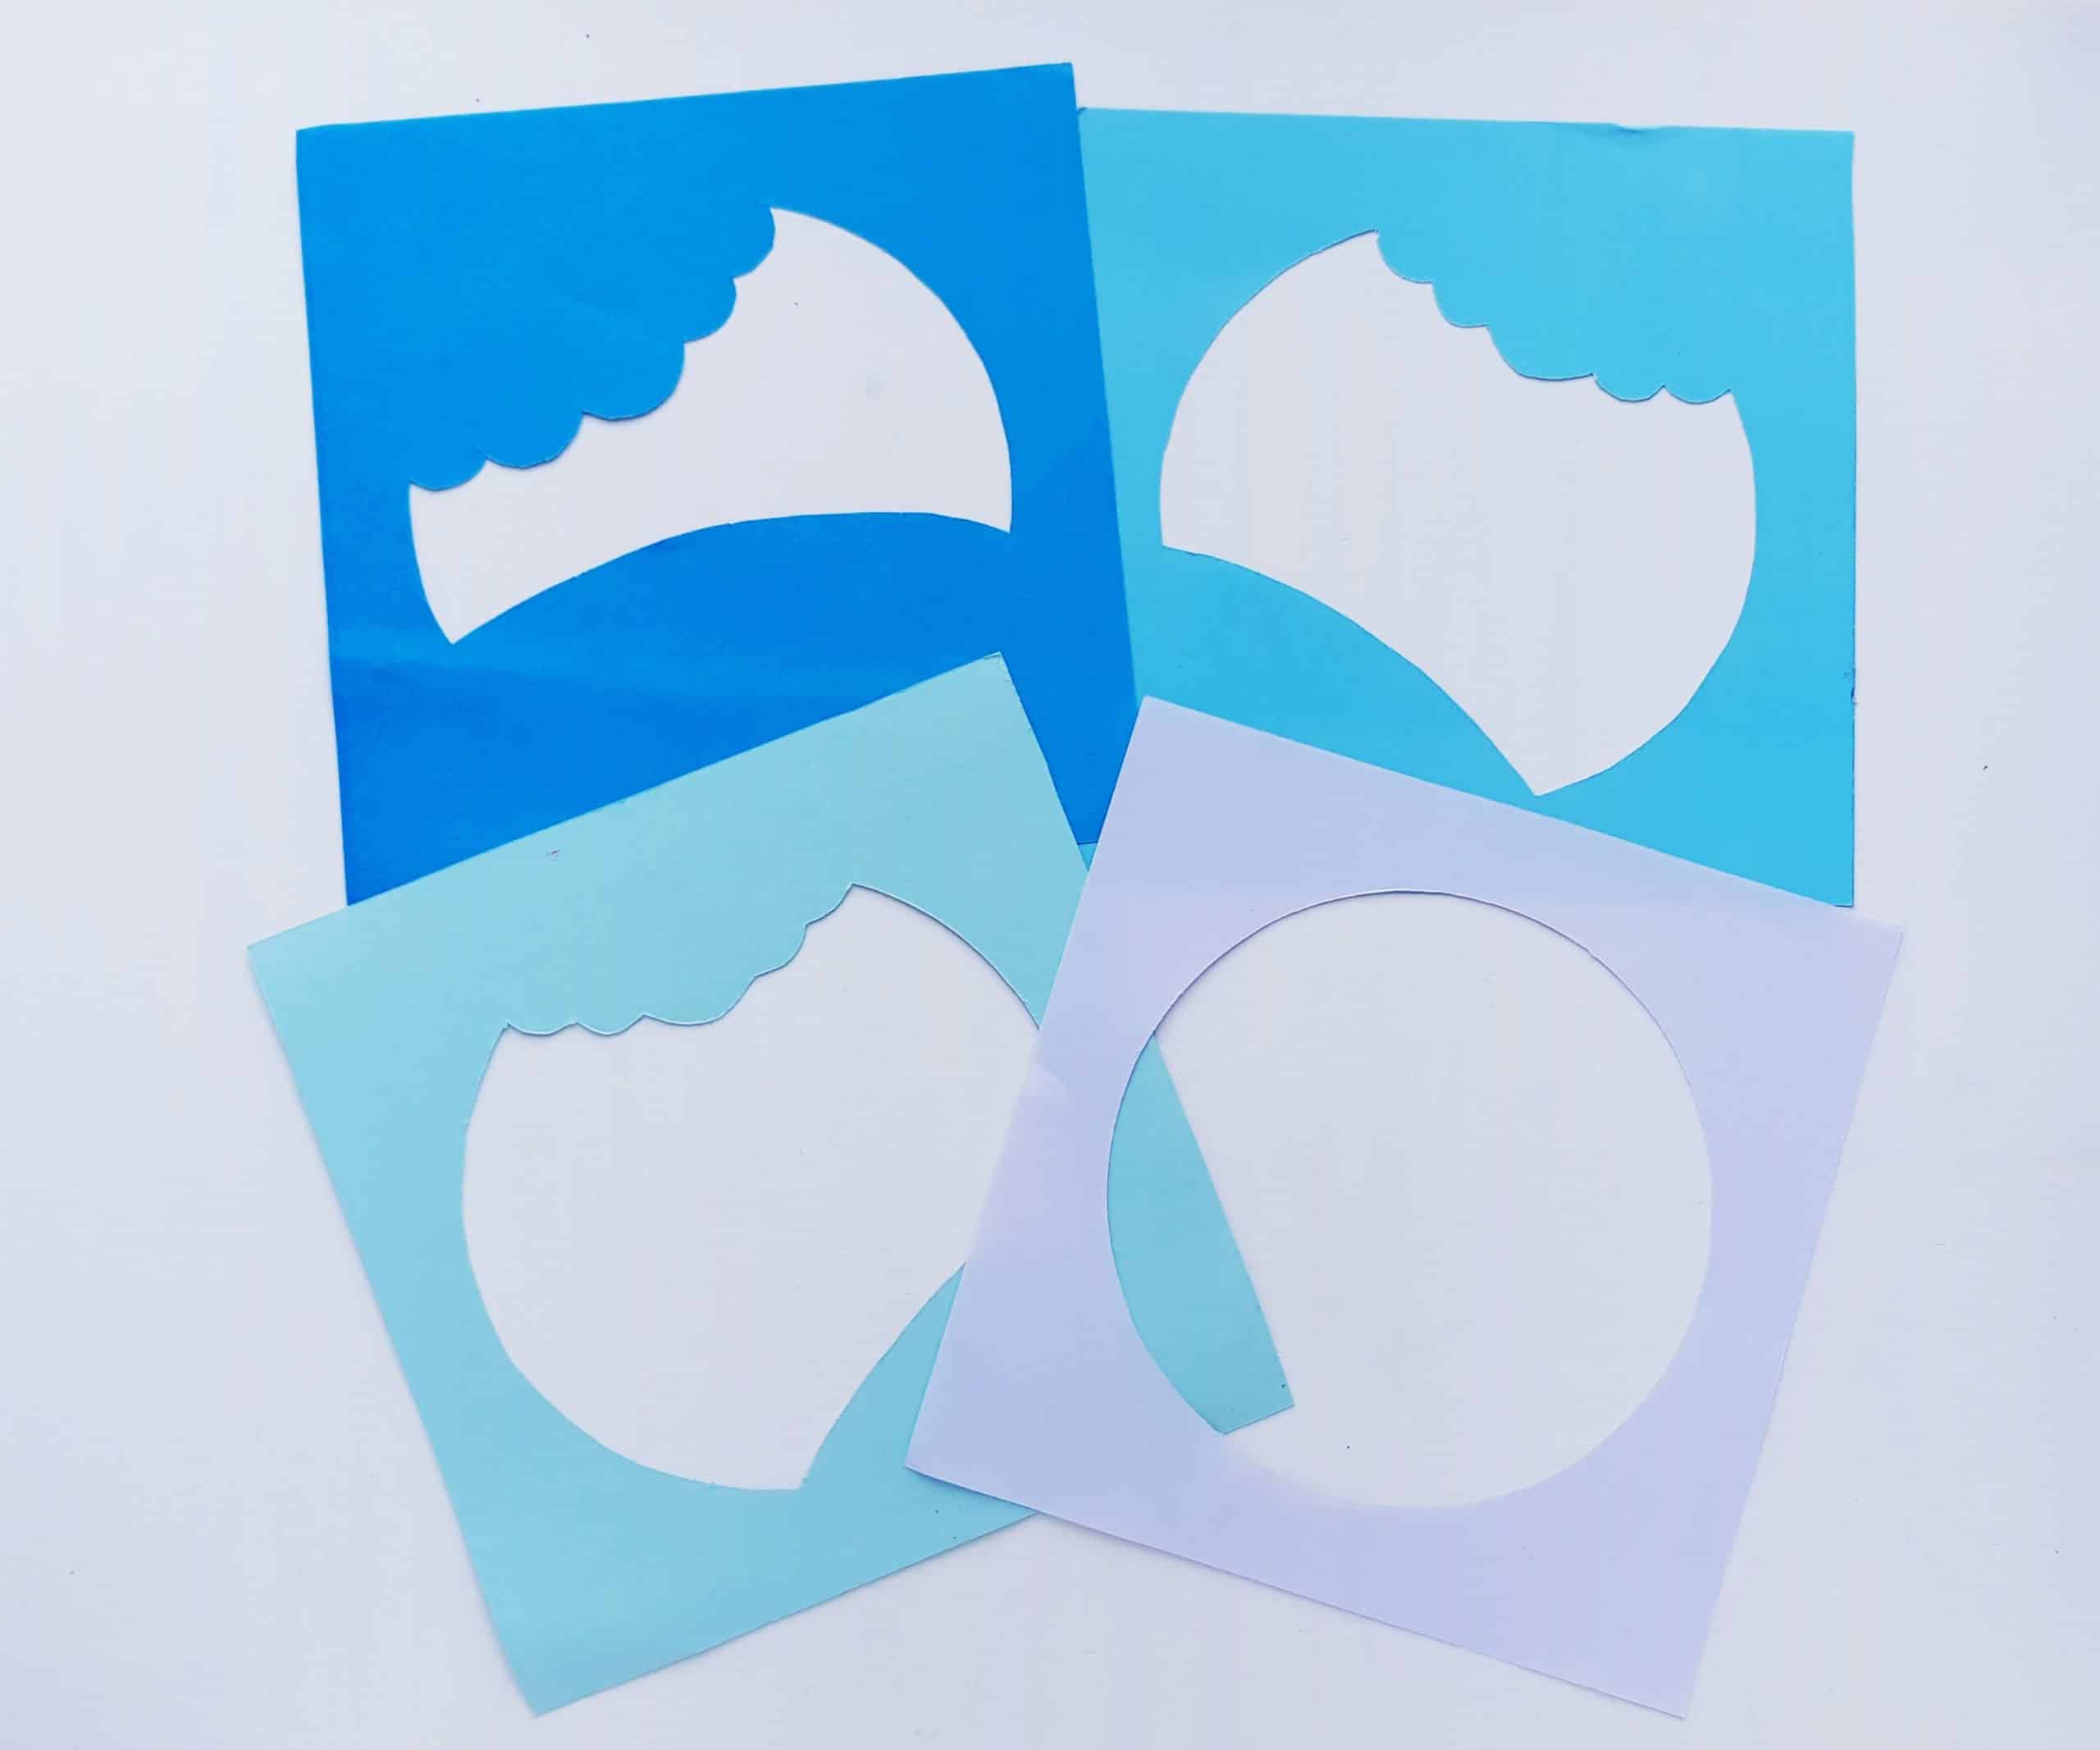
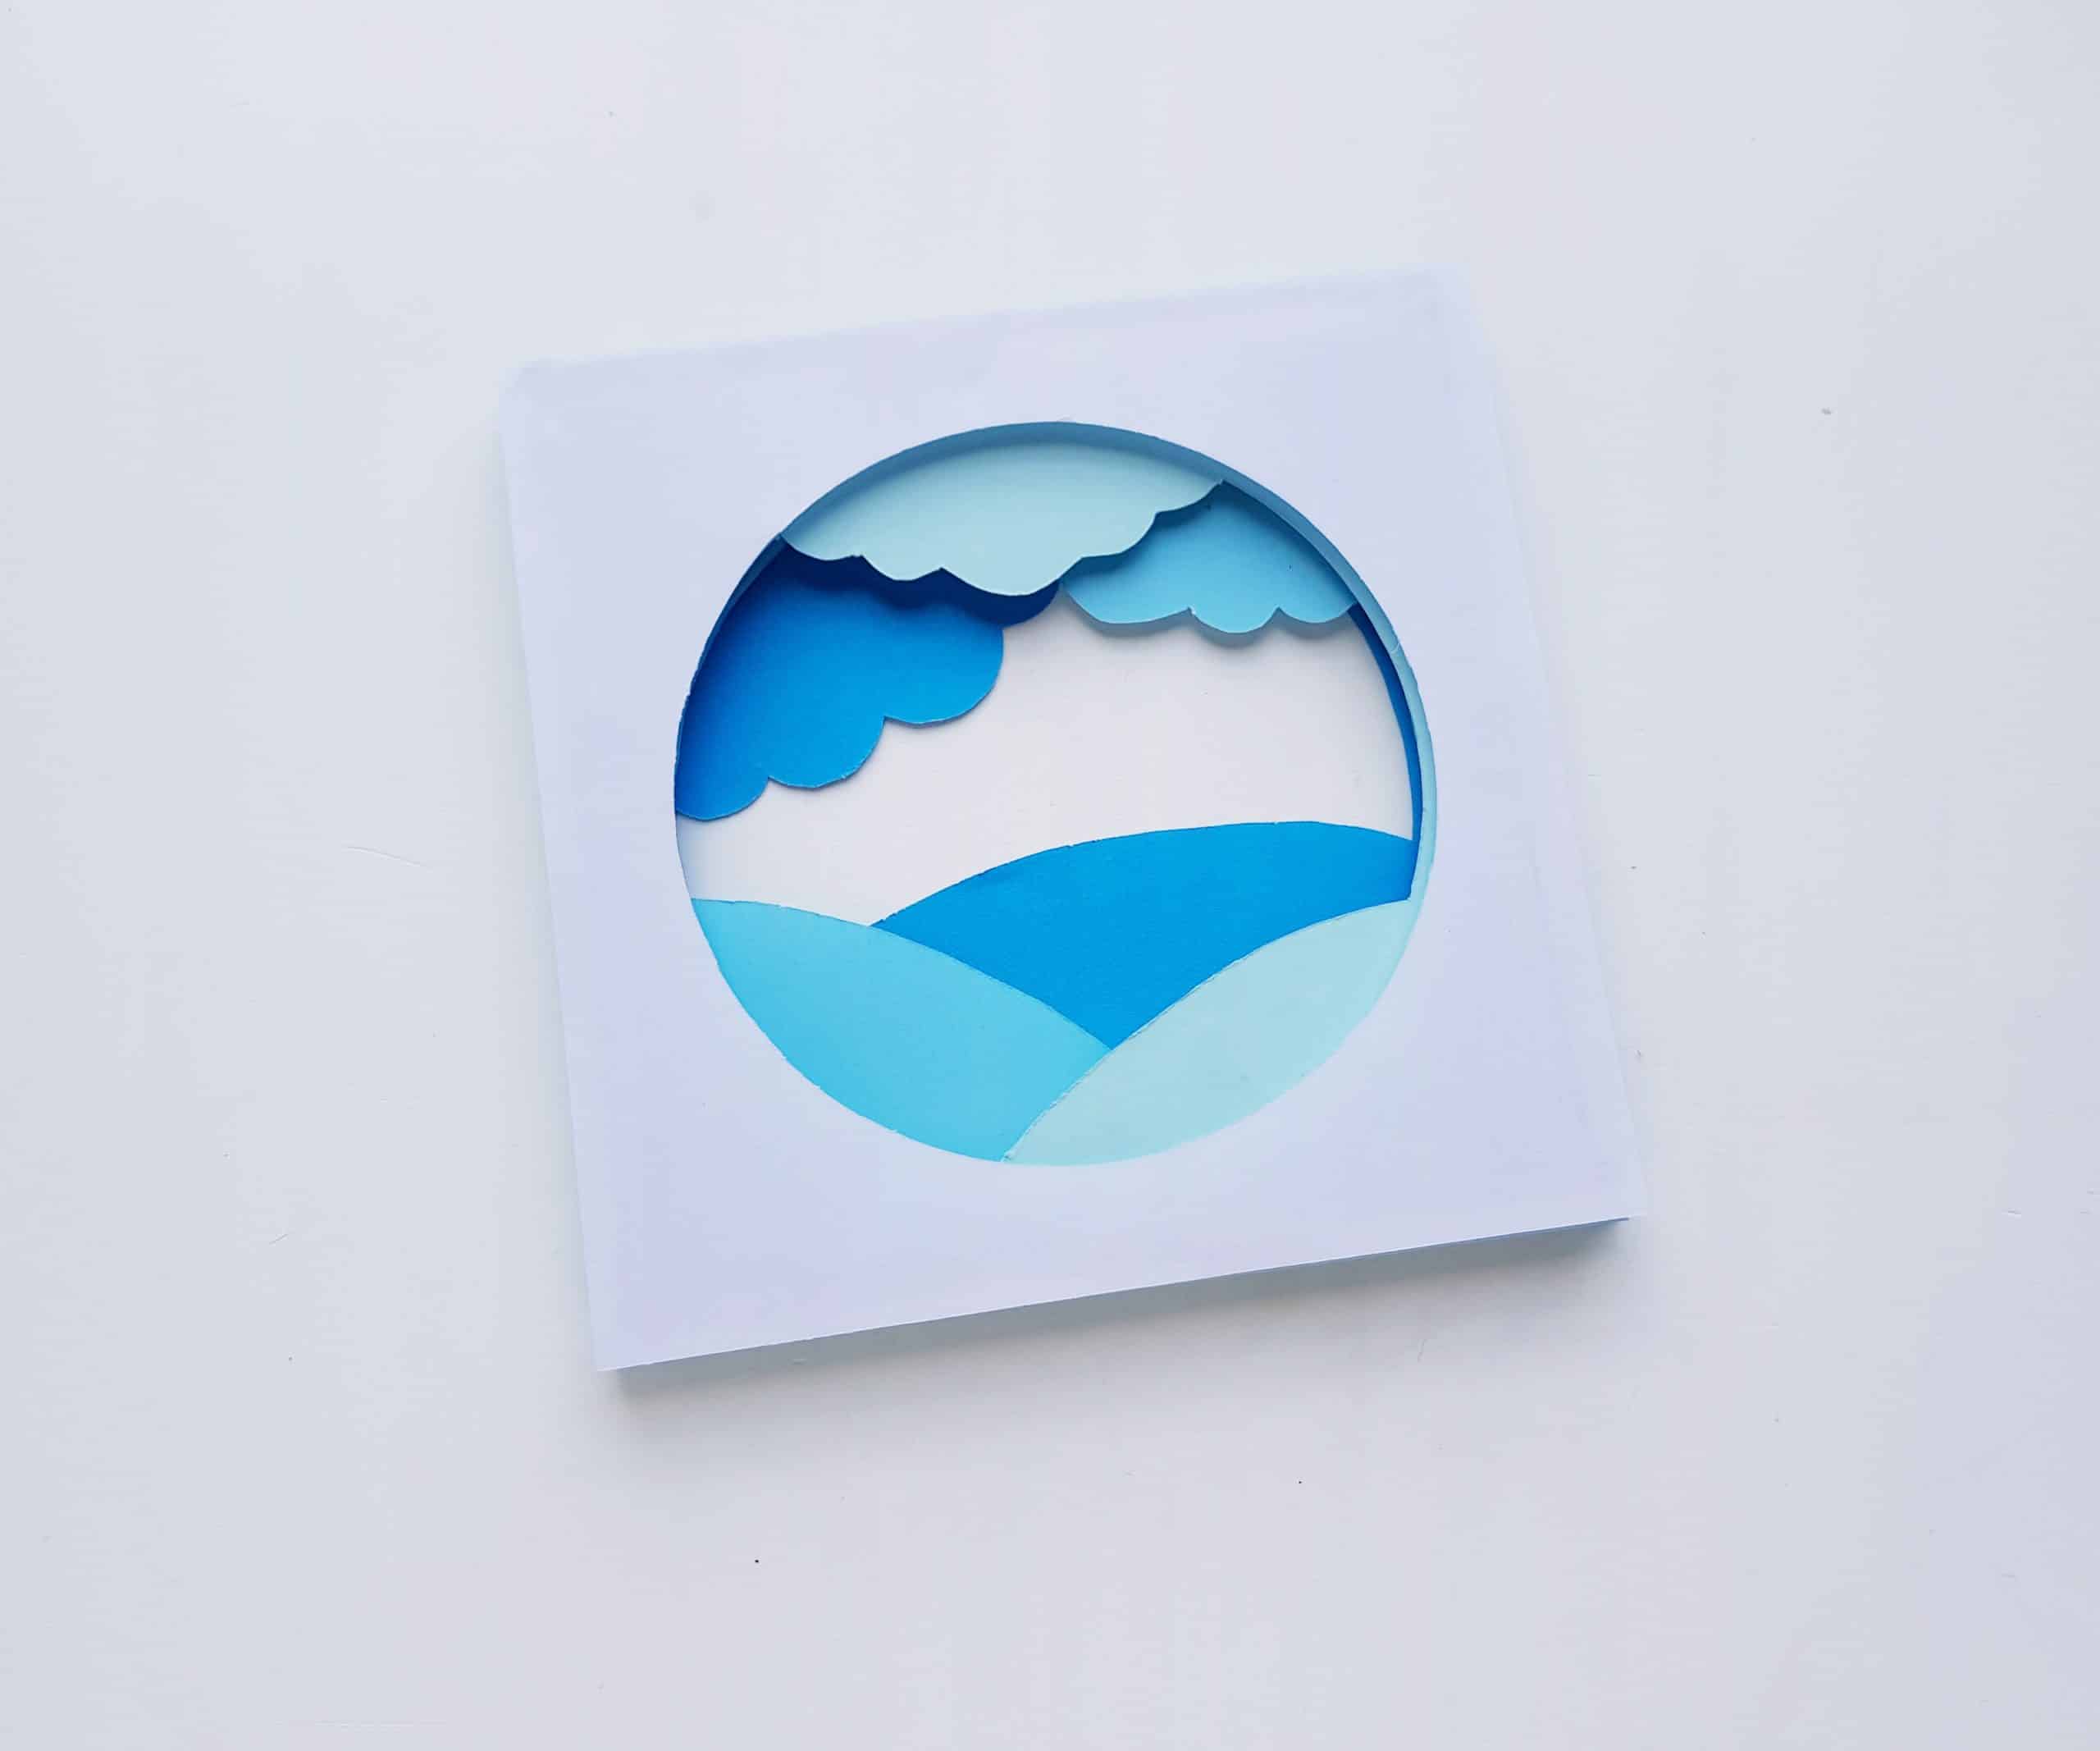
The first step in making this craft is to print out the free templates (provided above). Next, choose a color of cardstock for each layer. (We chose blue tones to convey night-time and the feeling of snow.)
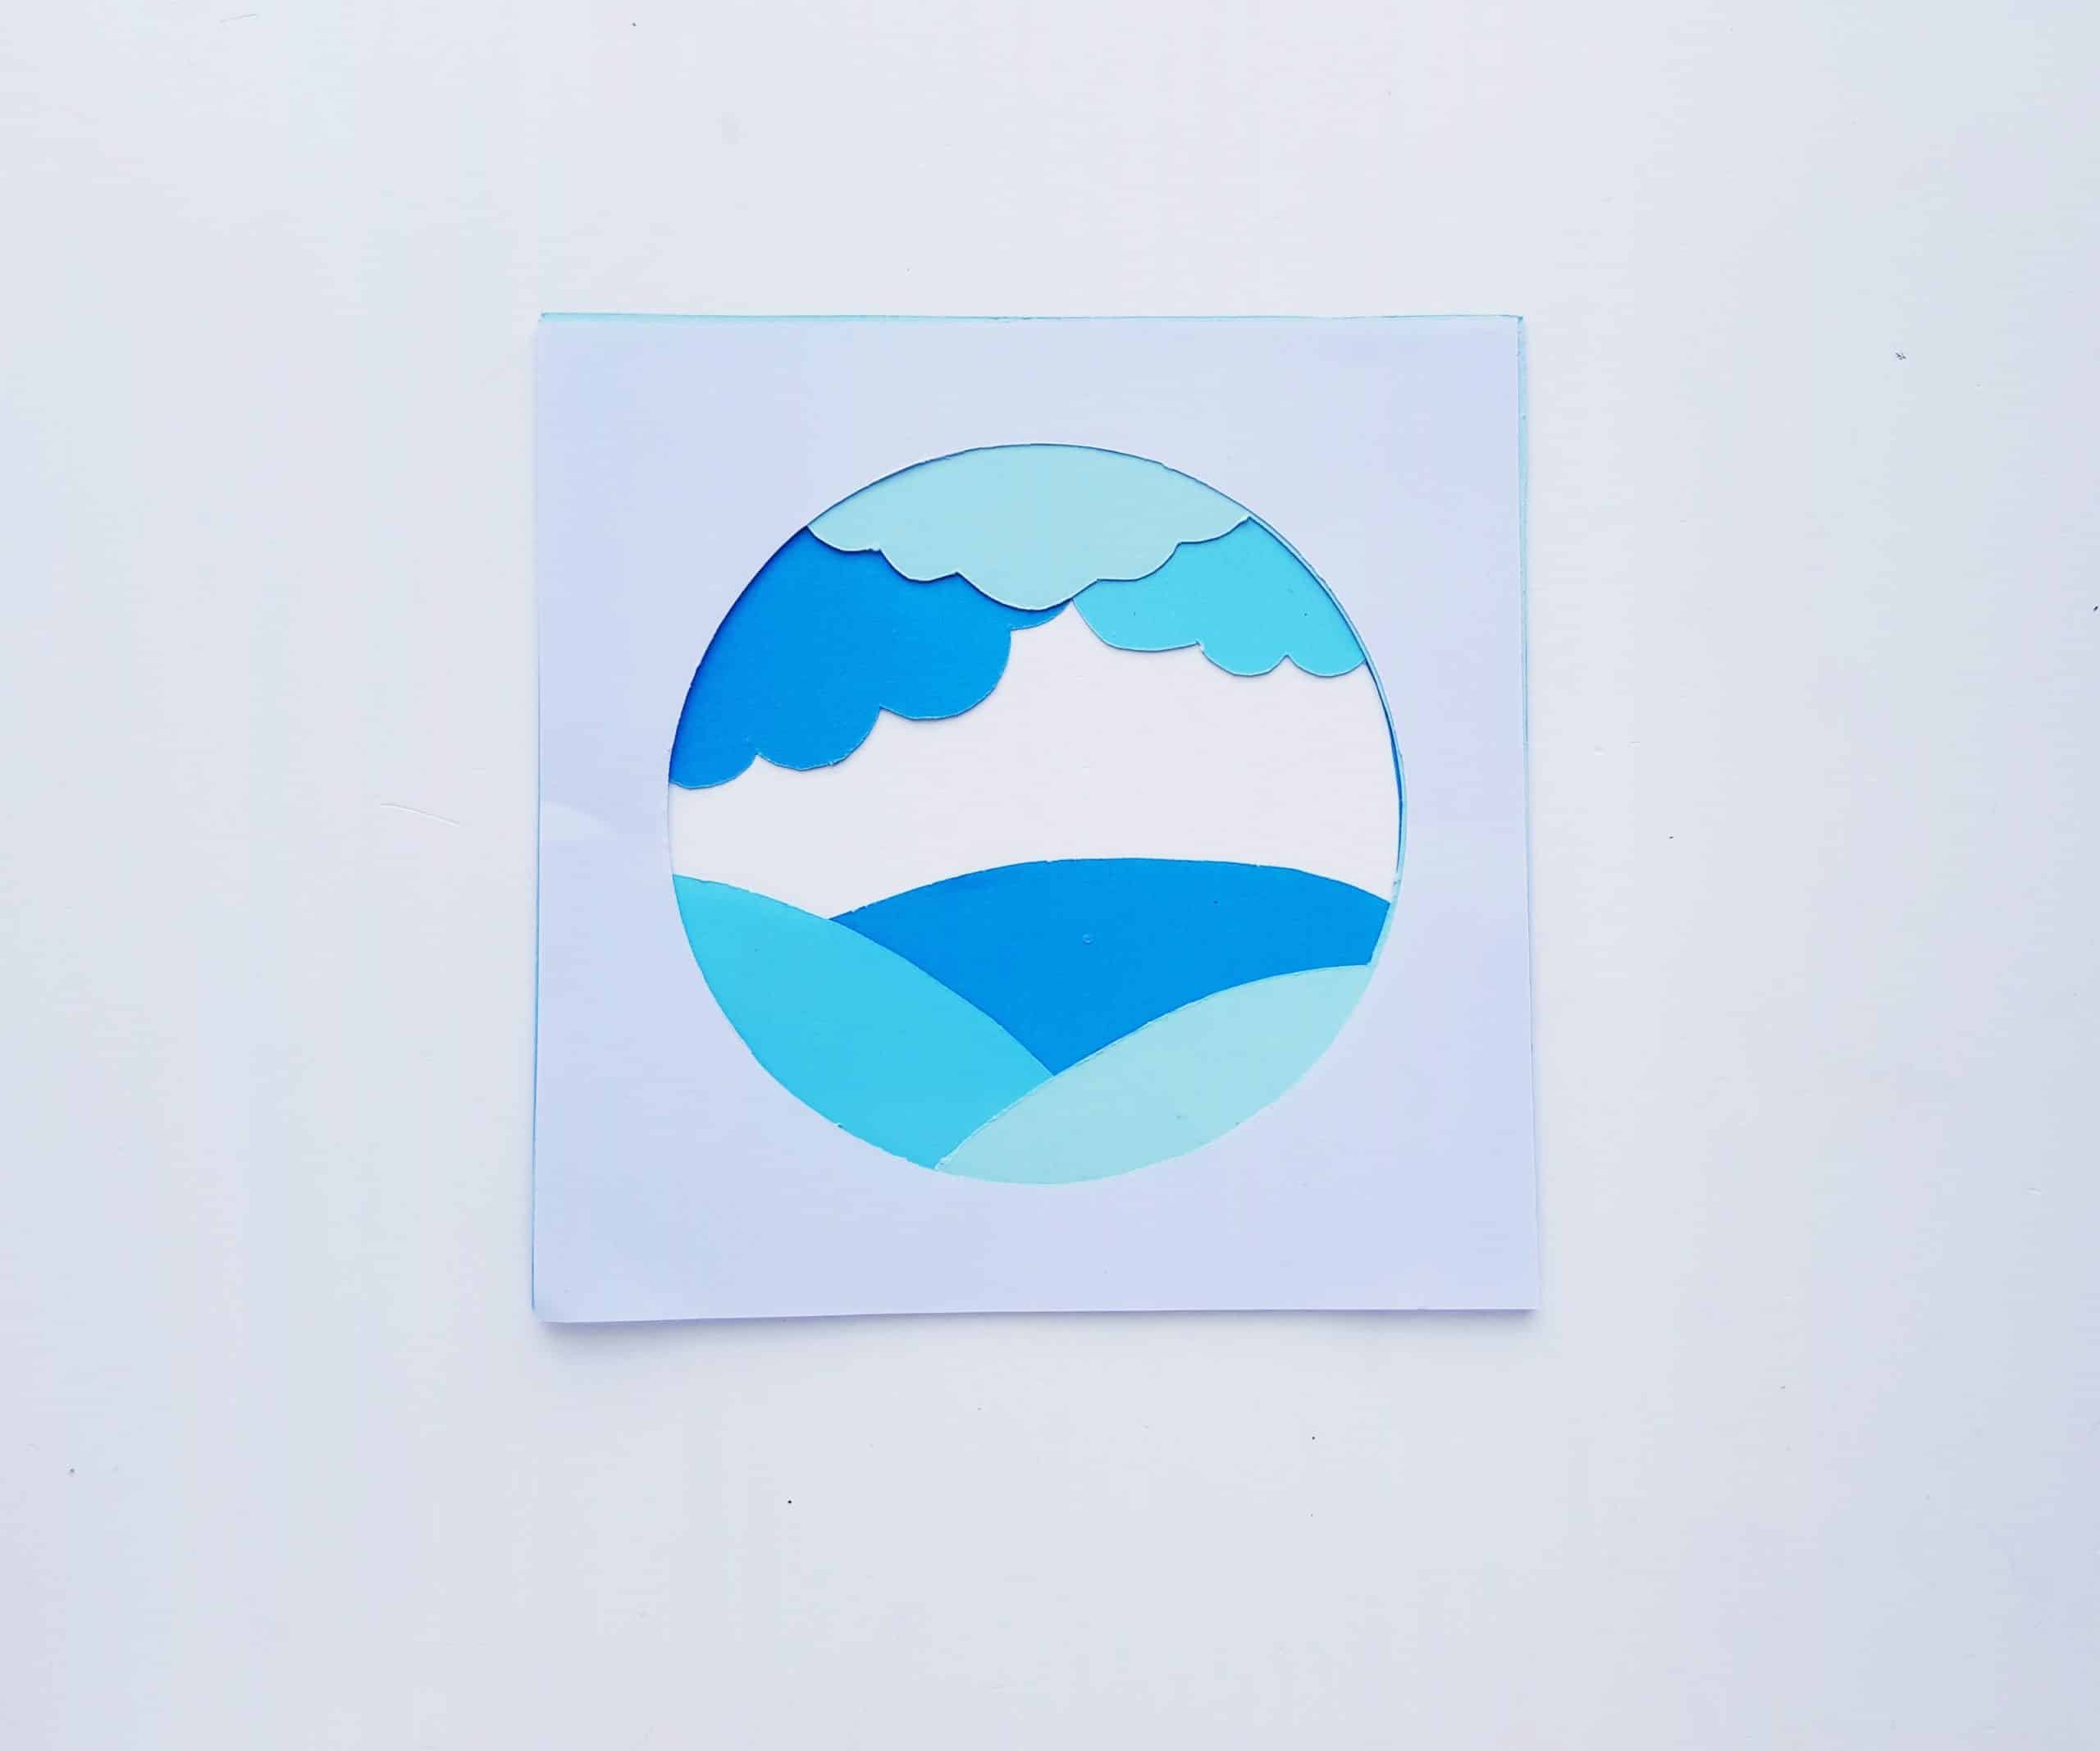
First, cut out and trace the template labeled “background” and use this for all of the layers. (You’ll want them all to be the same shape and size.) Keep one of the pieces in reserve as a plain background color. (I chose a dark color for the background.) Then match each subsequent template to a piece of card stock and trace and cut out the remaining layers. You should end up with four layers like the ones pictured below.
Note: I find that it can be helpful to write the name of the layer on the back of each piece of card stock paper.
Before you start gluing things down, check to make sure your layers will all line up neatly. The order you’ll want to place them down in corresponds to the printable templates in this way: background layer, layer 4, layer 3, layer 2, front layer.
Once you’ve aligned everything, make any small adjustments or trims as needed!
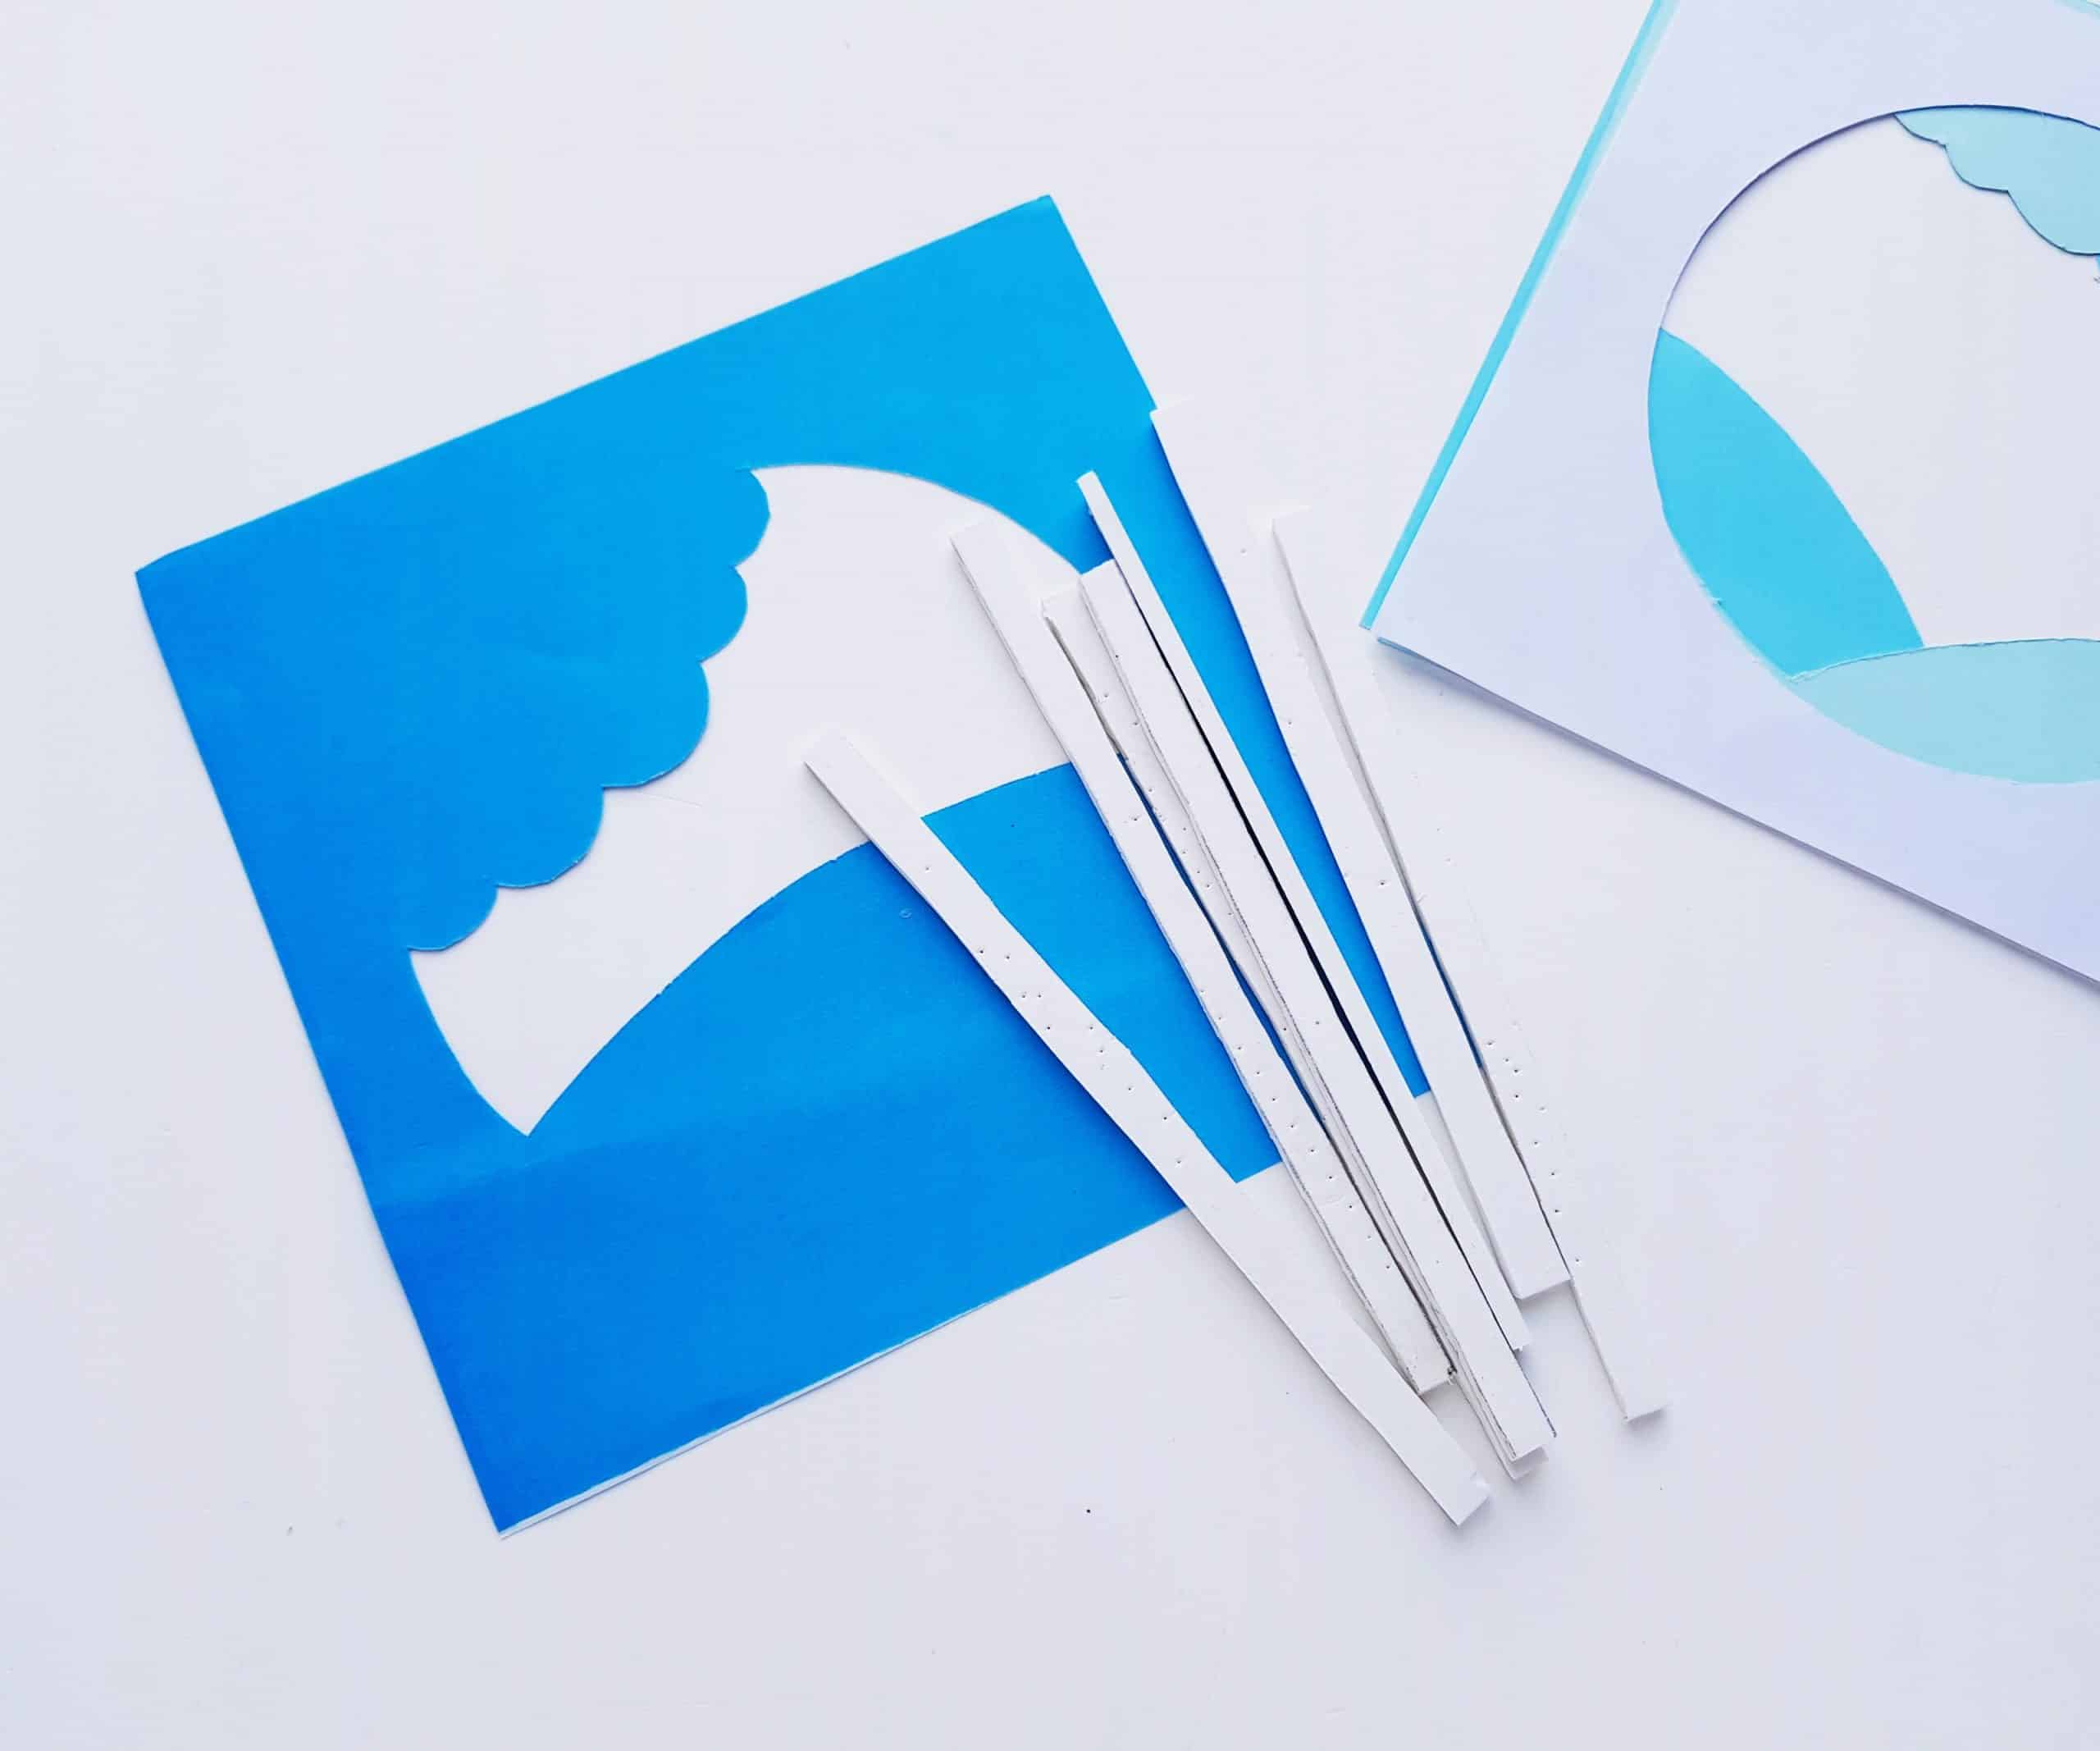
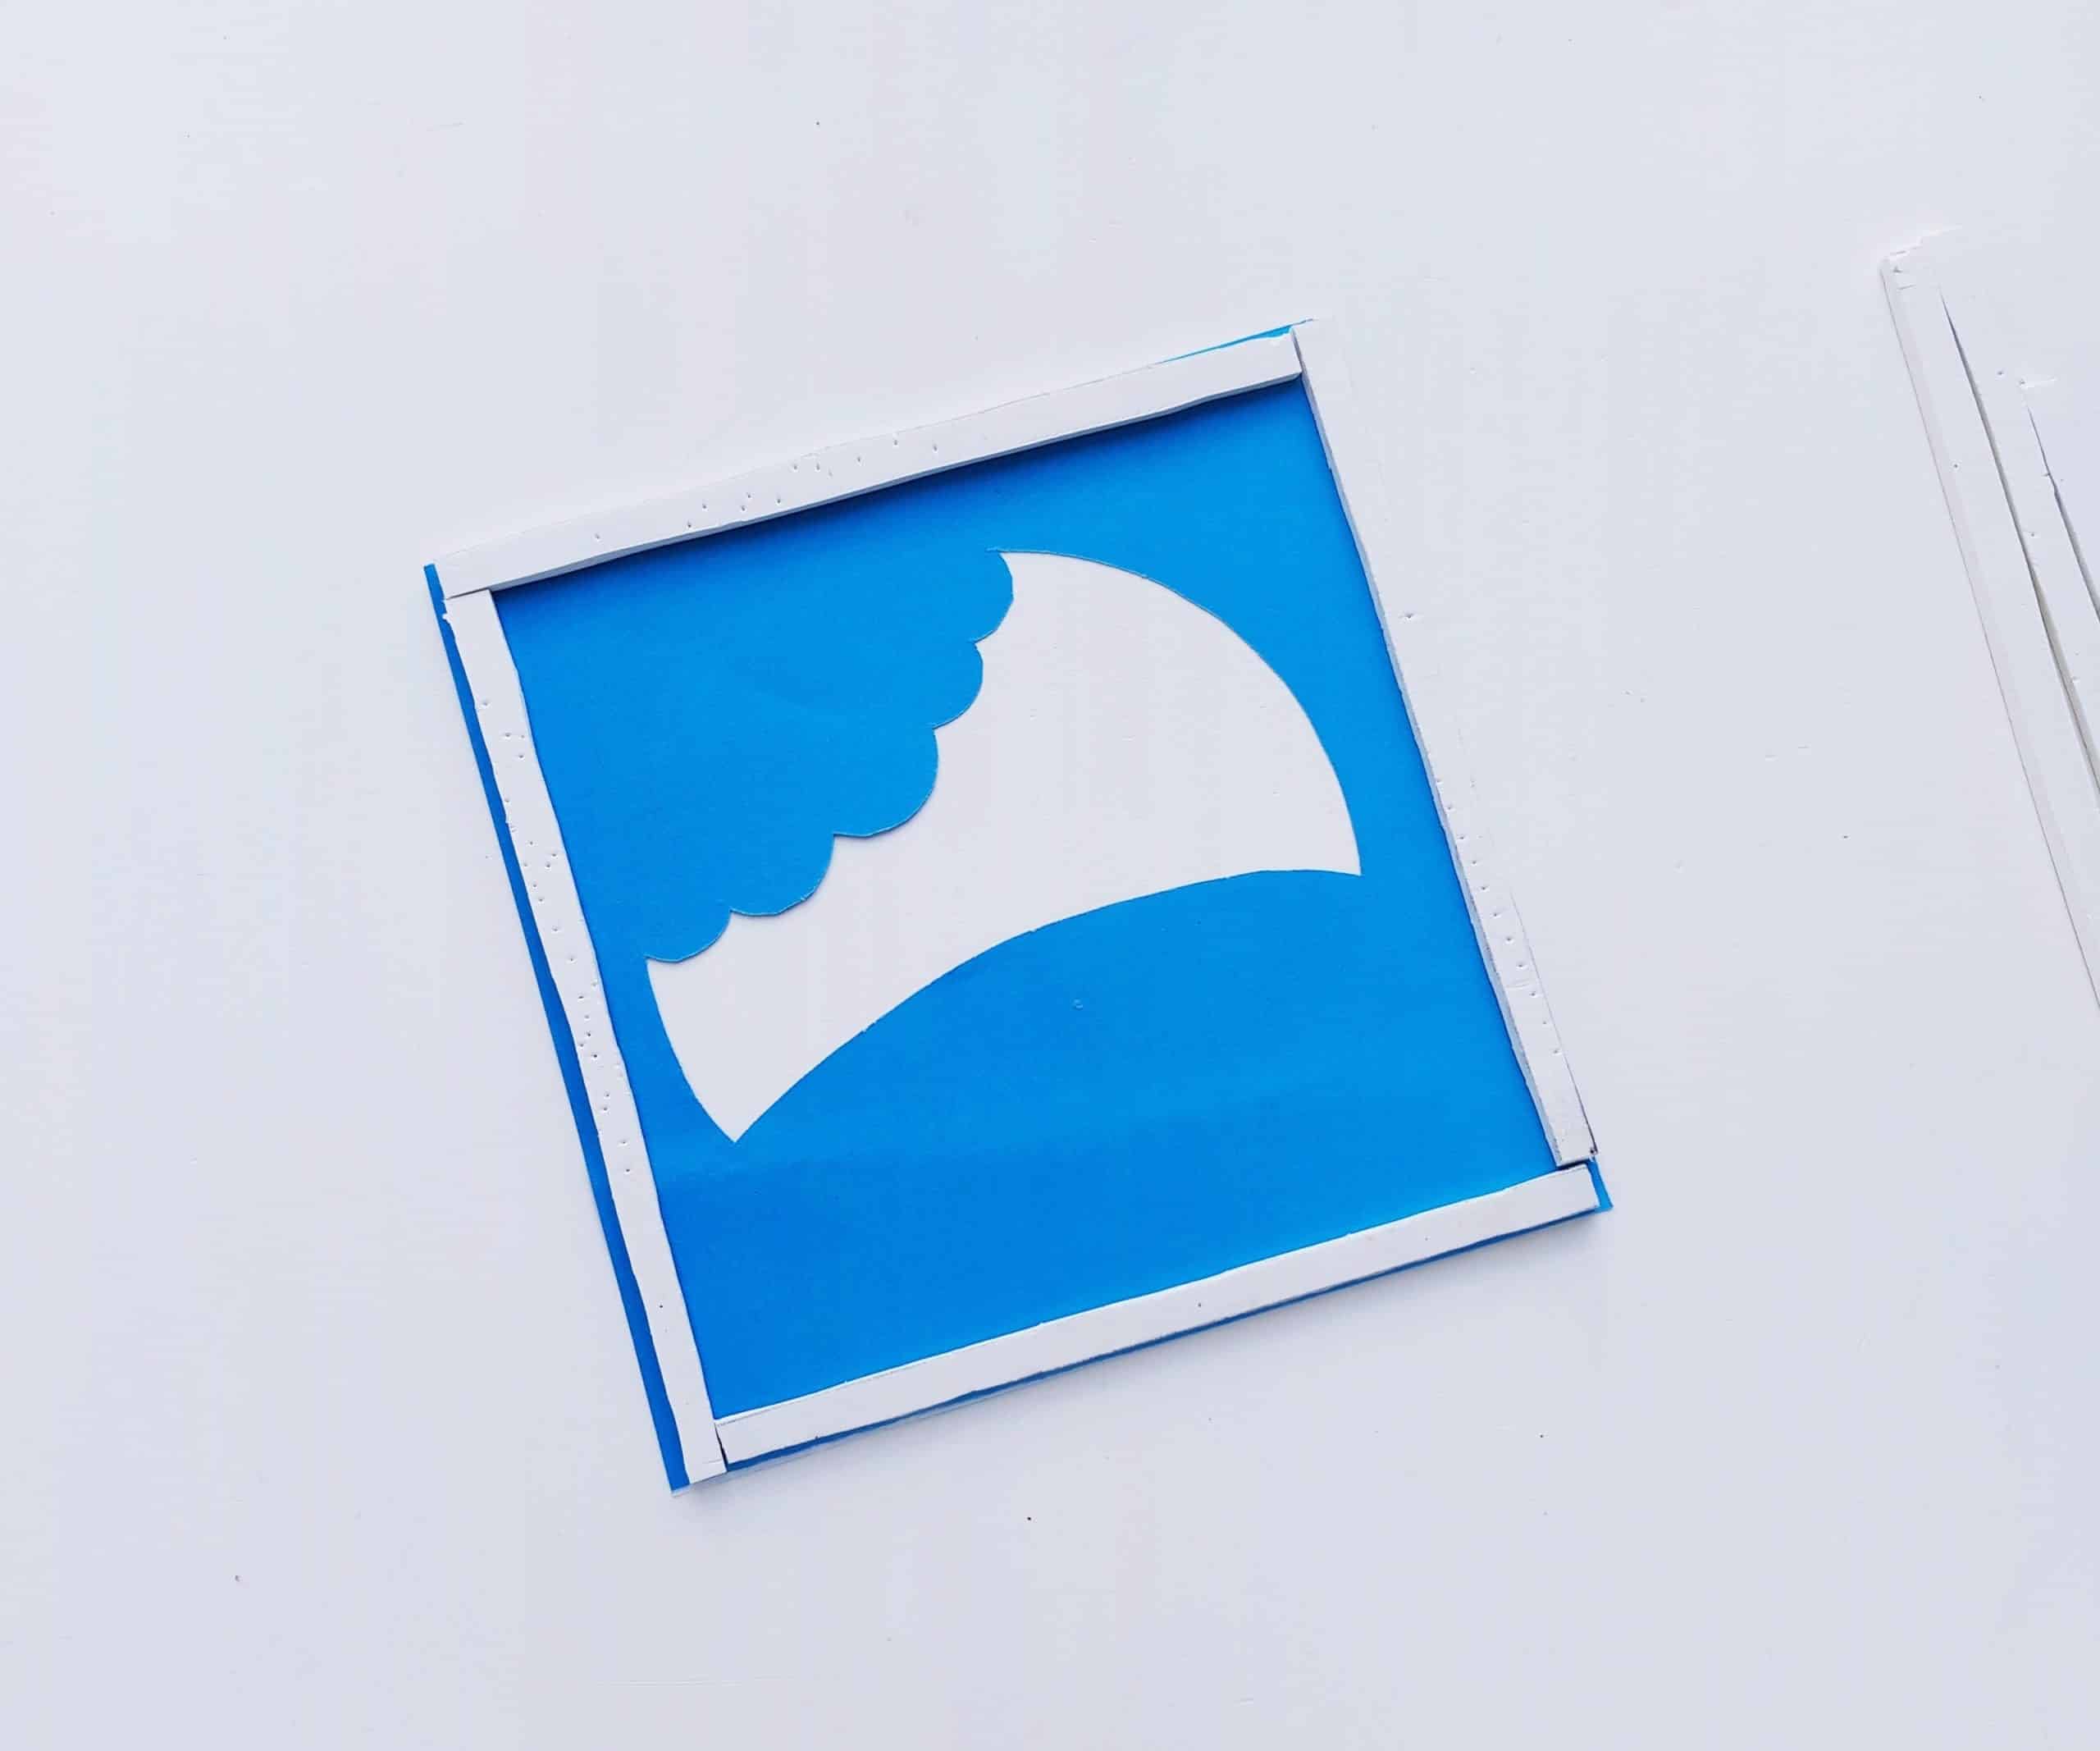
Now that you have your layers and your foam board strips, you can start to build your 3D papercraft. Start with layer 4 and glue the pieces of foam board strip to each side (making a frame). Then use the glue to attach this layer (foam strips facing downward) to the background layer. Allow this layer to dry.
Repeat this process by gluing foam strips to layer 3 and attaching it, foam strips downward, to layer 4. Note how this process is already creating a really cool 3D effect!
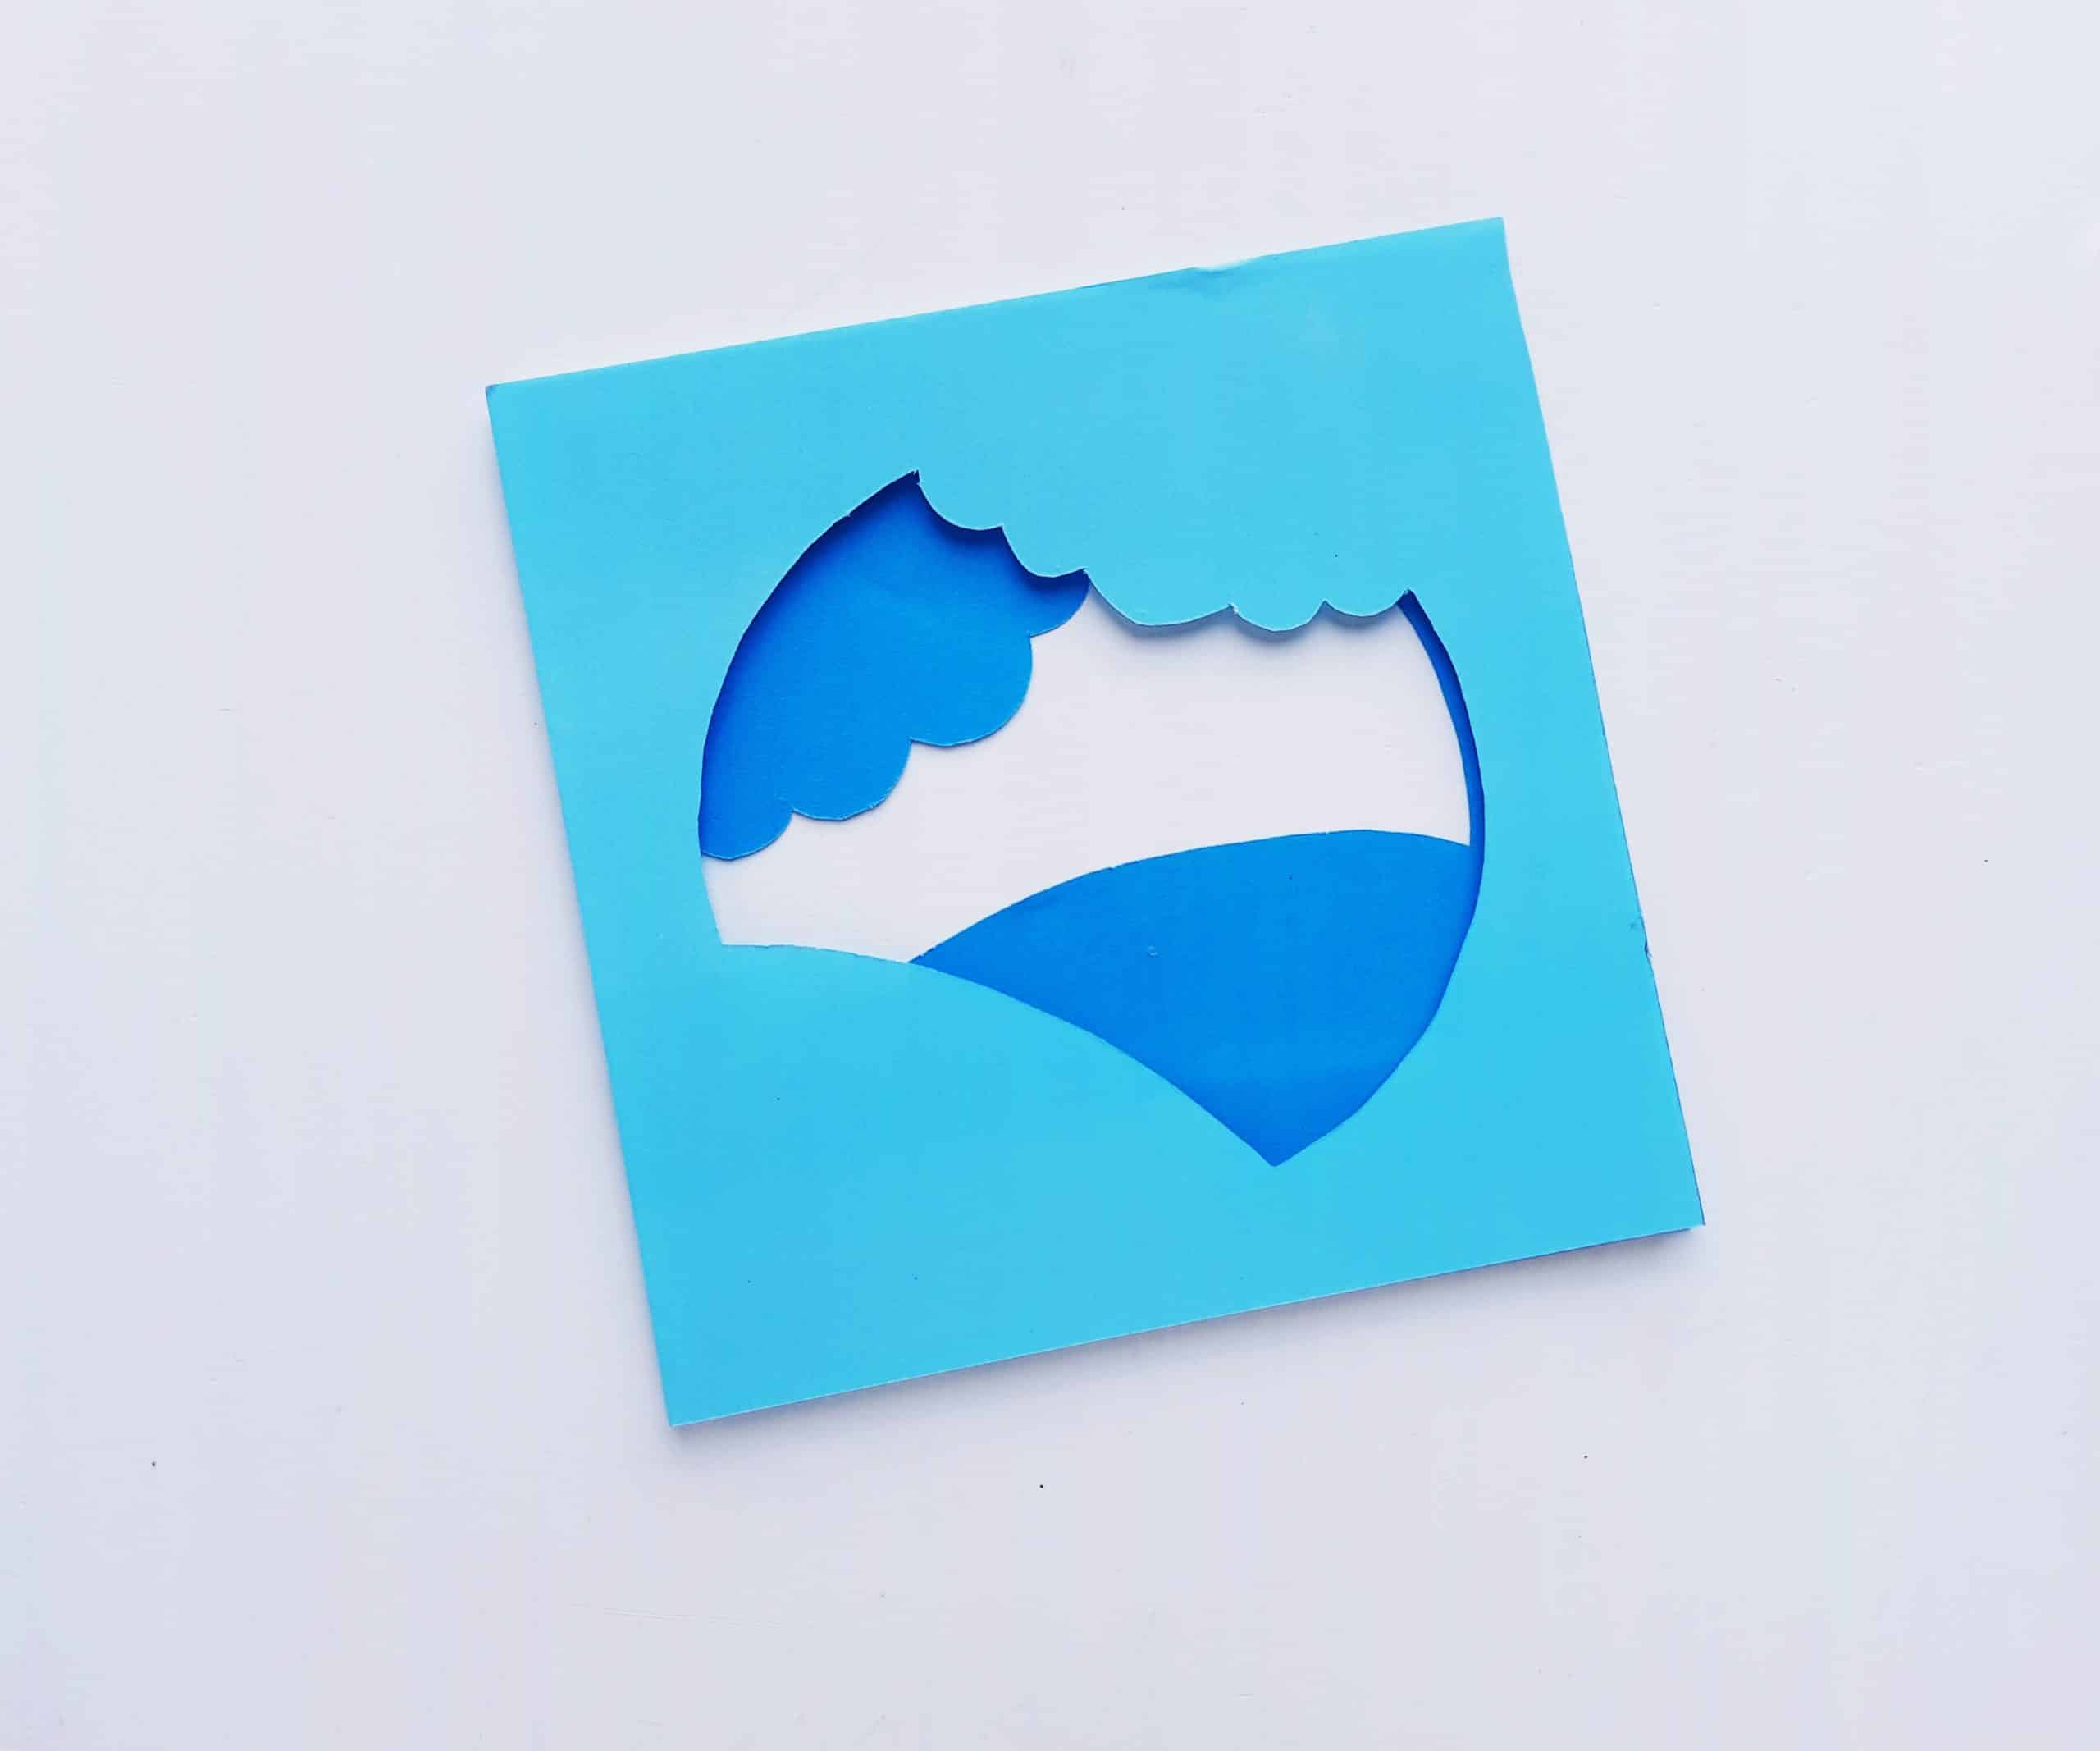
Repeat the same process for layer 2 as well as the top layer. Be sure to allow the glue a few moments to try between each layer. When you are done, you have a basic 3D scene that should look like the picture below.
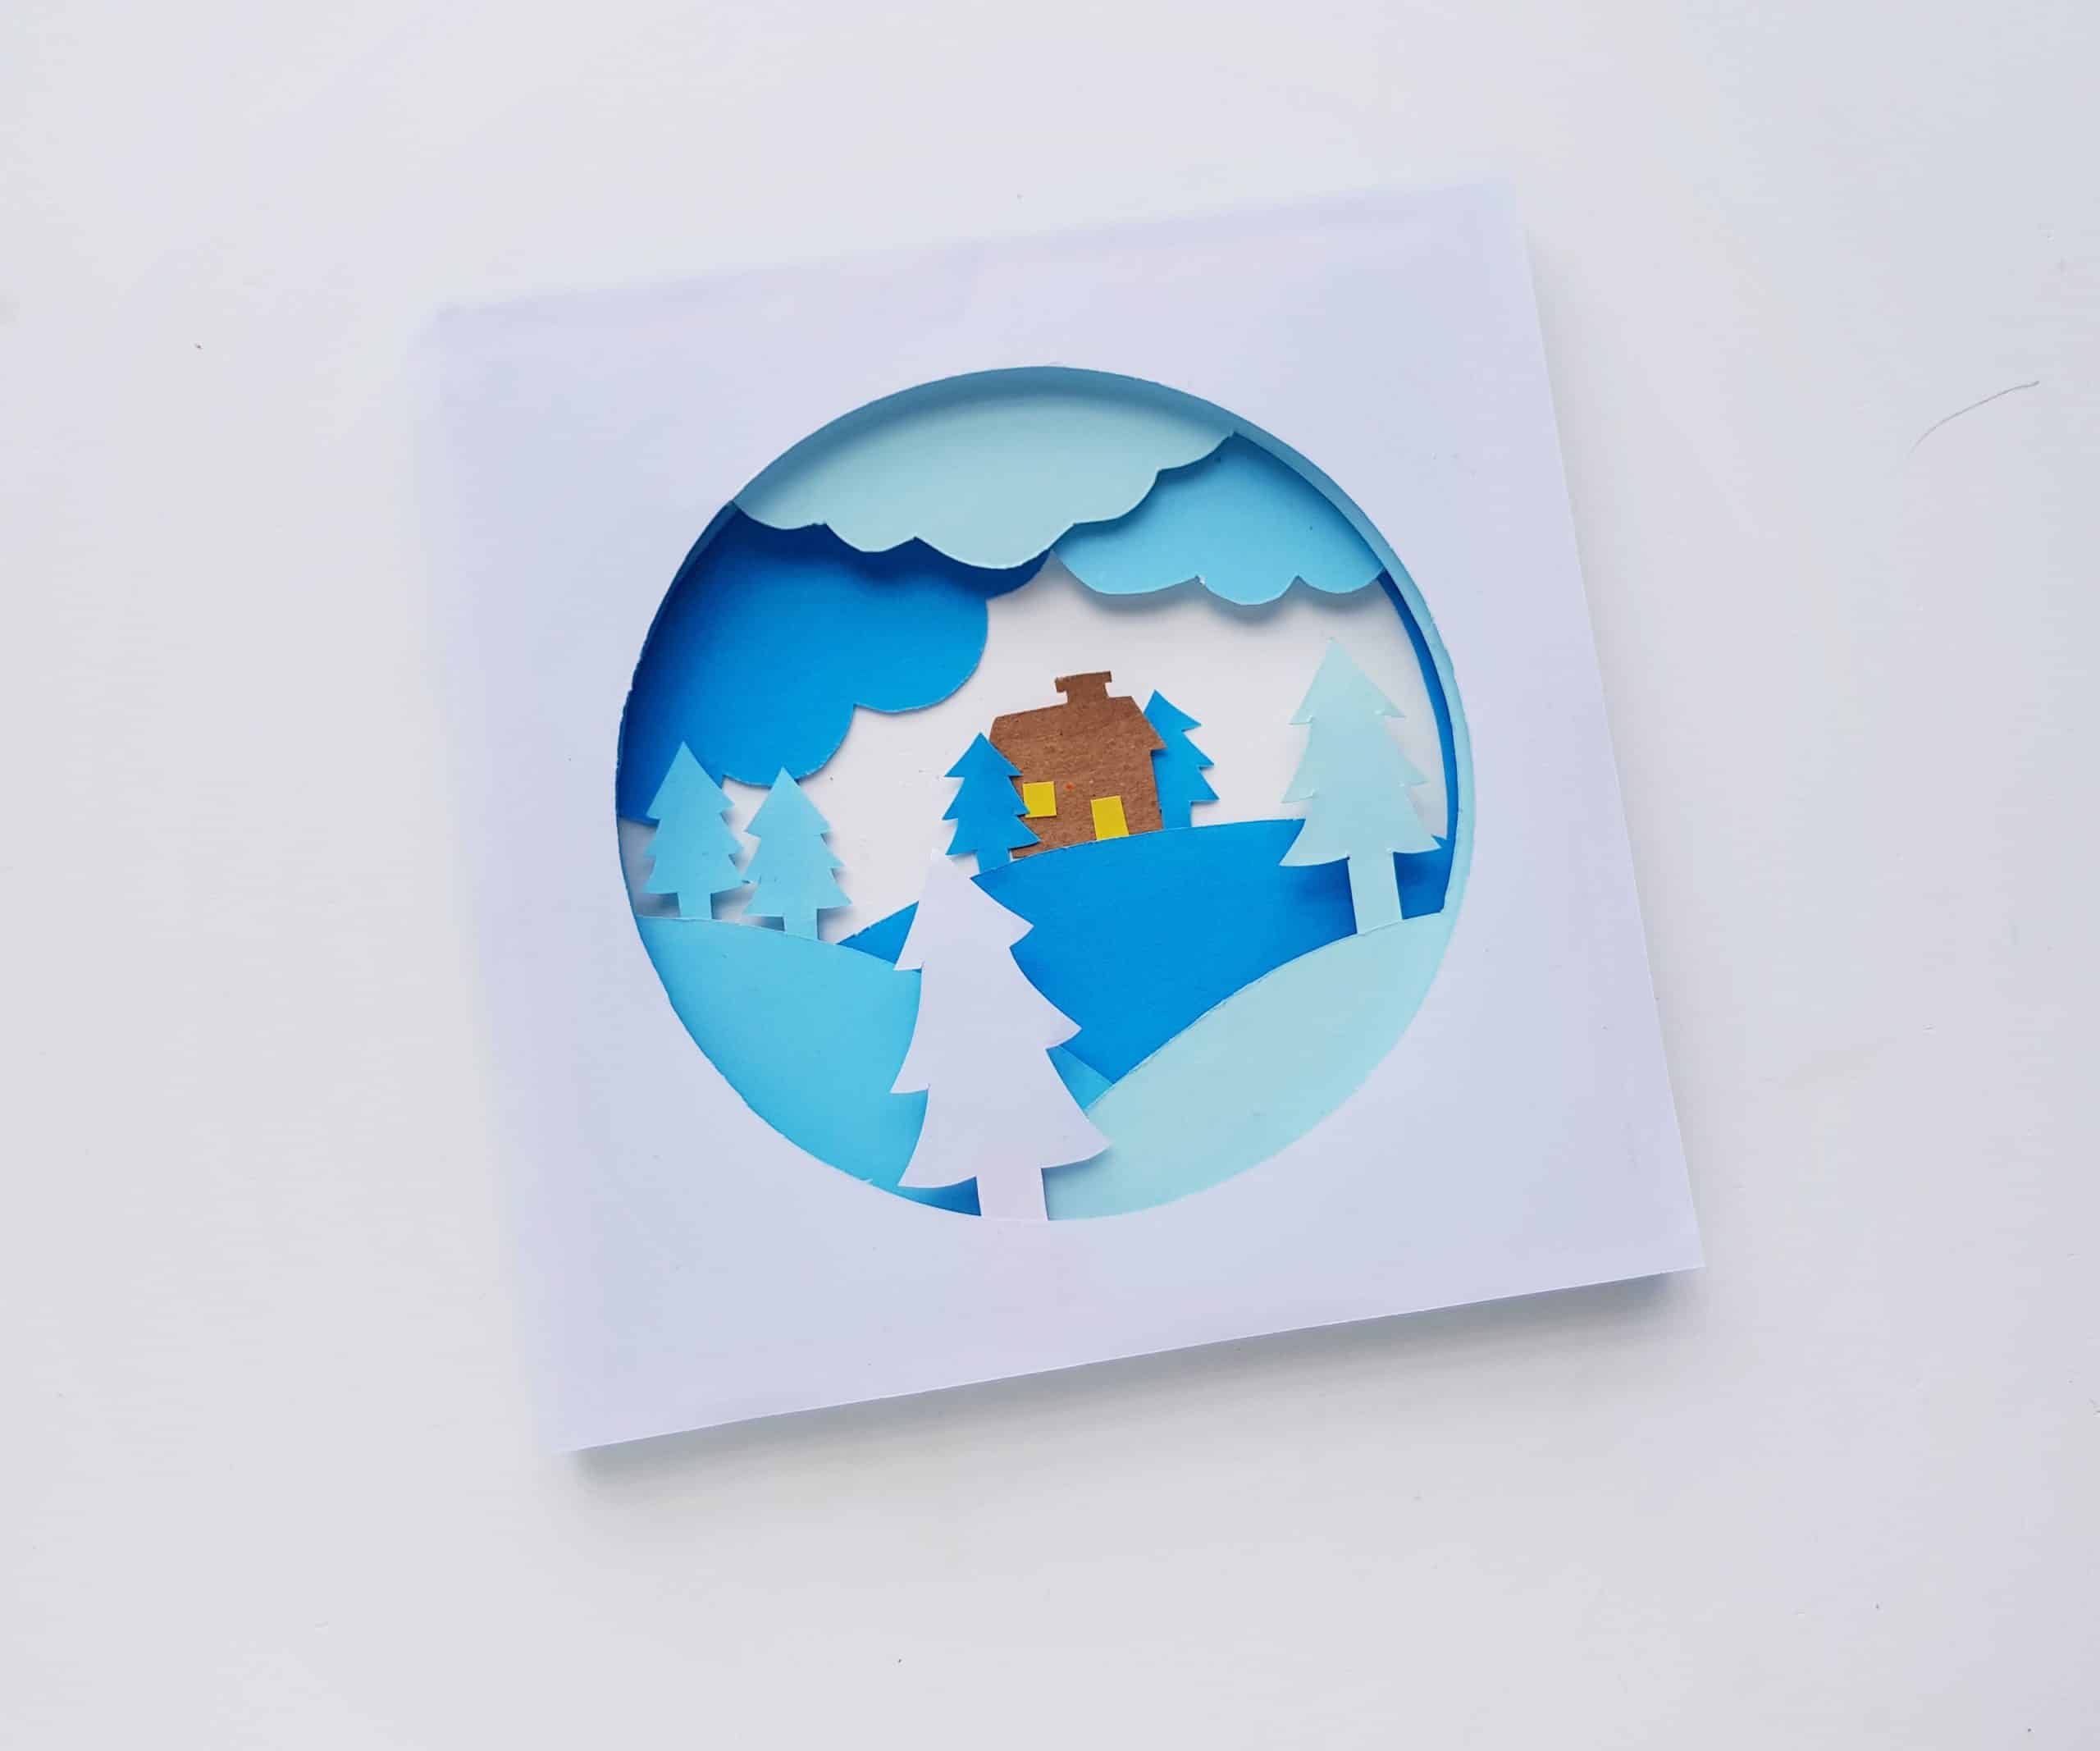
Once the layers are all complete, it’s time to add the details. (This is the fun part!) We’ve included a “Trees and Cabins” free template to make cutting out these detailed elements easy for you. However, you should also feel free to be creative here. There are several cabin designs in the provided template: you may want to use a different one, or more than one. You can also be creative with your color choices and way that you arrange the decorative items!
One specific thing that I would suggest doing with your decorative items, especially if you are going for a “cozy” look, is to cut out a yellow door and window for each of the cabins. This really does create the feeling of warm light coming from the home on a dark and cold night.

To give your papercraft an extra 3D look, try gluing your decorative items in between different layers of the project, as shown below. This really makes the craft “pop” as a whole.
If you haven’t yet done it, glue the completed layers to the background layer. Then, of course, add your rhinestones (or sequins) as stars to finish the whole thing off!

Do you plan to make this 3D papercraft at home? If so, we want to see how you get creative with your own version! Drop us a comment and let us know what you think!