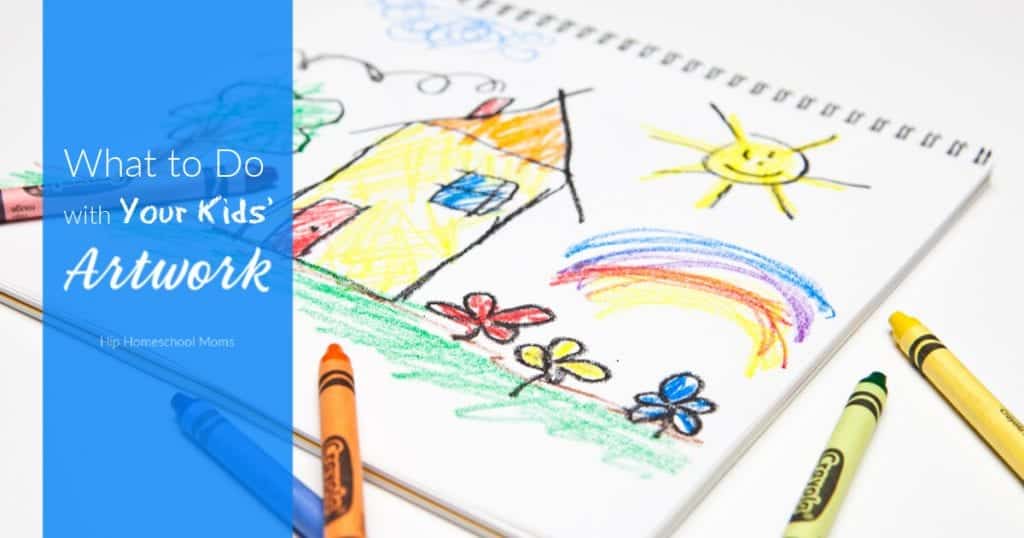
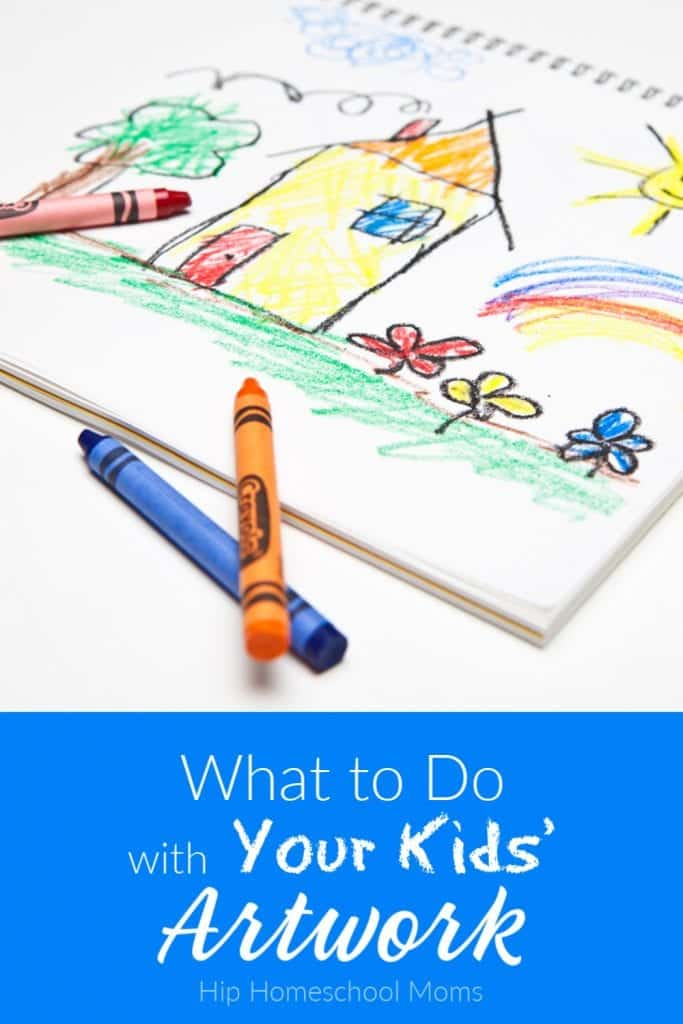
What to Do with Your Kids’ Artwork
Ways to Creatively Repurpose Your Kids’ Arts and Crafts Projects
It’s a commonly known fact that homeschool families have lots (and lots and lots…) of books around the house! But other than books, what else do we have lots of? Yep! Arts and crafts projects!

Crafting, drawing, and painting are fantastic activities. Most of us love it when our children spend time using their imaginations and creating all sorts of great stuff. But we moms often lose our enthusiasm when that 3-foot-tall cardboard, construction paper, and glitter glue robot is still sitting on the dining room table two weeks later.
But the question is, “What on earth do we do with our kids’ arts and crafts projects once they’ve been created?” After all, if we kept every one of them, we’d soon have to move out of the house ourselves to make room for them all!
If the Masterpiece Is Small
When your children create small drawings or paintings or even small arts and crafts projects, you may want to display them in a common area (on the fridge, in a special frame in the living room, on a special shelf, etc.) for a few days and then toss them. Be sure to explain to the creator(s) ahead of time that the artwork will be displayed for a certain length of time and then will be thrown or given away. I found some picture frames that are just for this purpose! These frames open easily from the front to make it simple to change the artwork being displayed. Click here to see one that’s 10″ X 12.5″ that comes in white, mahogany, or black. Or click here to see one that’s 8.5″ X 11″ and comes in black, white, and cherry.
If the Masterpiece Is Large
Let them display it on the coffee table, dining room table, or on the wall for a week or two (discuss the length of time with them ahead of time). Then dismantle it, reuse parts if possible, and get rid of what can’t be reused.
For Any and All Art
Take pictures to put in a special family art album.
If there’s a painting, drawing, or creation that you or your child particularly love and don’t want to completely get rid of, take a picture of the artwork with the creator. It’s a great way to create a memory of the child and the artwork! And if you’d like, you can easily create a simple photo album with pictures of many arts and crafts projects to be enjoyed by the family for many years.
Create a time capsule.
Allow each child to save one piece of art each month. Collect the art over a year’s time, and then place it all in a time capsule to be opened at a later date. This is a super fun idea! I’ve heard of folks who did this and saved the time capsules for years and later opened them to display the contents at a high school or college graduation party or even many years later to open with their own children! I found this stainless steel waterproof time capsule (if you want one that will stand up to heat and weather, etc.). Or, if you plan to tuck your time capsule away in a closet, you can have your kids make and decorate their own time capsules from shoe boxes, plastic containers, or whatever other containers you have. This way, your time capsule can be one of your arts and crafts projects!
Create a memory box for each child.
This is what I personally chose to do with my kids’ artwork over the years. My parents did the same thing for my sisters and me, so I carried on the tradition with my own children. My children are 25, 23, and 17 now, so they don’t create a lot of art like they did when they were young children. (Well, my 17-year-old still does, but her older siblings don’t.) When they did, though, we simply went through their creations once a month or so and decided what to keep and what to toss. It didn’t seem to bother them to get rid of some things as long as they could see that they got to keep some of their favorite ones.
For my children’s memory boxes, I bought some medium-sized Rubbermaid containers, labeled one for each child, and put them in a closet or cabinet that is easily accessible. We labeled that item that we wanted to keep with the creator’s name, age, and date, and we put it in the memory box. We used these 10-gallon containers, but you can use whatever size works for your family and your home.
Send to family or friends as “just because” cards.
Write a letter on the back of a painting or drawing and mail it to Grandpa and Grandma. Even if they live in the same city, it’ll be fun for the kids (and the grandparents!) to mail it. If the artwork doesn’t lend itself well to writing on the back, use the drawing or painting as a pretty first page and include the letter along with it.
Another fun possibility is to take a drawing (since drawings are usually on flat sheets of paper or construction paper that will be easy to write on), write a letter on the back, and then cut the drawing into puzzle pieces. The recipient has to assemble the puzzle in order to read the letter!
Gift the art to nursing home residents.
Visit a local nursing home and give each resident a piece of art. Some nursing home residents don’t get regular visitors, and sometimes the residents don’t have much in the way of decorations in their rooms. A colorful piece of art might be just the thing to brighten the residents’ days!
Turn your children’s artwork into other kinds of gifts or keepsakes.
If you have a few super special pieces of art that you know you don’t want to lose forever, you can turn them into key chains, necklaces, bracelets, or even pillows, plushies, or dresses! Take a look at this article to find out how and where to get the information you need.
For the Art That Has to Go
We all know we simply can’t keep everything that our children create. It just doesn’t make sense to try to keep it all! If you know that certain creations just have to go, use the opportunity to get your children involved in the culling process and help them develop some much-needed skills and maturity as they help you decide what should stay and what should go.
As you go through drawings, paintings, and arts and crafts projects, decide ahead of time how many each child is allowed to keep. You may also want to set some standards concerning the sizes of the creations that can be saved. Then give each child some time to look at each creation and begin to narrow down what he or she wants to keep. It’s okay if this is a multi-step process. You may need to allow each child to go through his/her artwork and get rid of half. The next day, you may have each child get rid of half of what’s left. Keep going until you reach a manageable amount. But don’t expect your children to go through everything and get the entire process done in a couple of hours or even a day. While that may be possible for some children, others will need more time.
Why Go to All This Trouble to Sort Artwork?
I realize this may seem like a complicated and taxing process, but it really is a way to start helping your children learn decision-making skills. Our children will need these skills all their lives, and this is a way to help them start learning to make bigger decisions in a smaller way when the outcome isn’t quite as important (even though it may seem to them like it is!). Try to be patient and let your children see that, even though it’s not an easy process, it can be managed and handled in a way that makes sense and works for the family and the amount of space you have available. The main thing to keep in mind, though, is that you are teaching your children a valuable skill, so try to be patient and understanding.
Tips and Information for Managing Homeschool Art Supplies
If you need tips for managing your homeschool art supplies, take a look at this article! You’ll find 25 tips for getting your homeschool art supplies organized and keeping them that way!
Do you have tips or ideas to add? How do you decide what to keep and what must go? Do you have any fun ideas for what to do with art that you want to share with others? We’d love to hear your tips and ideas! Please share in the comments!


