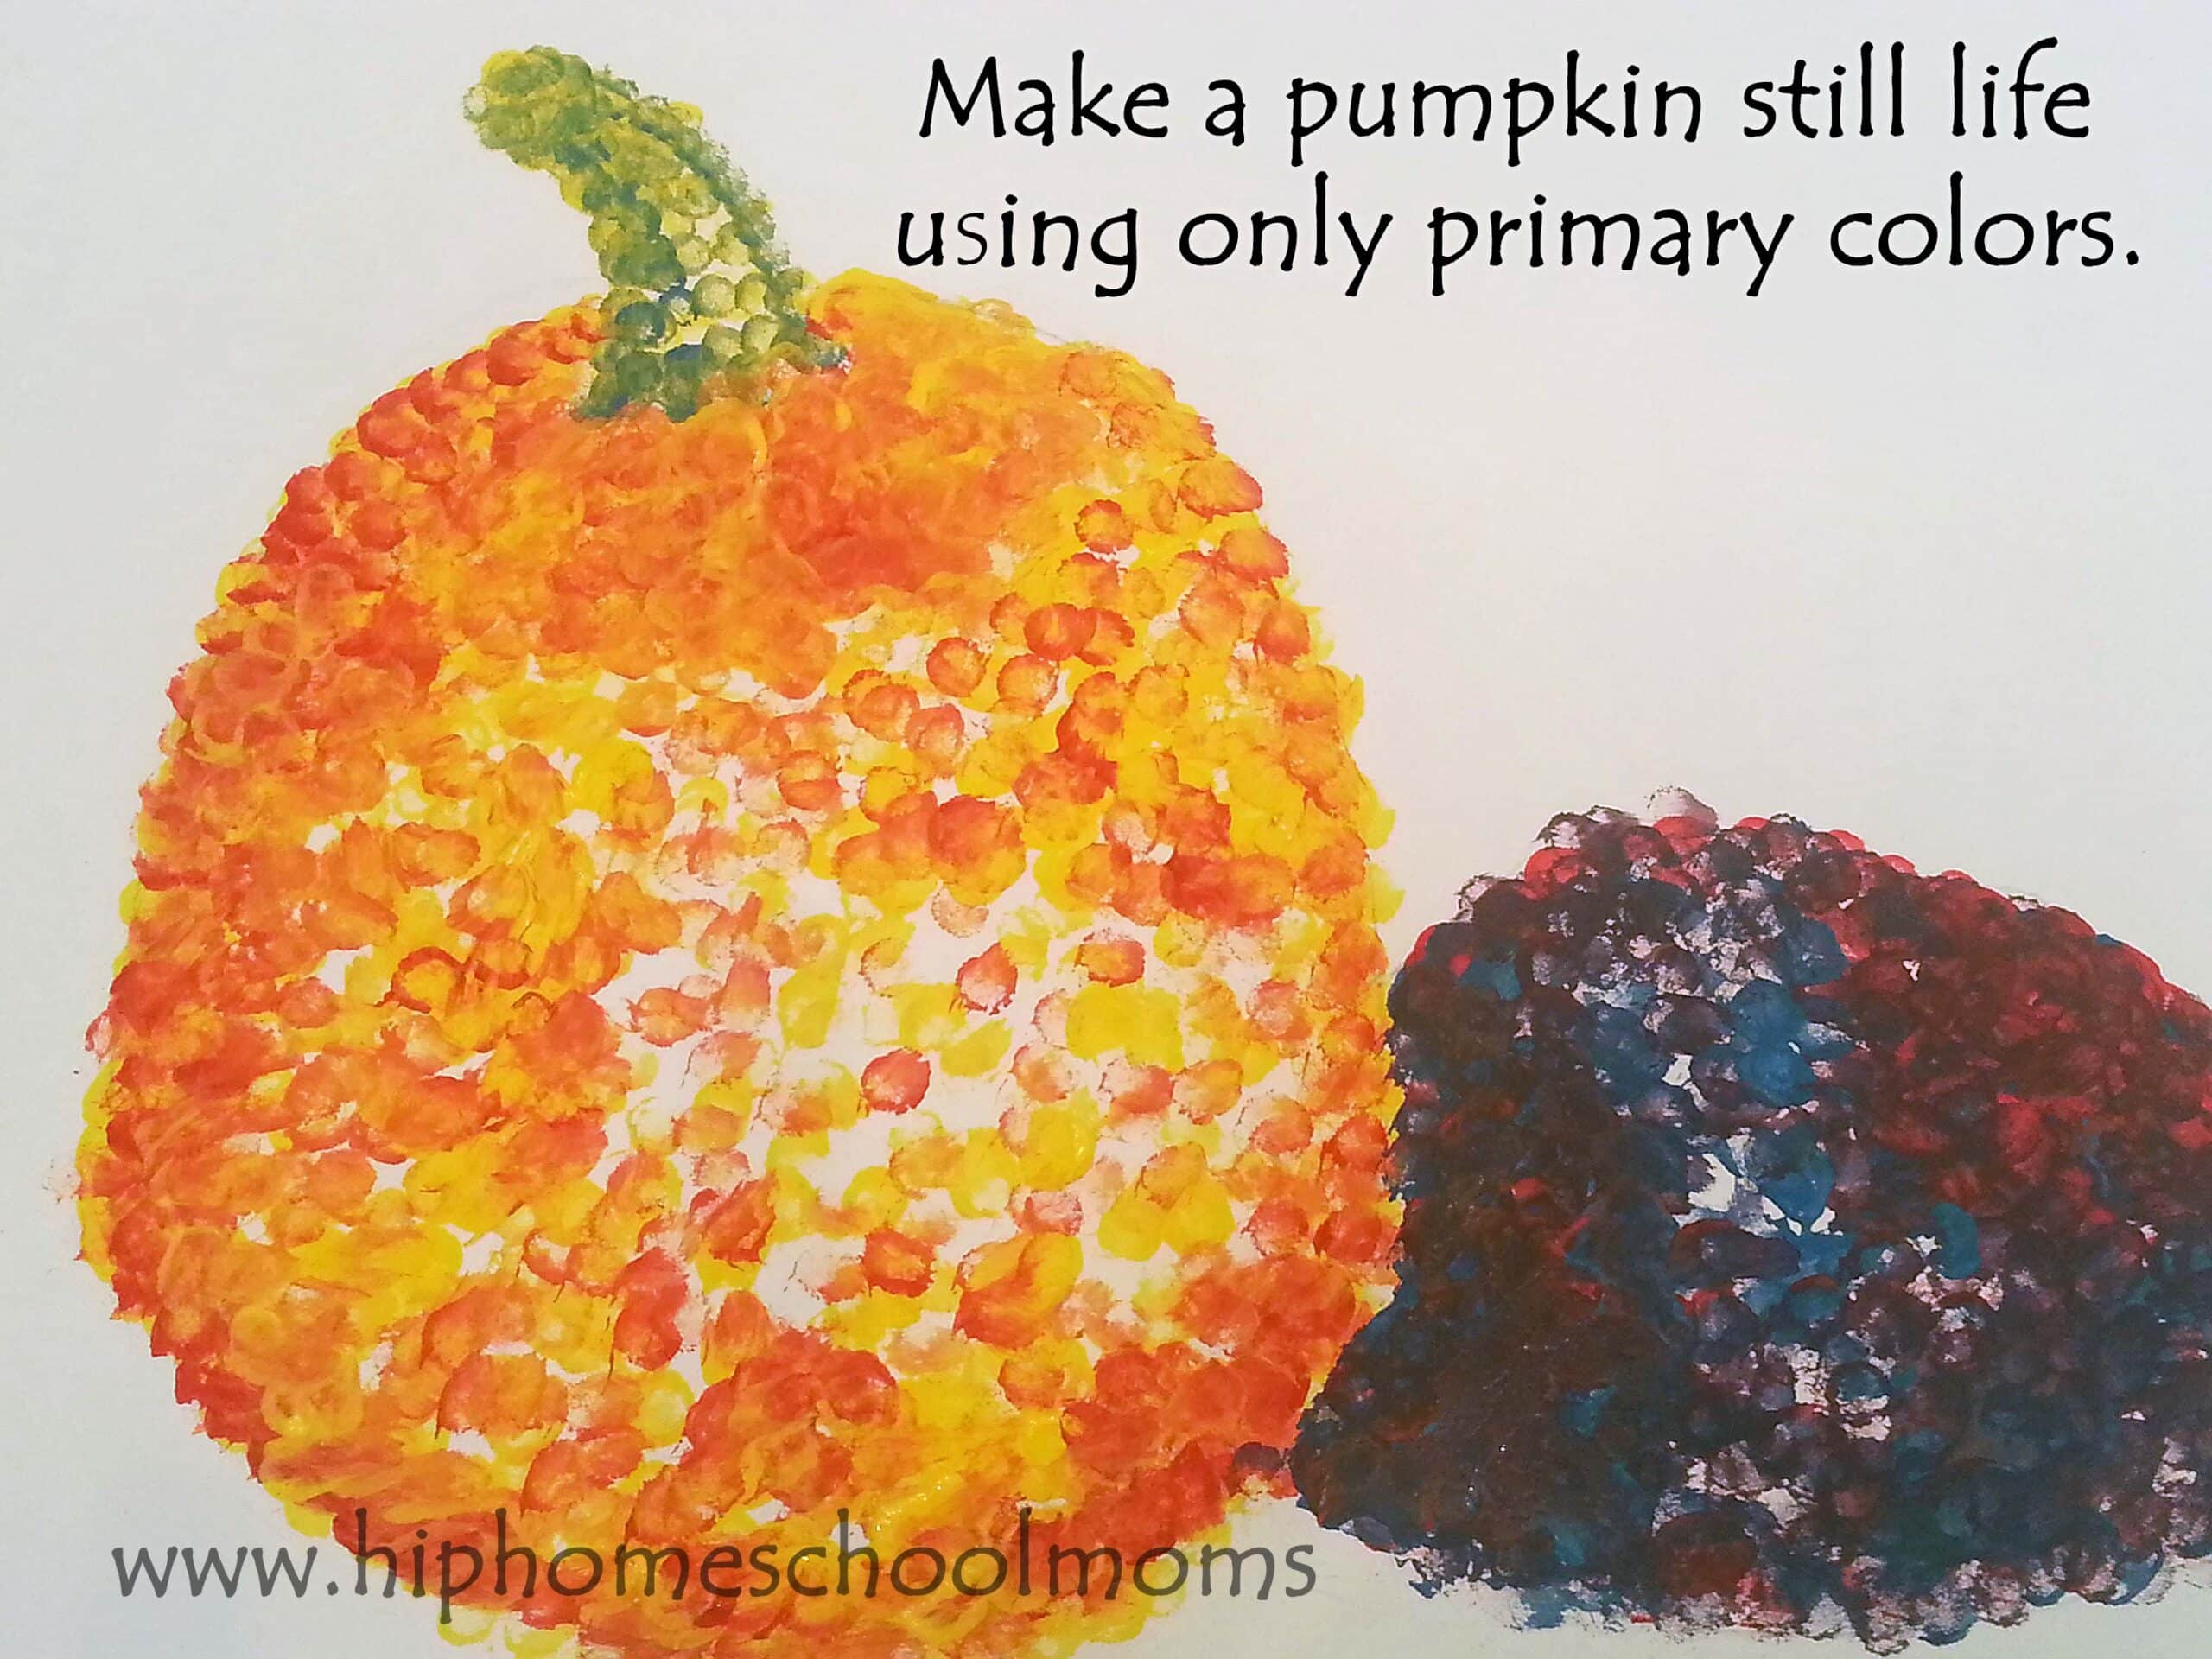
How do you make a pumpkin still life using only red, yellow, and blue paint? Pumpkin Pointillism, that’s how! (Just think how impressed your children will be to solve this riddle.) It’s an art lesson in primary colors. In doing this lesson, your children will gain an understanding of the primary and secondary colors, not just because they were told about them, but because they used them.
What you will need for this pumpkin project:
a pumpkin and some grapes (or any purple fruit- in my example I used cabbage) as the objects for your still life
red, blue, and yellow tempera paintand a paper plate palate
8 1/2 x 11 white card stock or multimedia paper
Q-tips
a pencil
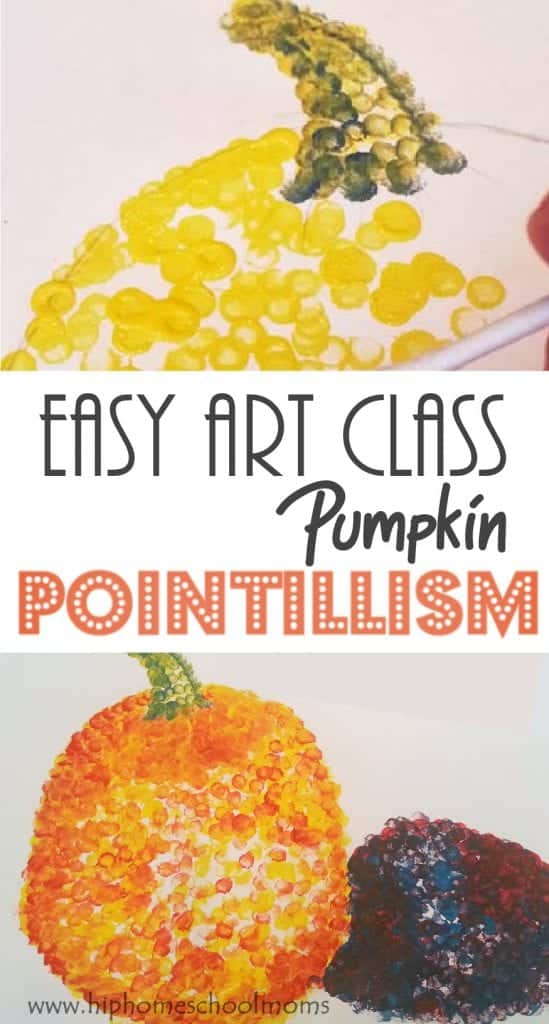
Follow this simple Pumpkin Pointillism Tutorial.
First introduce the primary colors: red, yellow, and blue, and explain how they make the secondary colors when mixed. But stress that we won’t be mixing the colors to get the color we want. This is the trick to this project. There will be no mixing, only overlapping the colors to get the effect and shades you desire. (Any mixing that occurs happens on the paper by overlapping your dots.)
Next discuss pointillism, a technique in which dots are used to create an image. You may want to introduce the artist Georges Seurat before beginning. He perfected the technique and had many interesting theories about color and how to use them. His most famous work was A Sunday Afternoon on La Grande Jatte.
Follow these easy steps for a fail-proof project:
Begin by sketching the pumpkin and grapes (or other purple fruit) very lightly. Keep it light and just a sketch so that your paint will cover it.
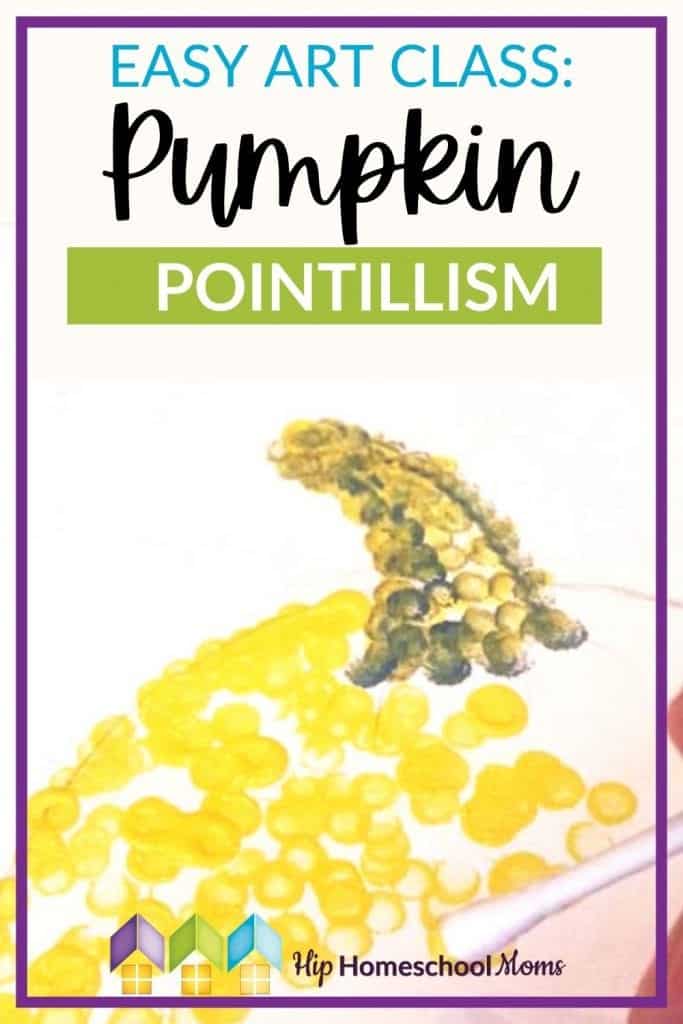
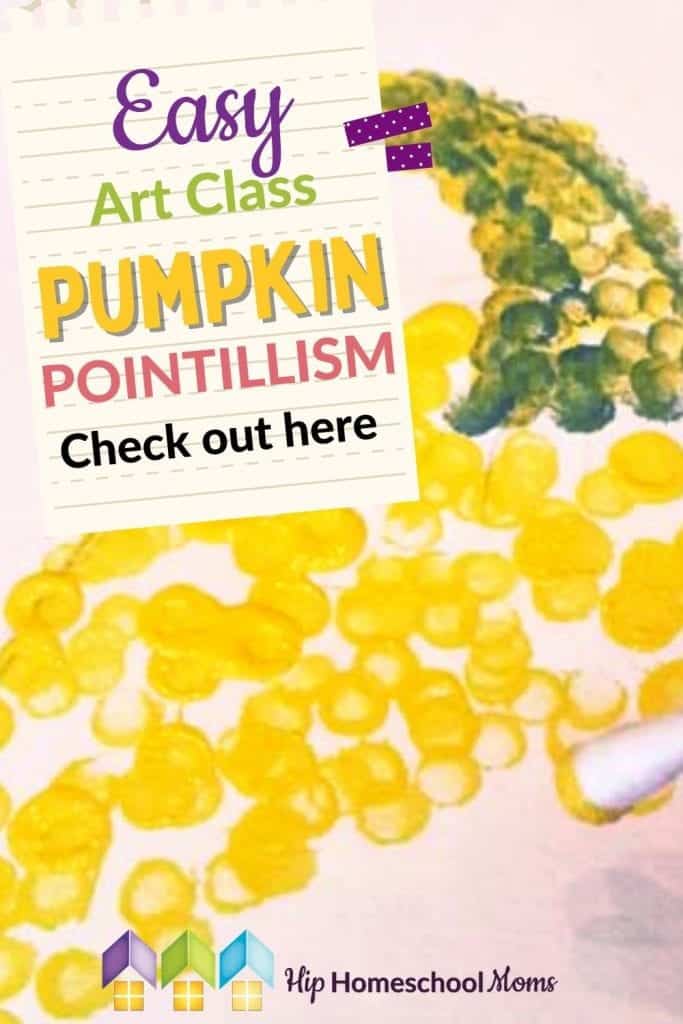
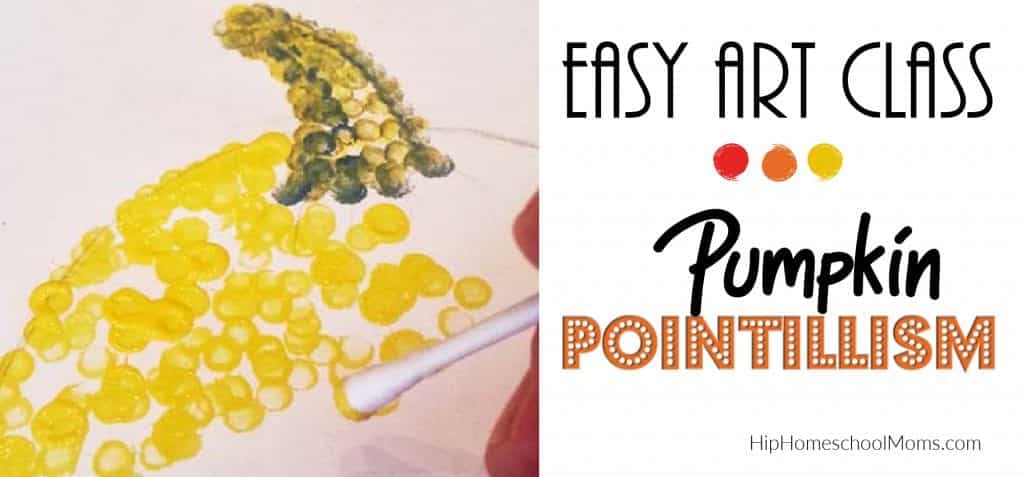
Next, paint the green stem of your pumpkin. Be sure your child begins with the lightest color (yellow). Since our stem is green, we first paint yellow dots and then (on top of the yellow dots) add blue dots. Discourage your child from making lines with the Q tip. Instead, encourage him or her to paint by using the Q tip to make dots of paint (since we’re studying pointillism). Suggest making a line by placing dots close together one after another. If you accidentally add too much blue, simply add yellow on top of the blue until you reach the desired color of green. If you’ve used too much yellow, simply add more blue on top of the yellow so that you get a green effect. As long as your child is making only dots, the project will remain a pointillism technique.
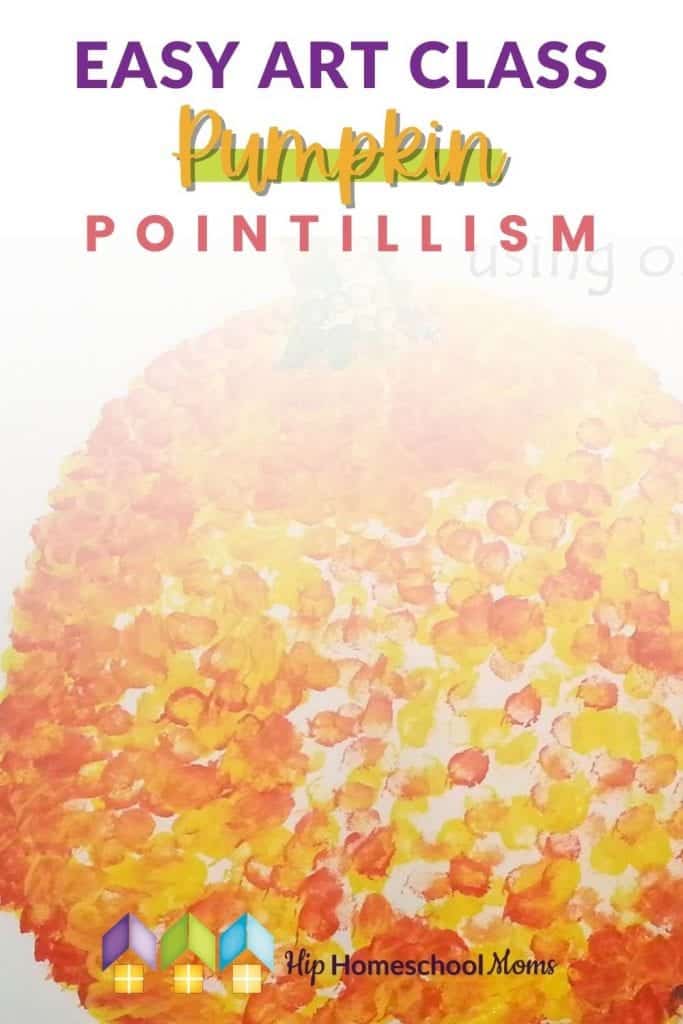
Now work on the pumpkin using yellow and then red to create the secondary color orange.
Finally, do the same with blue and red to paint your purple fruit.
This project emphasizes technique and color. There should be less focus on creating a perfect image of the pumpkin. Keep the project fun and stress-free with success being measured by obtaining the color desired. For older children, more emphasis can be given to placement of the dots to achieve line, contour, and desired shading. For older children, using a smaller tool for the dots may also be in order.
Do this Pumpkin Pointillism Project as part of a Pumpkin Unit Study.
I hope that you will find these books, lessons, recipes, and resources helpful for putting together a perfect unit study for pumpkins.
Adapt this pointillism lesson for another season or project.
You can use this project for any season or subject! The key is using the primary colors; red, blue, and yellow, to make to a painting of something that is solely the secondary colors; orange, green, and purple. This makes the project best for the fall and harvest season, but you are definitely not limited to it. If you solely want to focus on teaching about pointillism, then any object and colors will do! You can make winter snowflakes, Easter eggs, or summer ice cream cones! (For paintings on dark colored paper, experiment to see if the colored paper changes the outcome.)
Go deeper.
Are you loving this lesson on pointillism? Want to go deeper? Here is a series of videos about this style of painting that might spark some great discussion about pointillism and maybe even some beautifully detailed artwork!
Stephanie was a military spouse for 20 years and is a veteran homeschooler. She developed numerous homeschool curriculum freebies and notebooking pages as well as art unit studies for local homeschool co-ops. She is currently a master gardener and is pursuing a degree in horticulture. She is also starting a non-profit organization in memory of her daughter which empowers artists with mental illnesses and supports their families.
The thought of homeschooling can be scary for moms who weren’t homeschooled themselves and have never homeschooled before. We (at Hip Homeschool Moms) have been hearing a lot lately from moms who are considering homeschooling but don’t quite know where to start. Some of them are fed up with public school. Some have children with…
Public-school-at-home failed you. Try homeschooling! Are you considering homeschooling for the upcoming school year? Why is homeschooling suddenly such a popular idea anyway? Maybe you’ve tried public-school-at-home and weren’t at all happy with the daily stress or the results. (To read our article, Public-School-at-Home Is Not Homeschooling, click this link.) Maybe you’ve seen the “new…
You know we here at Hip Homeschool Moms / Homeschool Road Trips love to travel. And we love to hear all about your family’s travels too. That’s why we’re so excited to share this giveaway with you! Our friends at Monarch are giving you the opportunity to enter for the chance to win $2,000 for…
Real Life, Real Learning with David Stelzer Some conversations remind you why you chose this path in the first place. My recent conversation with David Stelzer of Azure Standard was one of those. At its core, it wasn’t just about homeschooling or business — it was about family, faith, and the long view of raising…
Welcome to the Hip Homeschool Hop! Here are this week’s favorites from the HHM Team: Team Member Tanya adored 25 Hands-On Bible Activities for Kids. She said, “I love integrating Bible into all of our curriculum.” Team Member Heidi loves book lists, so she really appreciated A Dozen Spectacular Book Series Boys 9-12 will Love from Brain…
Welcome to the Hip Homeschool Hop! Look at us, all on time and such! Is everyone having an awesome week so far?? Looking for homeschool supplies/books at a great price? Have something you’re not using and would like to sell? Visit our Hip List! Now, on to the HOP… Don’t forget to grab…
We’re getting ready to do an Everyday Easel unit on George Seurat, and our project is supposed to be a Christmas tree done in pointillism, so this is FANTASTIC!!! Thank you so much for the pumpkin idea, which is better timed to our current season =)
I’ve never seen this kind of art lesson before, Thank you so much for sharing this with us! I would love to visit your website on daily basis to read more informational ideas.


What a great idea! Perfect for fall!
We’re getting ready to do an Everyday Easel unit on George Seurat, and our project is supposed to be a Christmas tree done in pointillism, so this is FANTASTIC!!! Thank you so much for the pumpkin idea, which is better timed to our current season =)
So cool, and EASY!!! My kids and I will absolutely do this!
I’ve never seen this kind of art lesson before, Thank you so much for sharing this with us! I would love to visit your website on daily basis to read more informational ideas.