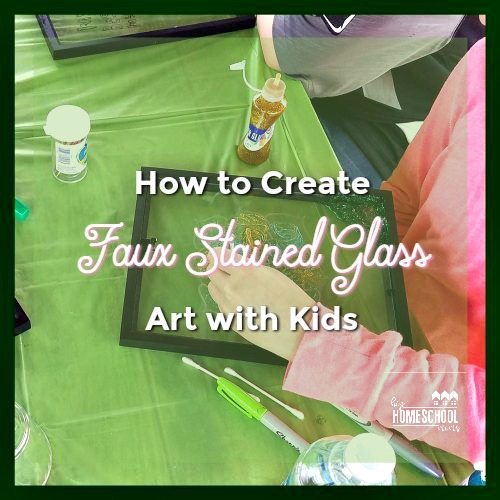
How to Create Faux Stained Glass Art with Kids
I am not an artist, but I like creating beautiful things. My kids LOVE playing with paint. So we make a great team. Sometimes our art is lovely. Sometimes it was a great effort. Recently, we held our Green Ember Book Club, and I wanted the kids to have a piece of stained glass art like what was portrayed in the book. Obviously, real stained glass art is a little out of my knowledge base, so I started researching how to create faux stained glass art with the kids.
I started out with a supply list and headed to the massive amount of crafting supplies I have in the garage. Here is a list of the supplies you might need. NOTE: You probably already have all (or most) of the supplies you need for this project! And since it’s easy for kids of all ages, don’t be afraid to give it a try! Art projects don’t have to be expensive and difficult.
Supply List for Faux Stained Glass Art

- Glass: You can use these 6″ glass squares if you’d rather, but we used picture frames with the backs removed and the hangers replaced.
- Sharpies
 : I’m sure any permanent markers will work, but I love the Sharpie brand, and the color choices are so vibrant.
 - Glitter Glue: We used glitter glue to add some sparkle to our designs, but you could use any clear glue.
- Food Coloring: This can be added to the glitter glue for a colored design instead of a transparent design.
- Cotton Swabs and Toothpicks: These were used to spread the glue.
 : I’m sure any permanent markers will work, but I love the Sharpie brand, and the color choices are so vibrant.
 : We used glitter glue to add some sparkle to our designs, but you could use any clear glue.
 : This can be added to the glitter glue for a colored design instead of a transparent design.
Faux Stained Glass Art Design
Once you have all the supplies gathered, it’s time for the design process. If your kids are like mine, they like to do their own thing. So, I just let them loose with the Sharpies. However, if your kids need a little inspiration, feel free to print out a few designs to give them some ideas to begin. Once they’ve decided on a design, just place it behind the glass and let them trace it. Just remember that the design will be backward once the project is finished.

This design by one of our book club members had to be turned around in the frame after it dried.
Faux Stained Glass Art Painting

After designing, the next step is to add the paint (or glitter glue). Glue is a great medium for this project because it dries clear but leaves a stained glass effect. Using cotton swabs or toothpicks helps to spread the glue.

At this time, you can add in the food coloring with the glue. Just swirl it in with the glue for a colored effect.

Here you can see the difference in using the Sharpies versus just the glitter glue. The red colored in parts on the right are from the Sharpie, whereas the left side only has the red glitter paint.
Faux Stained Glass Art Hanging

Once the painting is dry, it is ready to hang. We chose to put our faux stained glass art in the window so we could see the sunlight reflected through the panes.
Other ideas for creating Stained Glass Art:
Aluminum Foil Stained Glass Art
DIY Faux Stained Glass (using Mod Podge and Fabric paint)