
Easter Egg Dyeing with Shaving Cream
Easter Egg Dyeing with Shaving Cream
This is the time of year for Easter egg dyeing! My family and I enjoy dyeing eggs, but we usually like to do it in a simple way that everyone can enjoy doing together.
Occasionally we’ll decide to go all-out and try something new or complicated (especially now that my children are all older), but most of the time, we like to keep it inexpensive, not too time-consuming, and not too awfully messy. That’s why Easter egg dyeing with shaving cream has become one of our favorite methods!

Keep in mind that this method of dyeing eggs can be messy if you have young children. Well, to be honest, almost everything is messy with young children! So if you have little ones, you may want to do this outdoors, and it’s probably a good idea to have your littles wear clothes that can get stained without causing a problem.
Even with older children and adults, we like to wear work clothes that we set aside just for projects like this. That eliminates the need to worry about occasional mishaps, and it makes the process more fun.
You probably already have everything you need to make these!
Supplies Needed:
- cookie sheet (or you can just use a ceramic plate like I did)
- food coloring
- shaving cream
- toothpicks
- paper plate
- hard-boiled eggs (white for best color)
- sandwich baggies (or rubber gloves)


Directions:
- Hard boil your eggs. Make sure they are cool and dry before beginning the dyeing process.
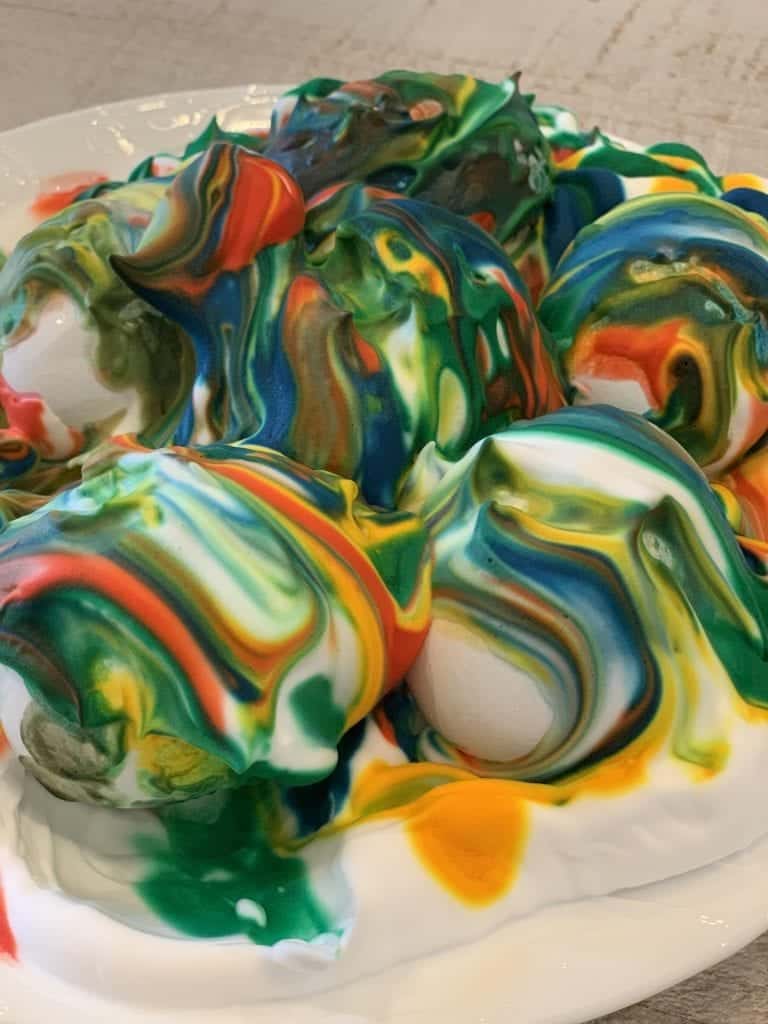
- Spread your white shaving cream over the surface of the cookie sheet or plate.
- Dribble food coloring across the top surface of the shaving cream. We used a lot because we wanted to get maximum color! The eggs will end up being a lighter/more pastel color than the food coloring, so add more or less food coloring depending on what you want your finished eggs to look like.
- Use toothpicks to swirl the colors around in the shaving cream.
- Take your dried and cooled hard-boiled eggs and roll them around in the shaving cream. You can use sandwich baggies or disposable gloves to keep fingerprints off the eggs as well as to keep the coloring from getting on your hands.
- Leave your eggs in the shaving cream/food coloring mixture for at least 5 minutes to give the dye time to color the eggs. We left ours for 30 minutes to be sure we got maximum color.
- Wipe off the shaving cream and rinse your eggs with water. Then gently dry each egg with a cloth or paper towel.
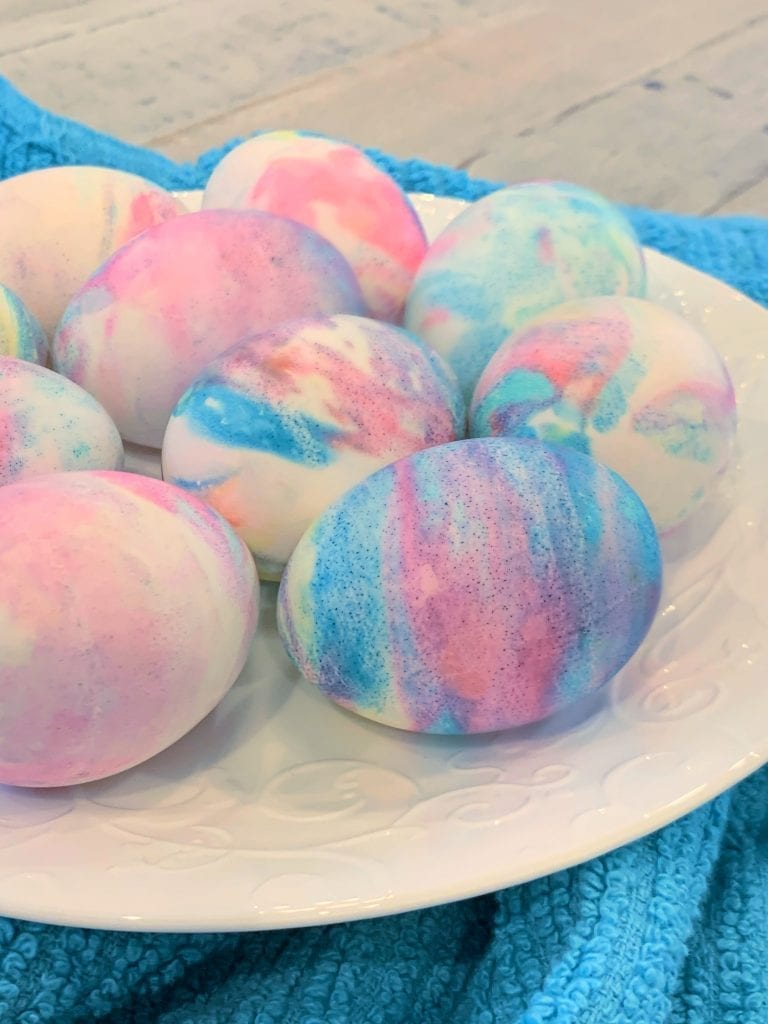
As you can see from the photos above and the finished eggs below, the colors on the eggs really do turn out to be much more pastel than the bright colors of the food coloring. If you’re looking for deeper, darker color, you might want to try dropping some food coloring directly onto the eggs or even using your hands (with gloves!) or using paintbrushes to swirl some dye onto the eggs before you place them in the shaving cream/food coloring mixture. We homeschoolers are well known for taking ideas and tweaking them to fit our needs, so go for it!
What are your Easter egg dyeing traditions? Do you have an unusual egg dyeing method to share?
You May Also Like

Printable Easter Story Trivia Game


Adorable Bunnies Toilet Paper Tube Craft (This is one of a series of articles with all kinds of toilet paper tube crafts!)

Dissolving Peeps Science Experiment for Easter


Thanks this is just the perfect NEW trick for our egg coloring party
Happy you think so Heather! I too was thrilled to find this “different” way to dye eggs as I was kind of tired of the old way. 😉
Is it safe to eat the eggs when dying them this way?