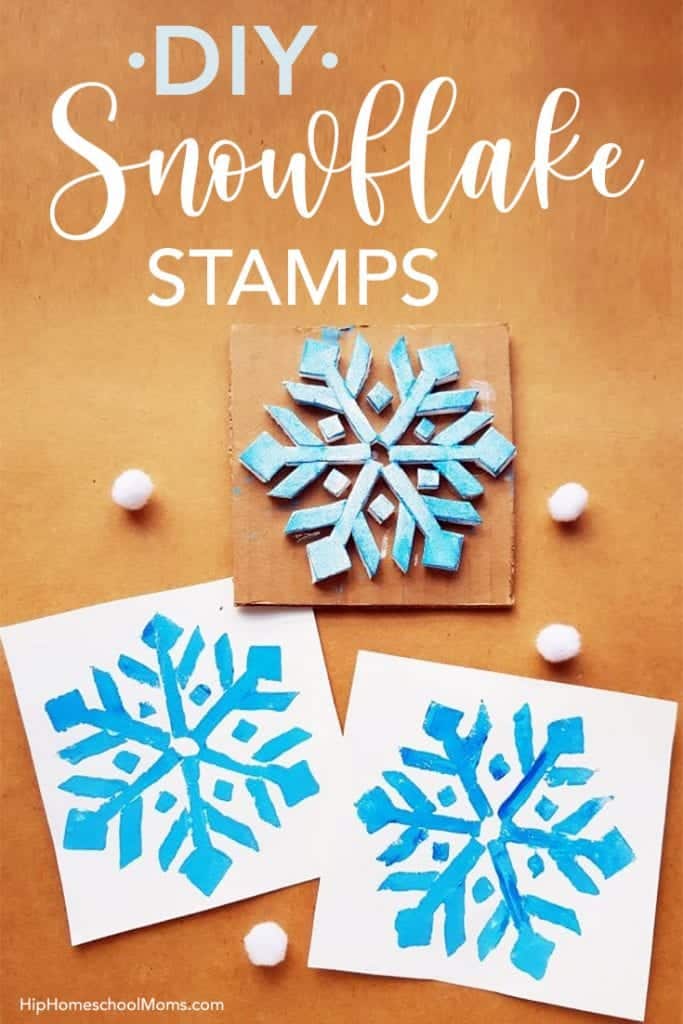
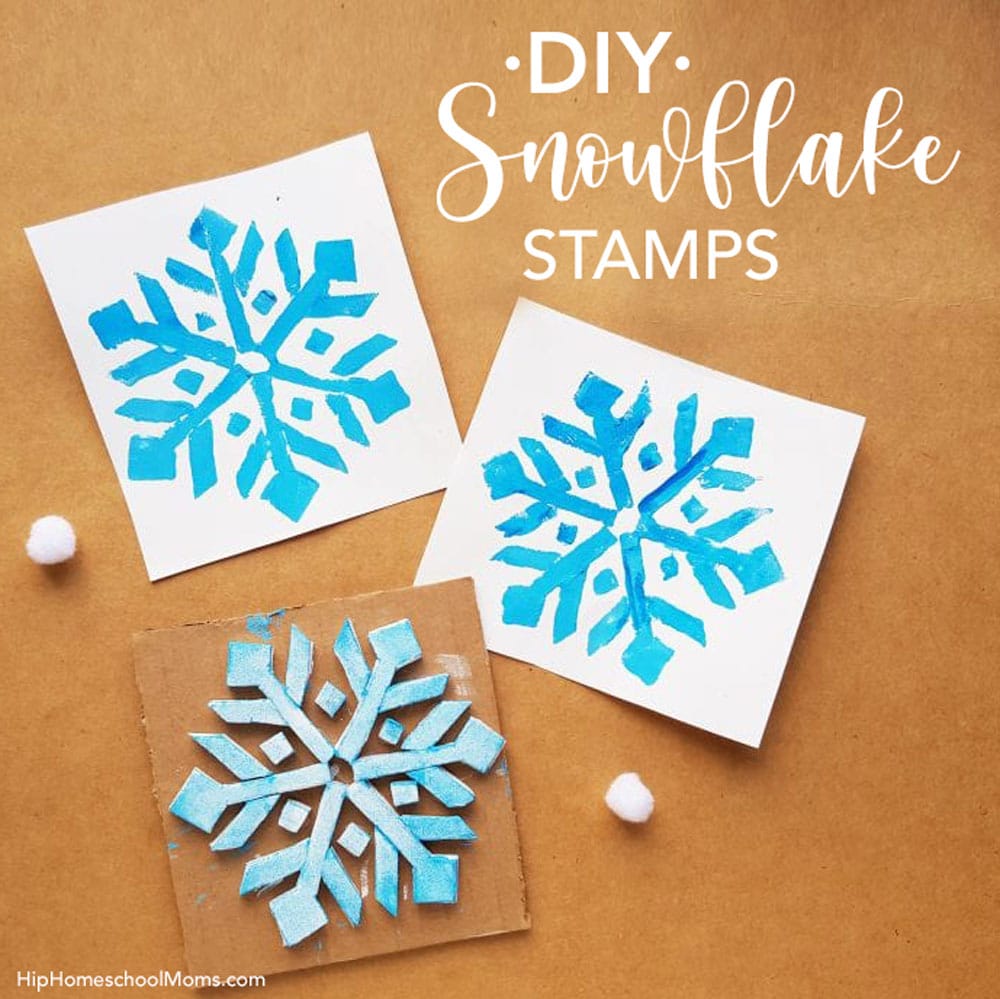
DIY Snowflake Stamps
If it’s cold and snowing in your part of the country (or even if it’s not!), you and your children will enjoy making and using these DIY Snowflake Stamps! Whether your children are younger or older, you can enjoy making and using these stamps together.
And after you’ve made them, you can use them to do some fun educational activities! You’ll find a list of educational activities for both younger and older children at the bottom of this article. So enjoy making and using these stamps, and then enjoy some fun educational activities together!
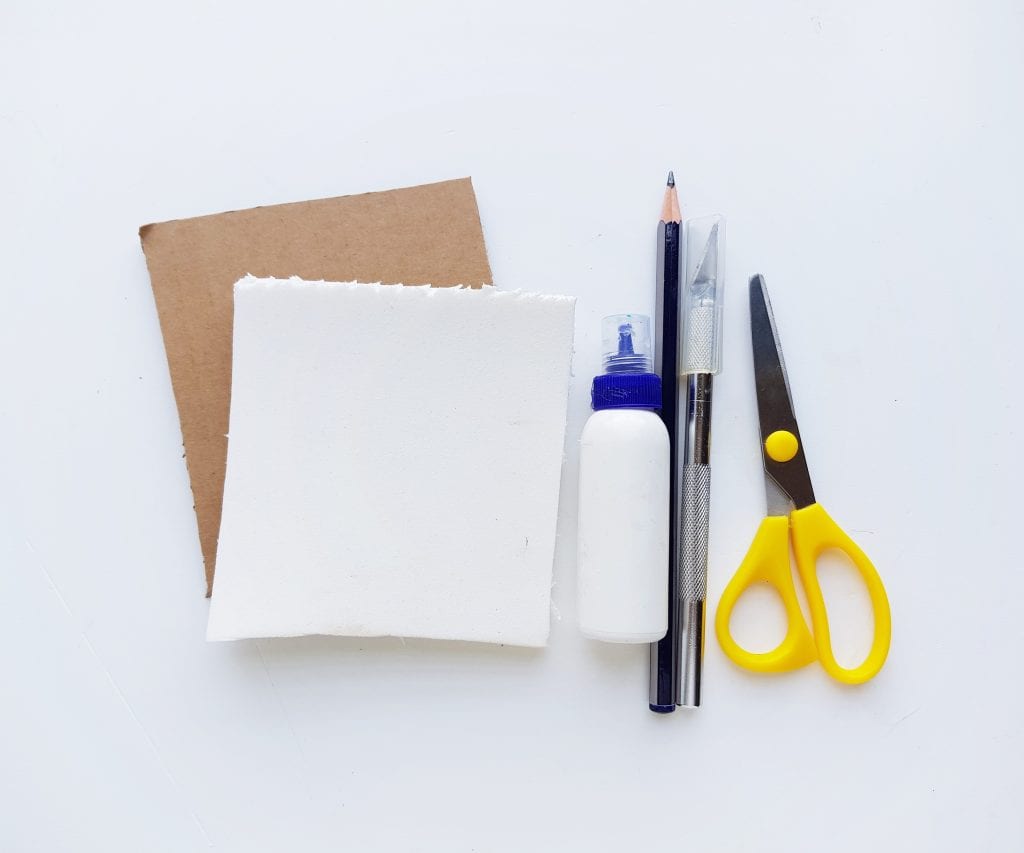
Supplies:
- Craft foam sheet
- Cardboard
- Craft glue
- Pencil
- Scissors
- X-acto knife
- snowflake stamp template (Click here to get your FREE downloadable template! )
Instructions:
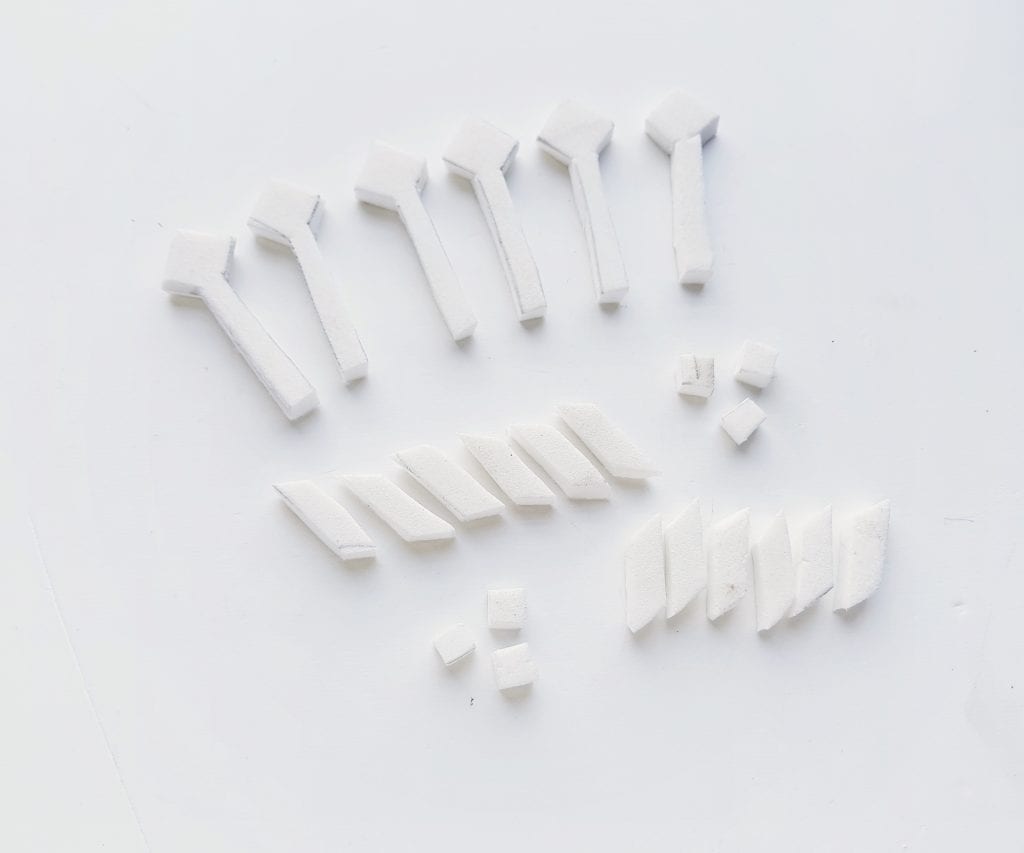
Print out the provided template and cut out the patterns. The template includes 2 different sized sets for the snowflake pattern. Select the one you want and trace the pieces on the craft foam sheet using a pencil. Use scissors or an x-acto knife to cut out the traced patterns. You will need 6 pieces of each pattern to make this snowflake stamp.
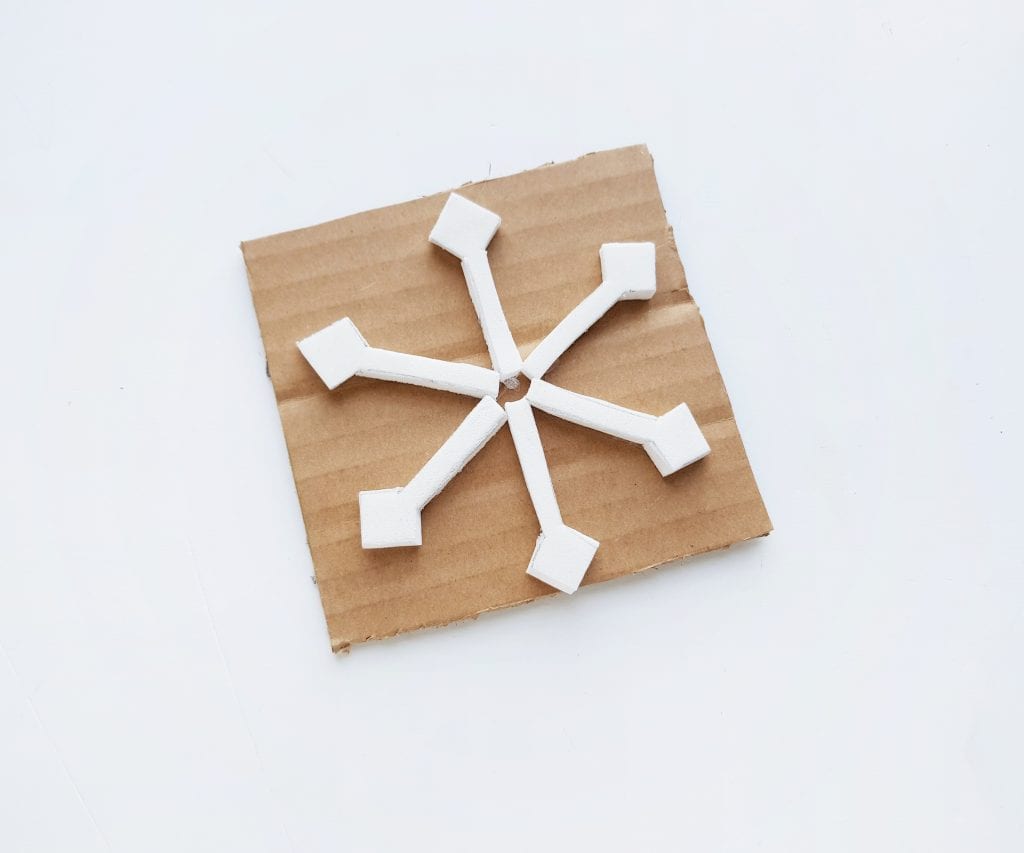
Cut out a piece of cardboard for the stamp base. The cardboard piece should be big enough to hold the complete snowflake pattern. You can place the snowflake template cutouts on a flat surface to check its actual size once it is complete.
Now, let’s start attaching the foam cutouts to the cardboard base. Start with the longest patterns. Keeping the square point facing toward outside, attach all 6 cutouts on the cardboard with their plain sides in the center.
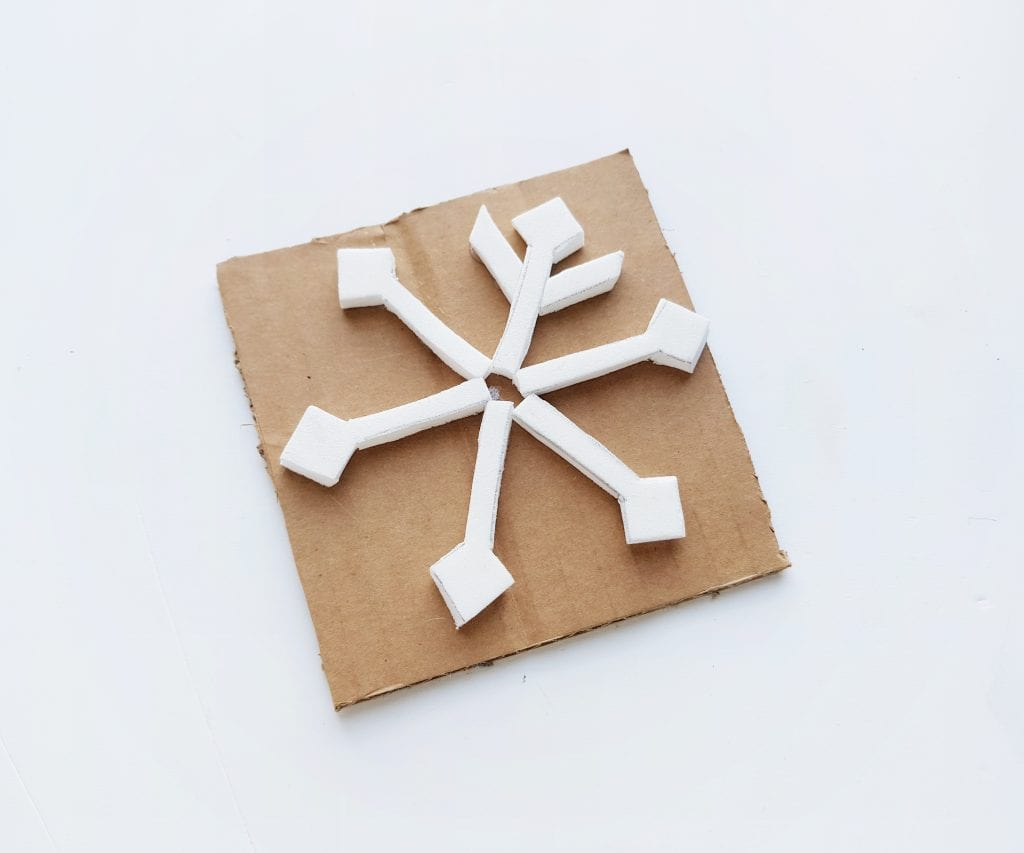
Grab any 2 rhombus cutouts and attach them on both sides of a long pattern.
Grab the rest of the rhombus cutouts one by one and keep attaching 2 opposite rhombus shapes on both sides of a long pattern until they’ve all been attached.
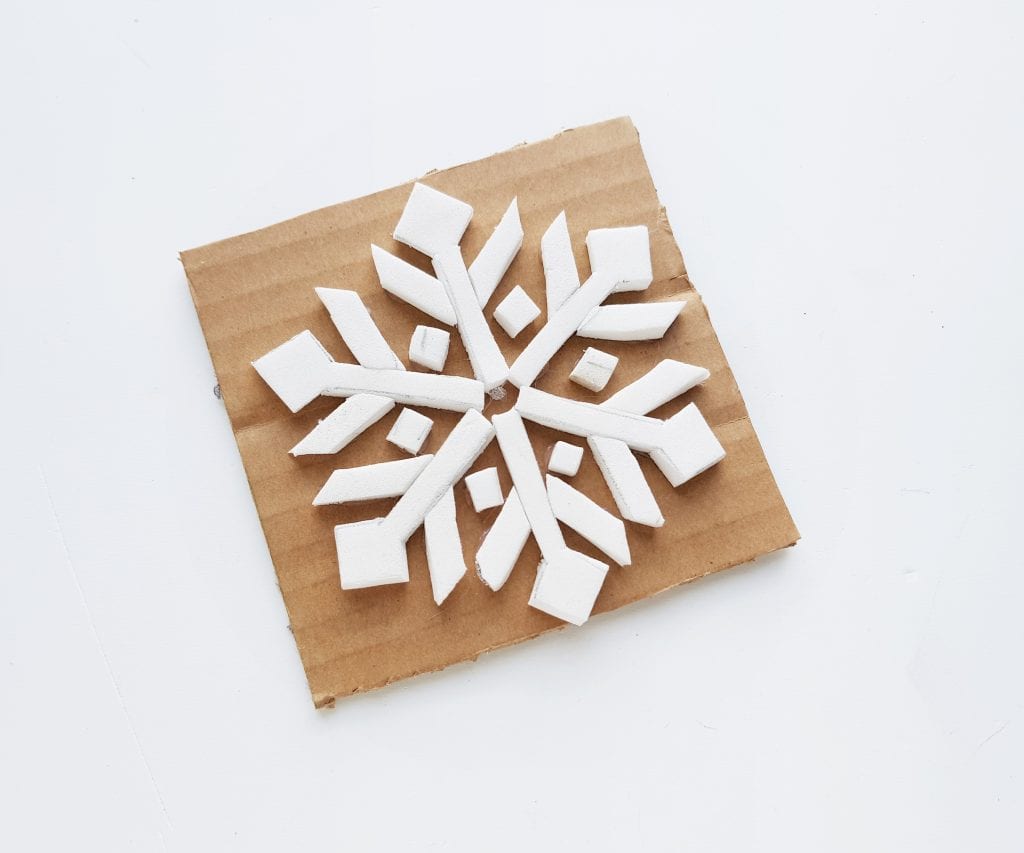
Now grab the small square cutouts and place 1 square between every 2 long patterns. Or you can place them as you want. Allow the glue to dry completely once the craft is complete.
Use a paint brush to apply paint on the top surface of the foam snowflake pattern. You can use your stamp right away, or you can set it aside to use another day!
Ways to Use These Snowflake Stamps
Yes, crafts like this one are fun to make with your kiddos! But they can also be used for educational purposes. Here are a few ideas. Maybe you can come up with more!
- Have your little ones cut out and glue in place the snowflake pieces as a fine motor exercise.
- Have your children choose a pattern for their snowflakes and practice repeating the pattern as they create all 6 parts of the snowflake.
- Once the snowflake stamps are ready to use, compare the smaller and larger snowflake stamps. Talk about their sizes. Which one is smaller? Which one is bigger? Other than size, are the two snowflakes the same or different?
- Make both the smaller and larger snowflake stamps and use them to stamp a pattern on a piece of newsprint or a large sheet of drawing paper. See if your children can use the stamps to recreate your pattern.
- Have your children use both the smaller and larger stamps to create their own patterns. Can they repeat the pattern twice? Three times? Or can they copy each other’s patterns?
- Use different colored paints to stamp the snowflakes. Use the colored snowflakes to work on color recognition with very young children.
- For older children, use different colored paints and stamp different colored snowflakes on top of each other to create different colors. For example, have your children stamp a yellow snowflake and then stamp a blue one on top of the yellow one. Have them predict what color the snowflake will be after stamping both colors. Then have them try it to see if their prediction was correct.
- Practice rounding. Stamp 7 snowflakes on a piece of paper. Ask your children to round the number to the nearest 10. Would they round down to 0 or up to 10? Why?
- Teach your older children about making an “educated guess.” After explaining what this means, have them look at the size of the snowflake stamp to be used. (Either the small or large one.) Then, based on the size of the stamp, make an educated guess about how many snowflakes they can stamp on a particular piece of paper. Have them use the stamp on the piece of paper to see if their educated guess was correct (or to see how close they got).
What other ways can you think of to use these snowflake stamps? Let us know in the comments!

