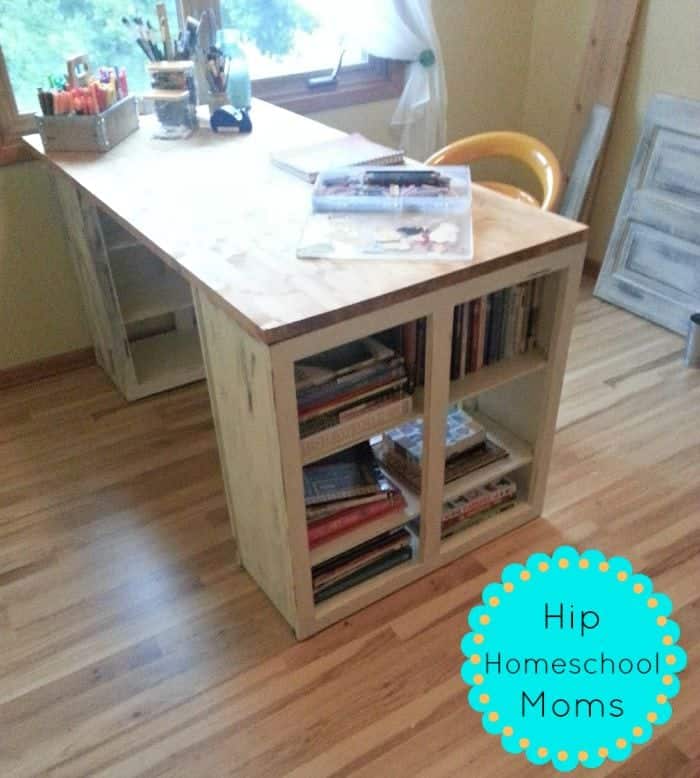
DIY Craft Desk Hack


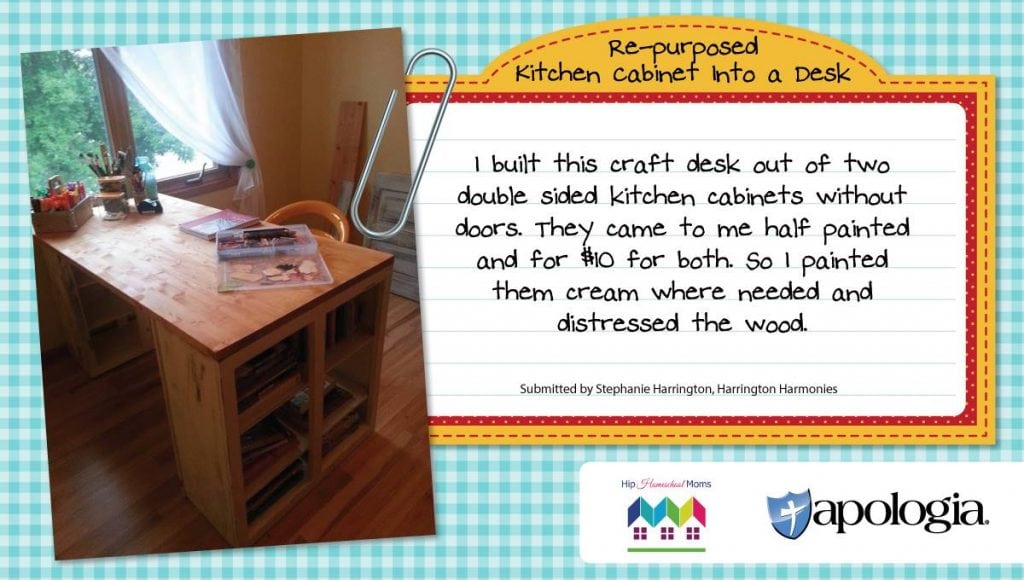
So you want a craft desk but can’t afford to buy one? Here’s a suggestion that might work for you. This idea only cost me about $60 to put together. It requires no cutting and only minimal construction! It was the type of thing I could do by myself easily. While I can paint and be creative, I’m not too good with actual construction and I don’t like to use power saws – ever.
Materials Needed to Build Your DIY Craft Desk
- 2 used double sided cupboards- open on both sides, doors removed
- latex paint in desired color
- coarse sandpaper
- 1 piece of pre-cut spruce 1″ x 30″ X 60″
- all-in-one wood finish
- 4 “L” brackets
- 24″ high chair
- 8 furniture sliders or pads
Step 1: Paint Cupboards
Once you find used double sided cabinets, you’ll paint them to make them whatever color you want. I was truly lucky and found them at a garage sale for $10 for both. They absolutely must be the same height. Most cupboards will be a standard 30″ high and 30″ wide. One of my cupboards is slightly more narrow than the other at 27″ wide.
To paint, I used cream because I had that paint already and it’s a great neutral color. The cabinets had been previously painted brown. I love the way that, when distressed, the brown shows through along with the wood although it’s mostly the brown that shows through. I really love the rustic feeling it gave.
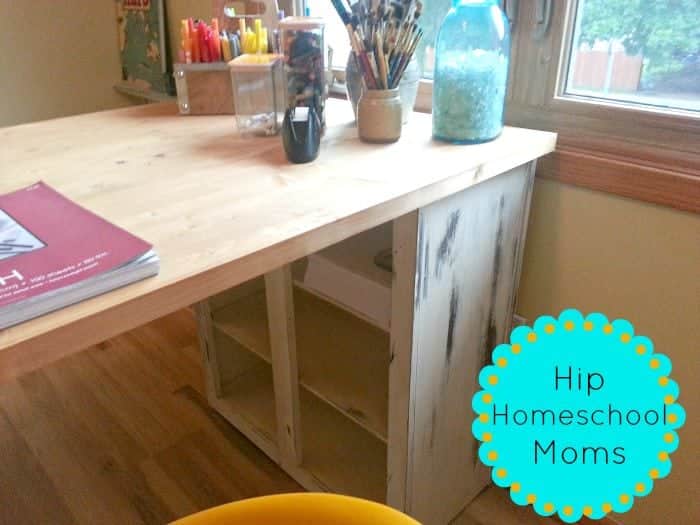
Step 2: Sand to Distress Wood
To achieve a distressed wood look, you have to paint lightly over the previous color or the natural wood. Try to go light on dark or dark on light for contrast. Allow it to dry well. Then, using coarse sand paper, sand the areas on the edges and corners. Think about what parts would wear over time naturally. For added interest, I also sanded some surface areas as well.
Step 3: Stain and Attach Table Top
I really enjoyed the fact that I could buy a precut spruce table top so that even I could do what was required for building this desk! Once I stained the wood top (I used a one step stain to keep the job easy and inexpensive.), I simply attached the wood using small L brackets on each side of the cabinet and repeated for the opposite side. Because one of my cupboards was more narrow than the first, I centered that piece for minimal overhang on each side. But it was constructed exactly the same way.

Step 4: Add Sliders
The sliders are a must. I can slide this table anywhere in the room, and it protects my floor. I am using the shelves on one side to store homeschool books. This weighs the desk even more so it never slides about on me. I don’t think it would slide even without that weight, but since I use the art room for homeschooling too, sometimes it’s a great place for them. I still have yet to fill the other side of the desk. It will probably become home to my office type supplies- printer paper, tape, stapler, etc.

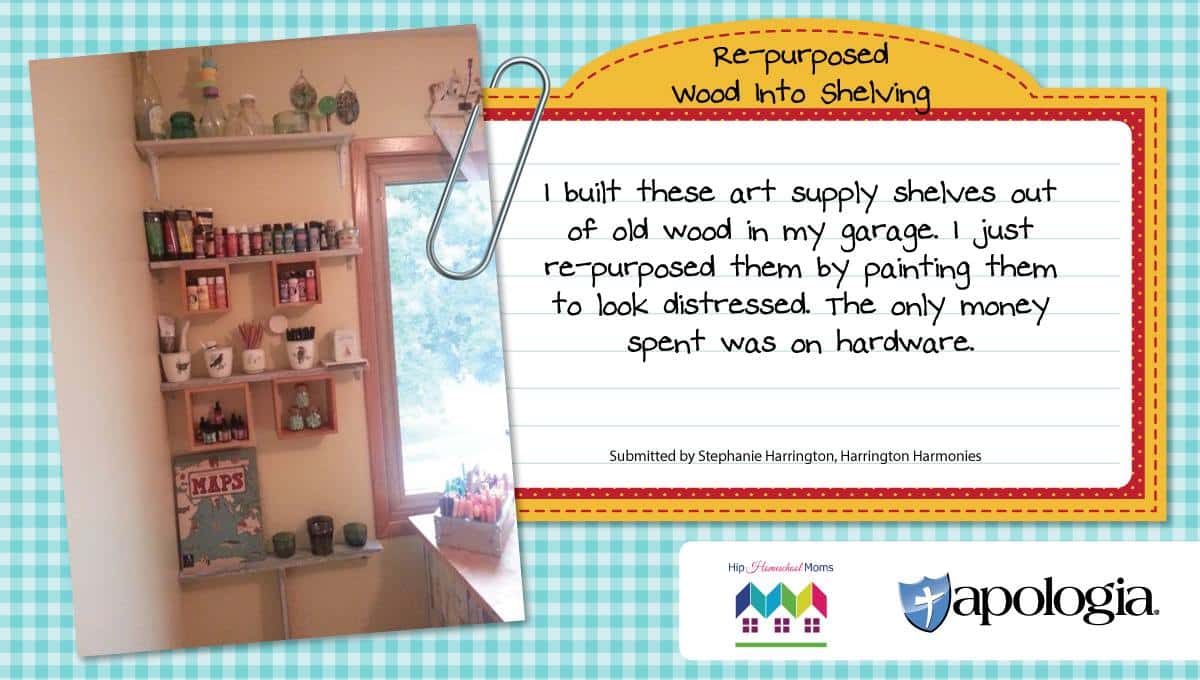
Where are my art and craft supplies?
I like having my art supplies at arms length. As a companion to the desk, I built these shelves out of old wood in my garage. Again, I distressed the wood. These did require cutting but were relatively easy to build.
Later, I got the chair at a consignment store for $40. That was a huge steal because it’s a fabulous and funky chair that just fits the room perfectly. If you’d like to hear more just take a look at the entire studio! Don’t have an entire room for arts and crafts? Neither did I till recently. Check out how I organized my art supplies with limited space! And see my Big List of Homeschool Art Supplies here on HHM!
Possible Cost of DIY Craft Desk
The whole project cost me about $64 . Here’s how it added up:
Double Sided Kitchen Cabinets– $10 from local garage sale
Paint & Sandpaper– I had this on hand and used what I had.
Pre-cut Spruce Table Top– $36 from local hardware store
L Bracket Hardware– $3
Wood Stain– $6
Furniture Sliders– $9
What DIY hack are you most proud of or what are you most interested in making for yourself?