Got a big mess of art stuff and not sure how to go about getting from disaster to sanity? I used these five steps to organize homeschool art supplies in my very small living space. I hope they can help you too!
Looking for resources on how to teach art in your homeschool, art project ideas or homeschool art curriculum? You’ll find additional articles on how to homeschool art.
How to Organize Homeschool Art Supplies in 5 Easy Steps
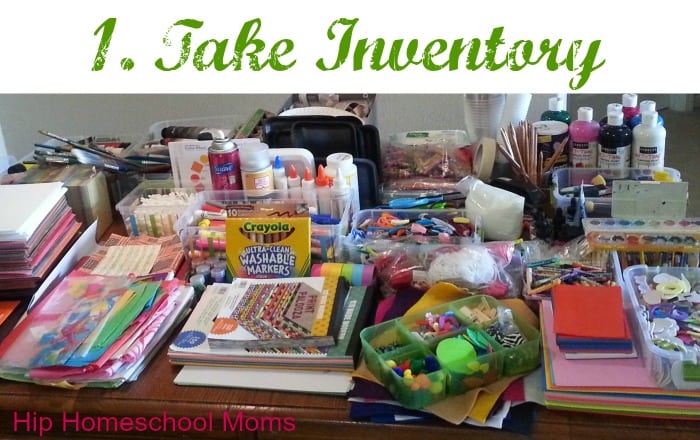
1. Take Inventory.
Take inventory, and I don’t mean make a list. Just get a visual for what art materials you really have. On a day when you have time to finish this project, lay out the supplies you have on a table or large area. This will allow you to see what exactly you have. Sort things and put like items together. Note the types of things you have, the amounts, and how much room they take up. This is also where it’s good to pitch anything that’s just not worth keeping.
I laid out my supplies on a table and put like things together. This helped me see how much I had of the same type of thing.
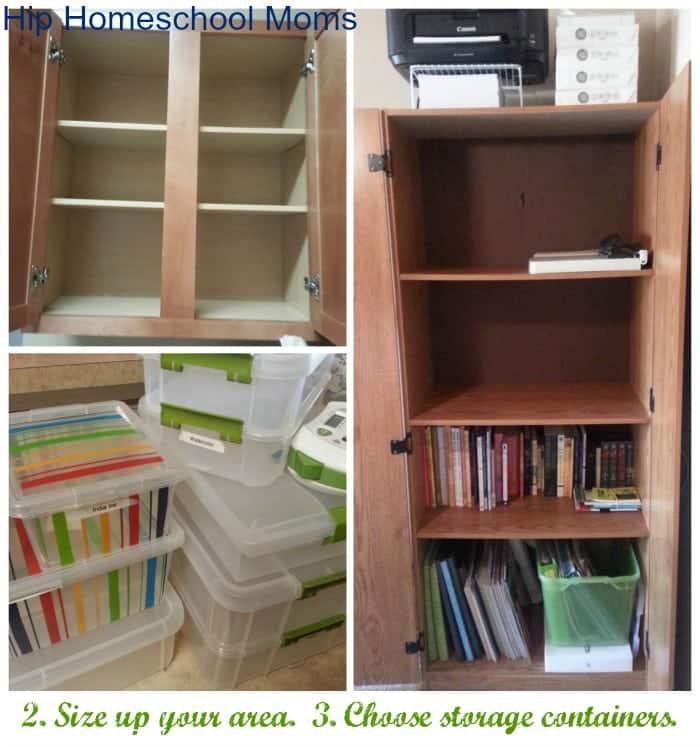
2. Size Up and Plan Your Storage Area.
You can’t put the ocean in a bucket. So be realistic about the storage area you use. It doesn’t matter if you have a whole room for homeschooling or a small area. This method works for any scenario.
Is your storage place a closet, cupboard, cabinet, or book shelf? Or something else? Or a mixture of a few? Before you begin to put things away, know what areas you plan to use and limit yourself to them. Choose functional places for doing art projects. If you don’t want little hands to get into certain things, store them up and away. For things your children should be free to manipulate, make them accessible.
Application example:
I live in a three bedroom apartment and homeschool in a small space. We homeschool in the main living area- at the dining room table or on the couch. I have one large cabinet that I use for all my homeschool materials and one kitchen cupboard dedicated solely to art supplies. If you can give up the space, the kitchen cupboard is a great place for art supplies. It’s very handy to be near a sink for clean up, so I store my messier items there. That’s all I have available to me,and I make it work for probably more art supplies than most homeschoolers keep. Either it fits there, or it gets donated, given away, or thrown out.
3. Choose Containers for Storing Supplies.
As important as planning where to store your art supplies is what to store them in. This is really the key to your success. Square and rectangle containers are always better than round. They take the least space and stack well for multiple materials. Sometimes jars and other recycled materials will work well and can save a bit of money. As you select your containers, remember the amounts you made note of. Invest in or select containers that will accommodate the amounts you are working with.
4. Store Like Items Together.
Storing like items together will save you a great deal of time. The careful planning you do now will pay off later. It may not be enough to just store your stuff away. Be purposeful. Make your set-up functional. Think about how you use your supplies. For example, place all paper items together. Paints should be stored near paintbrushes and canvases, etc.
Consider functionality of location also. If you only paint with your kids in kitchen to make clean up easy, then store all the messy items somewhere nearby. There really is no right or wrong. What matters is the way you use things.
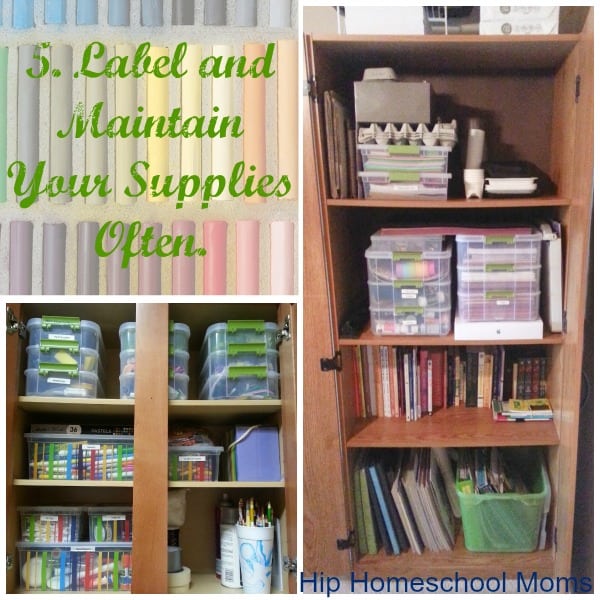
5. Label & Maintain Your Supplies Often.
It’s a good idea to mark your art supplies. You don’t have to go out and invest in a labeler, but I love mine! Or you can simply write what’s in each box with marker and masking tape. This way you don’t have to dig into boxes and tear everything out. You’ll know what is where.
In addition, art supplies can get old and used up. Like anything, they need maintenance. You may think your set up should last forever. But your homeschool dynamics will change from year to year. So, at least once a year, you should reevaluate your plan, retake inventory, and pitch old and damaged materials. Whether you do so at the beginning of the year, midpoint, or end of year, keeping supplies in good order will make adding art to your homeschool program smoother and easier to manage.
Do you need other resources to help you teach art in your homeschool, art project ideas or even suggestions for homeschool art curriculum? Check out these other articles on how to homeschool art.
Stephanie was a military spouse for 20 years and is a veteran homeschooler. She developed numerous homeschool curriculum freebies and notebooking pages as well as art unit studies for local homeschool co-ops. She is currently a master gardener and is pursuing a degree in horticulture. She is also starting a non-profit organization in memory of her daughter which empowers artists with mental illnesses and supports their families.
You know a company is doing something right when families across the country gather in parking lots, church lots, or neighborhood driveways just to meet up with a delivery truck! That’s Azure Standard. They use community drop points—run by everyday volunteers—to bring wholesome food to our areas. It’s simple, affordable, and a great way to…
As a homeschooler one of the greatest challenges you’ll face doesn’t have anything to do with what curriculum you’ll choose or what homeschooling style you’ll follow. In fact, it’s a problem you’ll have for many years: how to catalog all of those books you buy for homeschooling. One way of keeping track of all those…
I love to use my crockpot! It’s so nice to come home (after a day of co-op classes, running errands, or taking a field trip) to the wonderful smell of Crockpot Brisket and Onions. It takes a few minutes to prepare before turning on the crock pot, but I think you’ll find that it’s worth…
Constance, who usually posts one of her delicious dinner recipes on Thursdays, is swamped this week, so I’m filling in for her today. 🙂 I chose to share a recipe from my sister because it really truly is a super yummy recipe! I think you will enjoy this gluten free dessert! It can be very…


Very well organized supplies. I like everything to be stored in an order. Great post!
We’re so glad you enjoyed this post!