
String Art Christmas Tree
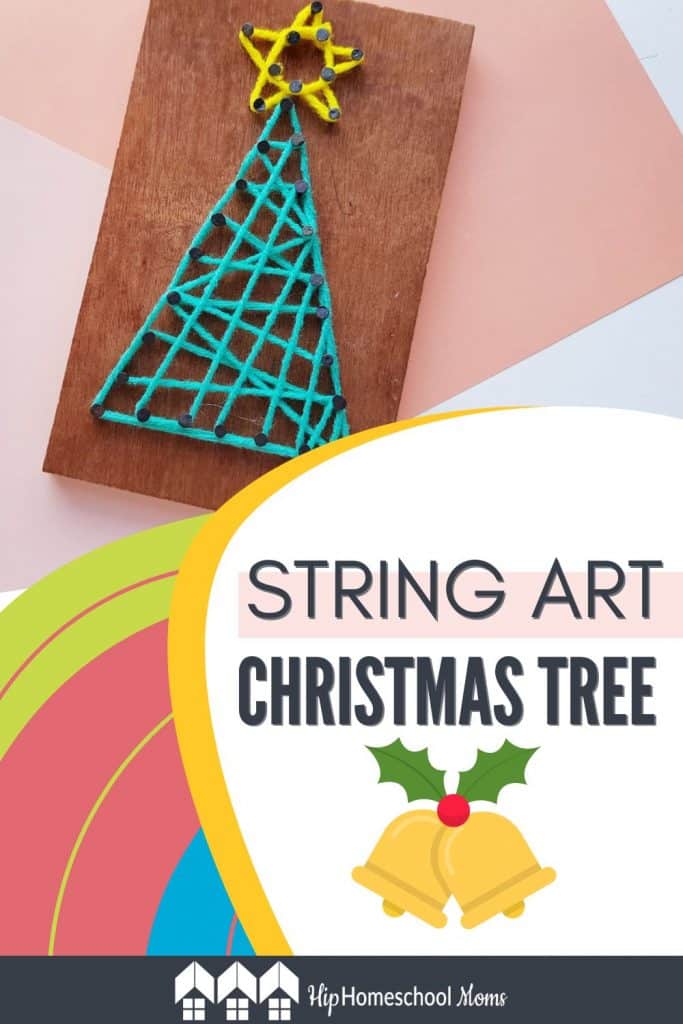
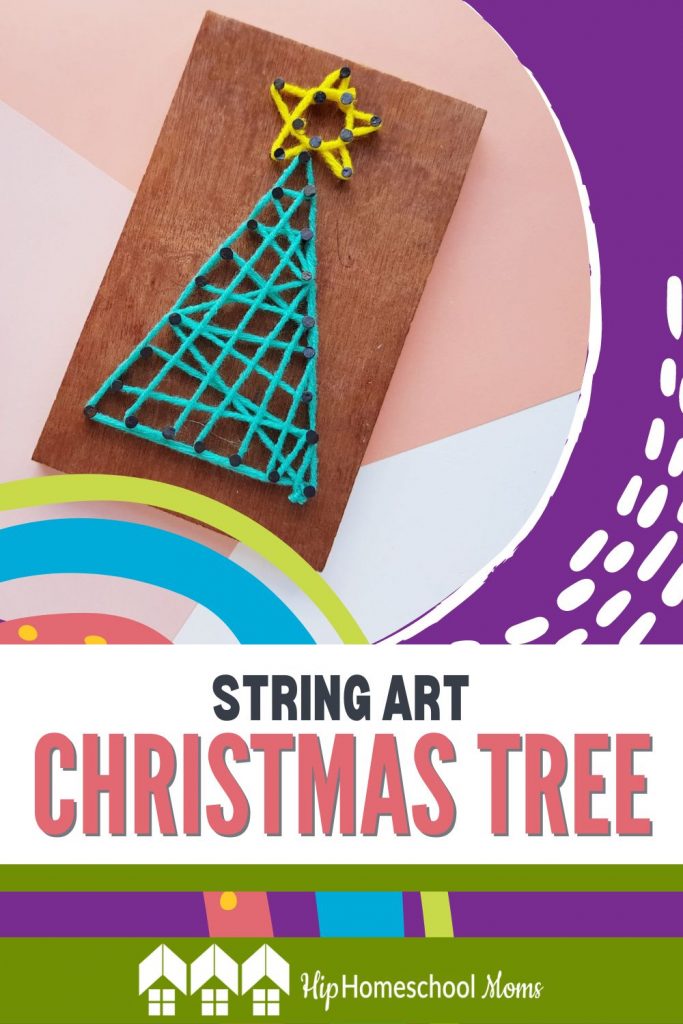

Today, we’re bringing you a decorative Christmas craft that all hands-on kids are sure to love: a String Art Christmas Tree. This craft involves hammering some nails into a plank of wood, which may require a bit of adult help and/or supervision. However, we’re willing to bet that this aspect of this craft will be sure to excite your older kids (getting to handle grown-up tools is always appealing!) If you have younger kids, they will really enjoy the string art portion of this craft (which involves no hammers or nails). This craft results in a fun and sturdy Christmas decoration for your home! When Christmas is over, store it carefully and pull it out to display for future Christmases!
What You’ll Need:
- Planks of craft wood (If you want a more rustic look, you could pick something like this)
- Pencil
- Nails
- Hammer
- String or yarn
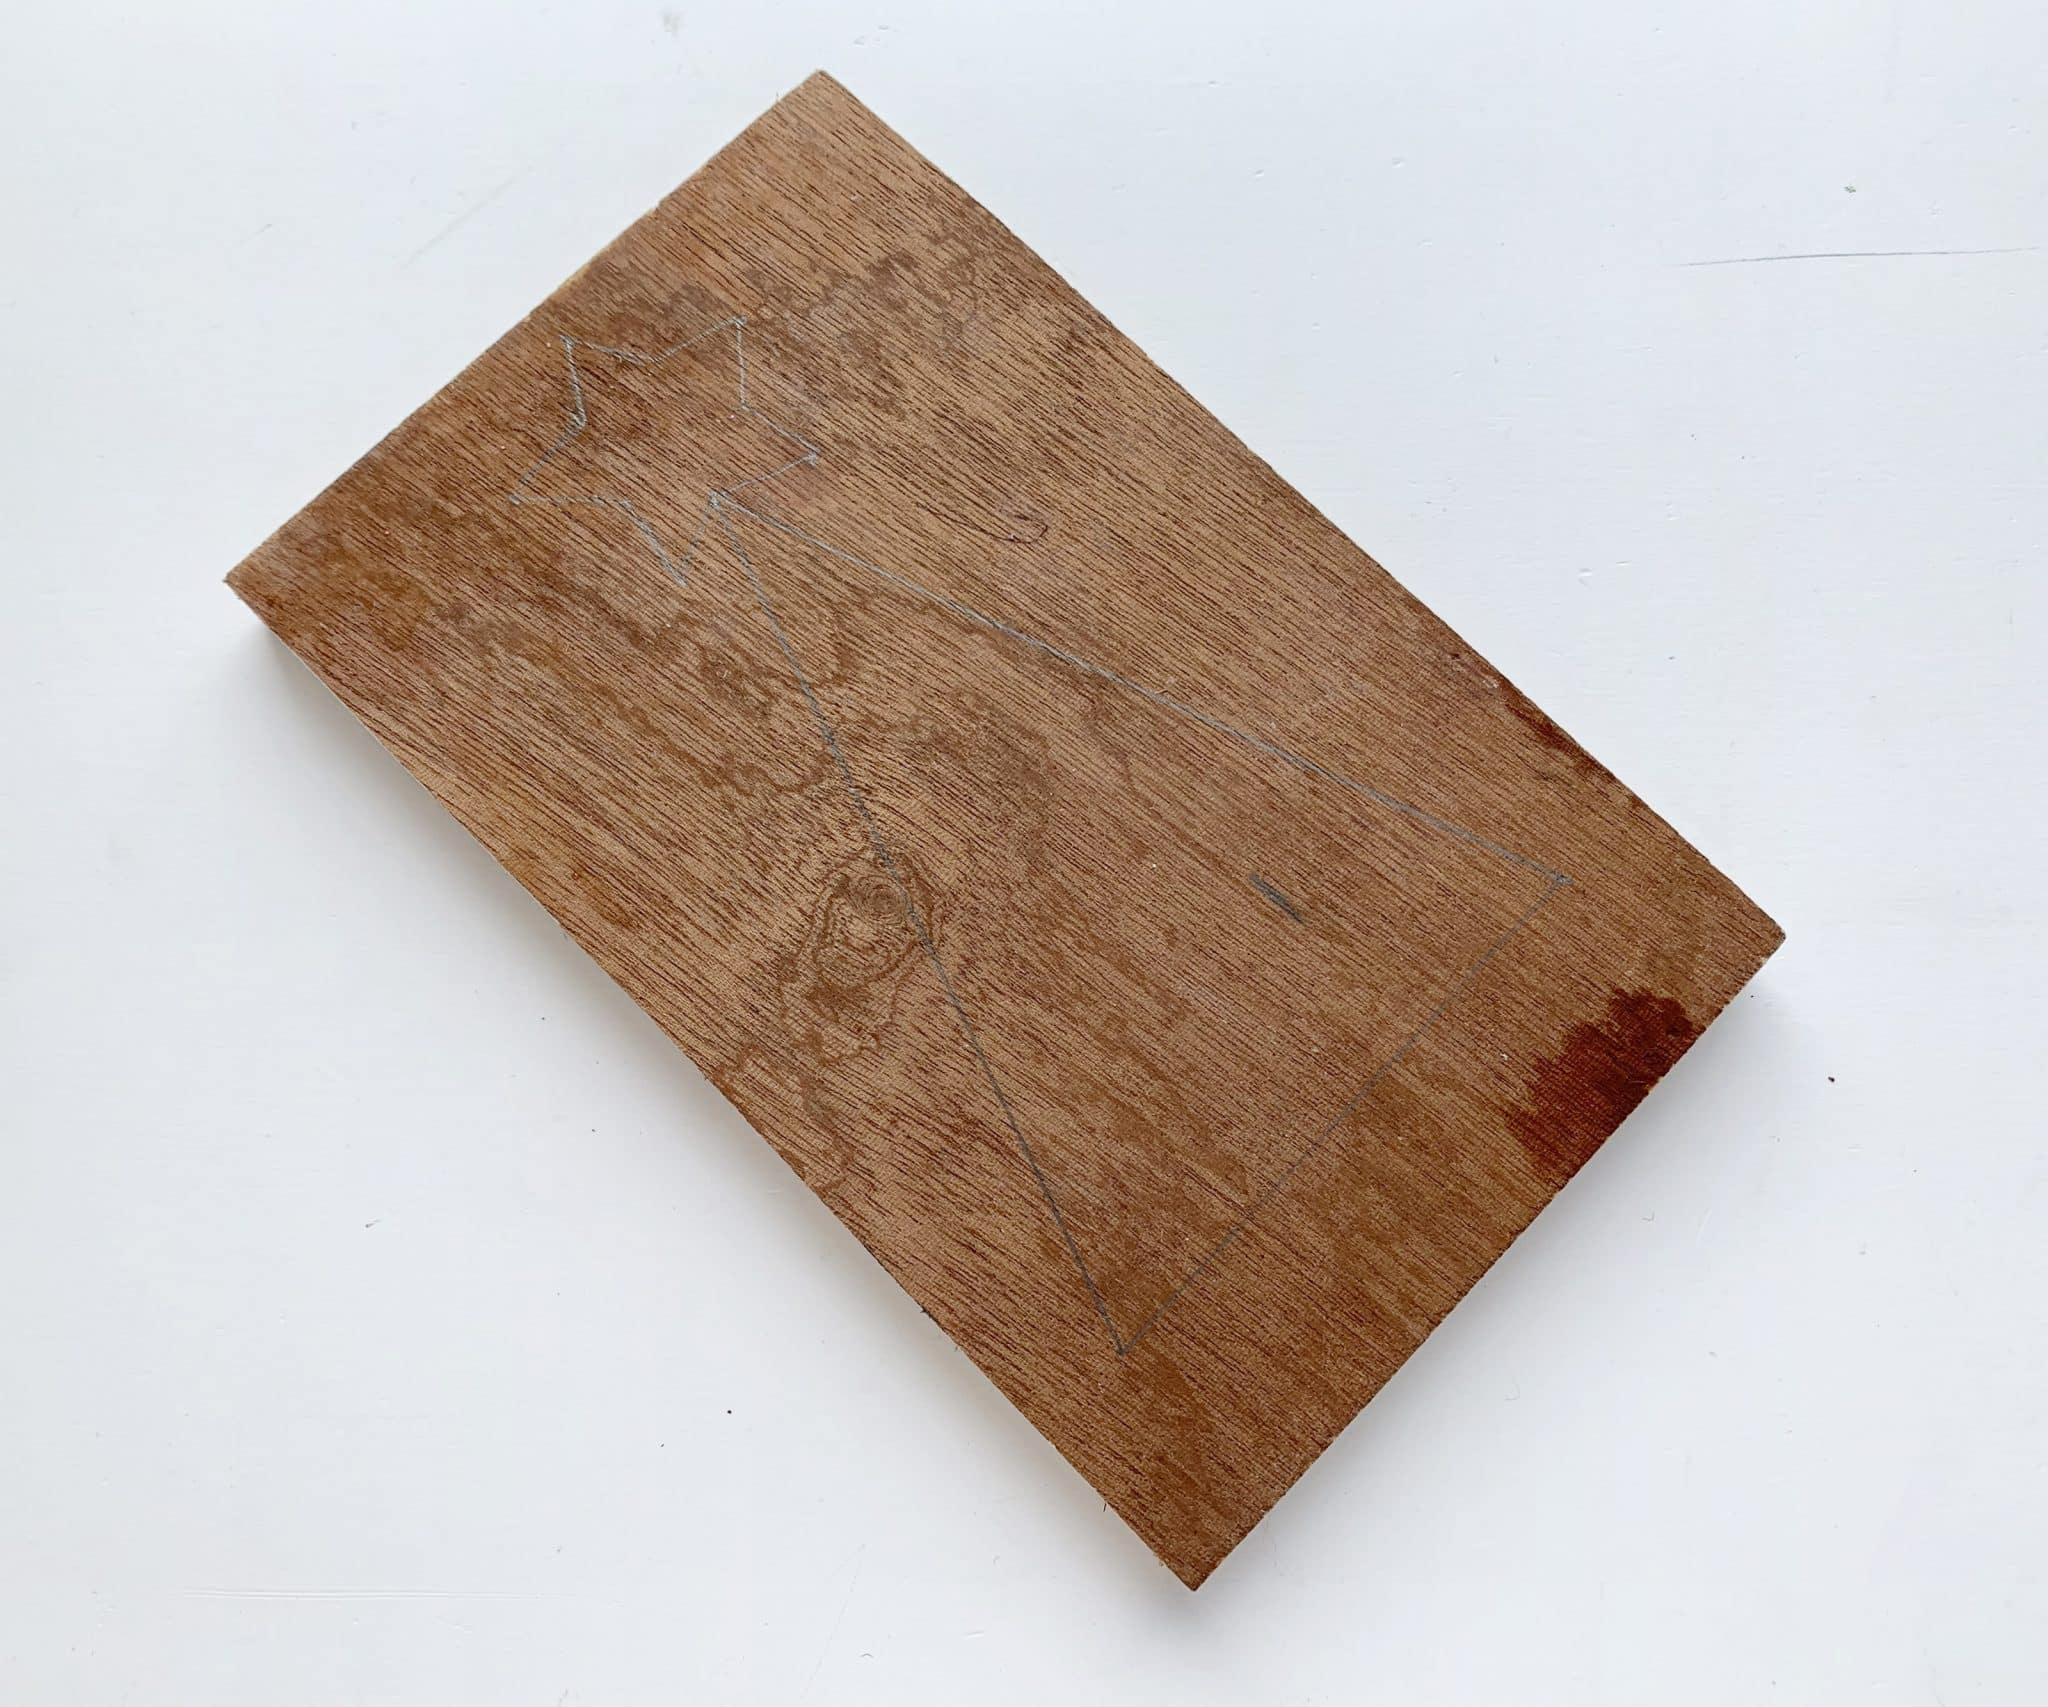
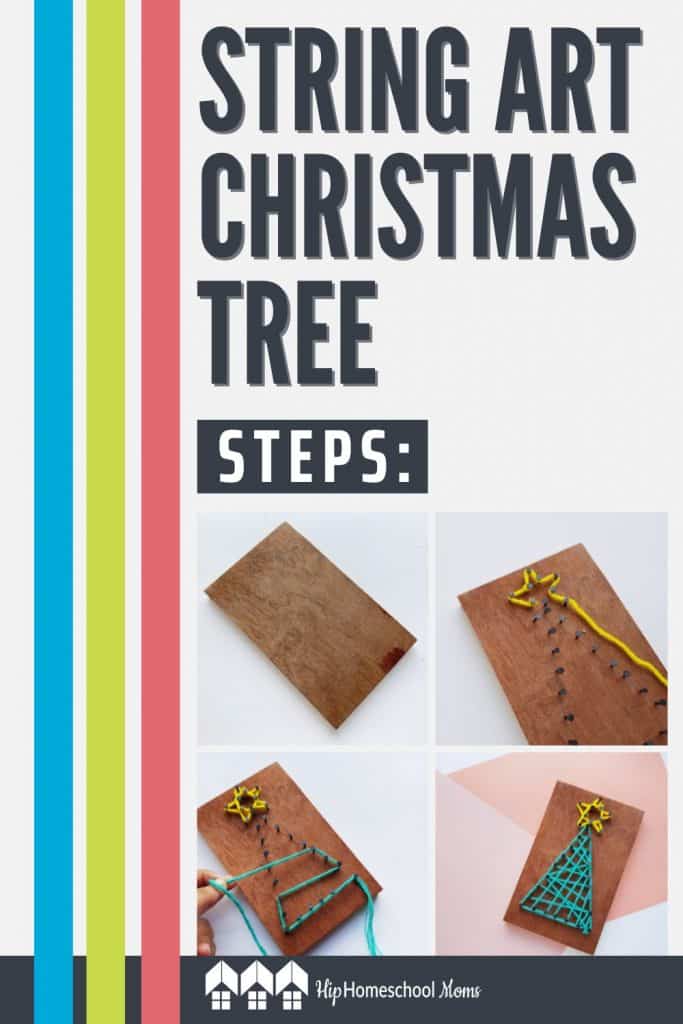
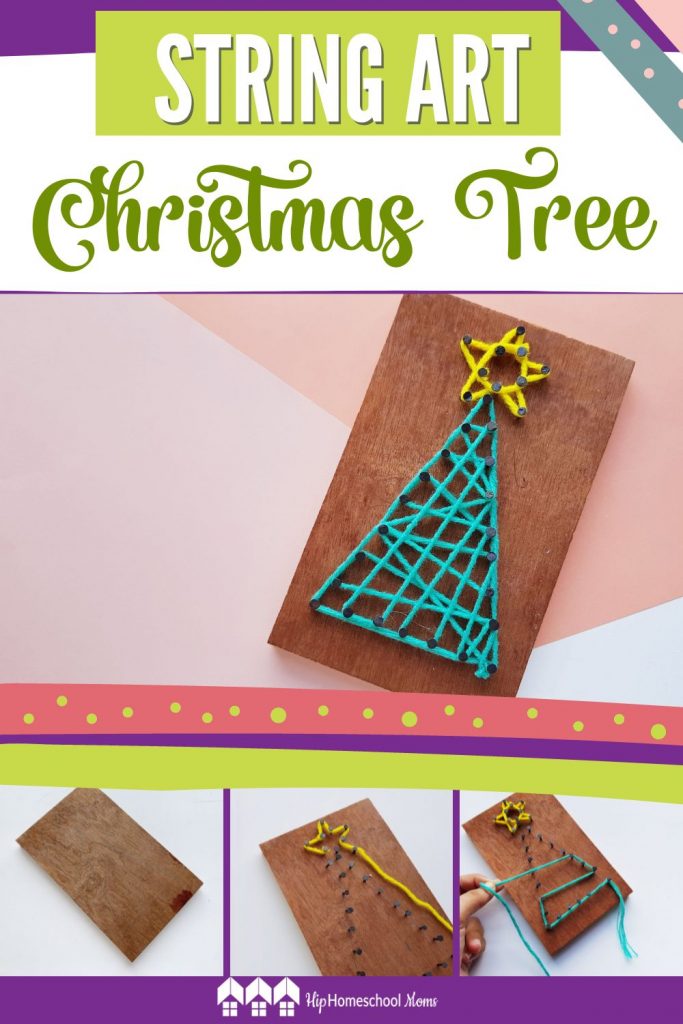
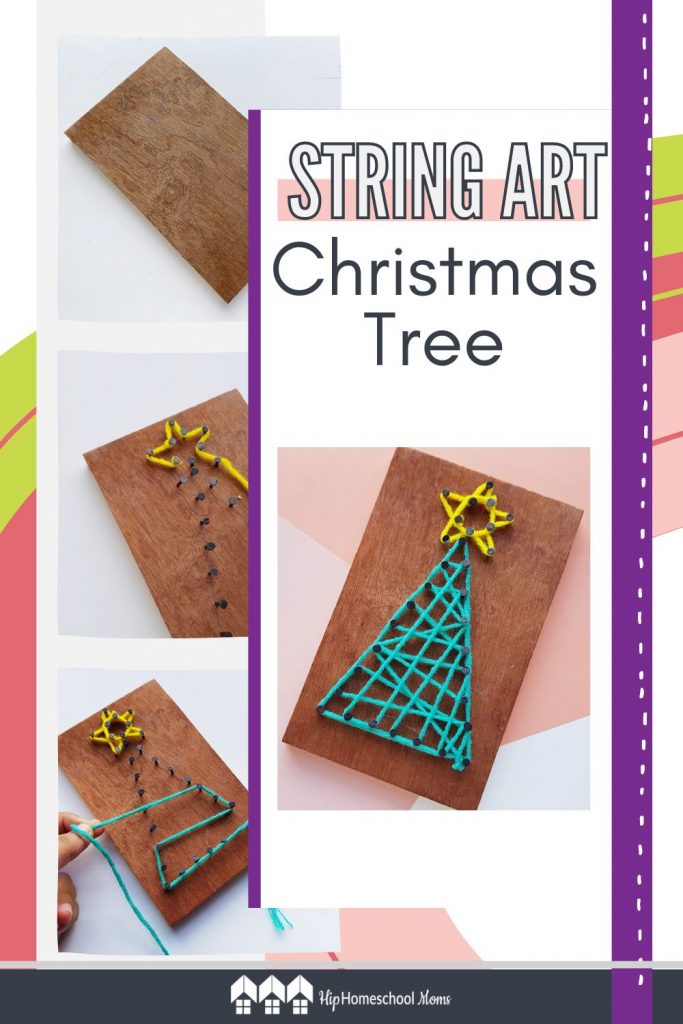
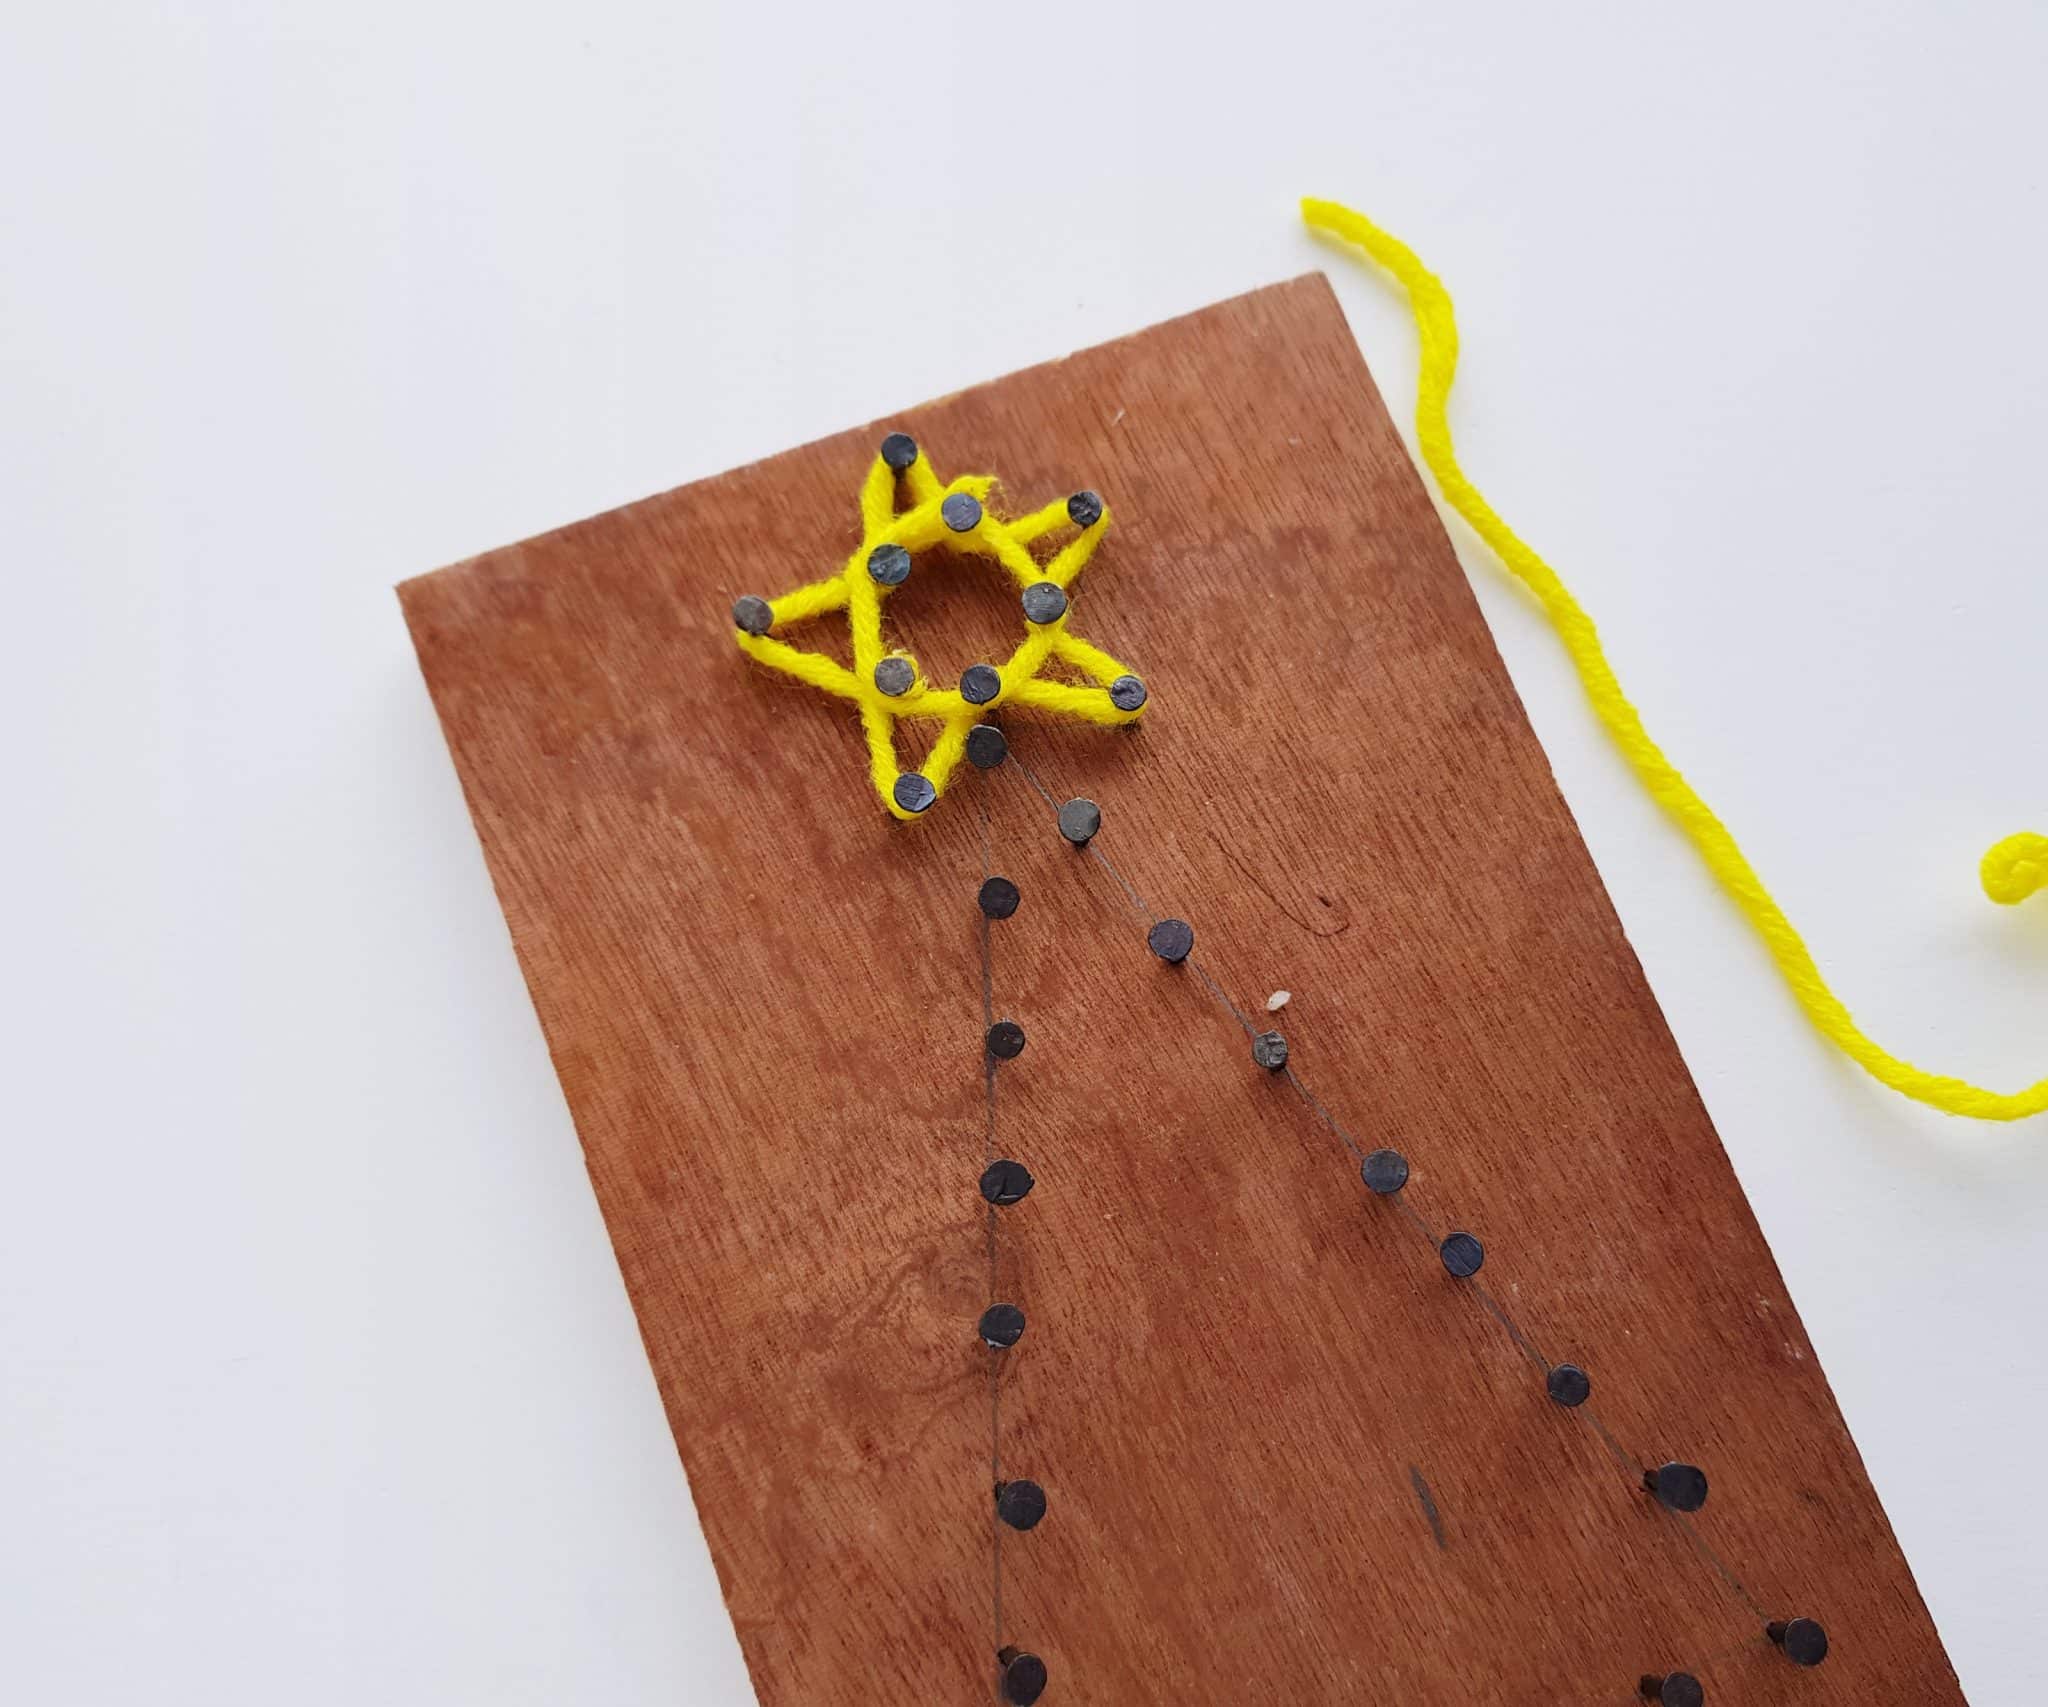
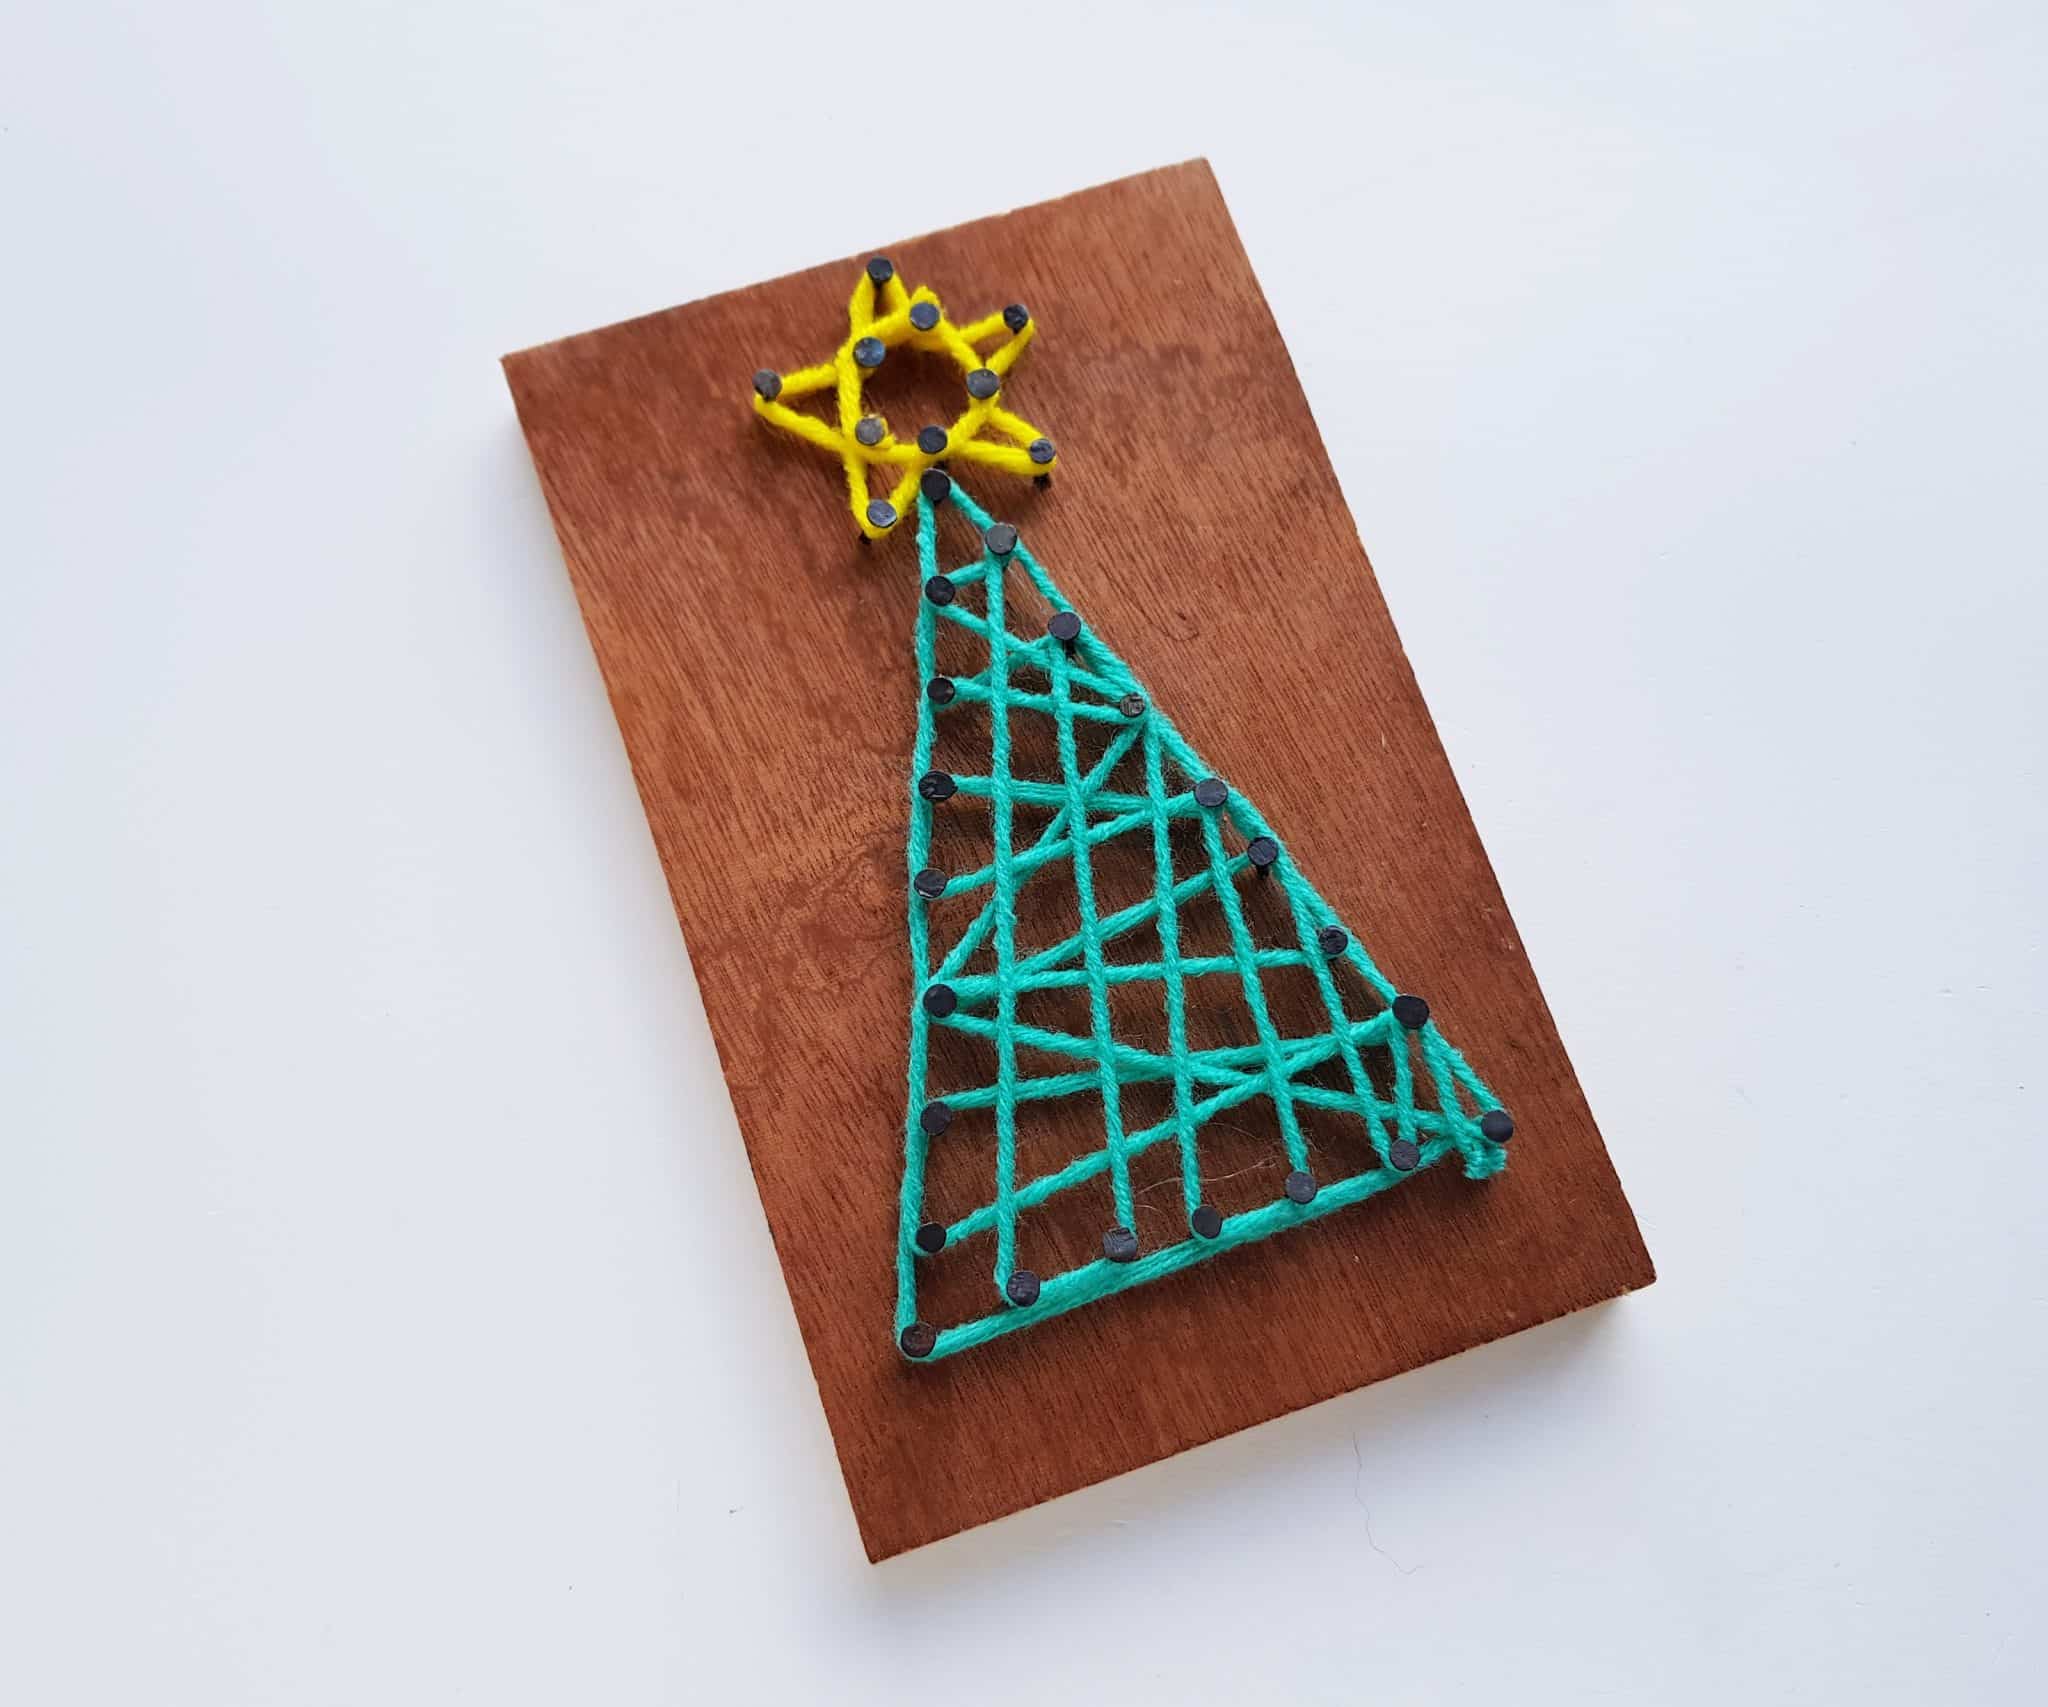
First you’ll need flat, wooden planks in your size/shape of choice. You can cut them yourself, look at your local craft shop, or have them delivered to your door! Use a pencil to lightly trace a very simple tree and topper design: we did triangle shape with a star sitting on the point of it.
Next, it’s time to place/hammer the nails. Follow the outline you drew and evenly space/hammer several nails along that pattern. If your kids are older and you feel comfortable with it, you could use this opportunity to let them (or teach them how) to use the hammer. Kinesthetic kids will really enjoy helping with this part. If you have younger kids and don’t want them doing this part, that’s fine, too: there will be plenty for them to do in the next steps!
When the nails are all in place, take some yarn and tie a knot around any one of the nails of the star pattern. Do not cut the yarn or string from the bundle. Loop the yarn around each nail that makes up the outline of the star.
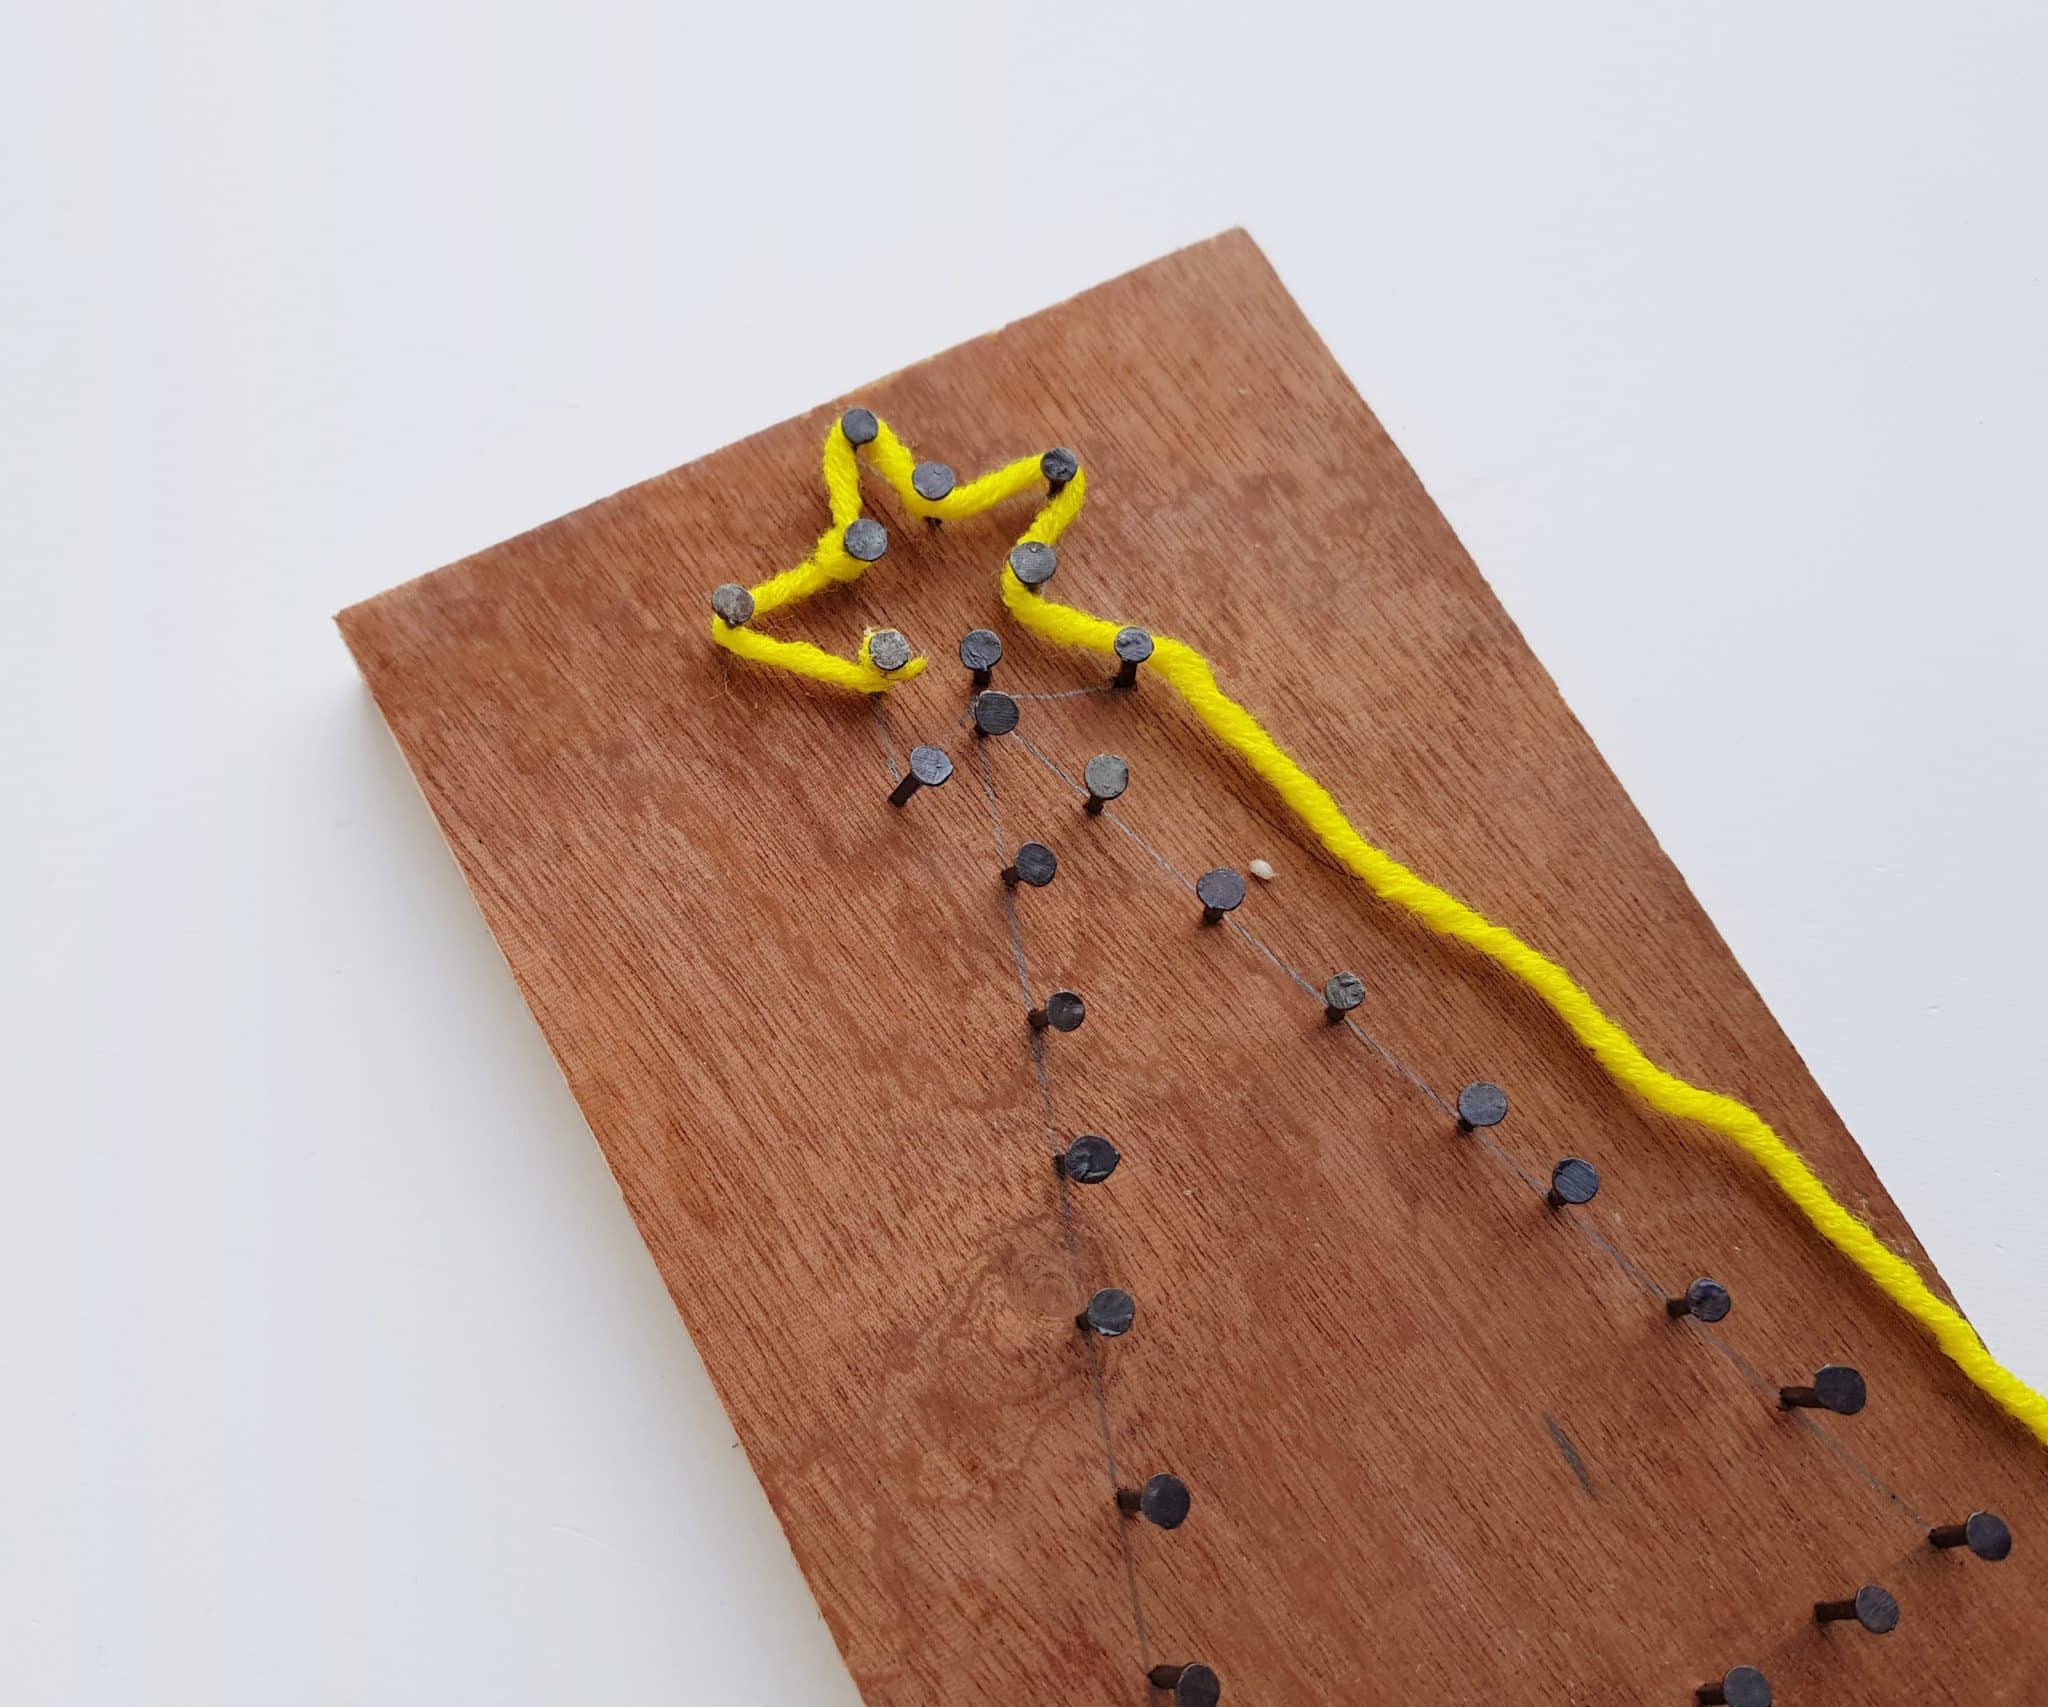
After tracing the outside lines of the star pattern, try to fill the inside of the star with color by going back and force between different nails of the star pattern. Once you are done with the star string art, tie a knot around the current nail and cut off extra yarn or string.
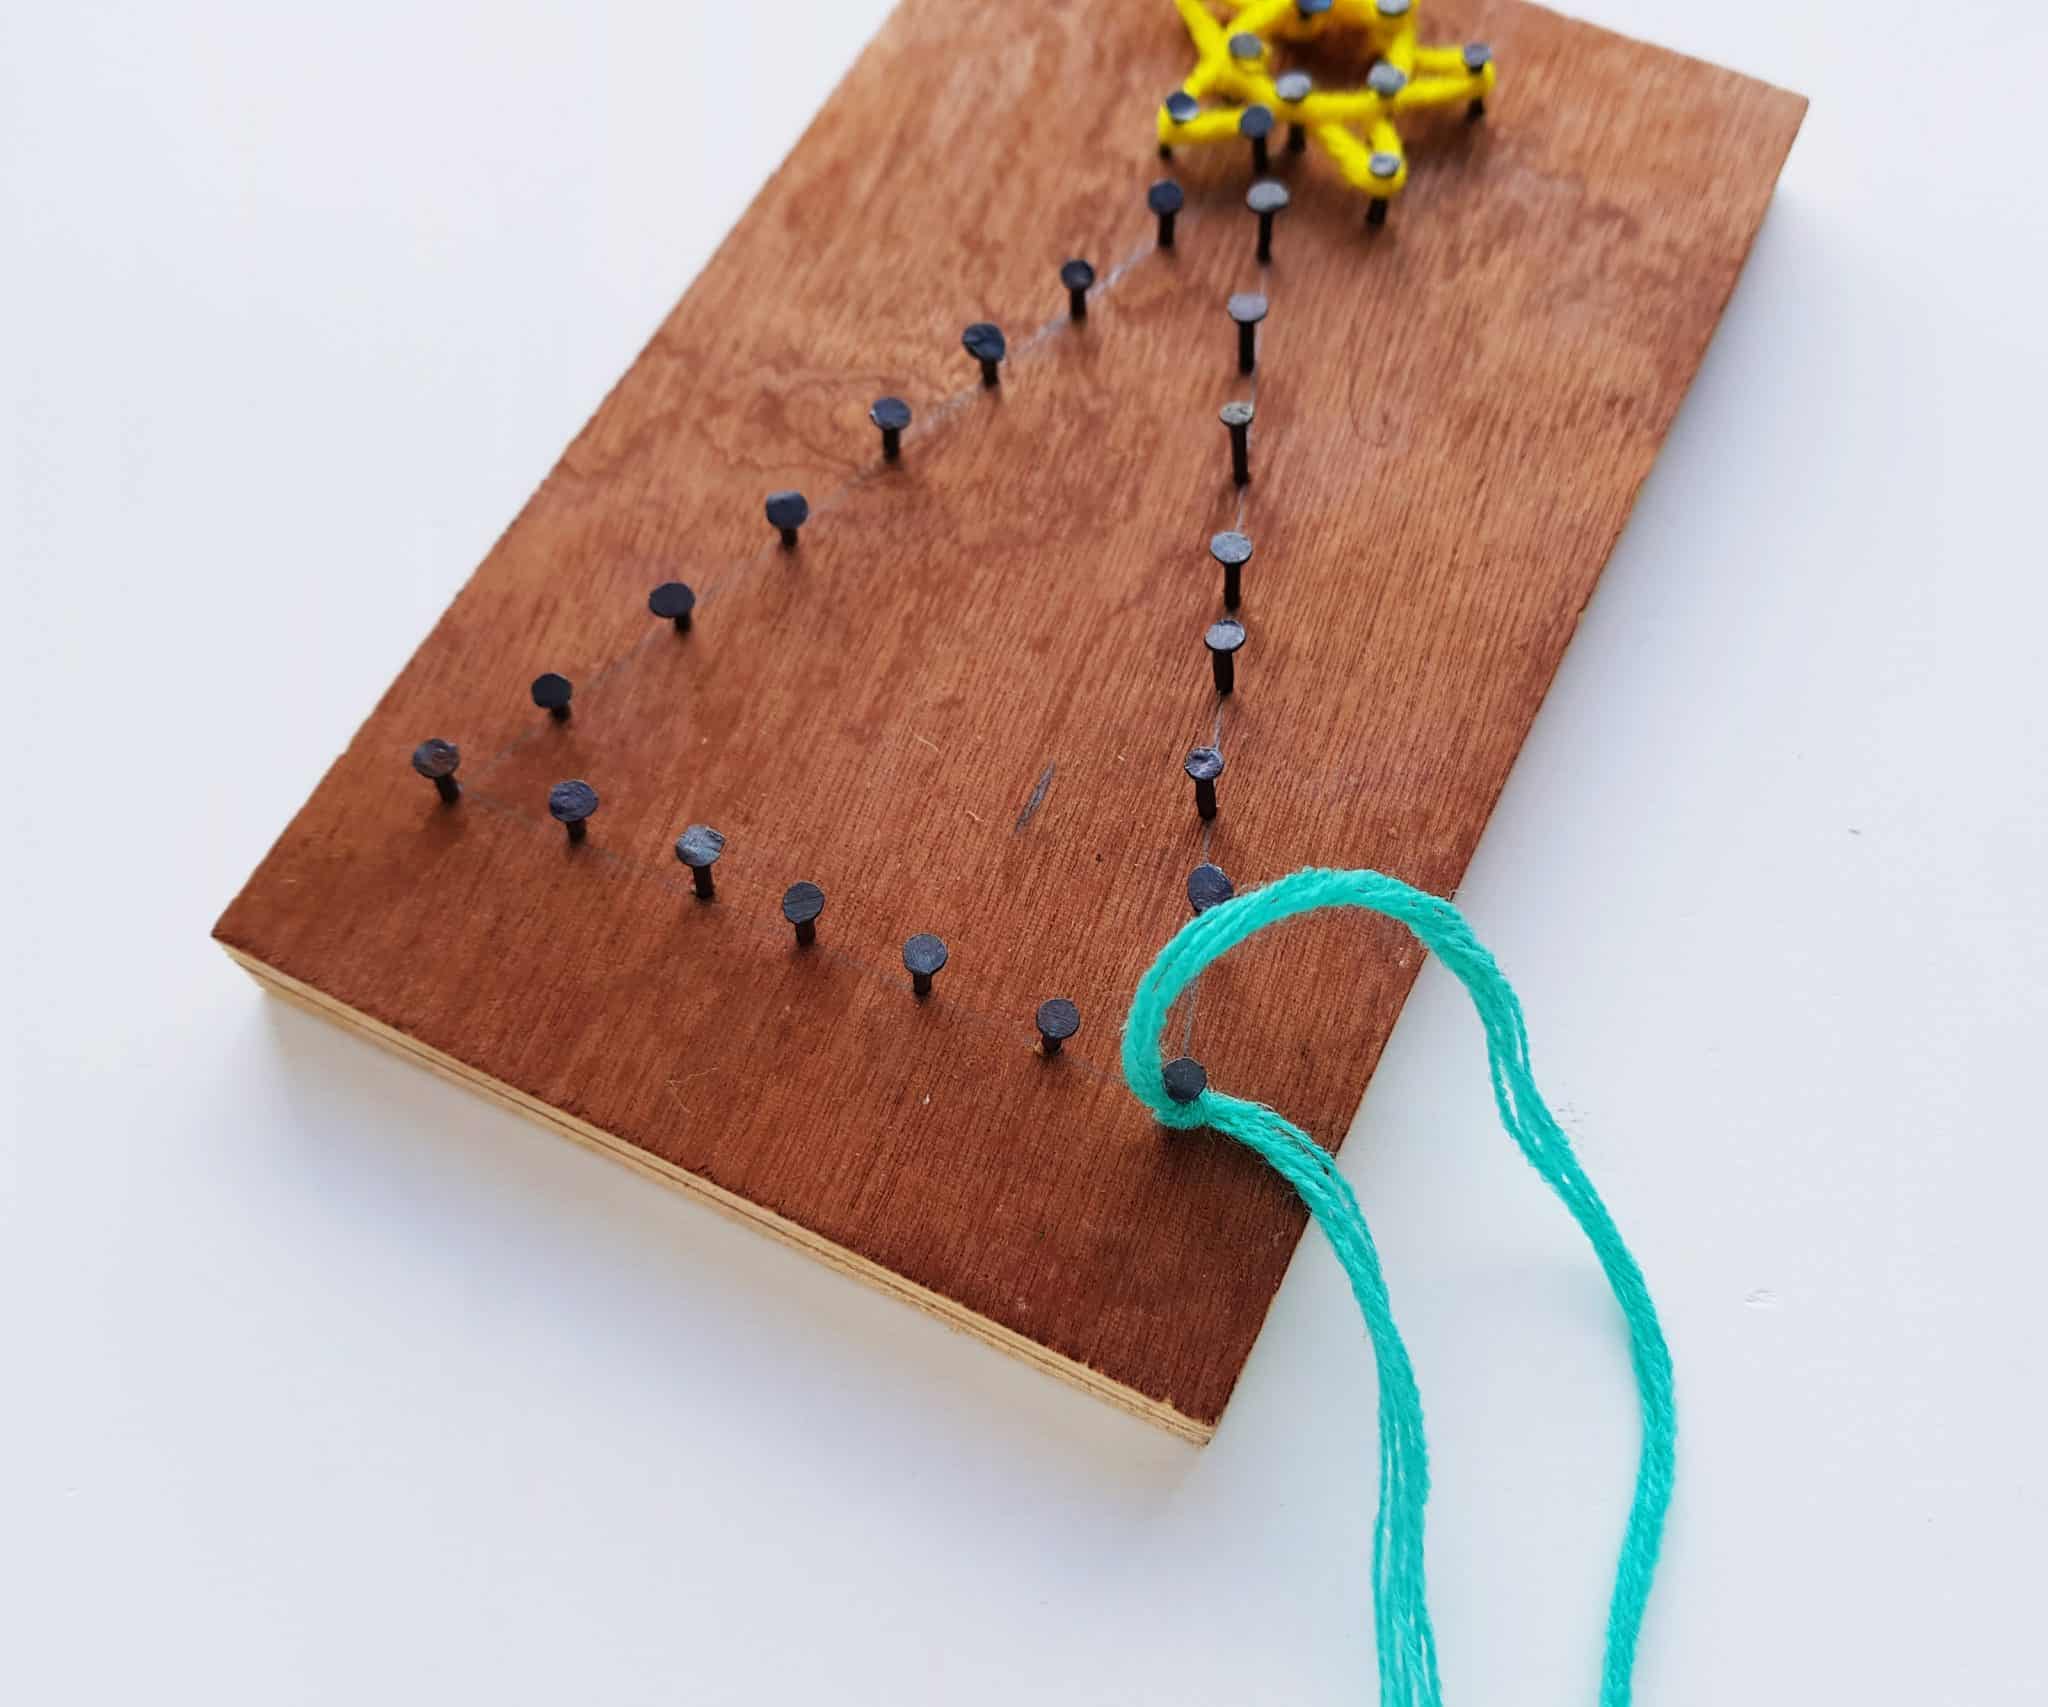
Next, you’ll repeat this process, on a larger scale, with the tree portion of the design. Take some green yarn and tie a secure knot around one of the nails in the tree design.

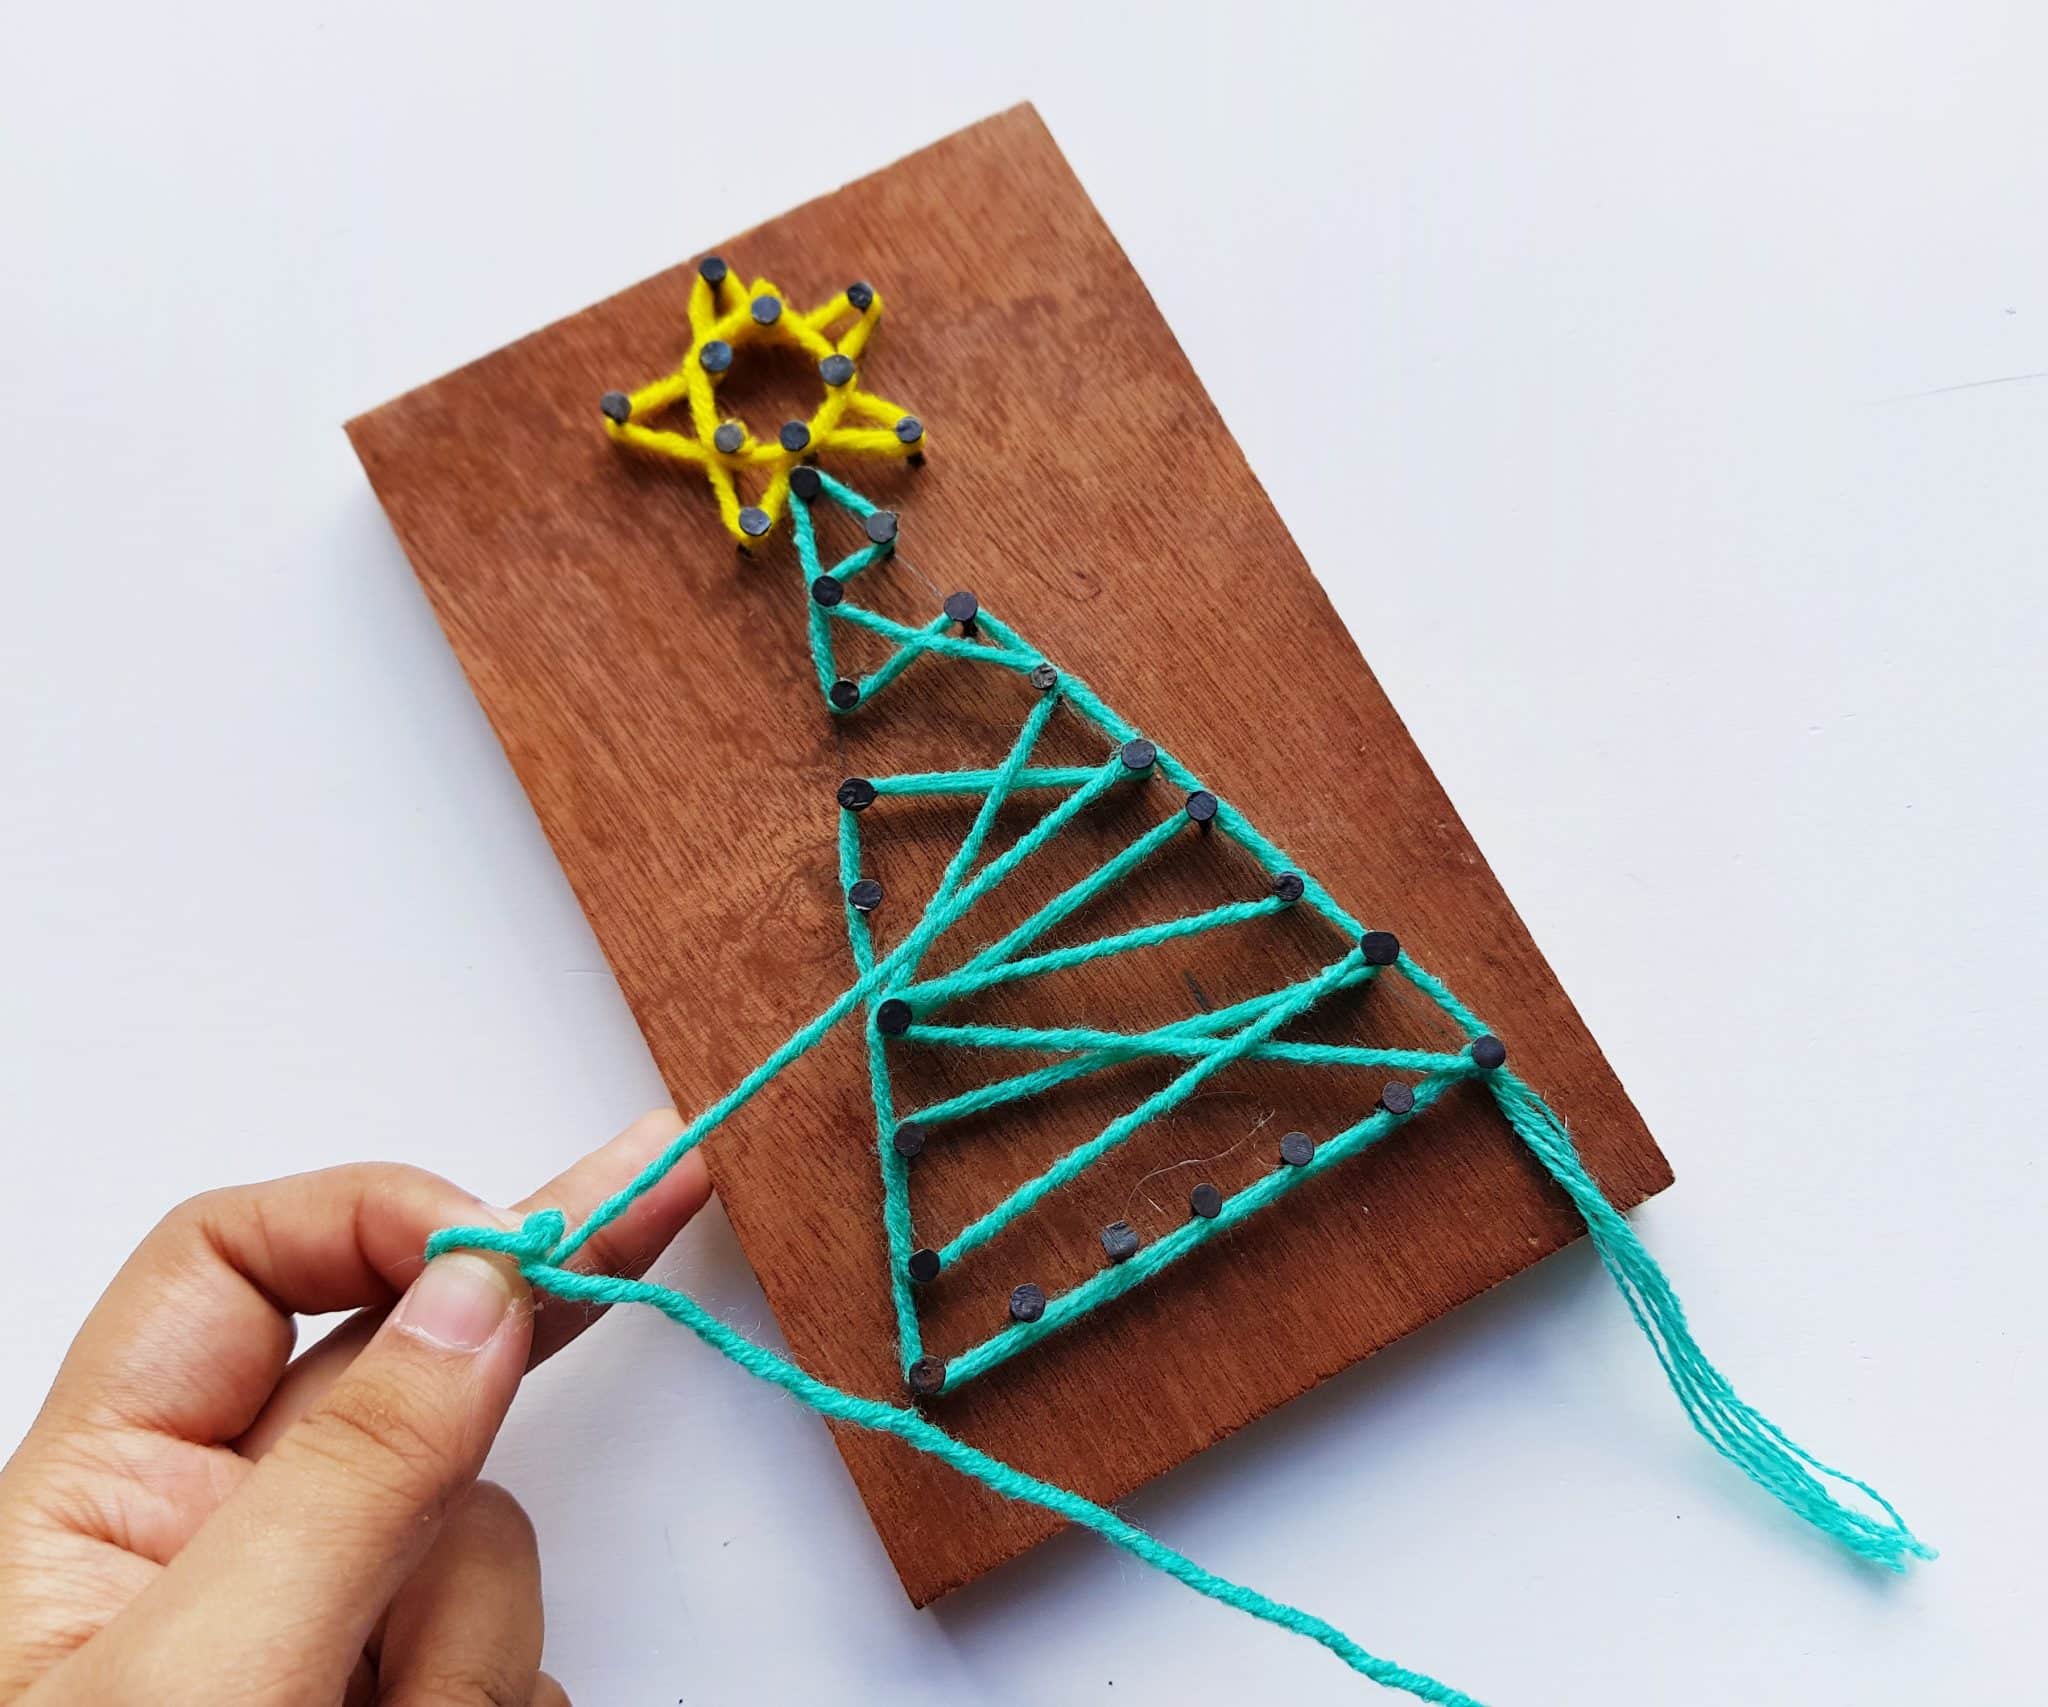
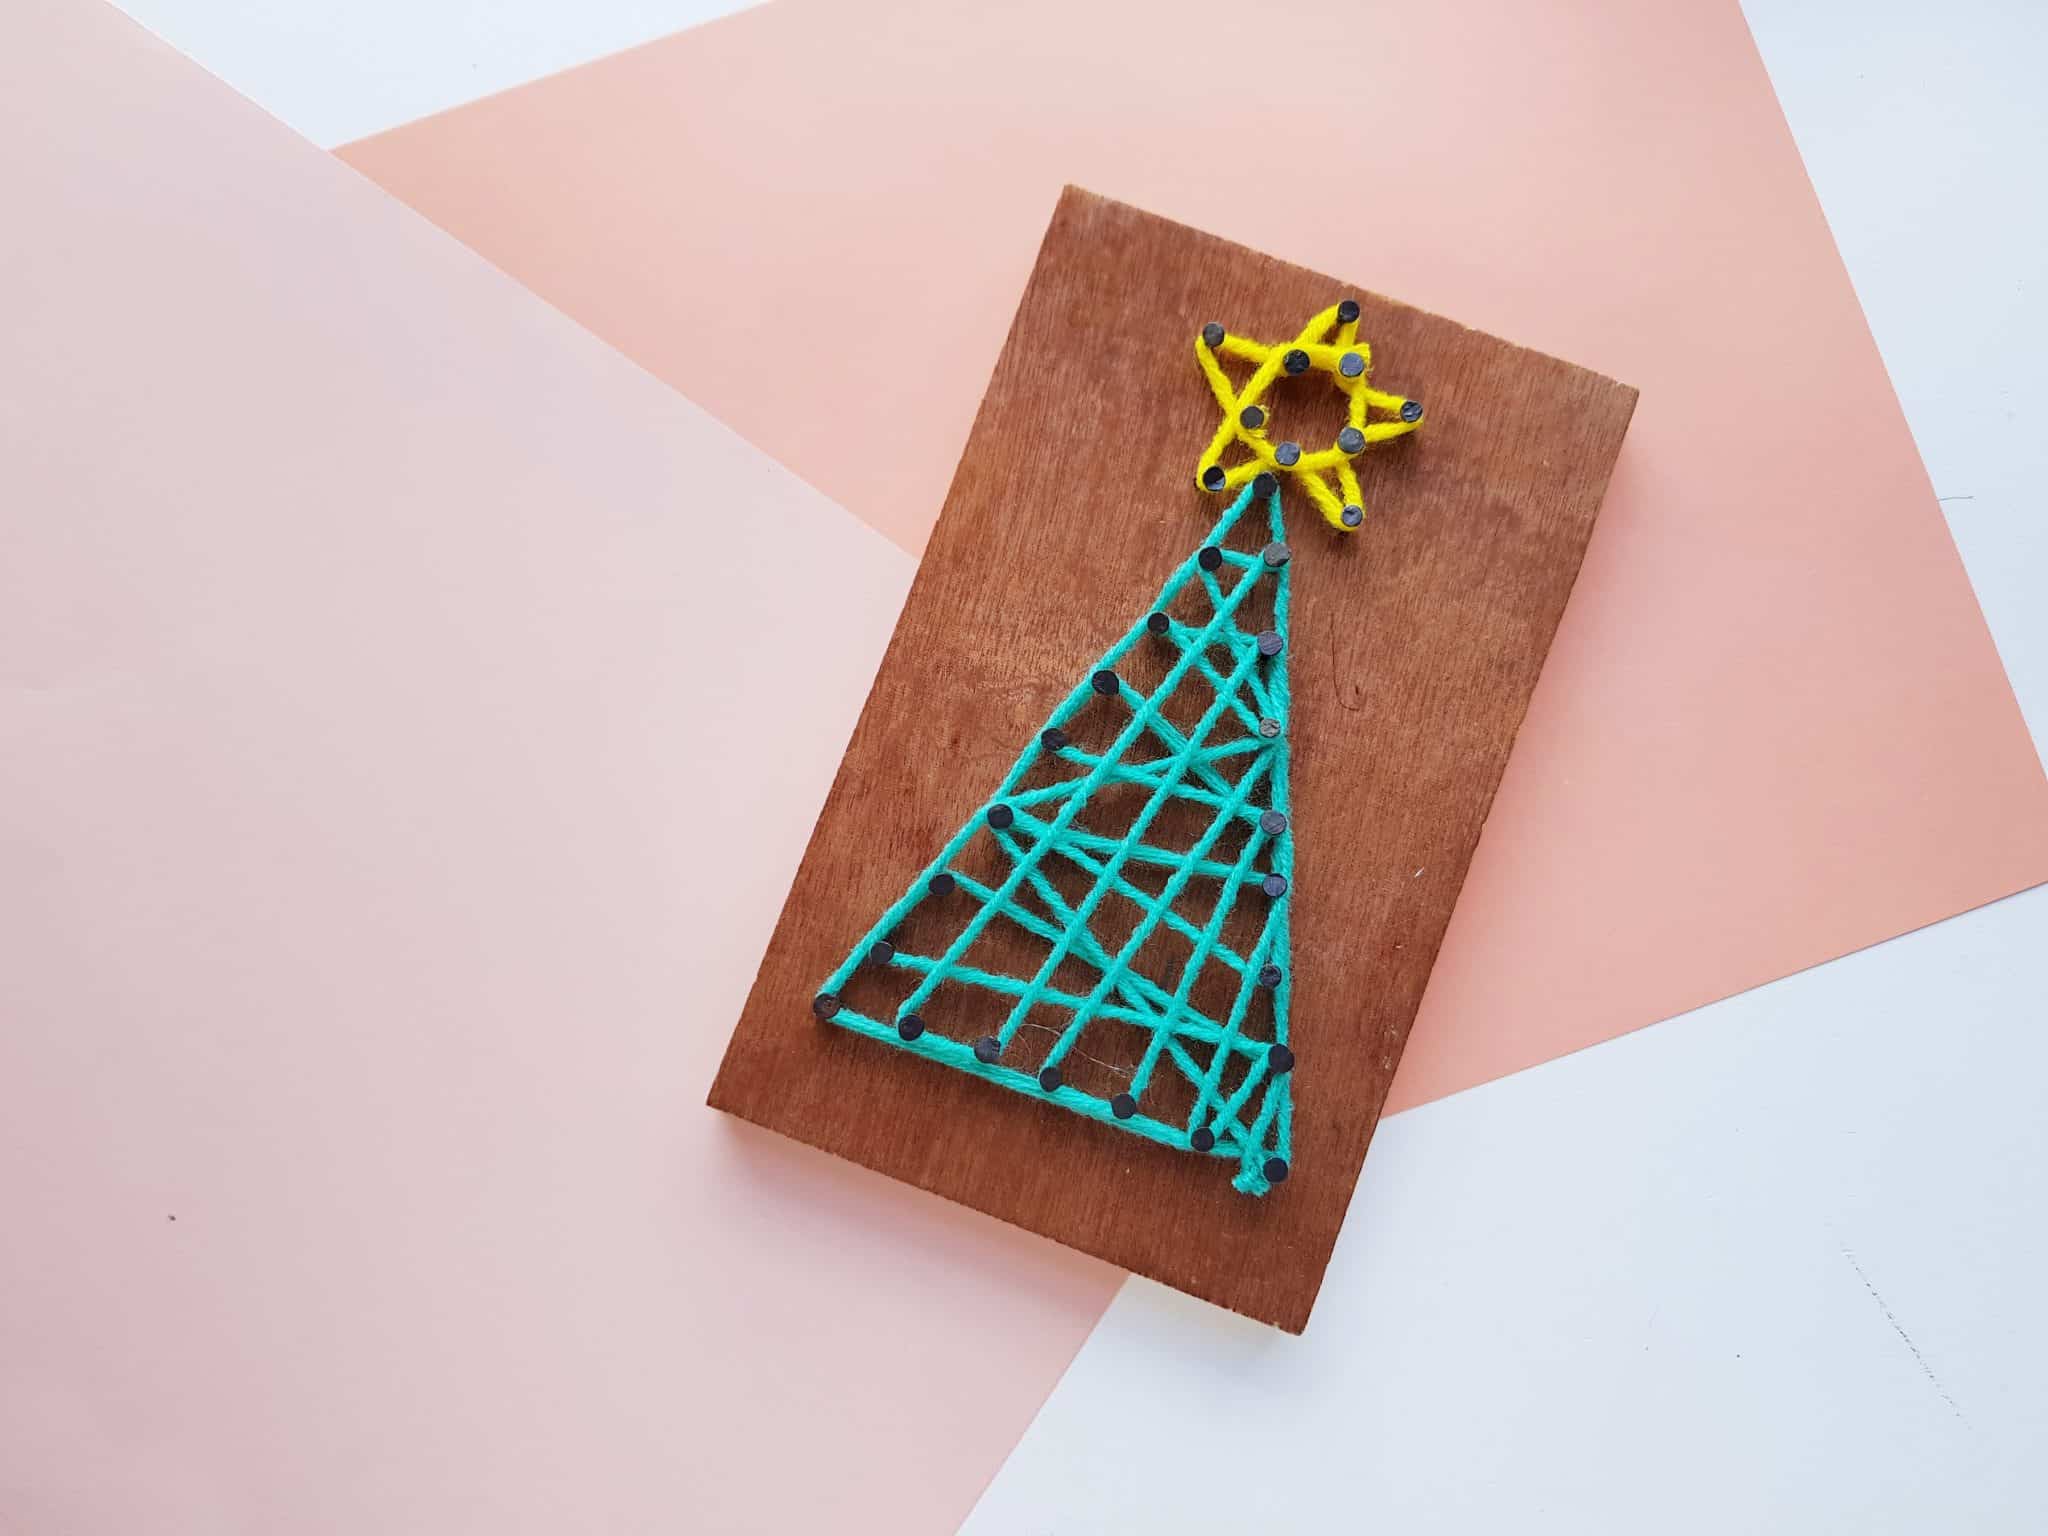
When you are happy with your tree design, pull the yarn tight around the “final nail,” and tie it securely.
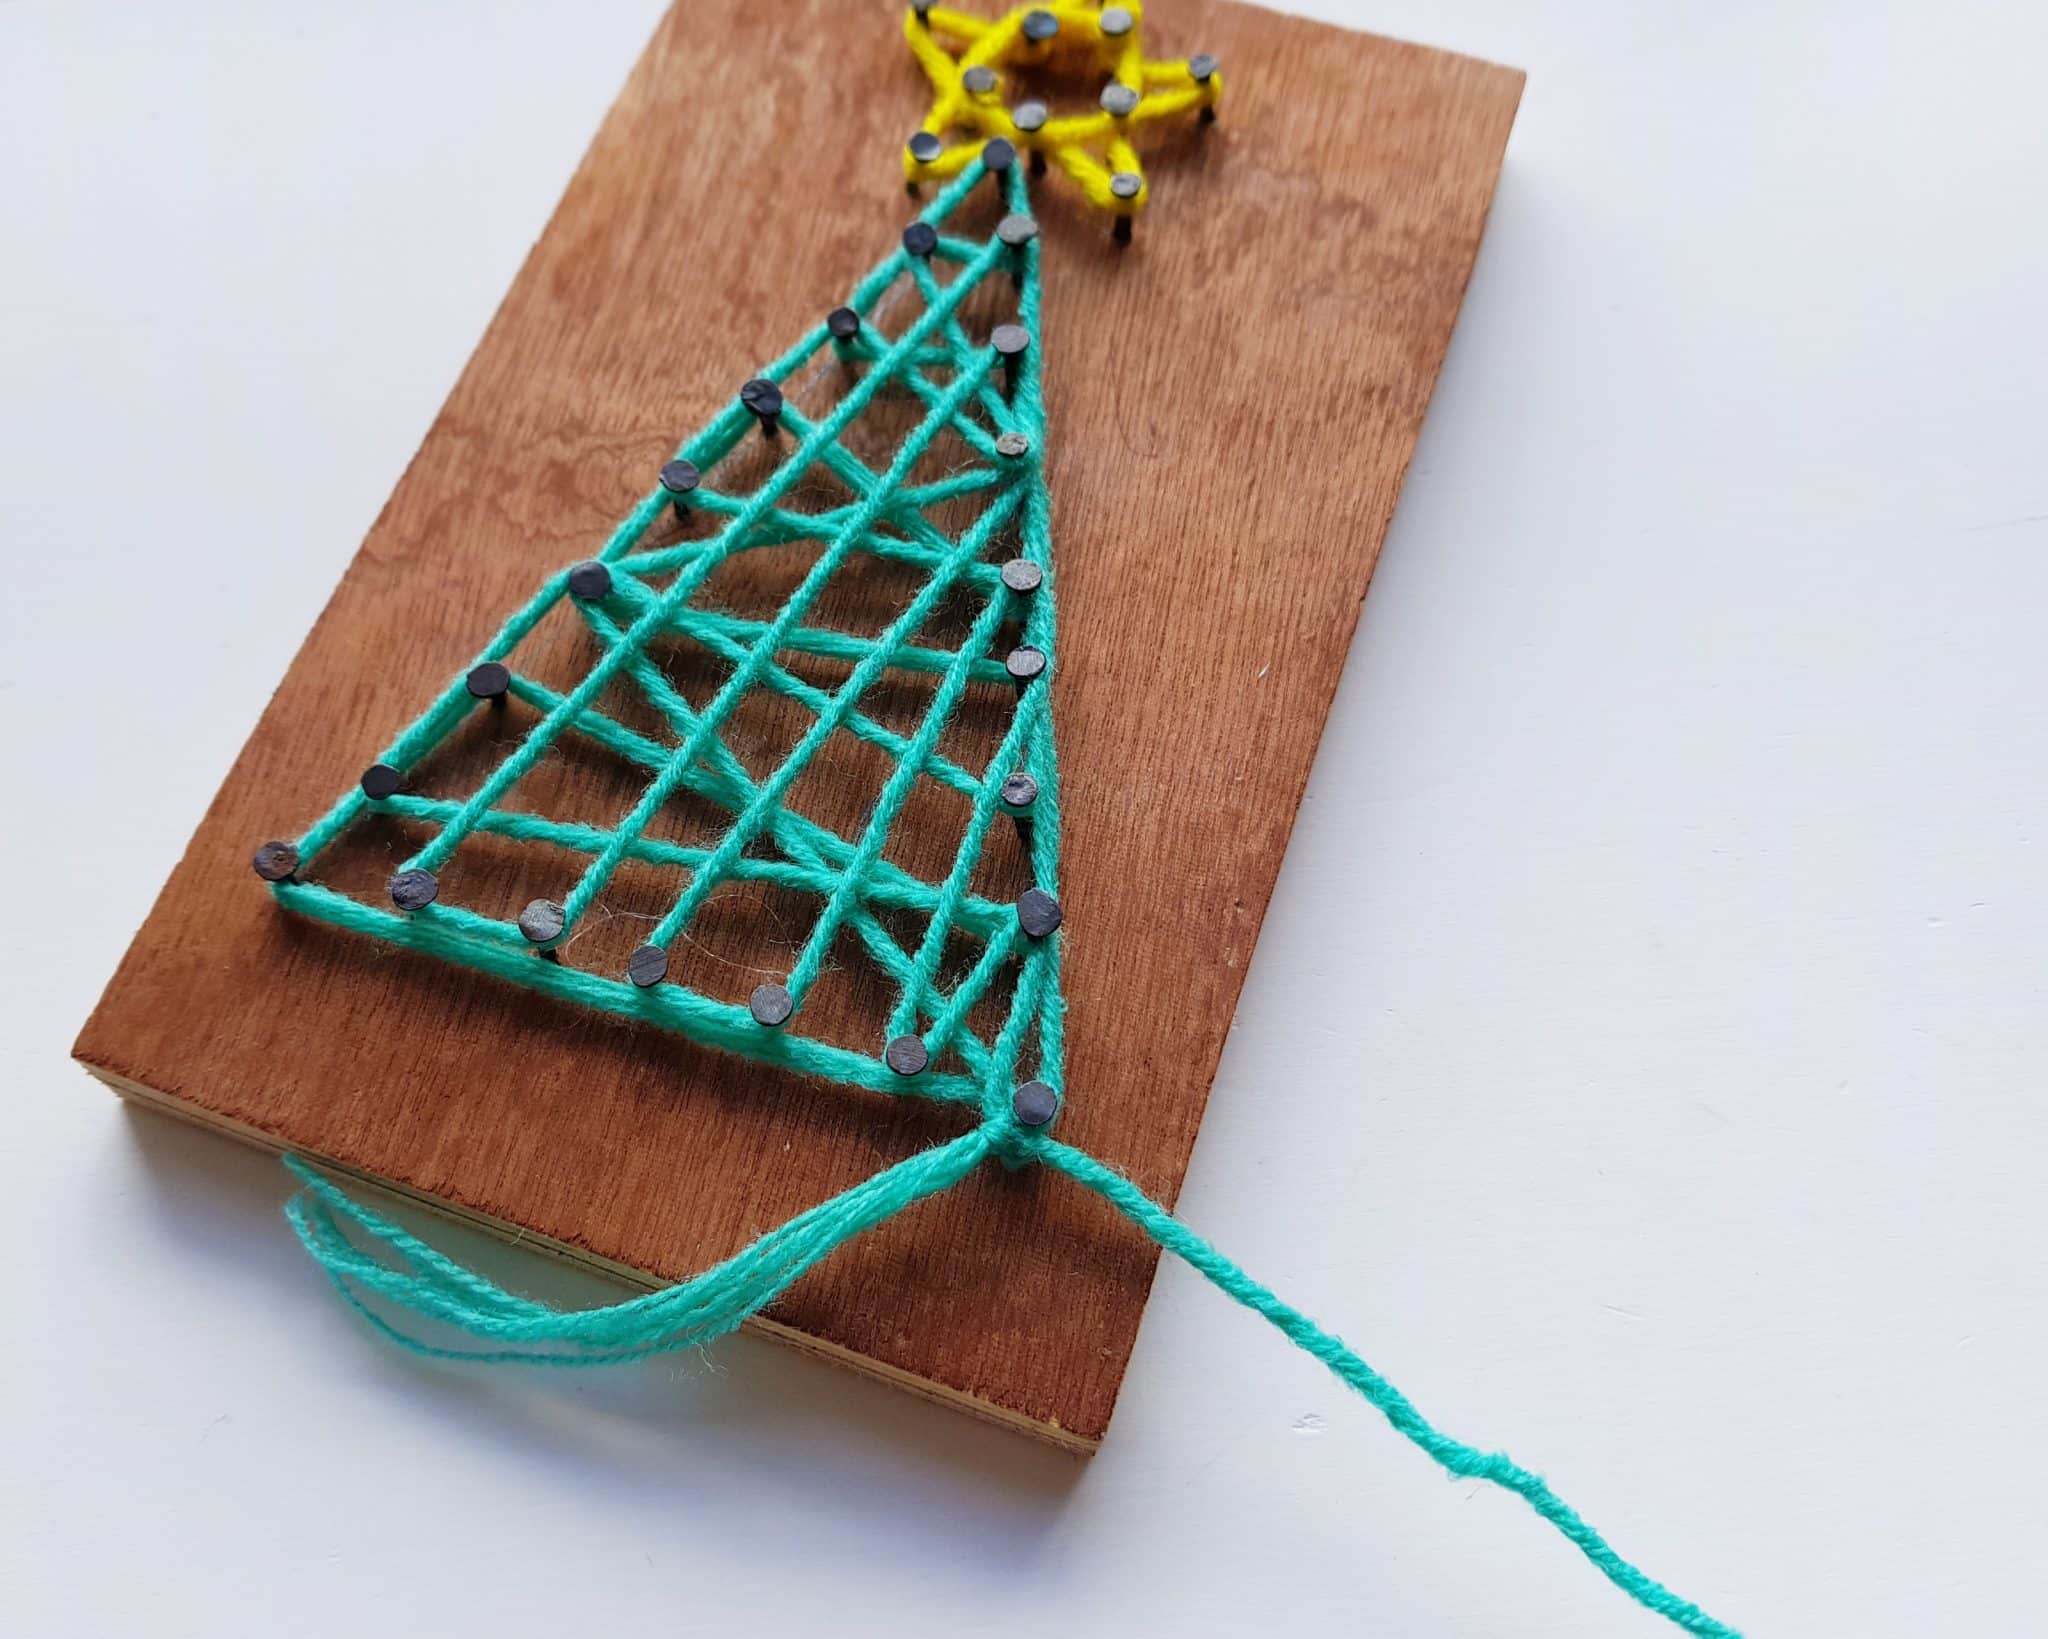
String art is so fun and hands-on! Have you ever tried string art crafts if your homeschool? If you try this one, be sure to drop a comment and let us know how it turned out!