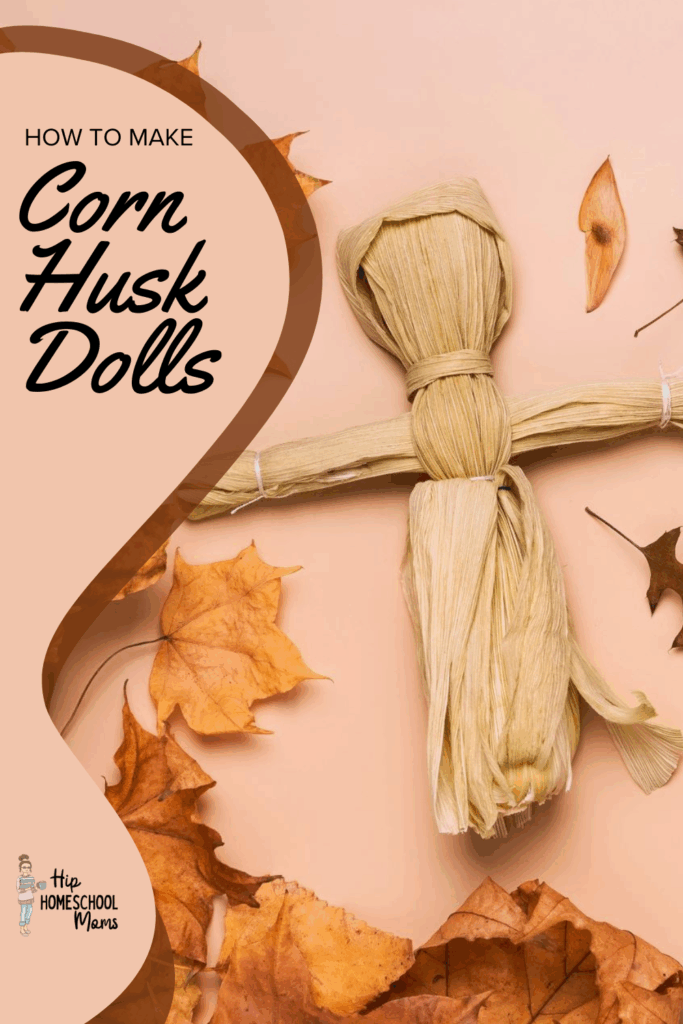
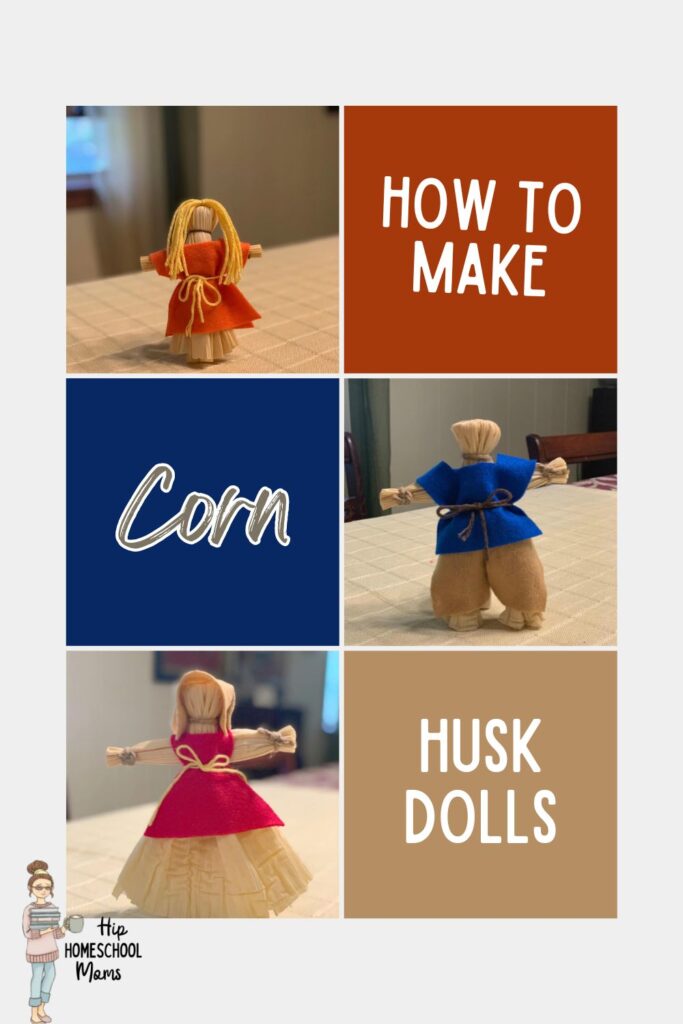
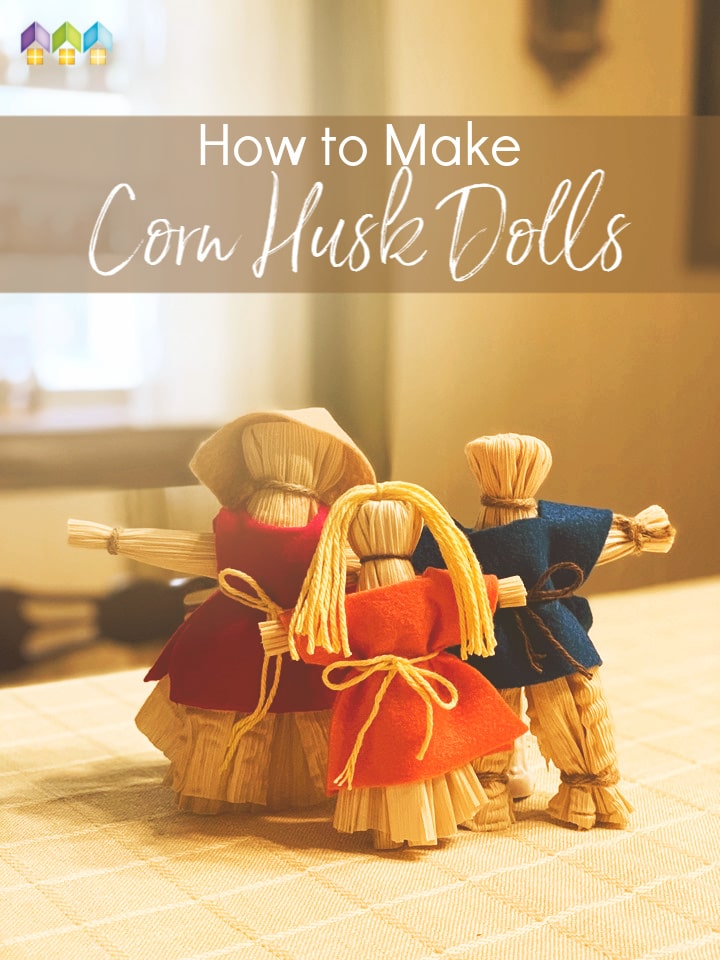
How to Make Corn Husk Dolls
When our children craft corn husk dolls, they’re not just building a toy—they’re tapping into a living tradition. In Native American villages and early colonial homes alike, corn husks became playthings and art with very little cost but lots of meaning.
This month let’s invite our children to learn by doing, to shape their own doll from simple materials, and to enjoy the process of creating something with their hands. As they work, they will build fine-motor skills, practice planning and patience, and have the space to explore creativity and heritage in one simple project.
Below you’ll find step-by-step instructions to help each child follow along. Whether you are doing a full history unit or simply looking for a meaningful fall craft, this activity fits beautifully into your homeschool rhythm.
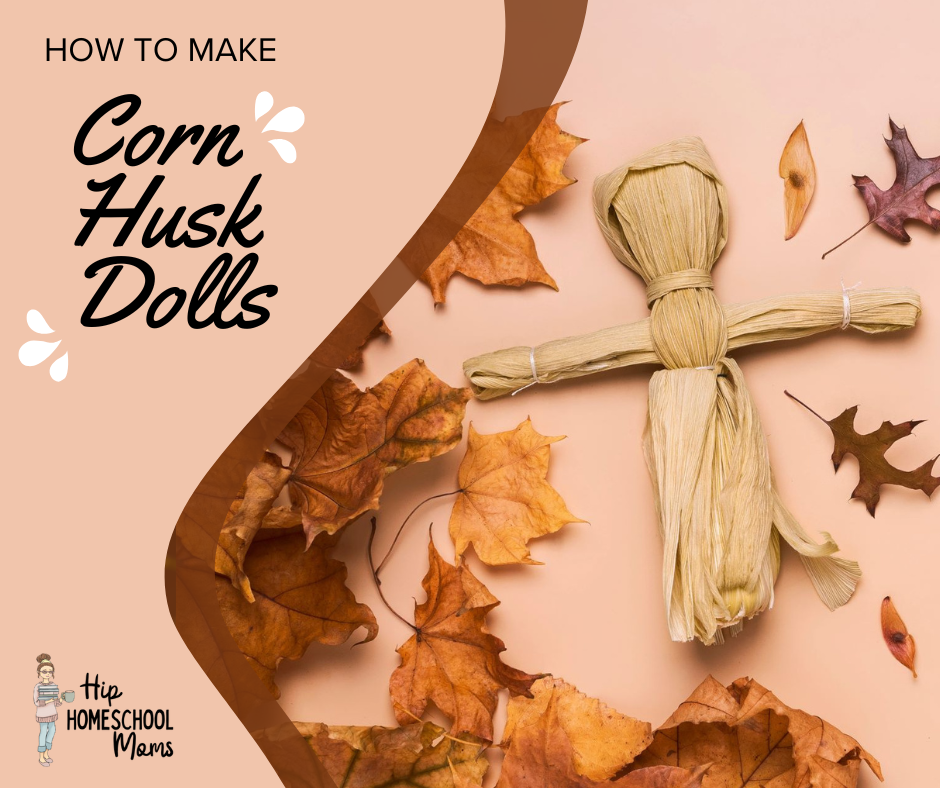
This fun and educational craft is perfect for the autumn season! The finished products still make great fall decorations. We know sometimes instructions are confusing, so we added lots of pictures to help you along the way.
Be sure to read to the bottom of this article, where you’ll find Curriculum Connections, Variations, and extensions for your homeschool.
I made these corn husk dolls with my daughter, Mary Grace, and nephew, Harlan. We had a blast, and we now have some wonderful corn husk dolls to show for it! Keep reading to find out how we made them so that you can recreate these historical toys at home!
Want to skip ahead and just print the instructions? Click here!
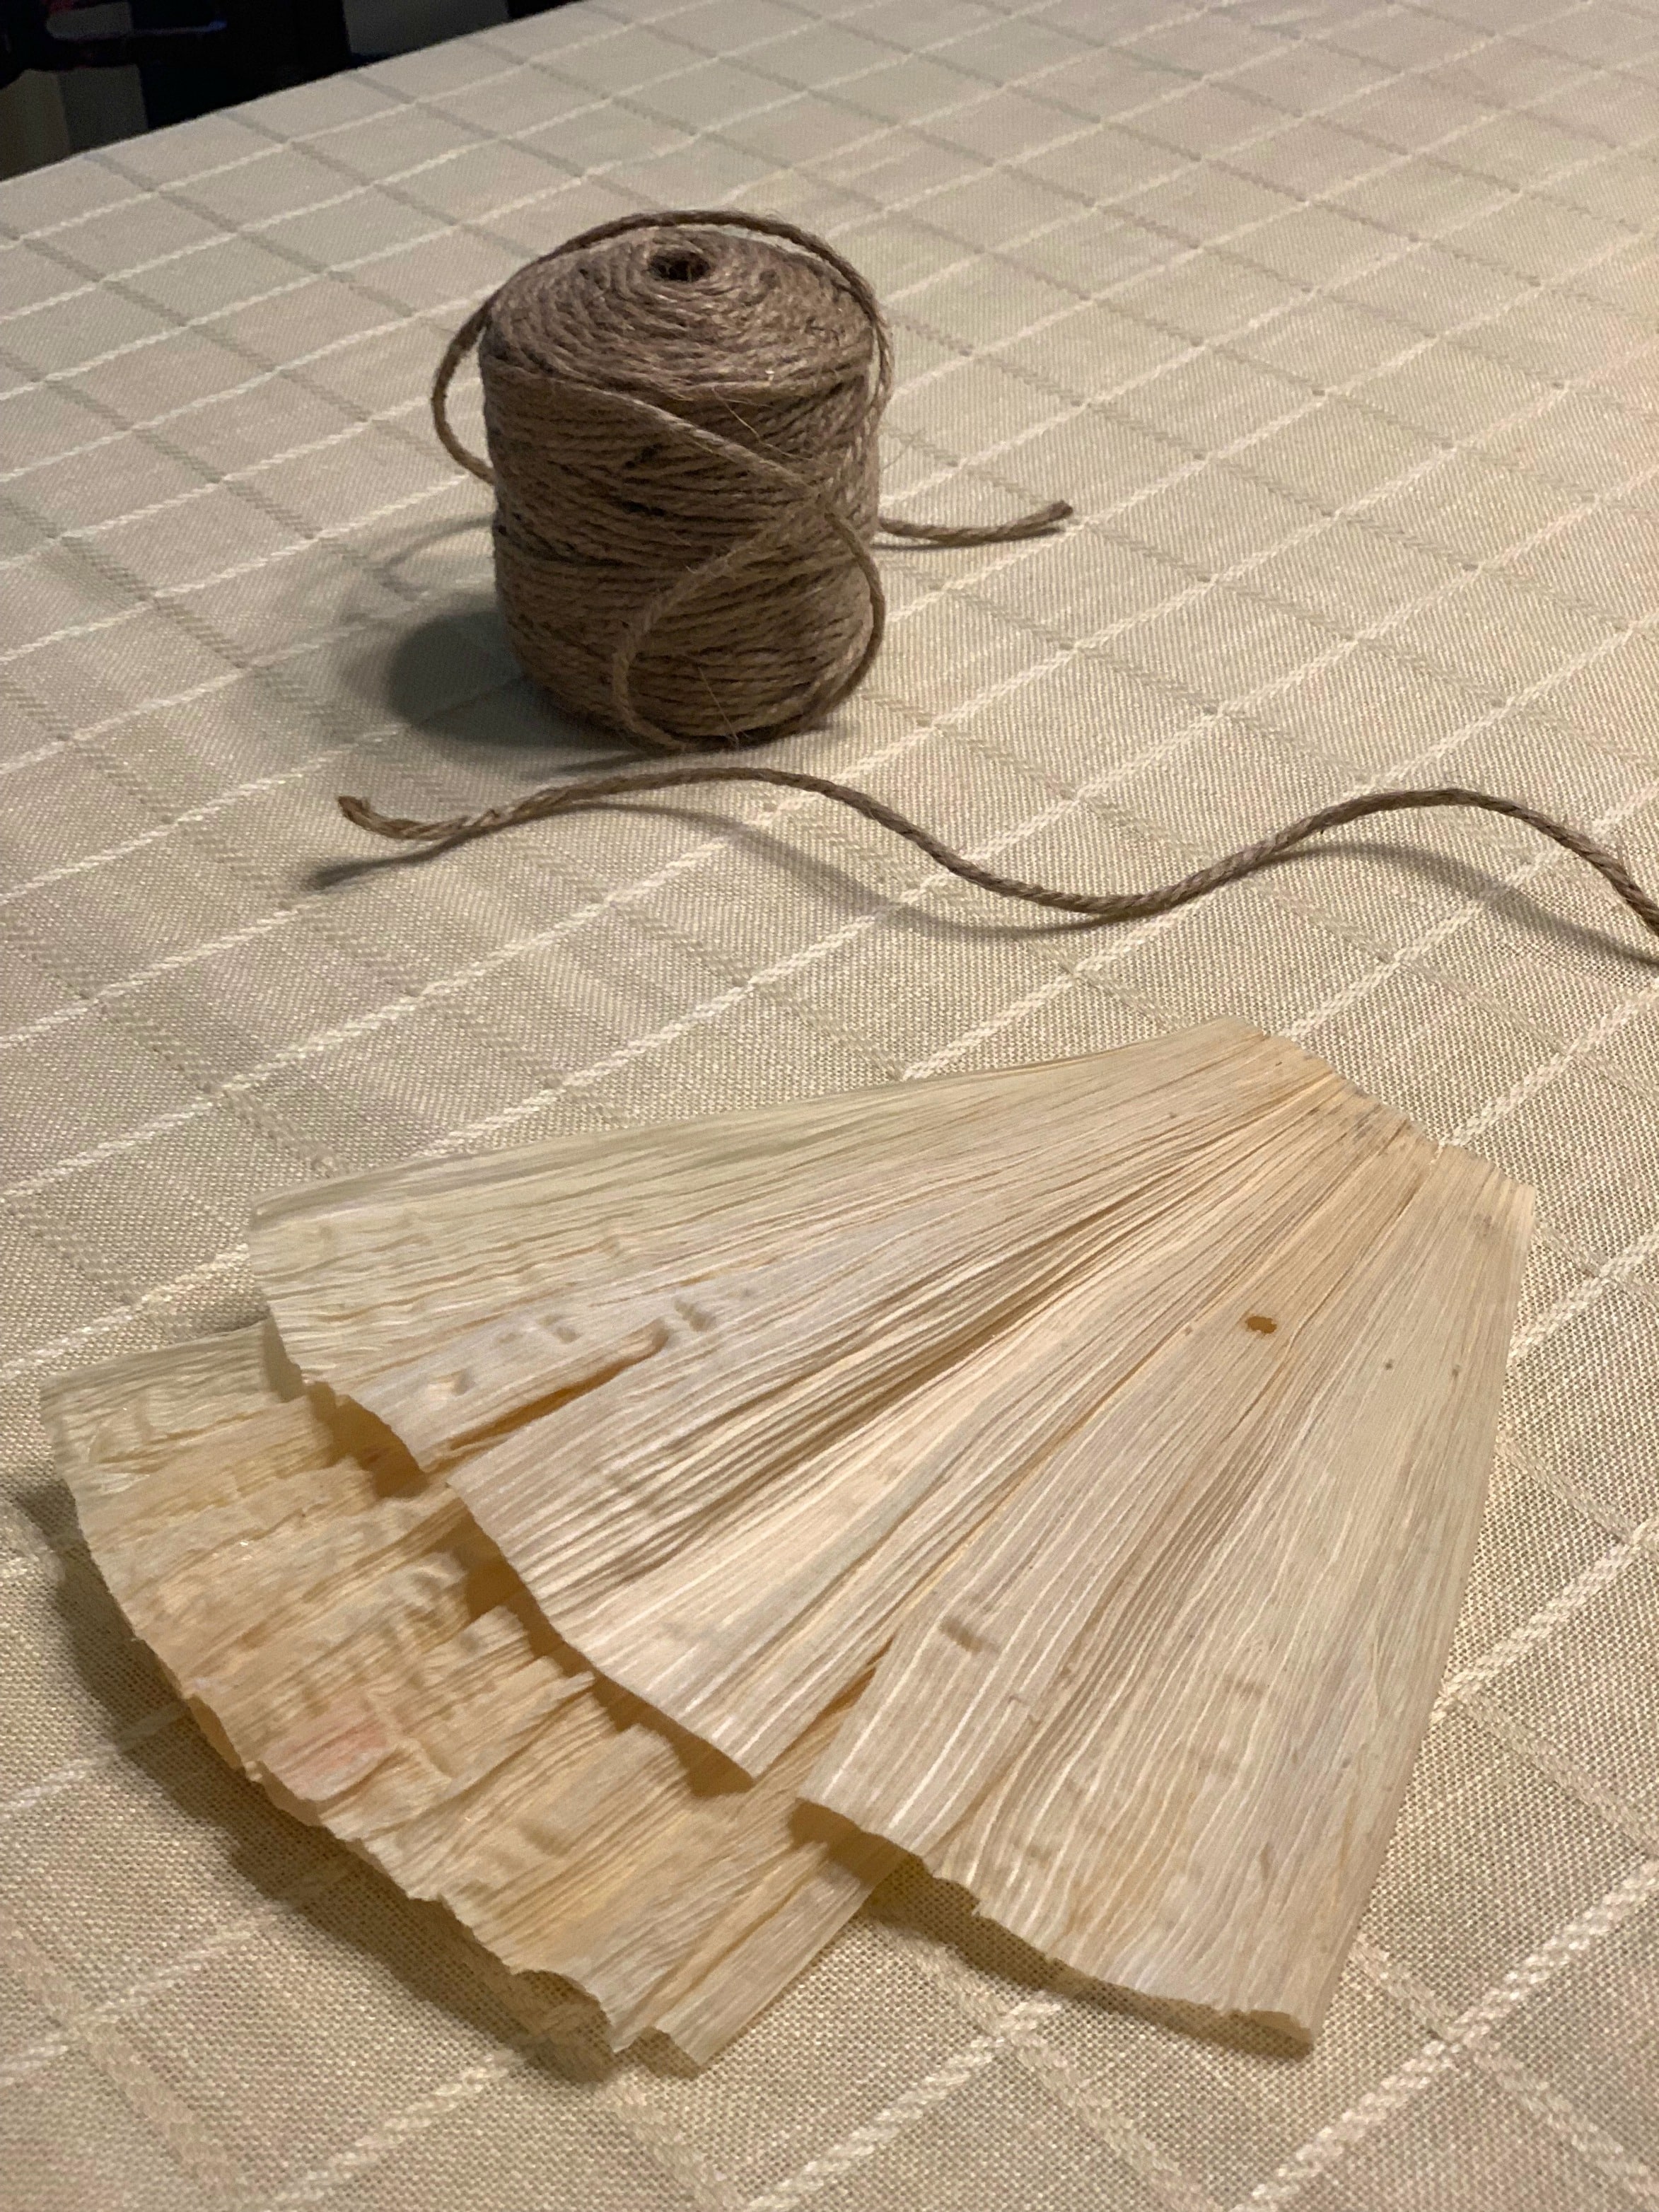
What You’ll Need:
- Corn Husks (6-8 for the larger, “adult” dolls and 2-4 for the “child-size” dolls)
- A container with water
- Twine
- String, felt, or cloth for doll clothing and accessories
- Scissors
- (Optional) hot glue gun (for decorations)
How to Make Them:
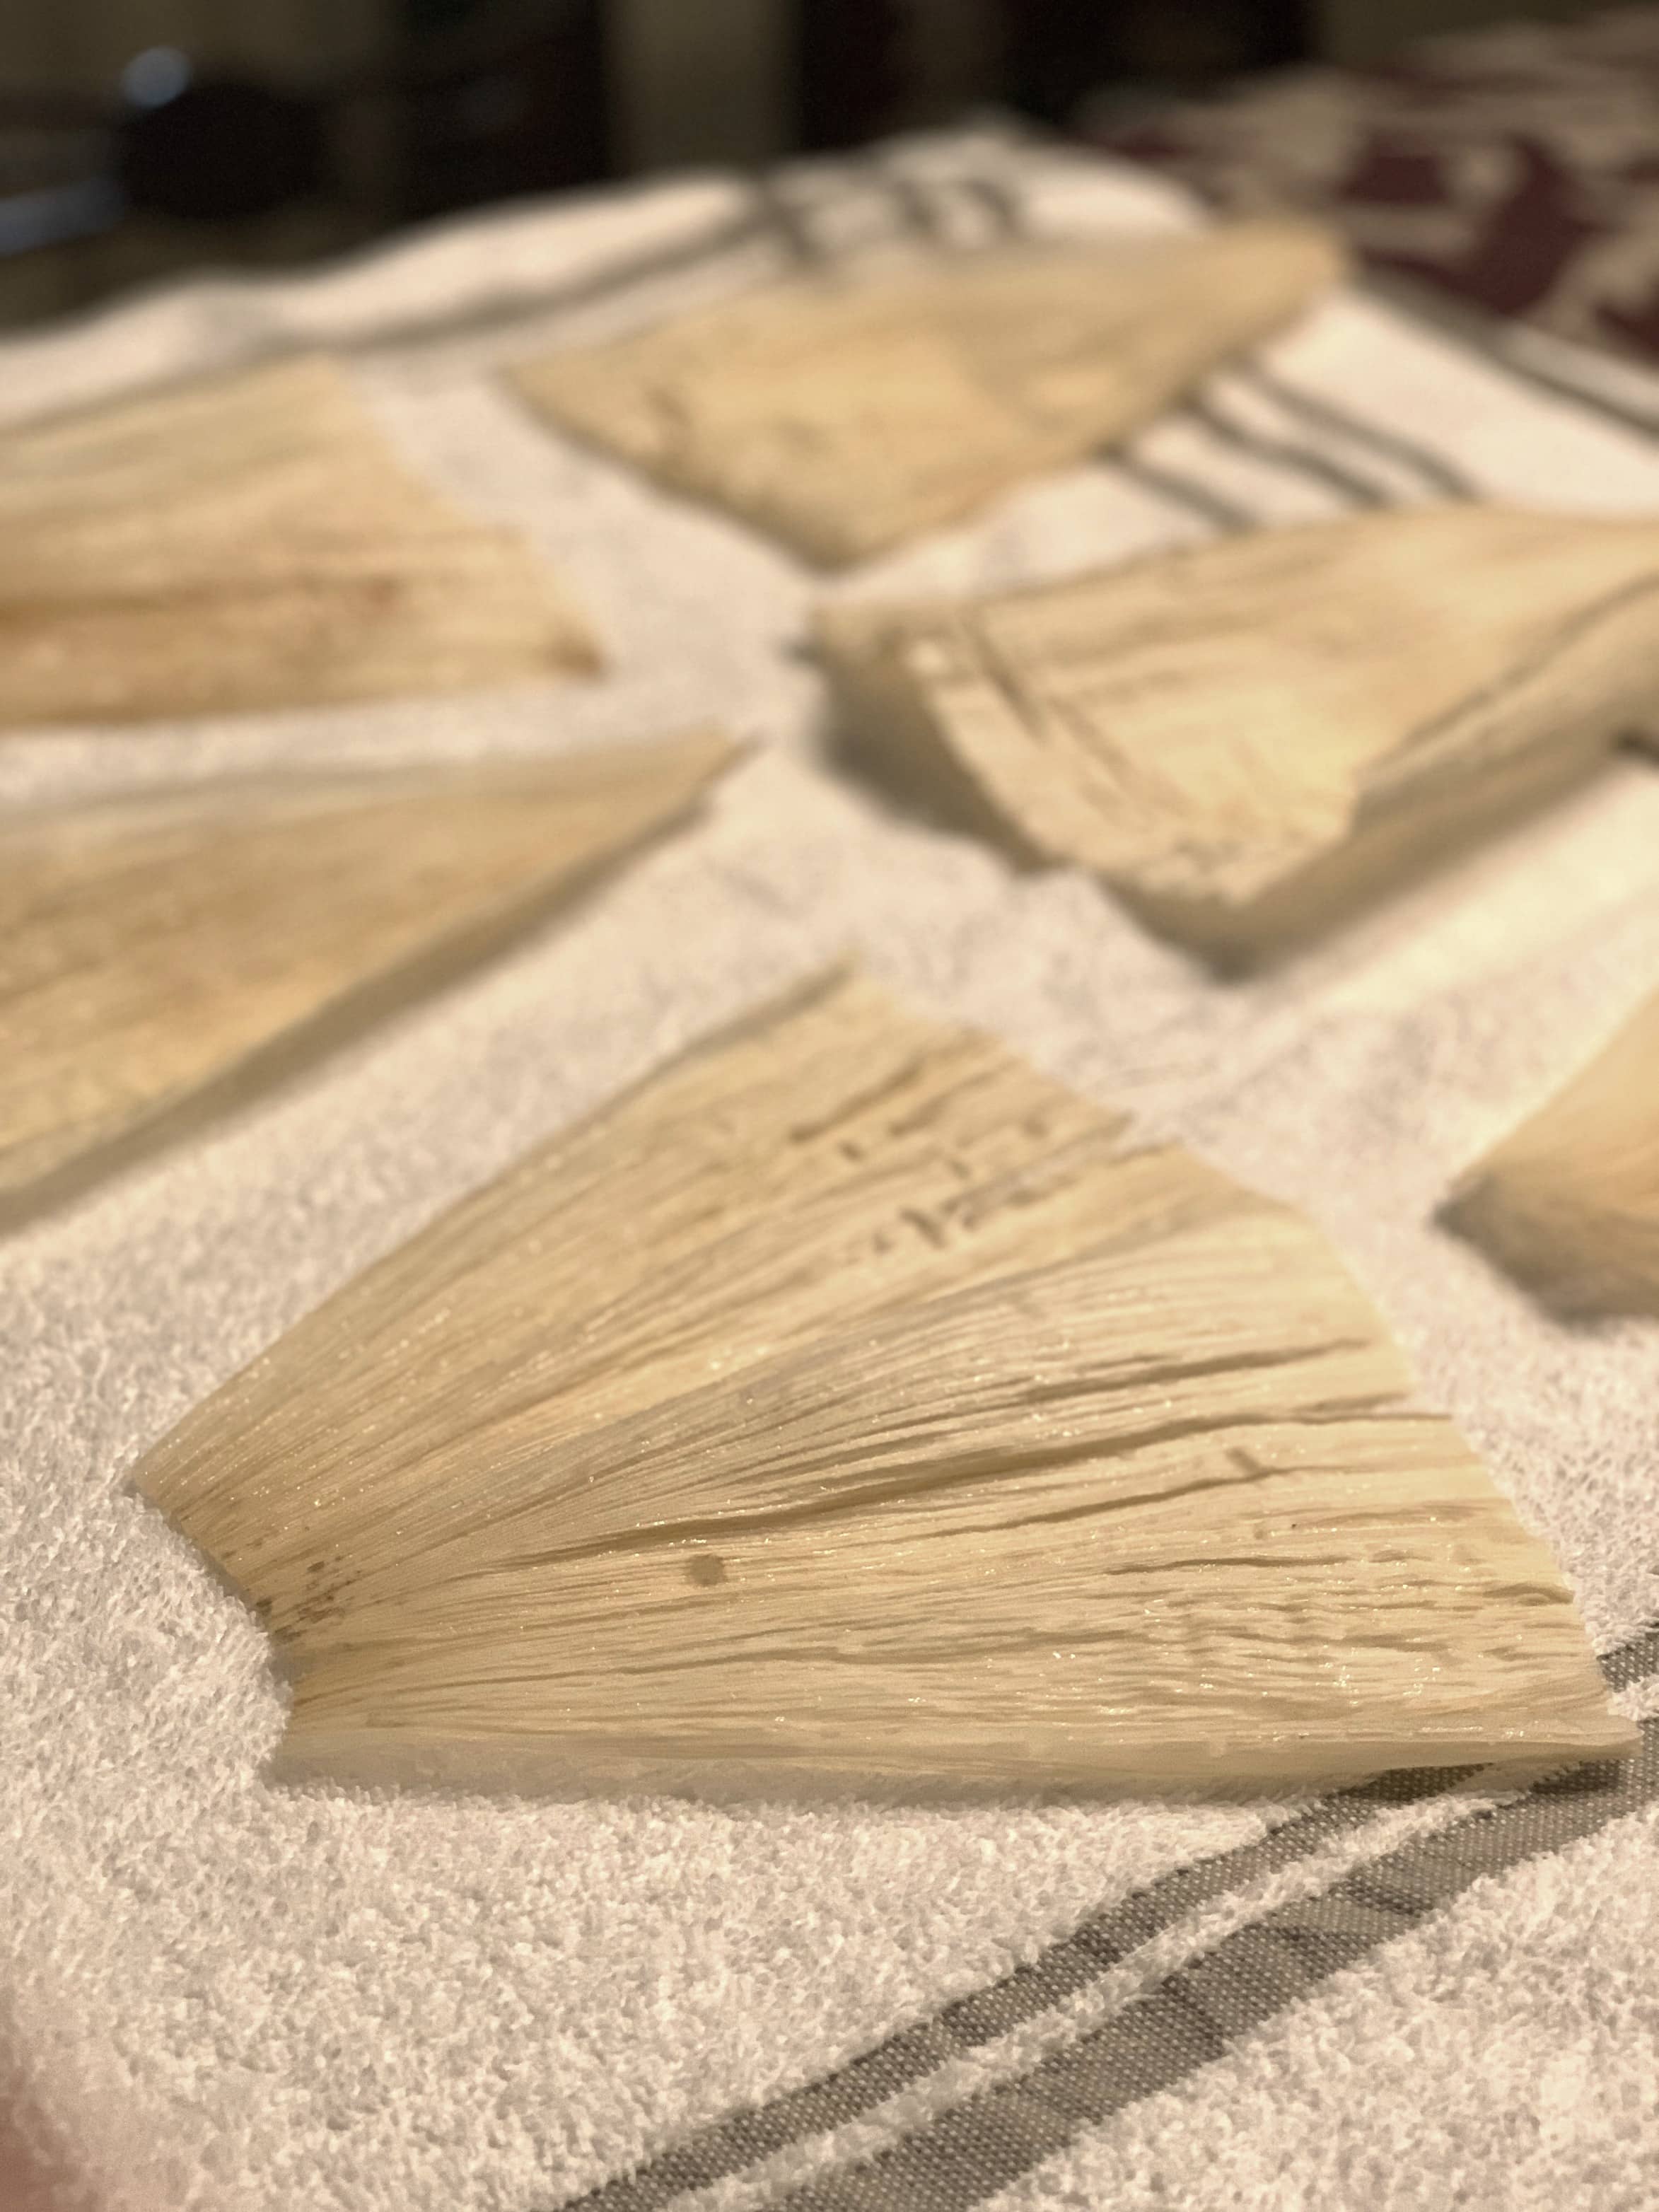
The first thing you need to do when making your corn husk people is to soak the husks in water. This softens the husks so that you can shape them without cracking them. Ideally, let your husks soak for at least 10 minutes. I set a plate on top of mine to keep them submerged. After the husks have soaked, pull them out, lay them on a dry towel, and blot off the extra water.
Next, decide what kind of doll you want to make, which will determine how many corn husks you need. If you’re making a full-sized (adult man or woman) doll, then you’ll need 6-8 husks. If you plan to make a “mini” (child-sized doll) you should be able to replicate the same method below using only 2-4 husks. The instructions below are for the full-sized doll.
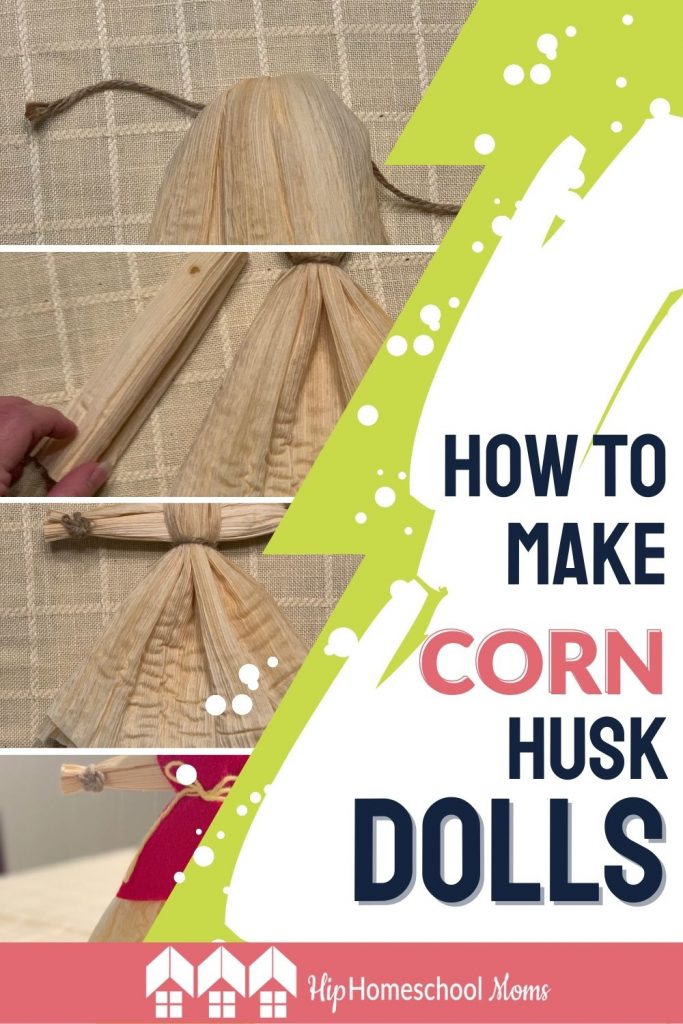
To get started, place 4 or 6 (you’ll need an even number) corn husks on top of one another, making sure the tops of them are evenly lined up.
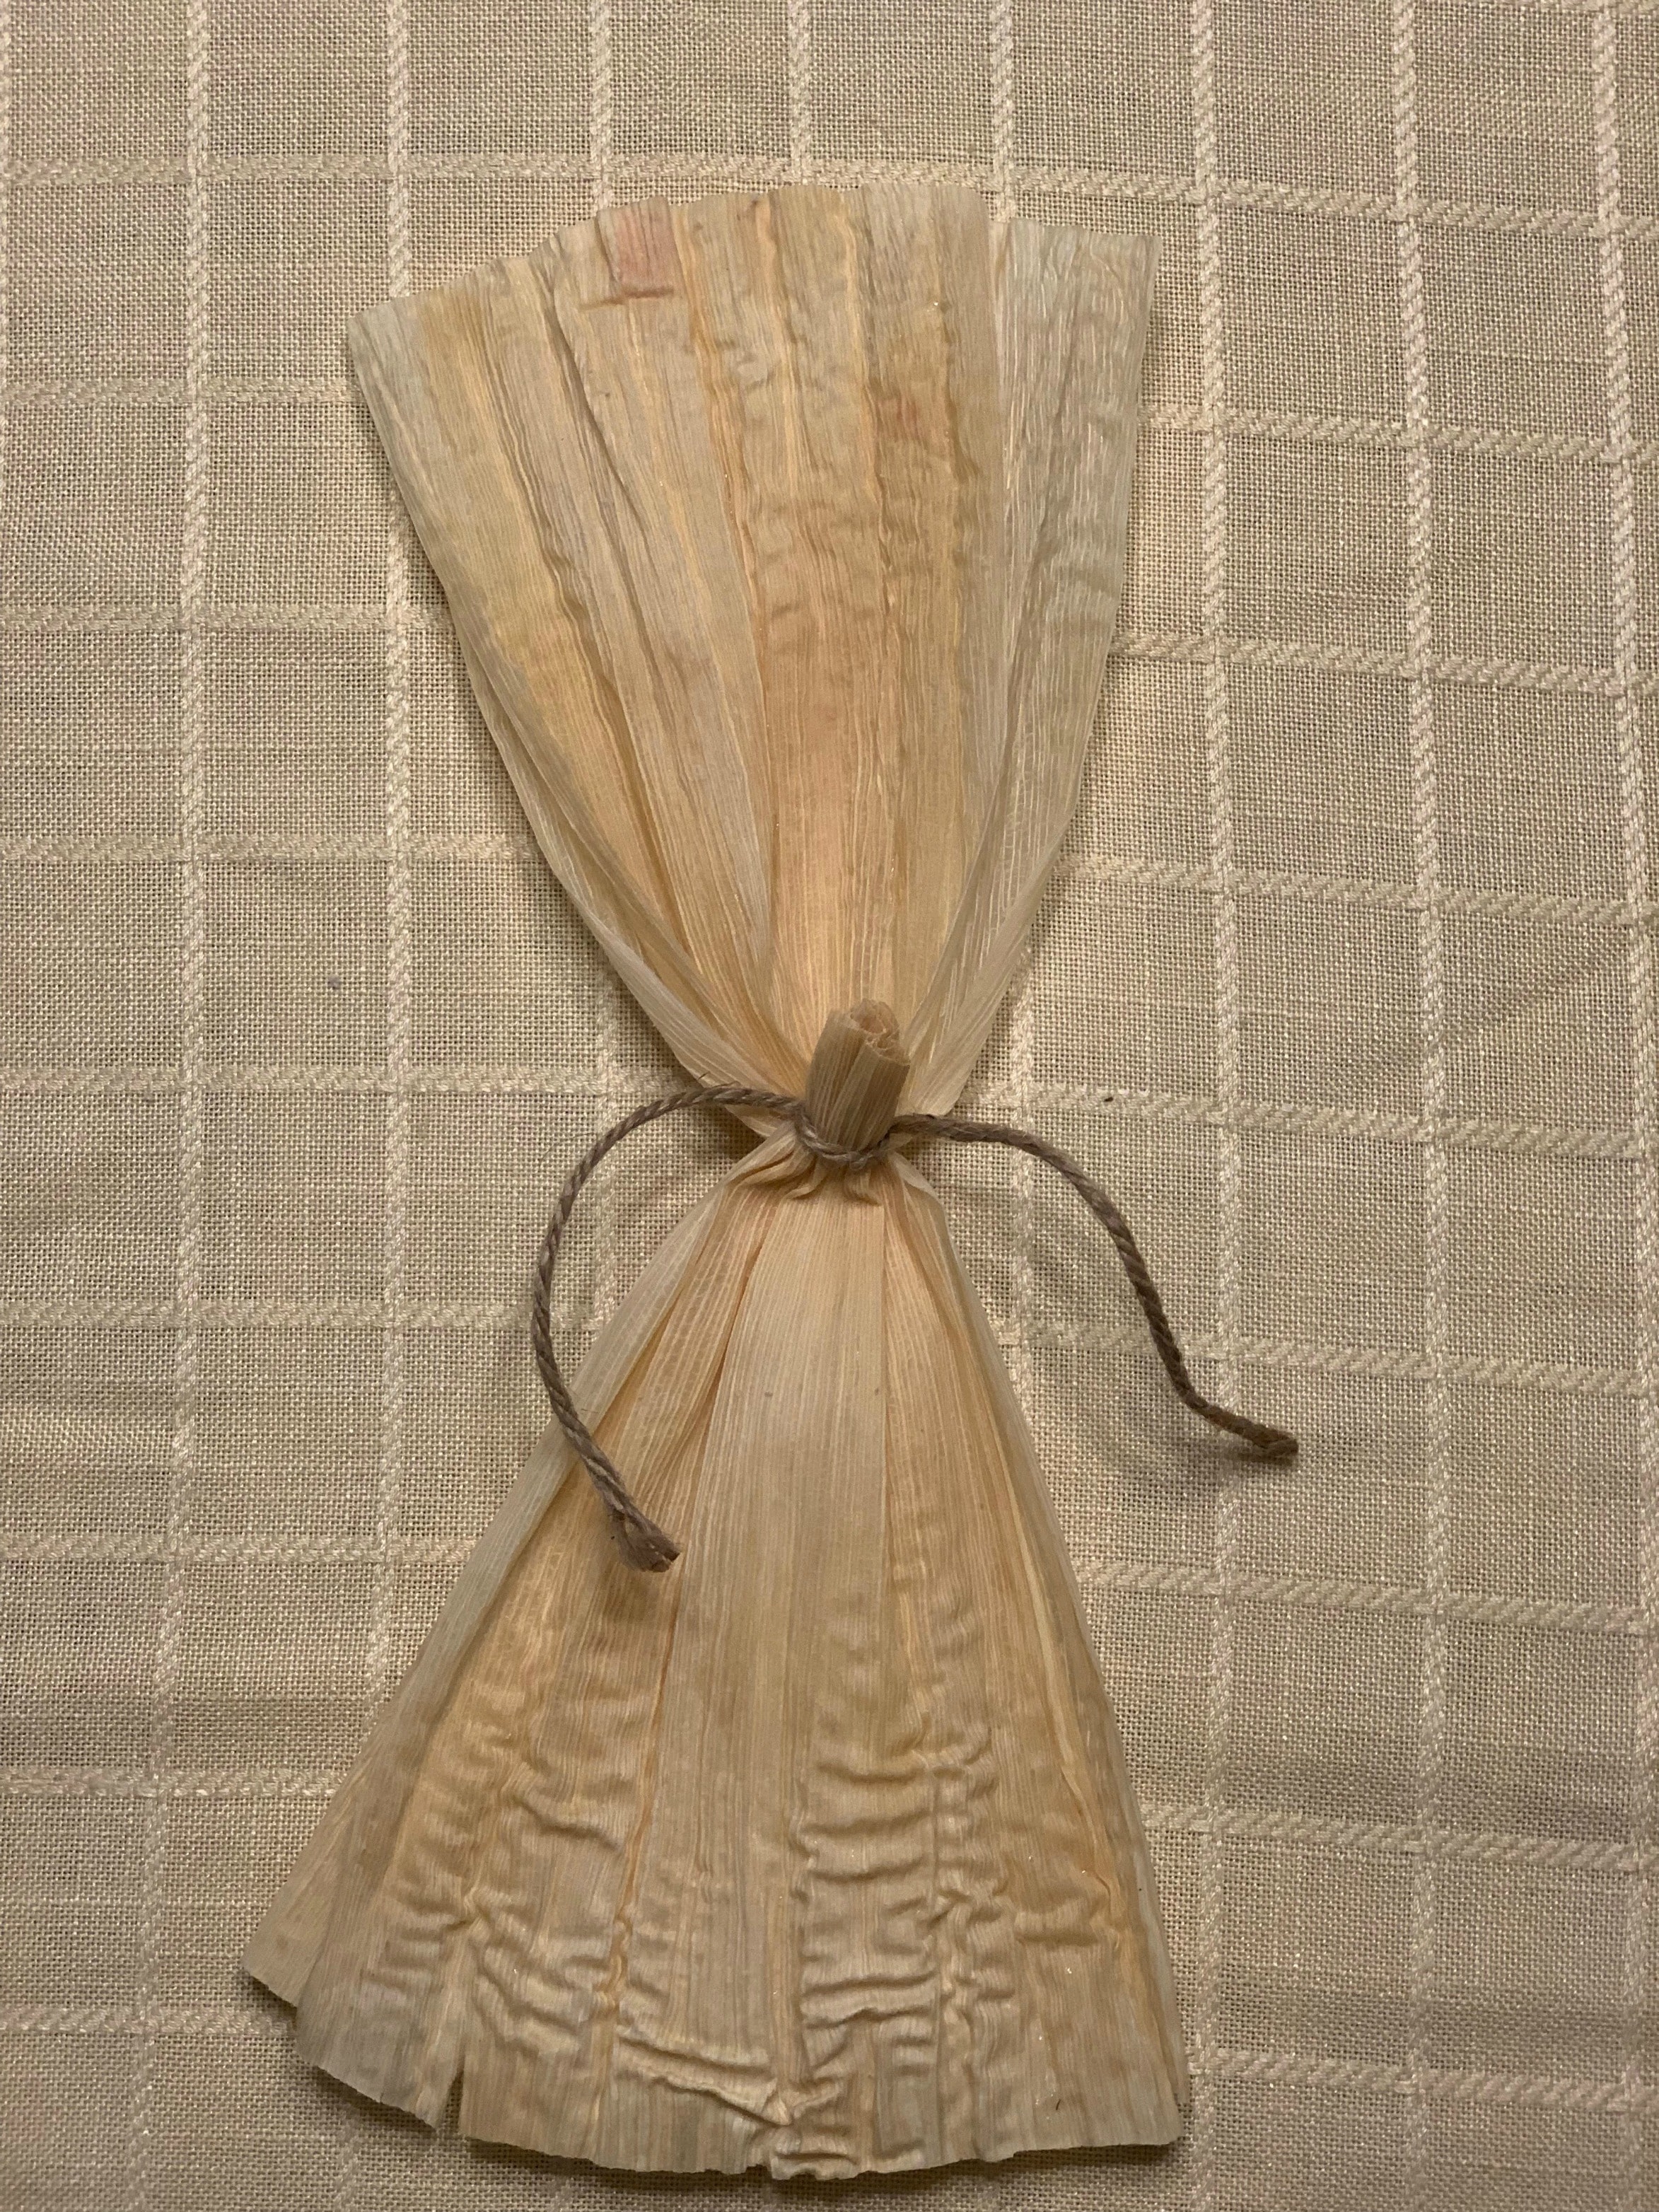
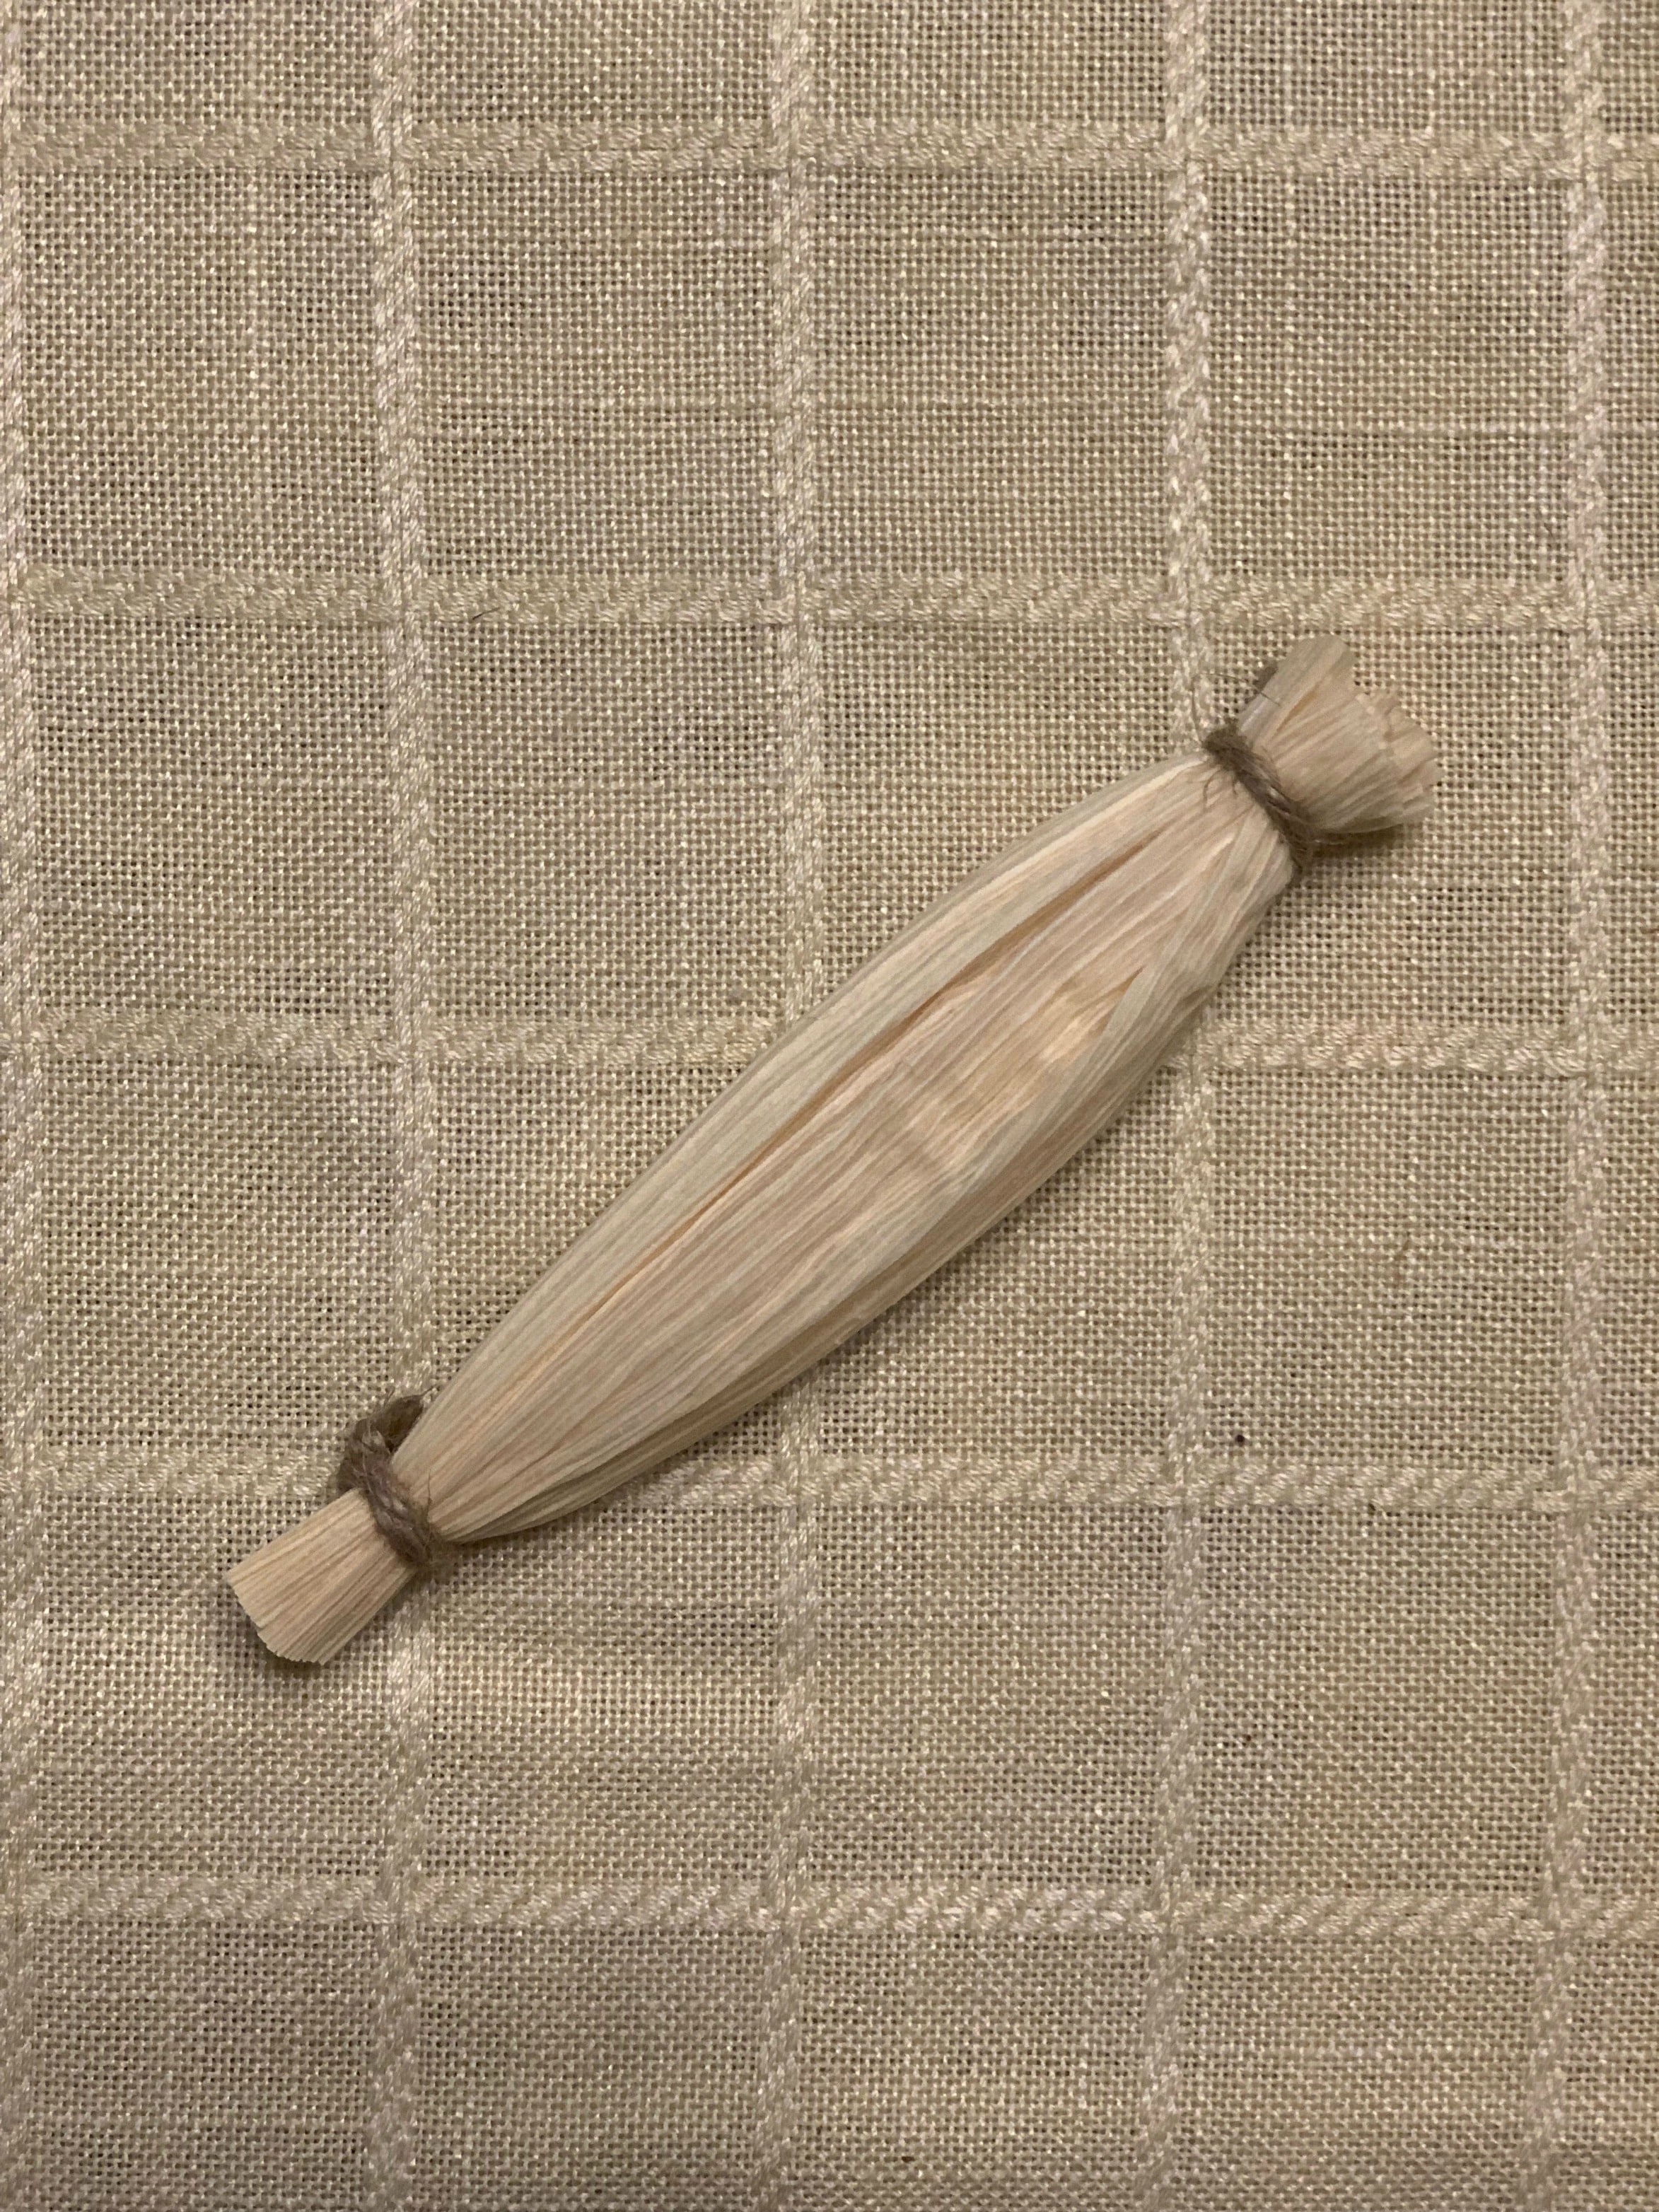
Then, you’ll take your twine and tie a firm knot about an inch from the top of the corn husks.
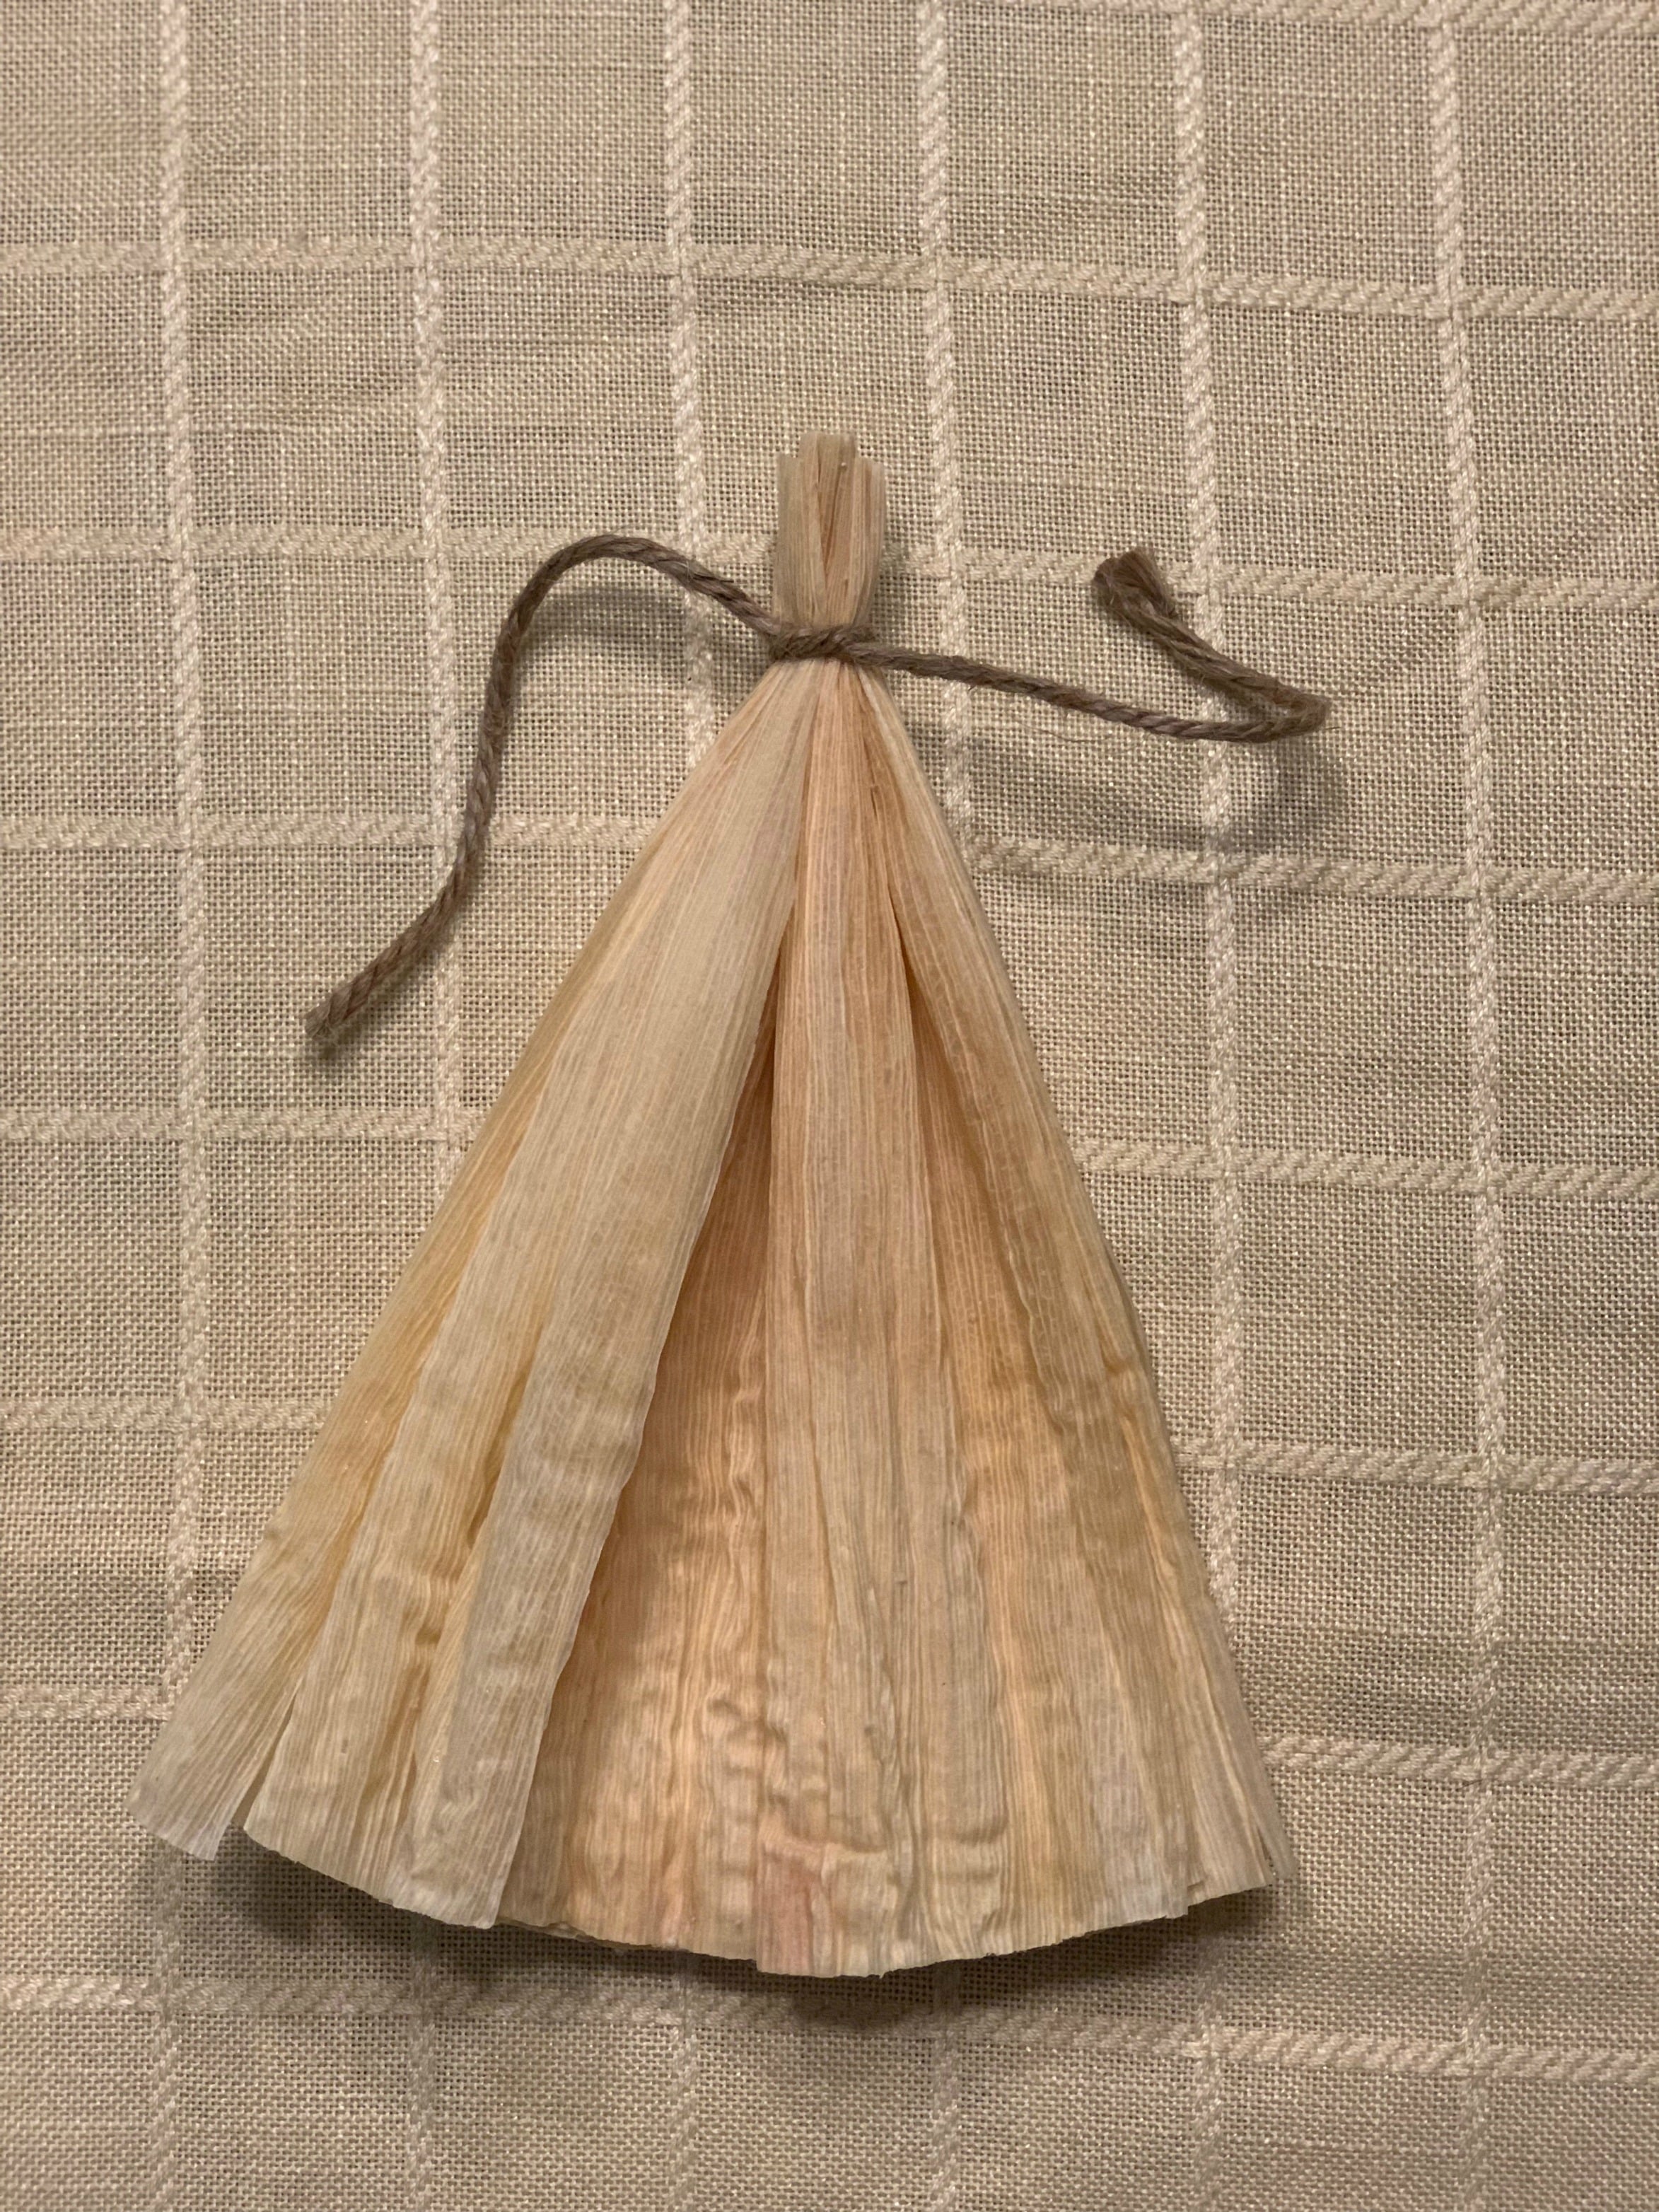
At this point, stand your corn husk creation upright. Spread the husks out (in opposite directions) from the part you tied together (as shown below). There should be an even amount of the husks extending from each side.
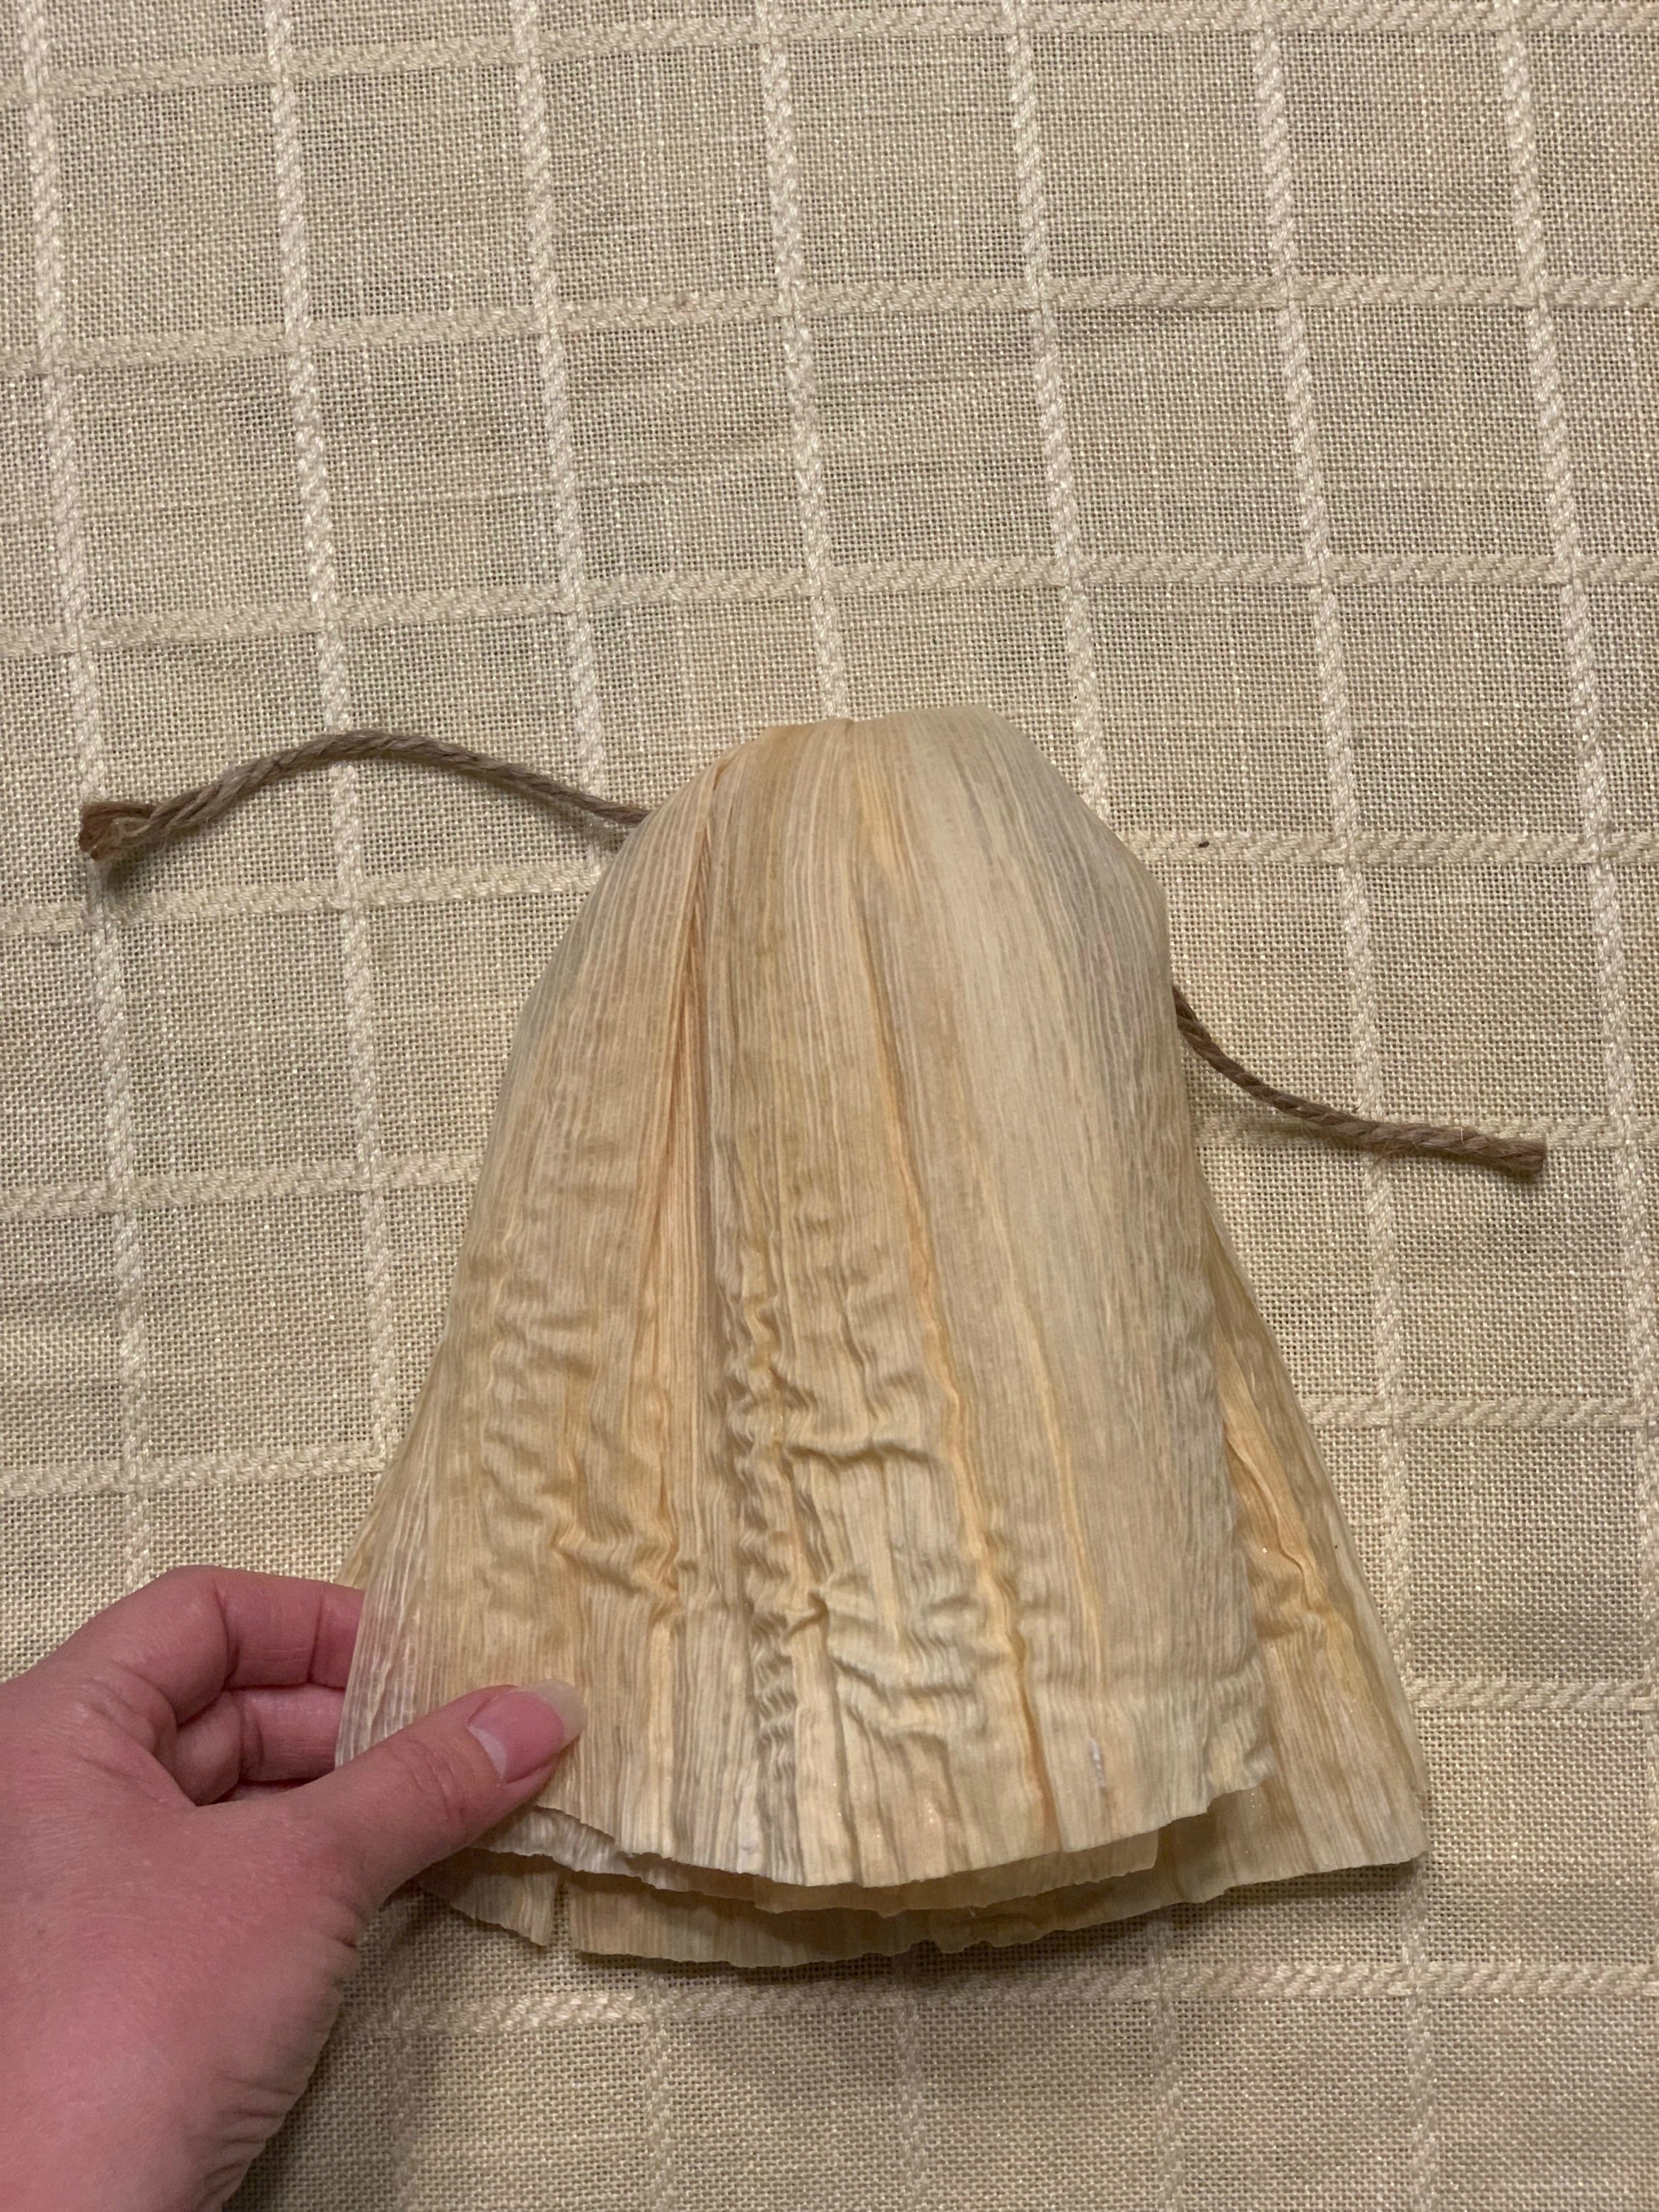
Now, you will actually turn the whole thing upside down and fold the husks downward. This will conceal the knot you just made and give you a clean, bell-like shape.
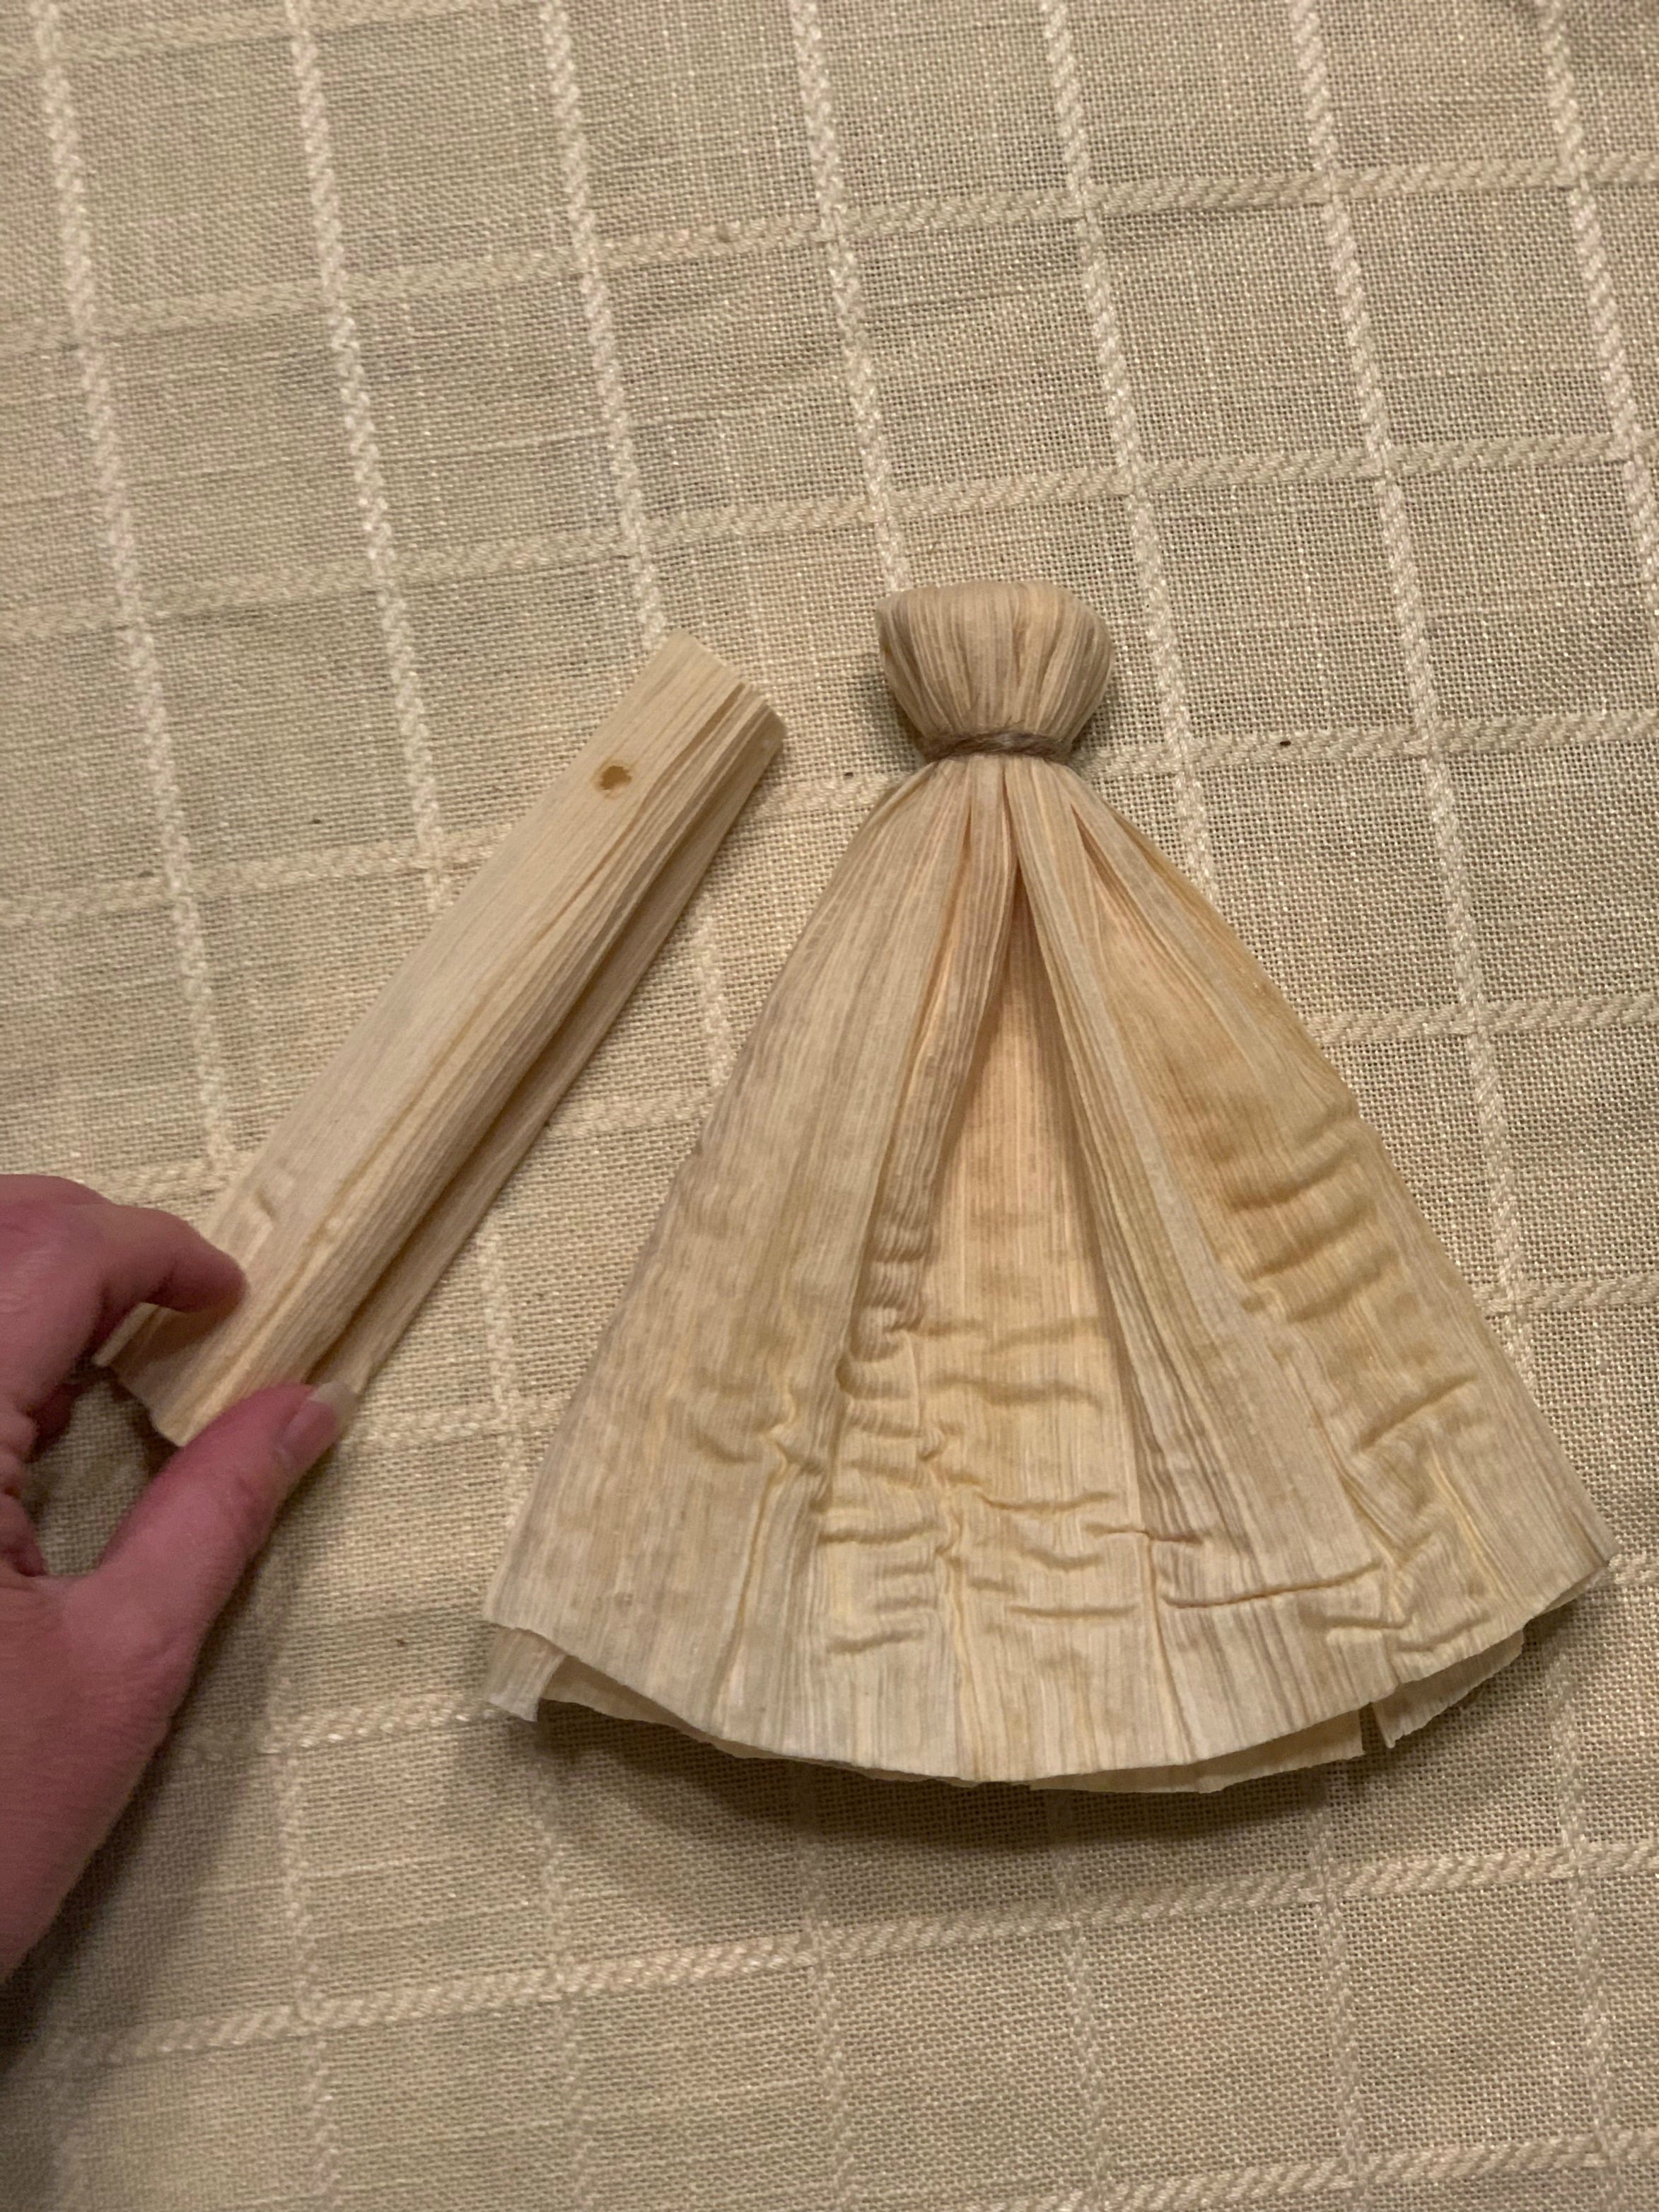
After you’ve achieved the shape shown above, take a second piece of twine and tie it towards the top to form your doll’s head. After it’s securely tied, you can trim the excess twine.

Now it’s time to make the arms. You’ll only need one husk for this part.
Roll the husk. Then tie each end with a bit of twine, as Mary Grace demonstrates below. You’ll want to leave a little bit of excess on either side of both knots, as this creates the doll’s “hands.”
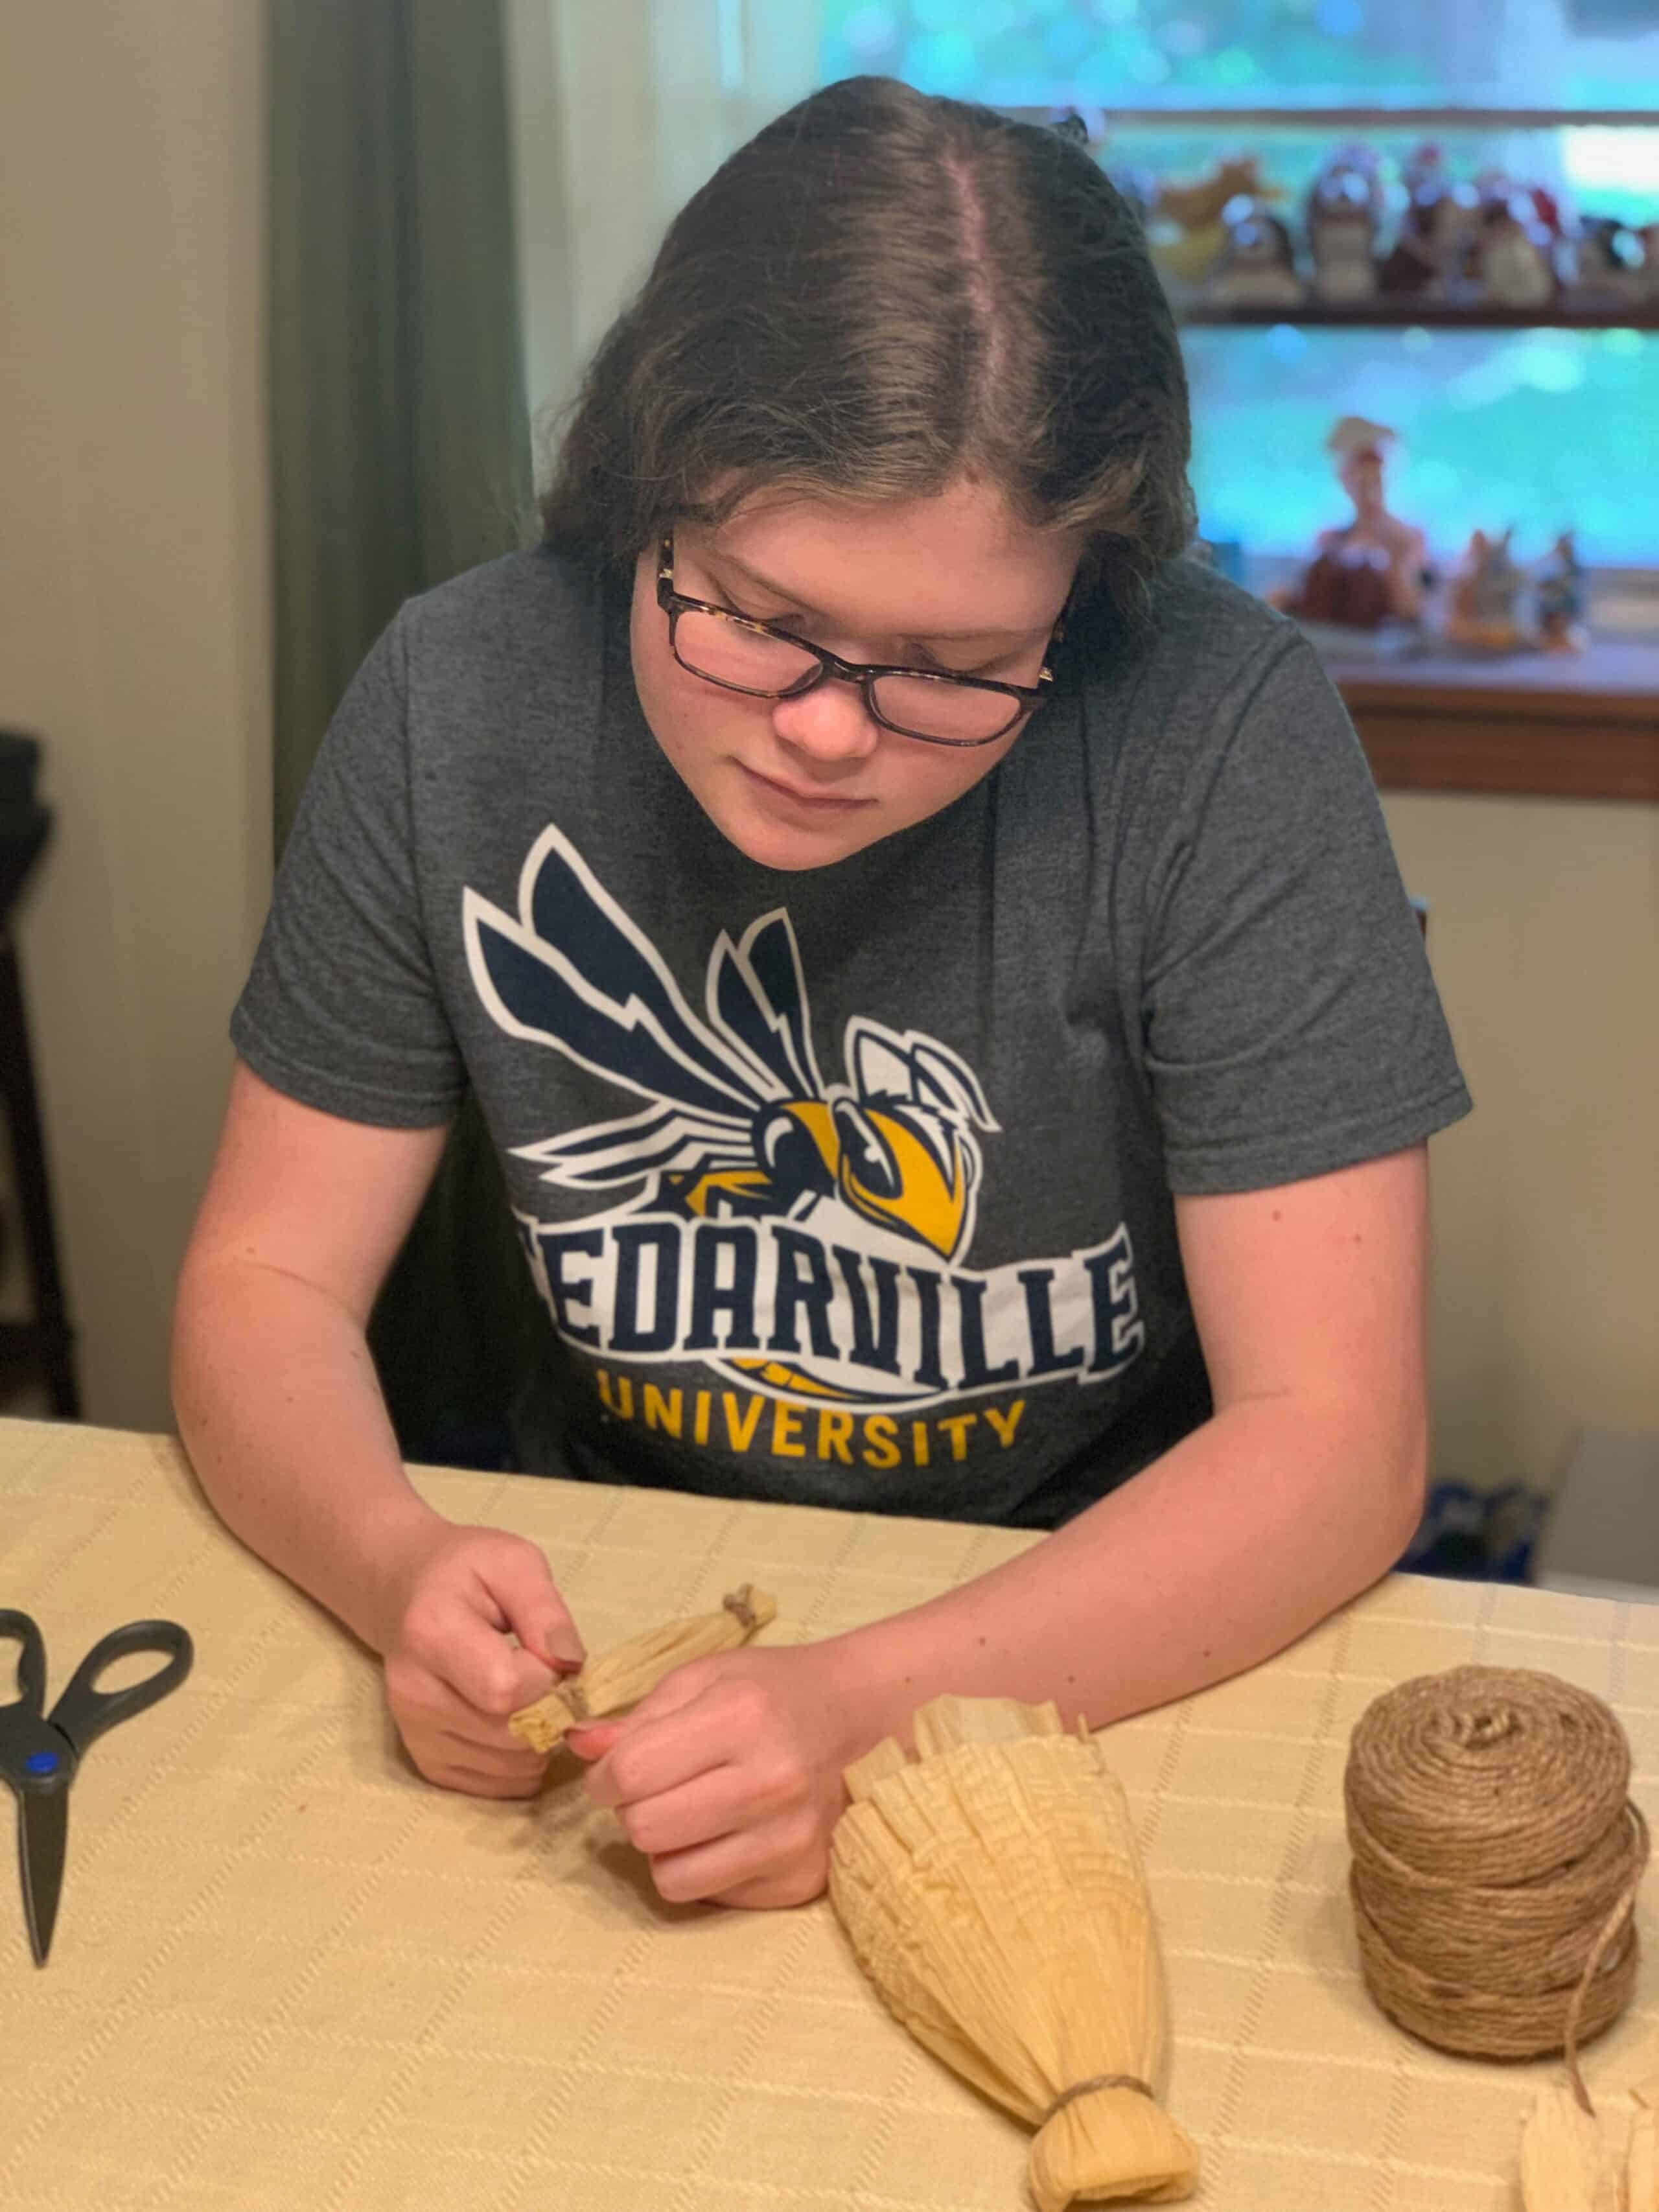
Your end result should look like one long arm with a hand on each side (as pictured below). That’s because this part is going to fit in the middle of your doll’s torso. If, considering this, your “arm piece” still looks too long, you can always trim it and readjust the twine.
Okay, here’s the reason you wanted to make sure that you had an even number of corn husks on each side of your doll. For the next step, place the “arm piece” between the husks. Make sure there is an even number of husks on top of, as well as below, the arm piece.
Slide the arm piece up until it is just below the knot you made for the doll’s neck, making sure that the resulting arms stick out evenly on each side.

Once the arms are in the right place, use some twine and tie a waist for your doll.
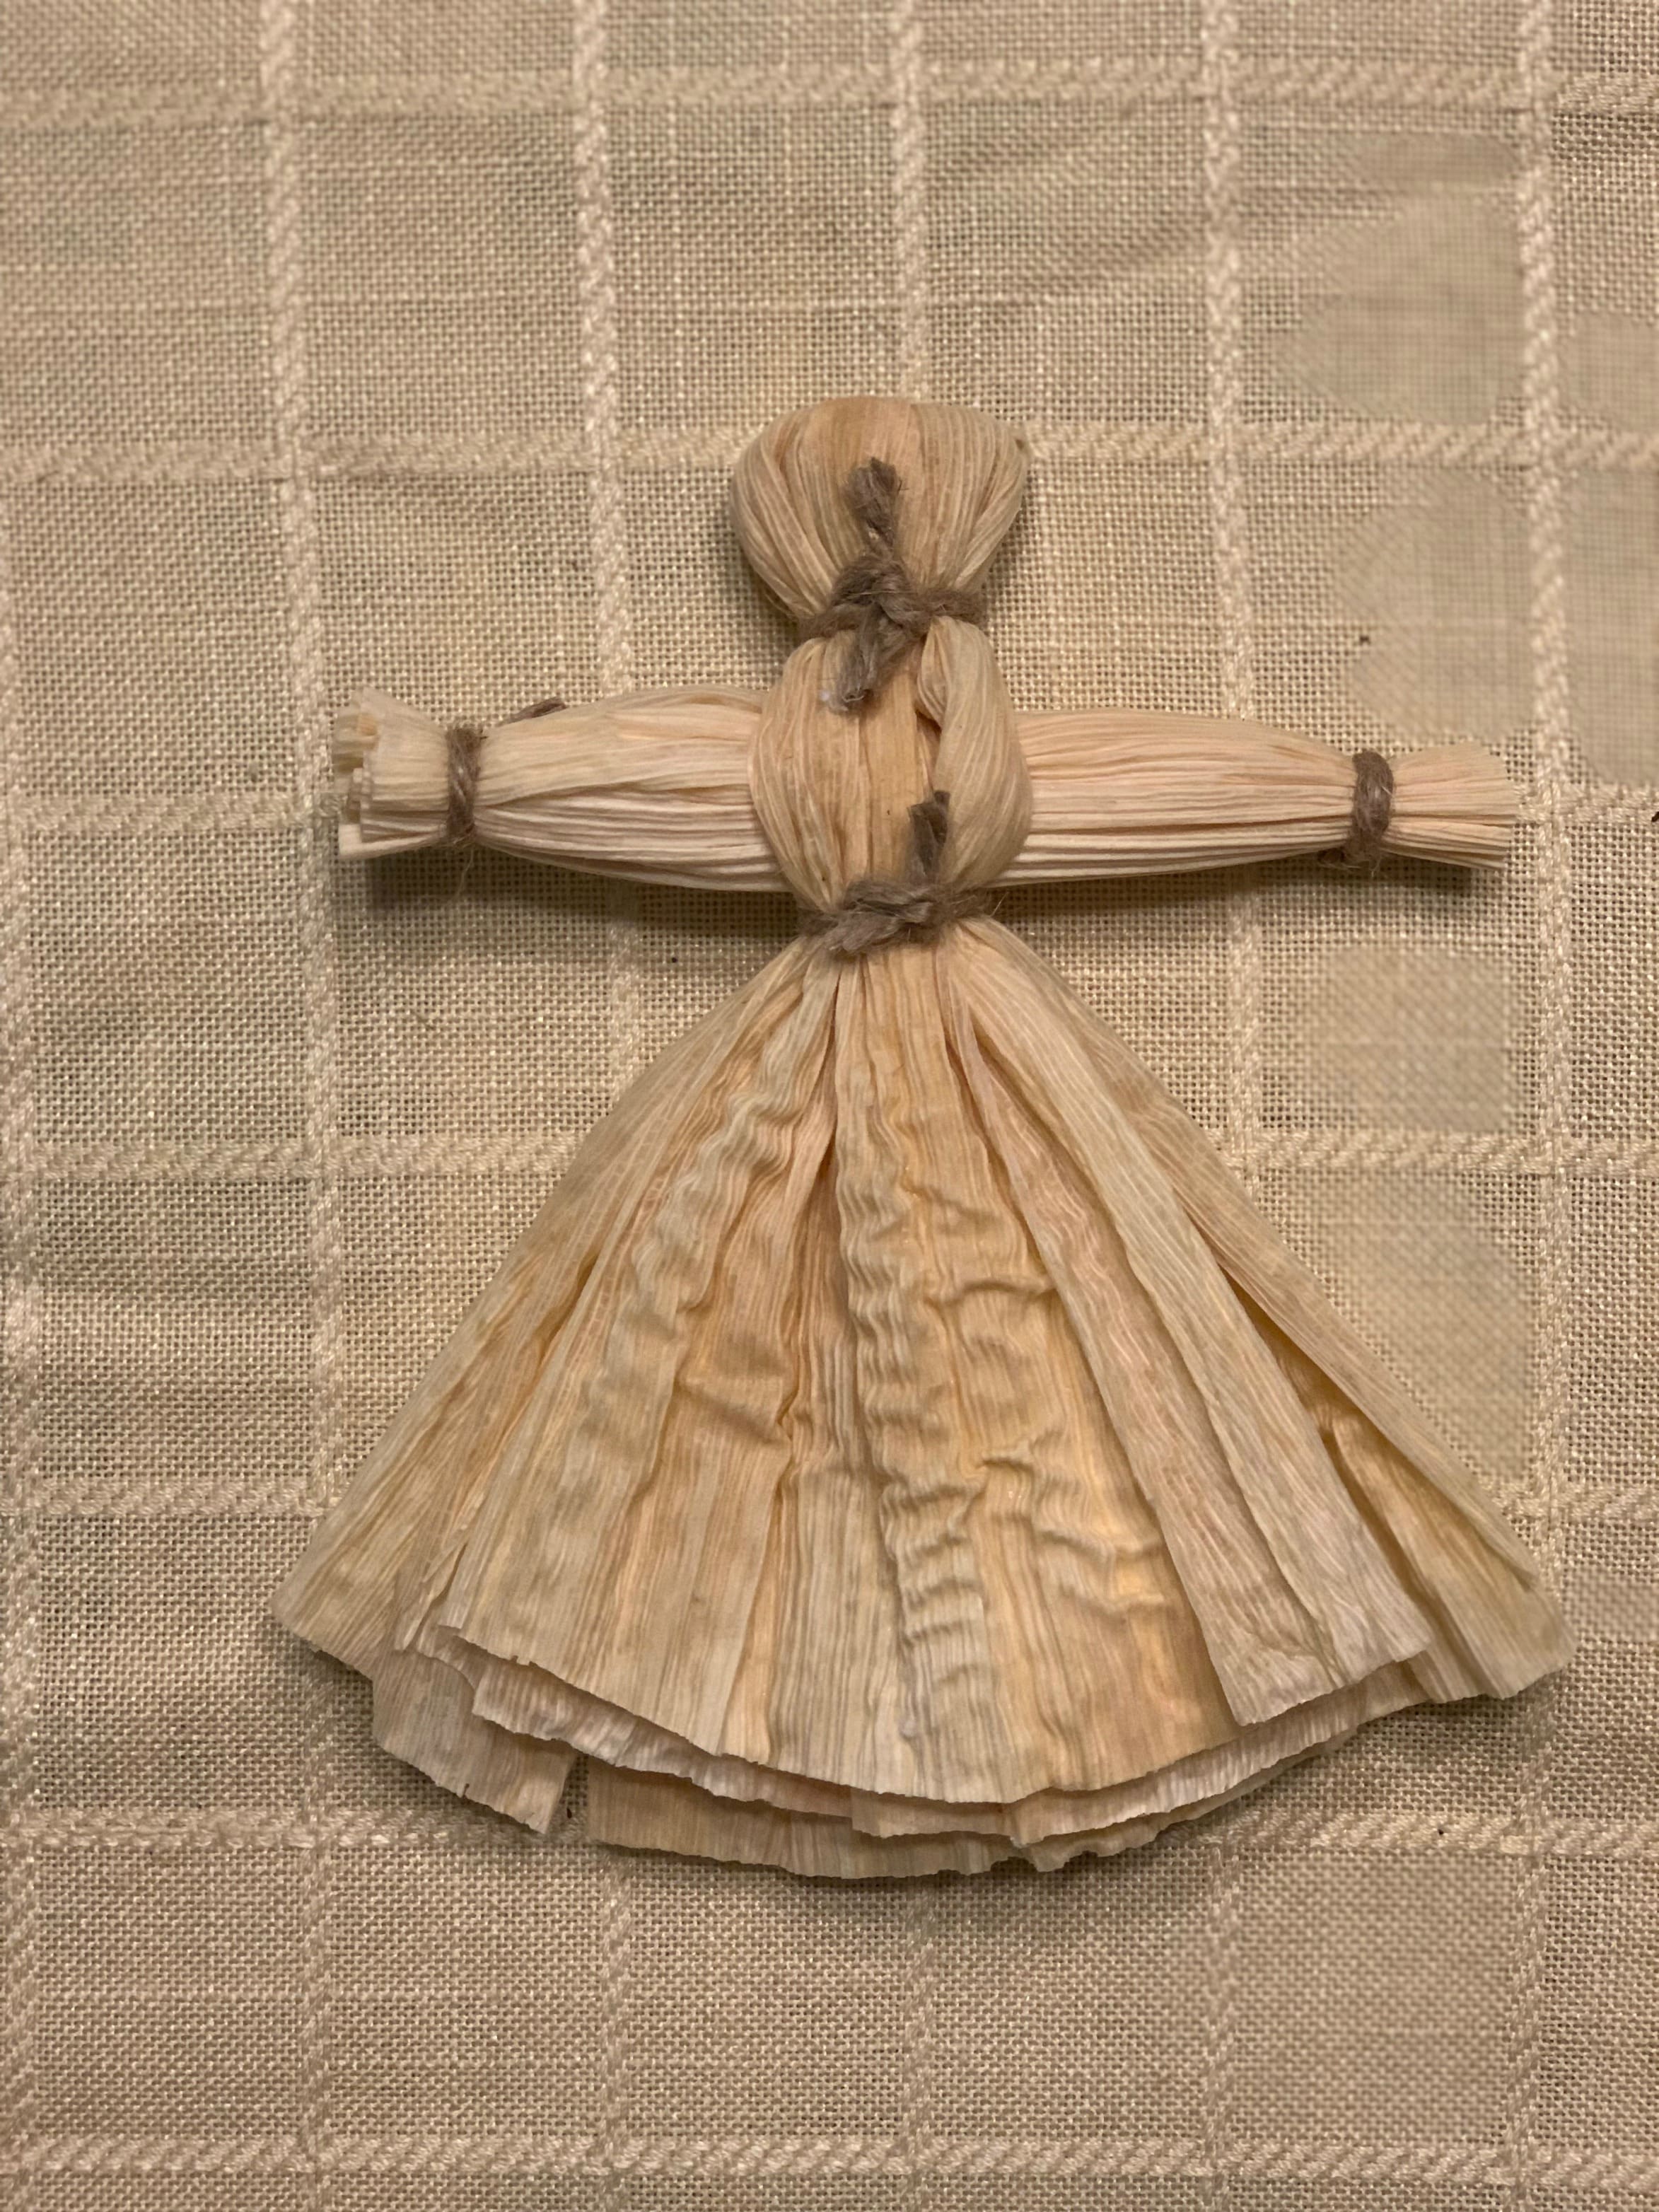
At this point, you may want to trim excess twine or trim your corn husks to make sure that everything looks clean and even.
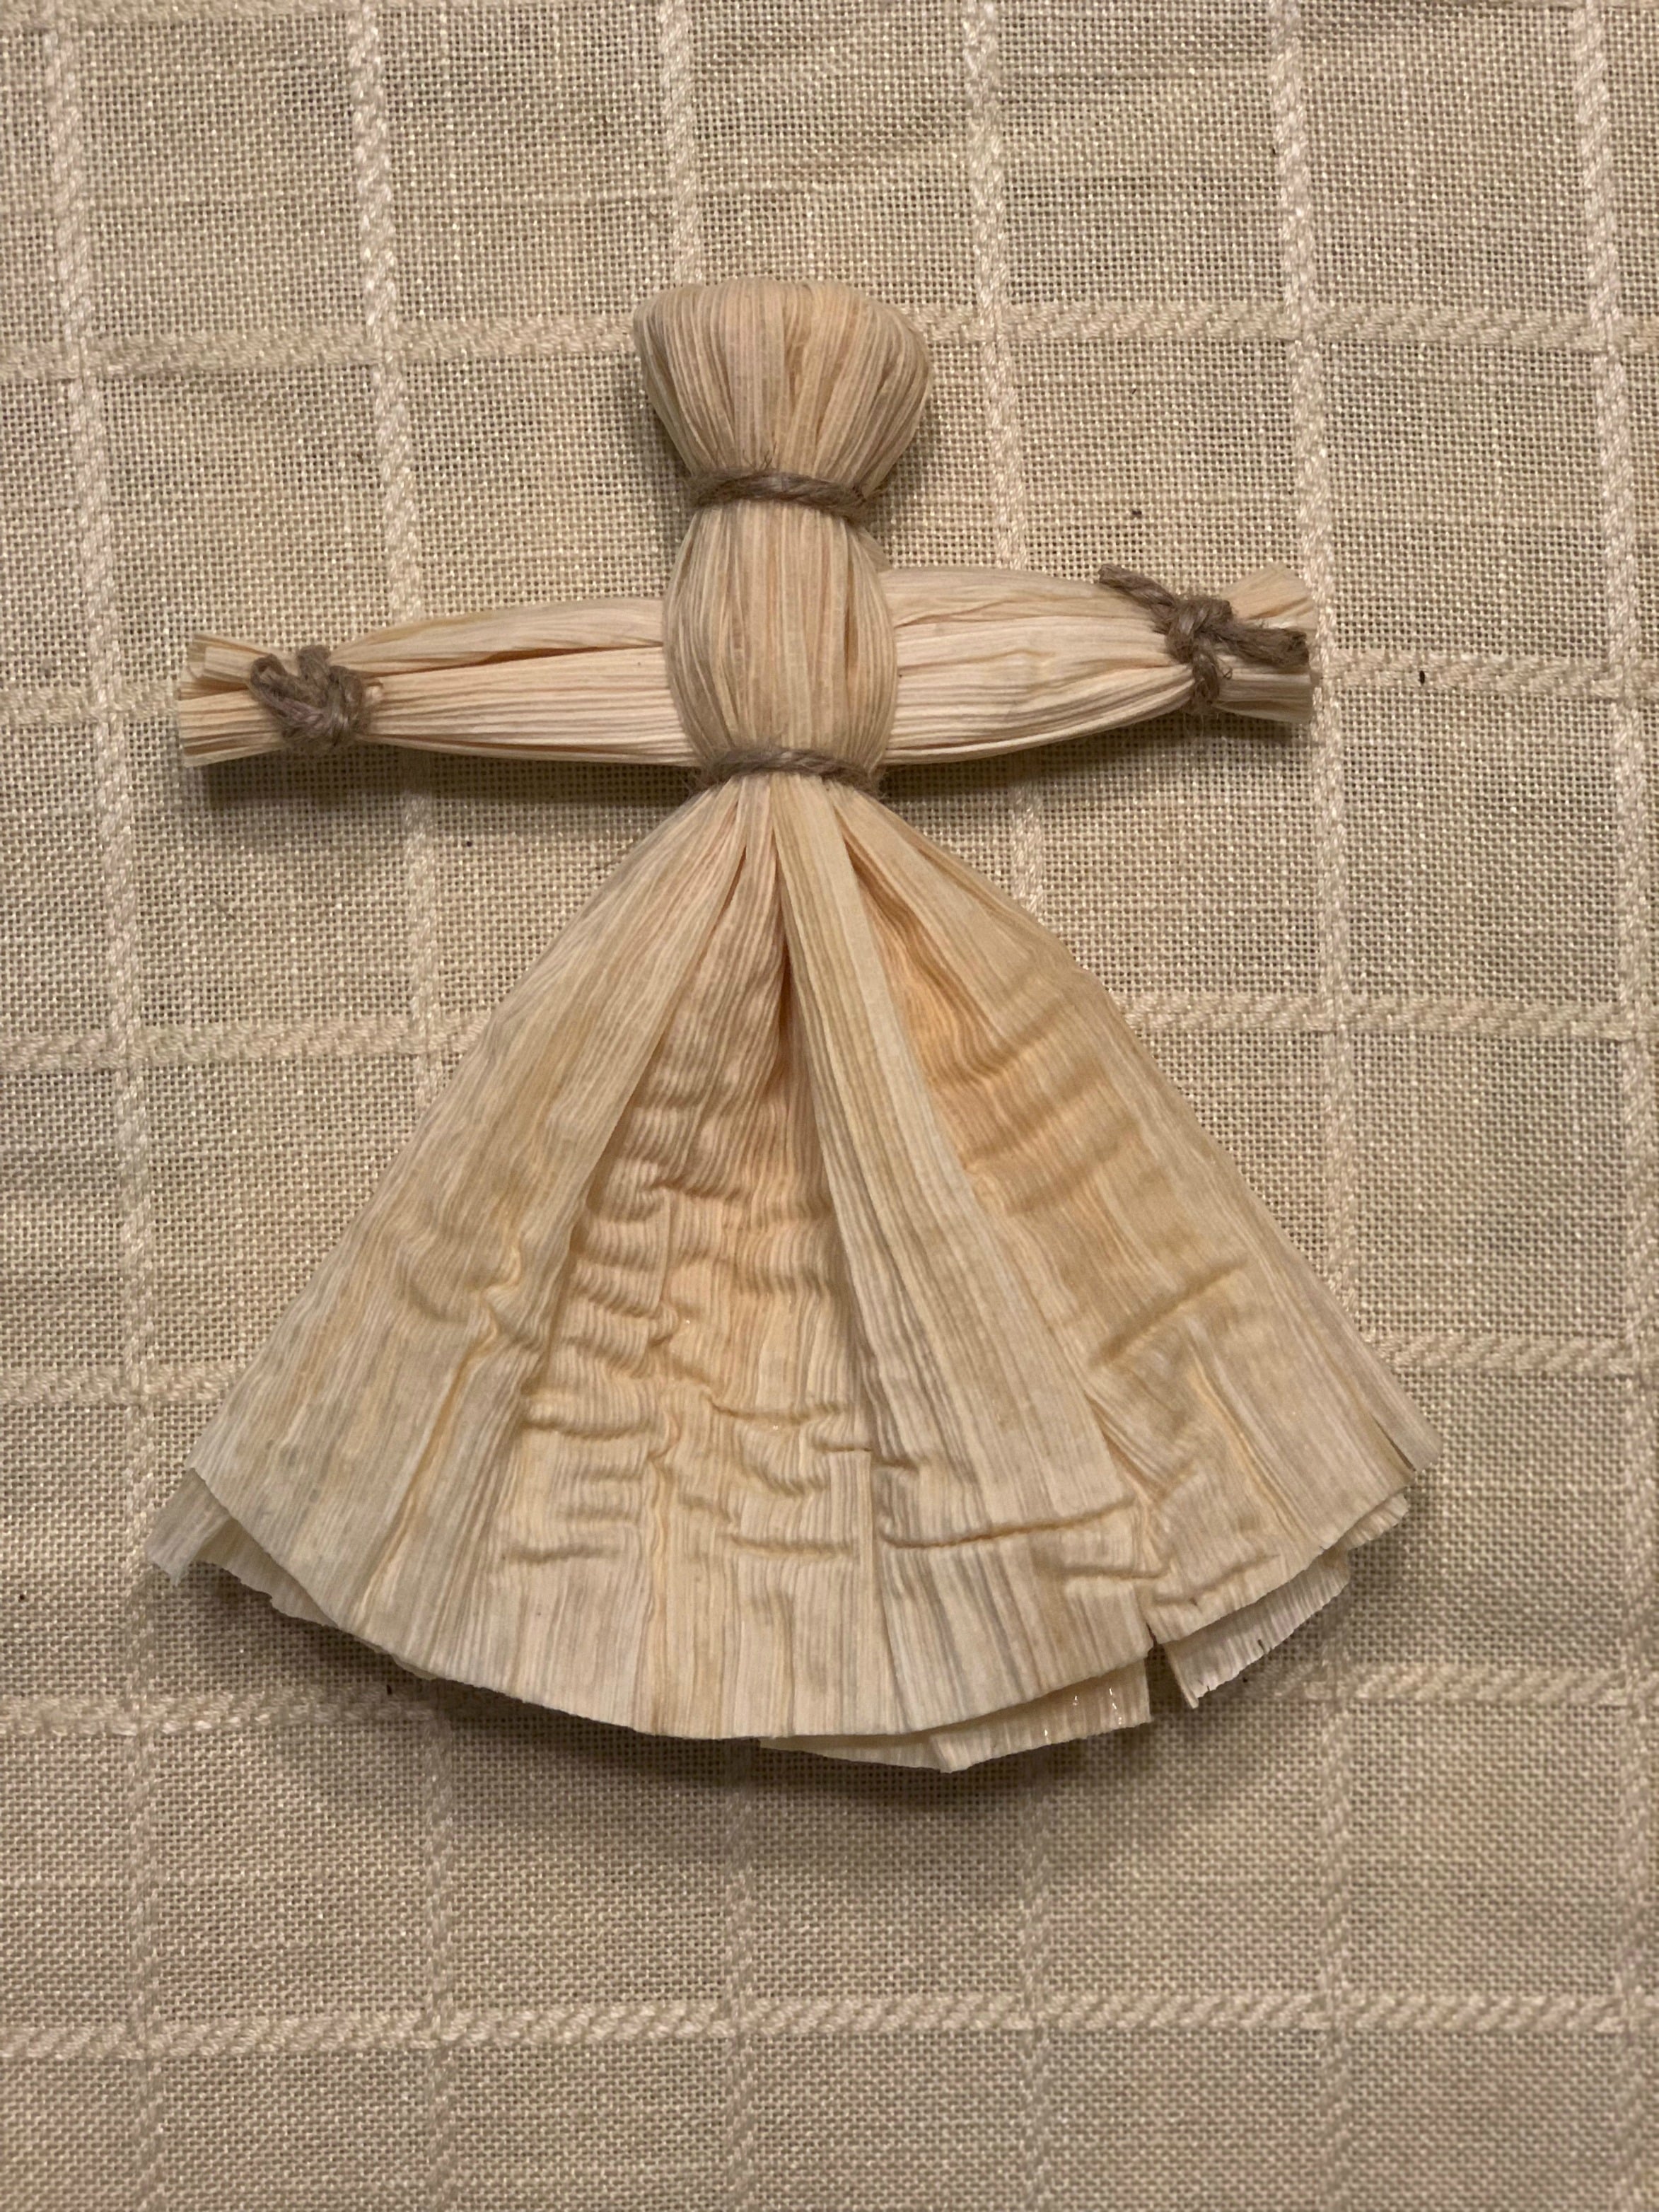
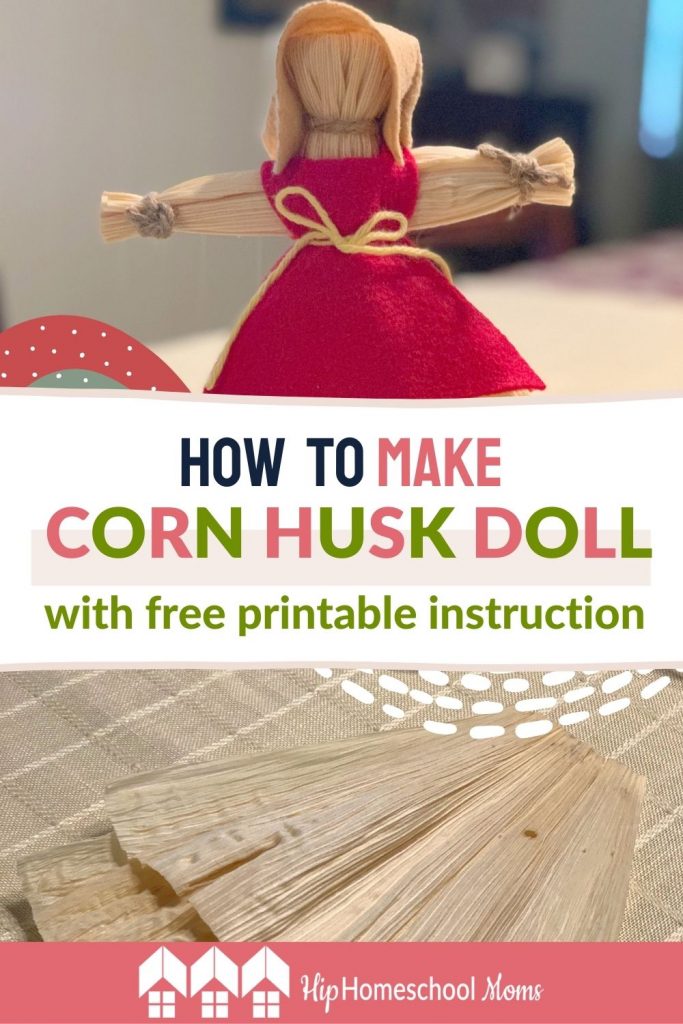
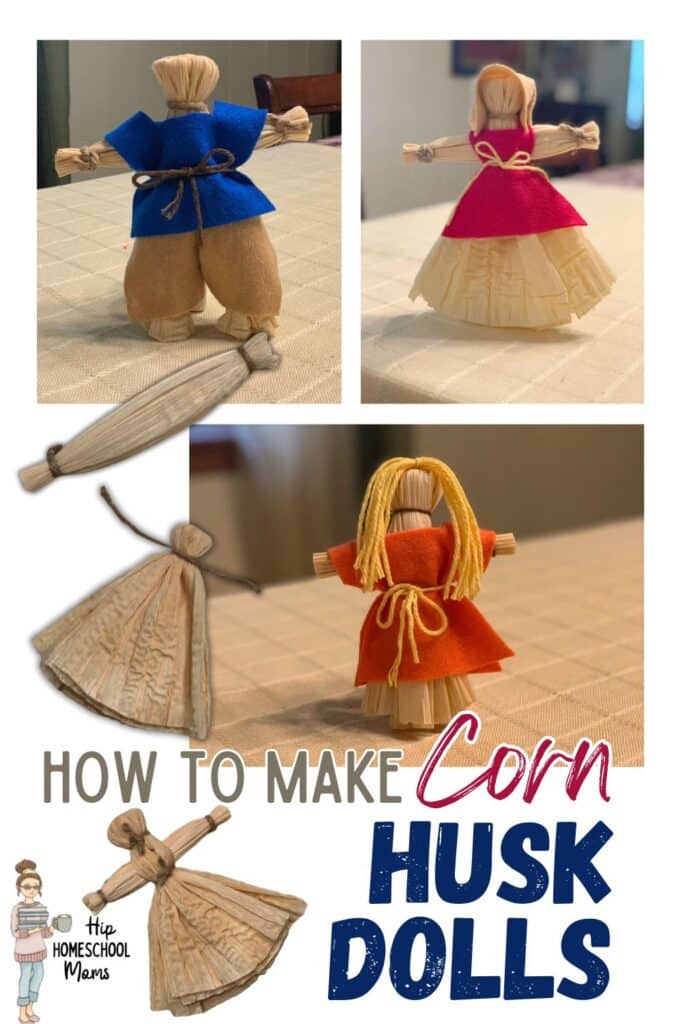
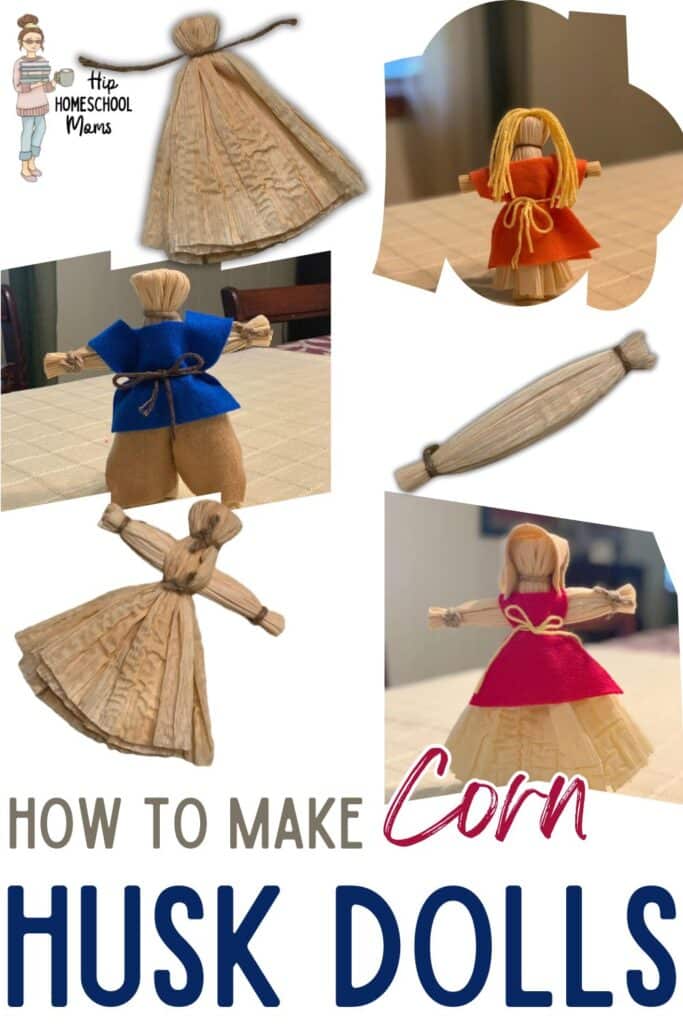
Female Corn Husk Doll
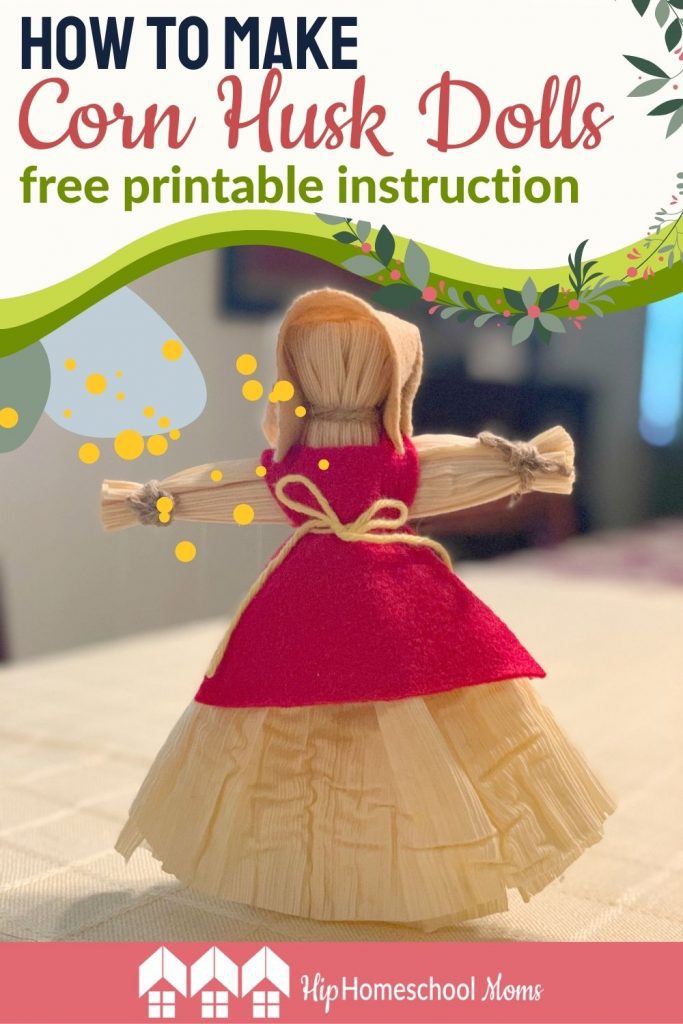
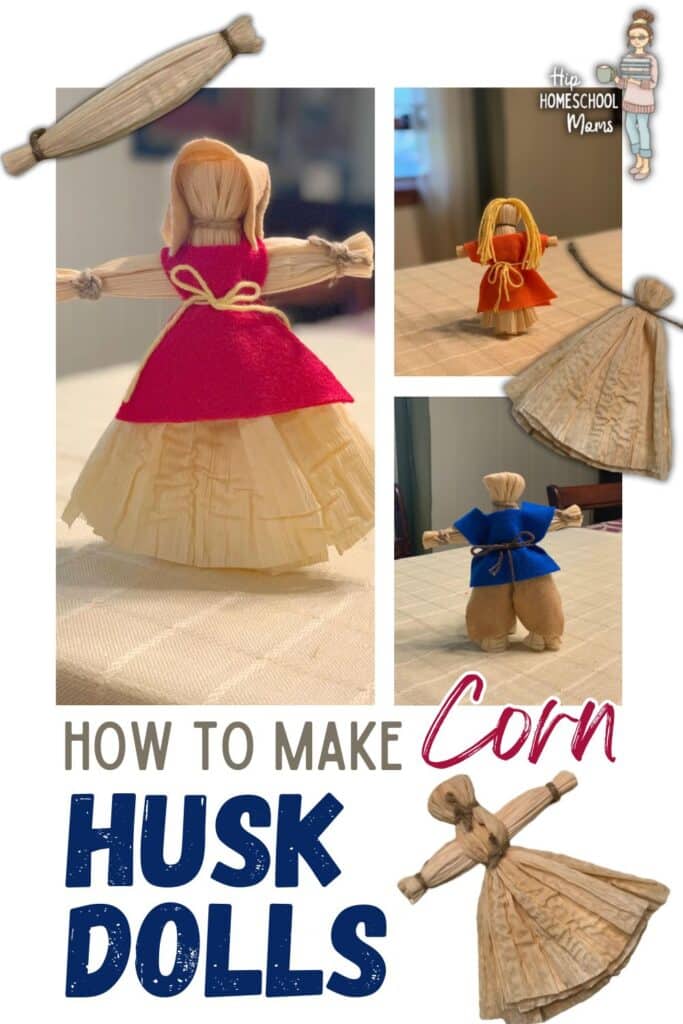
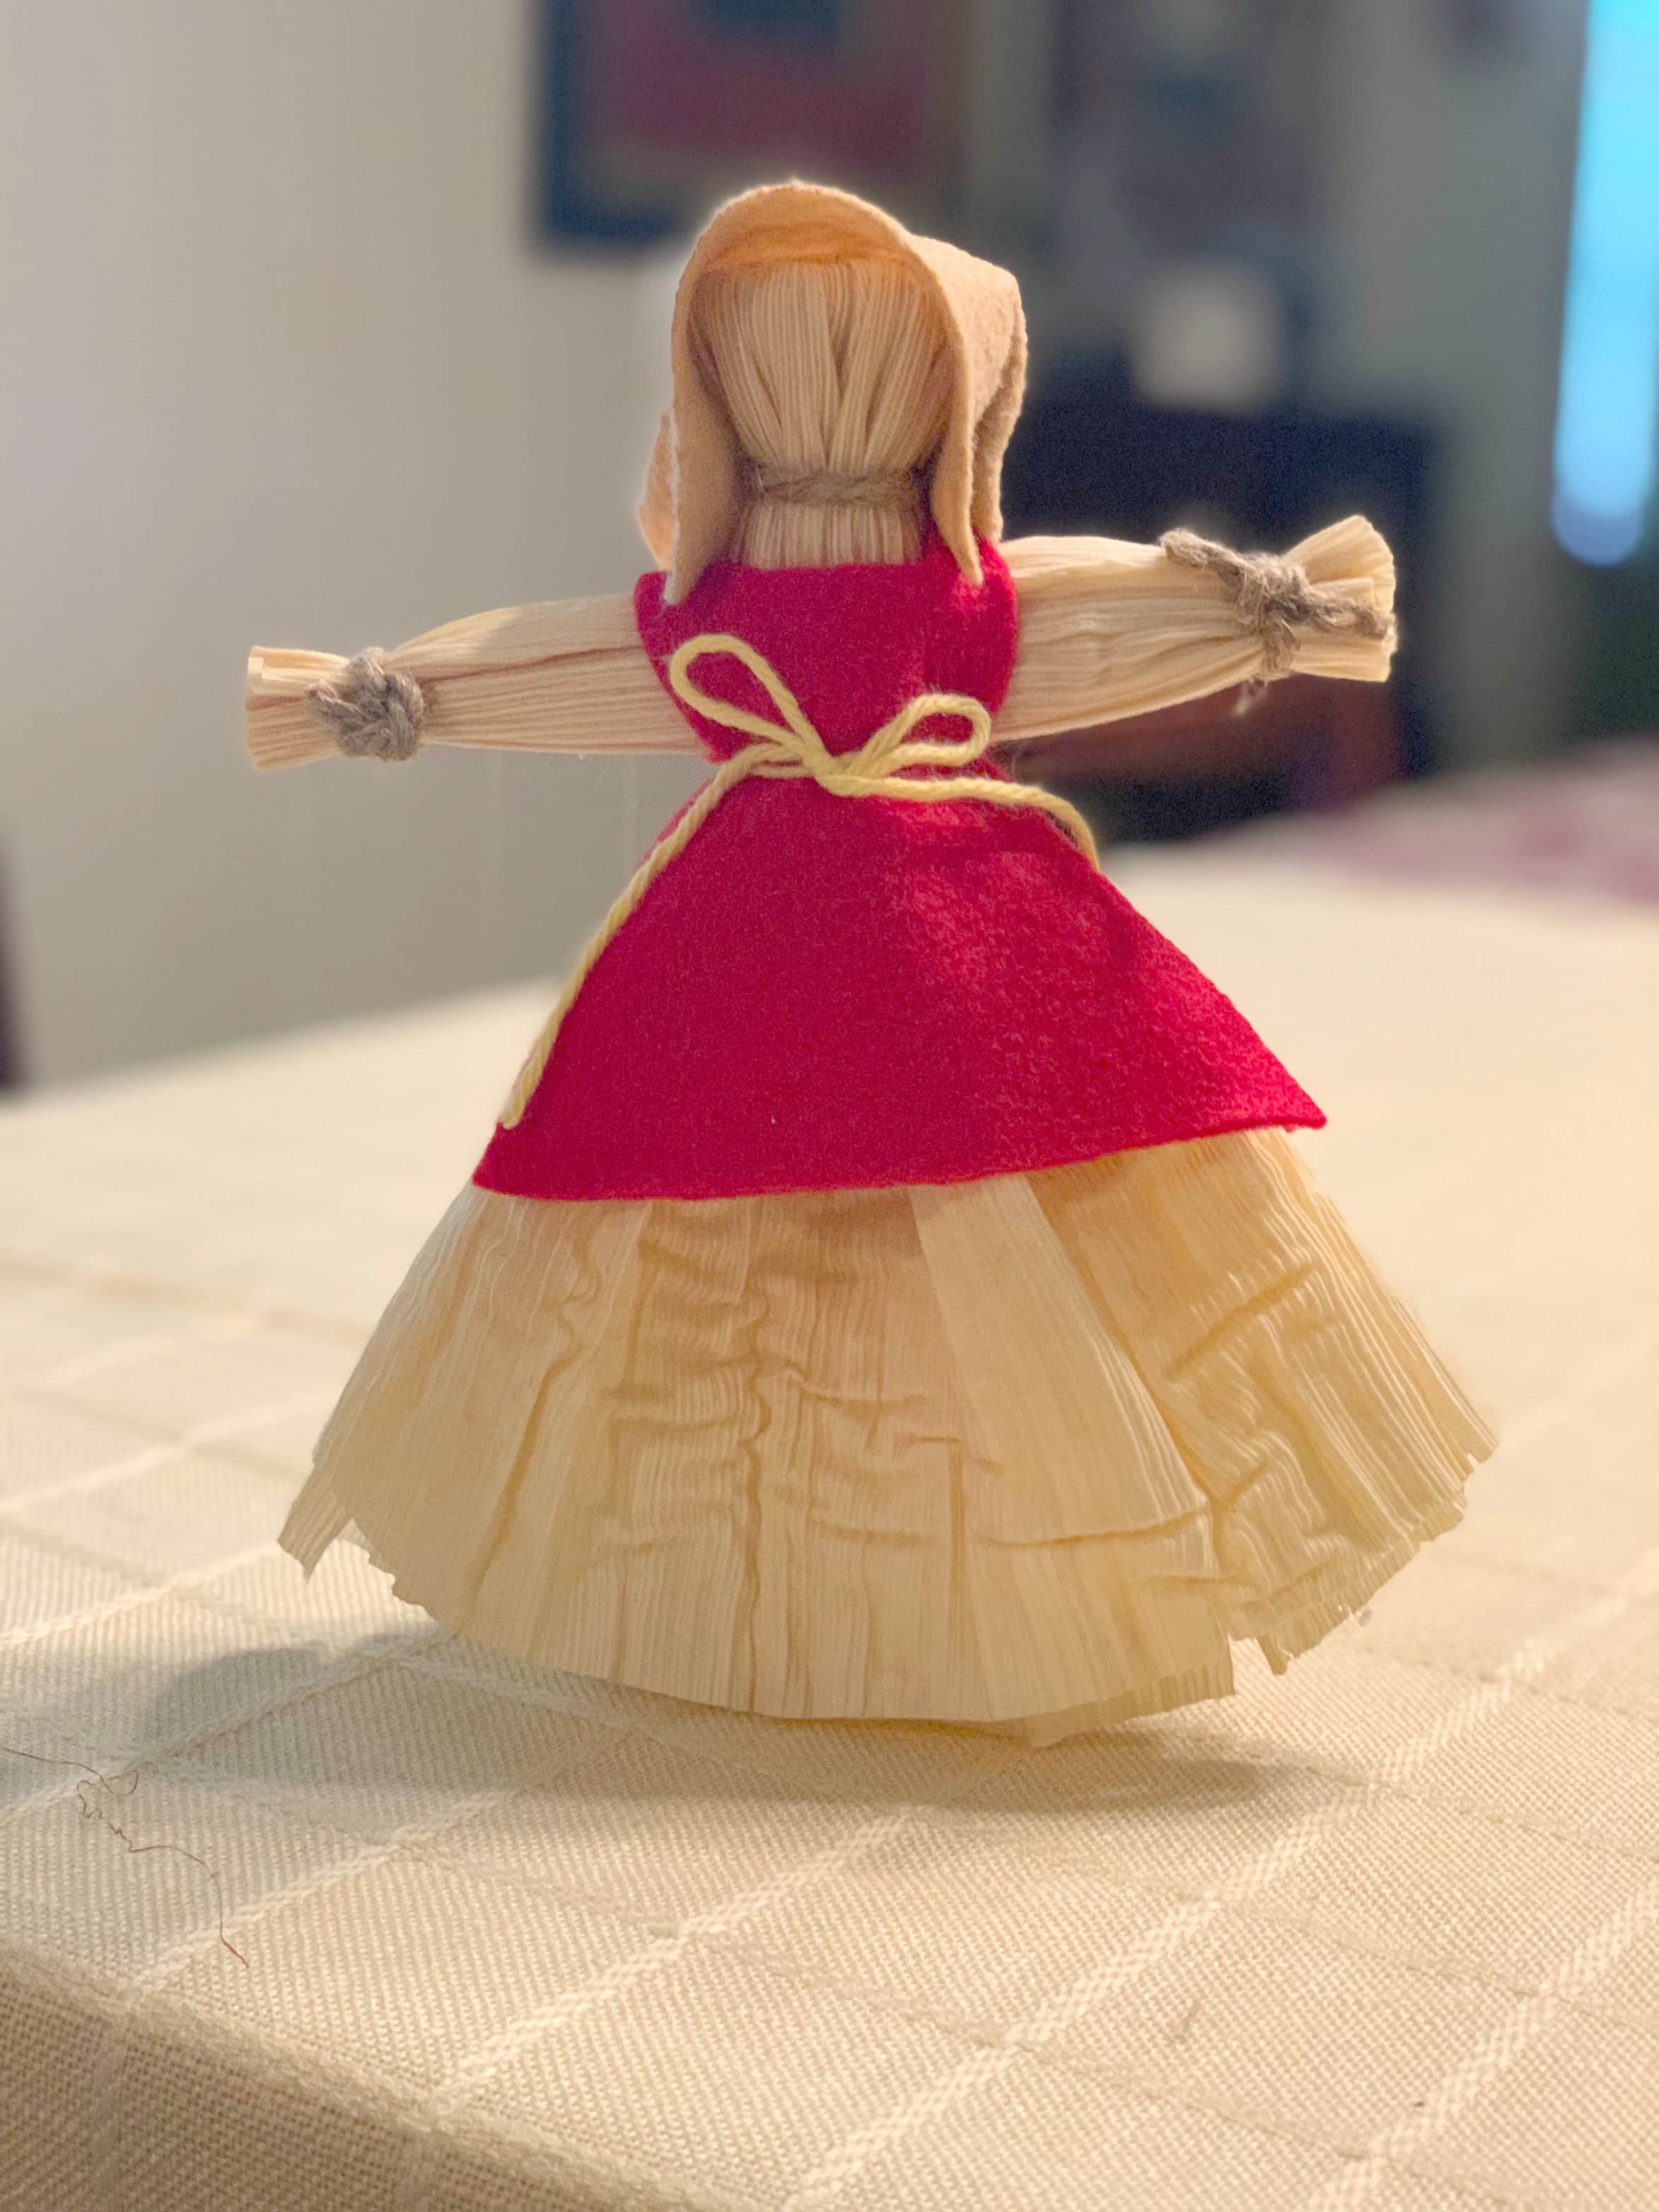
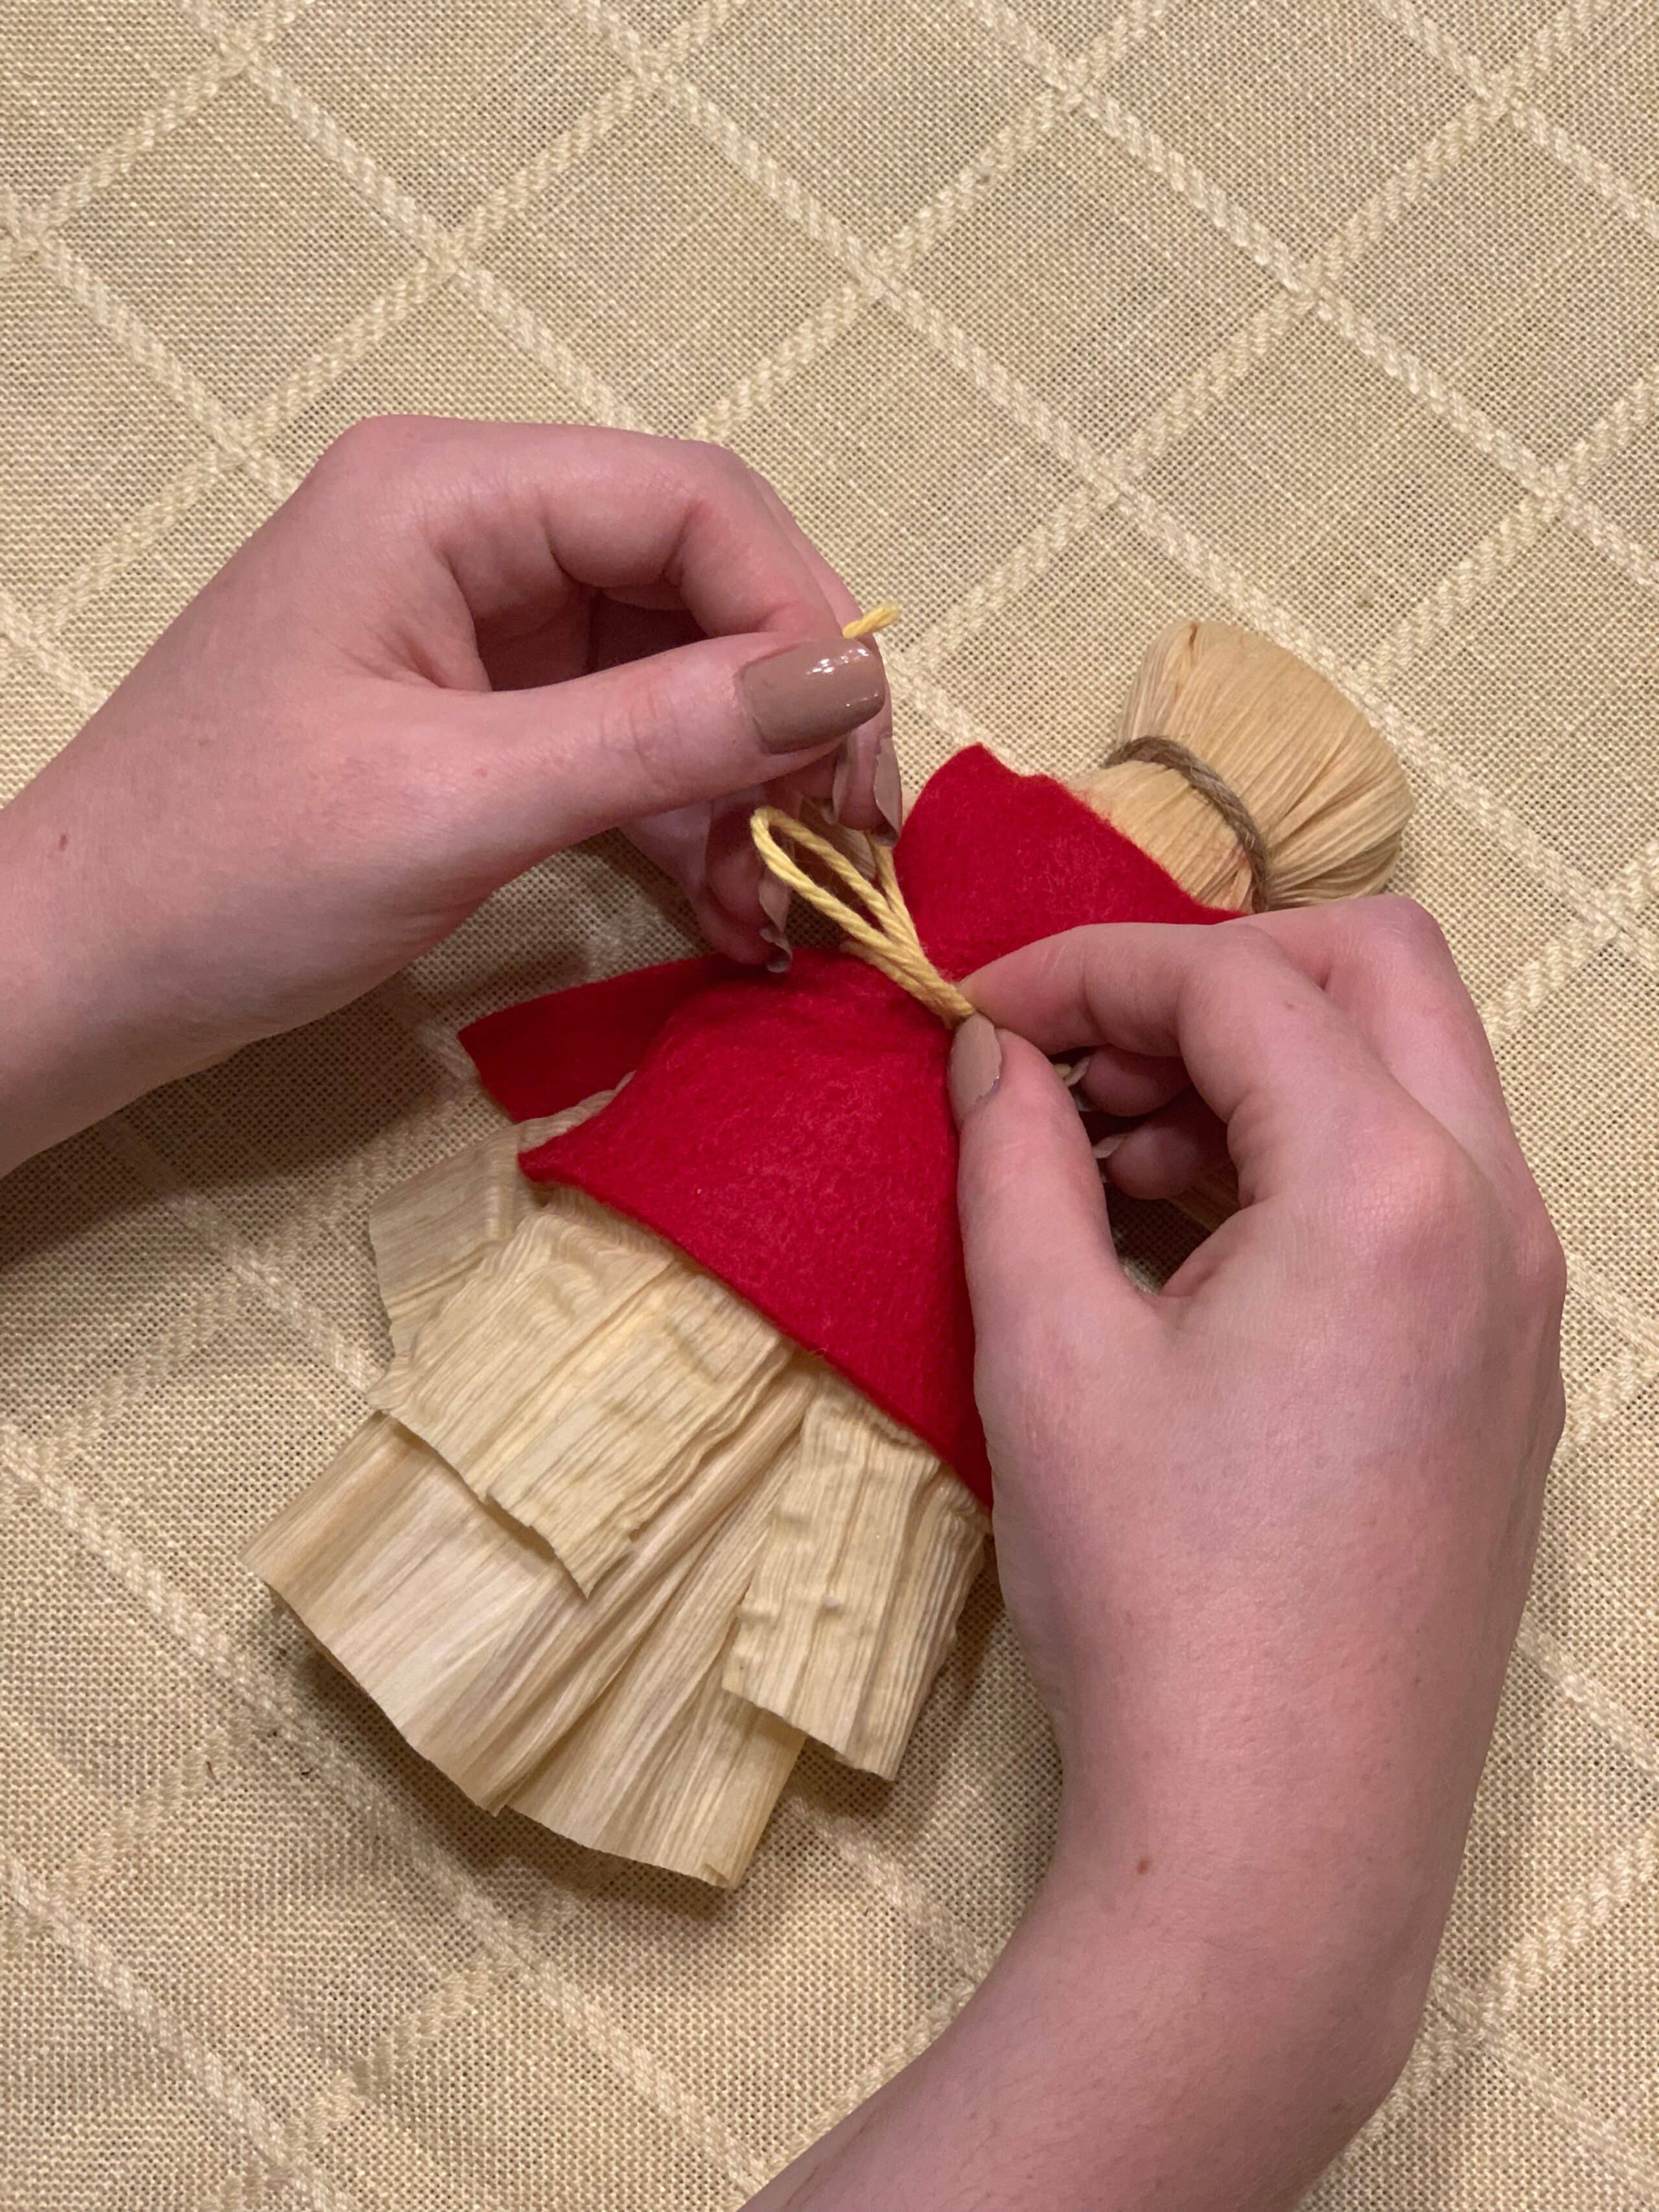
If you started out wanting to make a female corn husk doll, you now have the basic structure that you need! At this point, you can get creative in making clothing and hair for your doll. We used a rectangular piece of felt with a hole cut in the middle to serve as the basis of our female doll’s apron. As you can see, you simply slip this piece over the doll’s head.
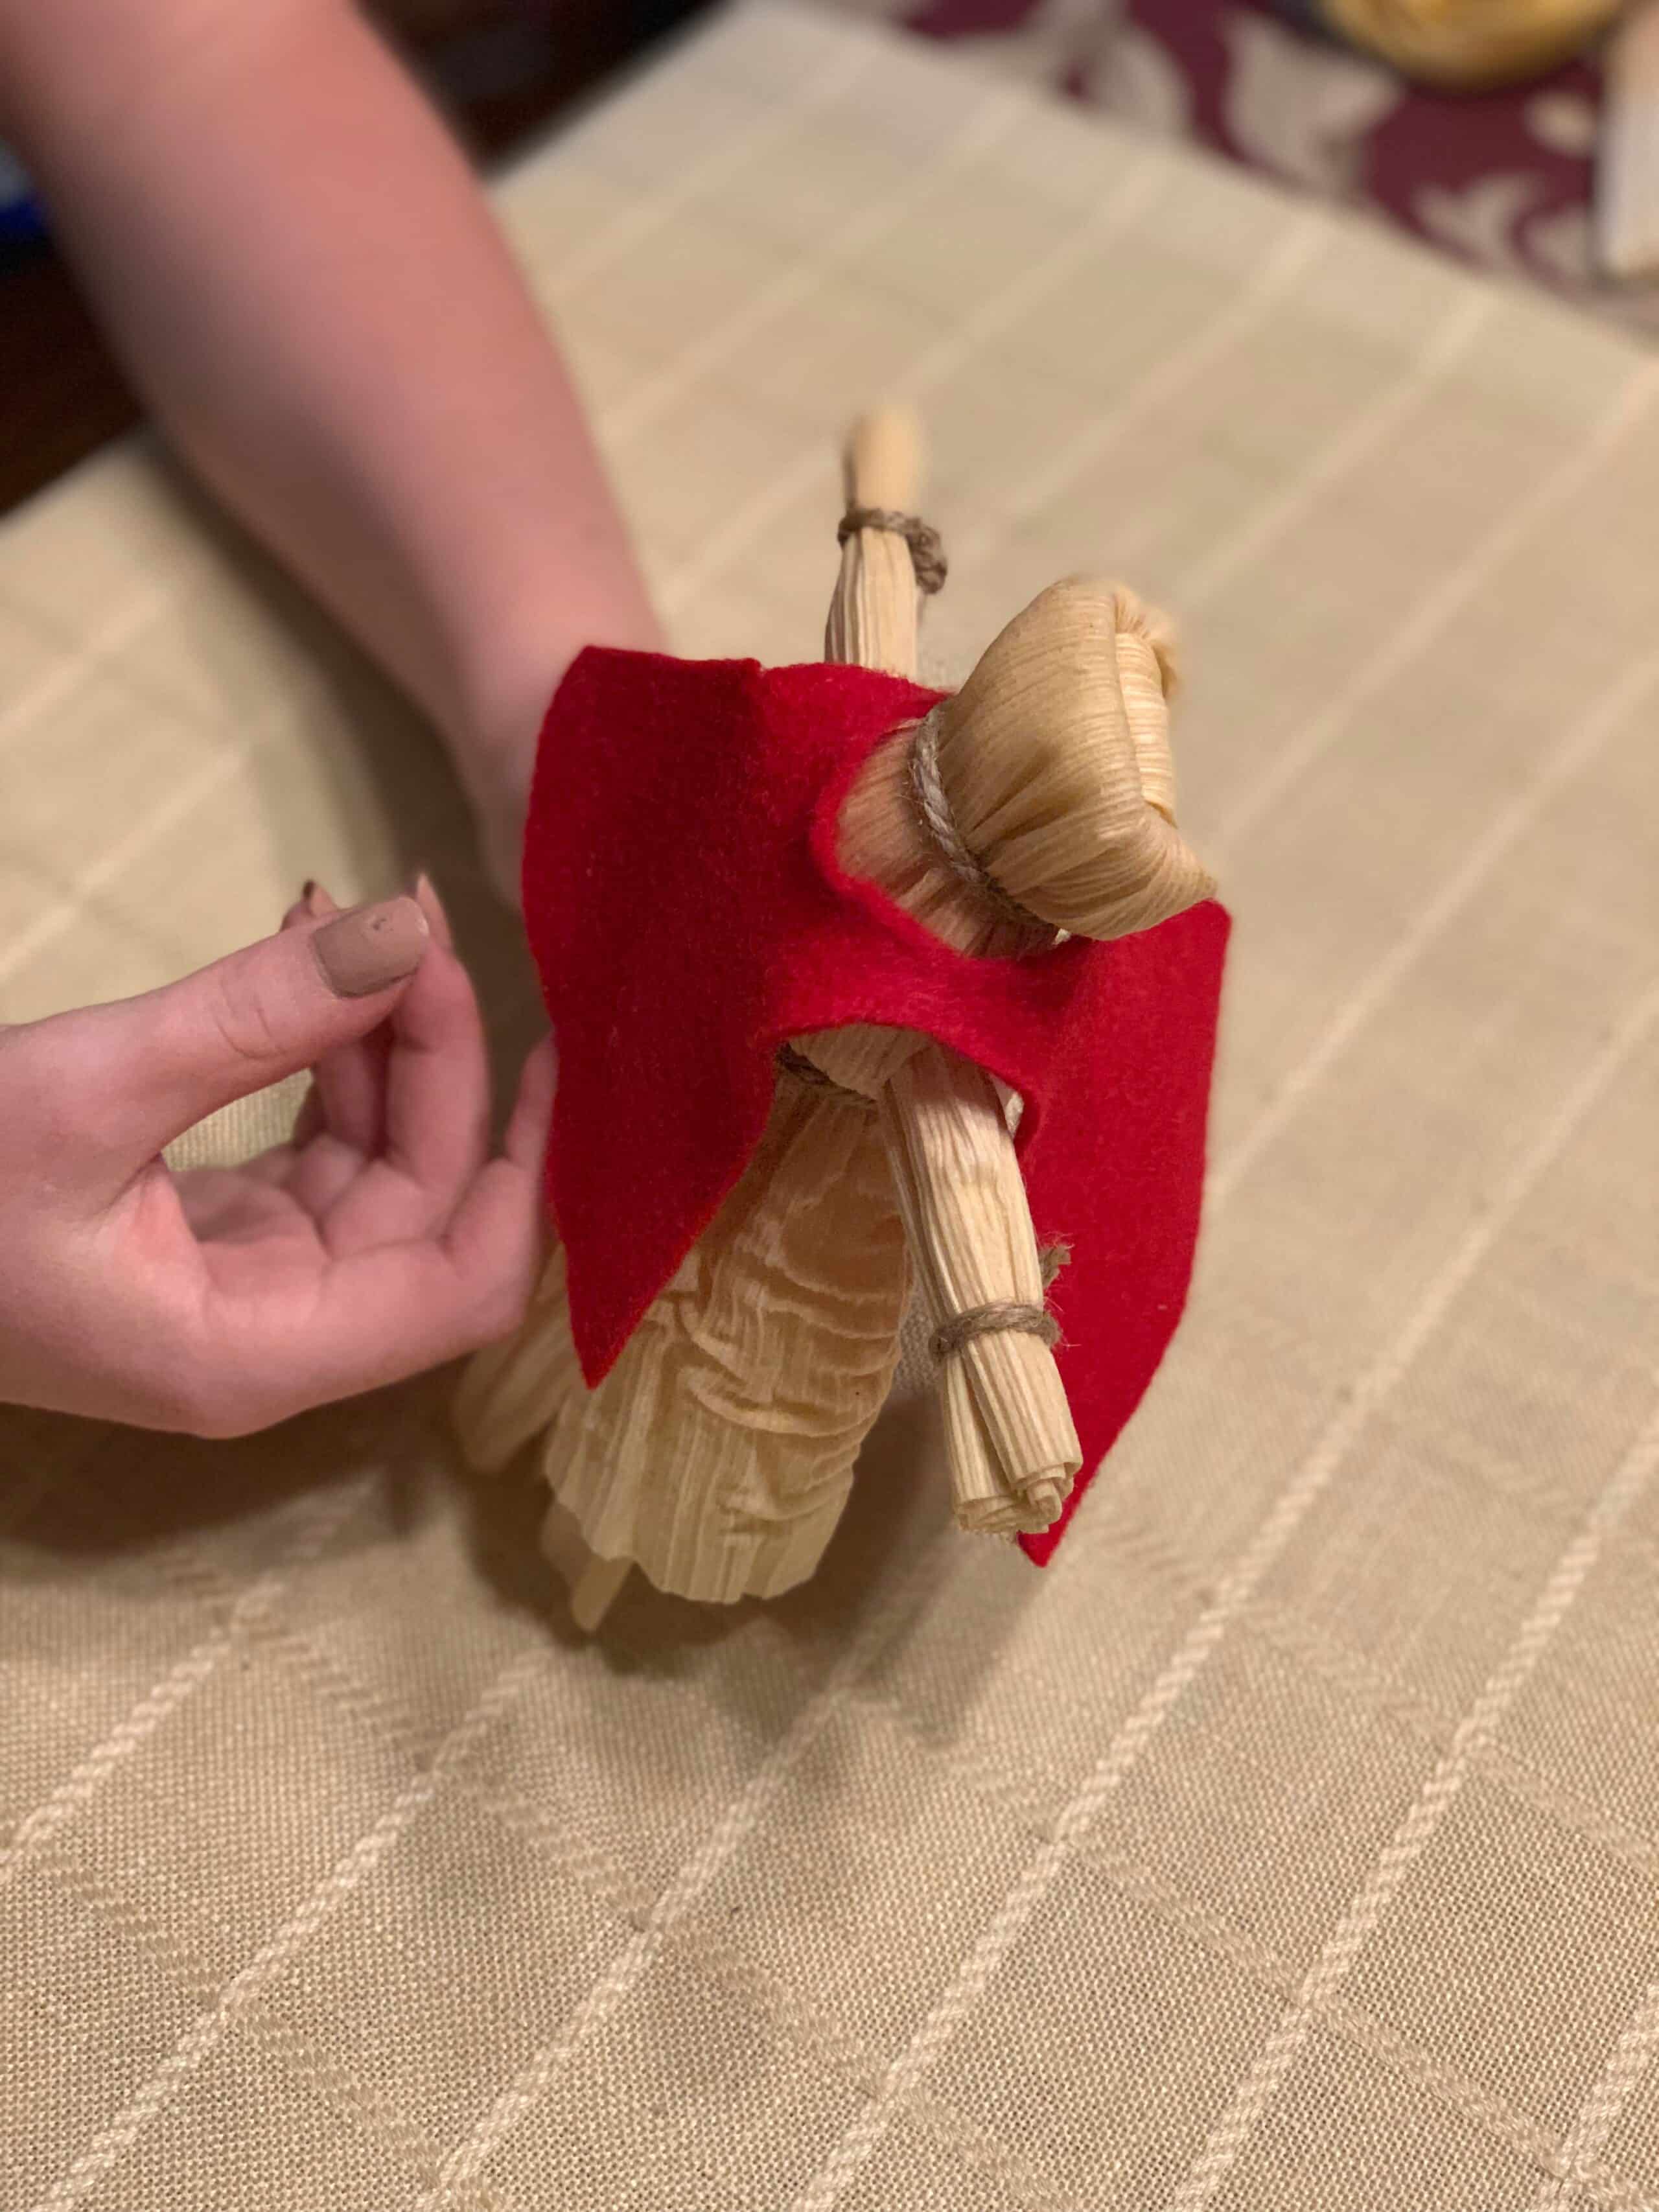
Then just tie it at the waist with a piece of twine, yarn, or ribbon. The resulting dress is similar to the style that the early colonists wore. It is likely that many colonial children dressed their corn husk dolls similarly!
To go along with this style of dress, you can use a piece of felt to create a simple bonnet.
Or you can fashion hair for your doll out of bits of corn husk, raffia, or yarn. You can use glue to attach your head covering of choice.

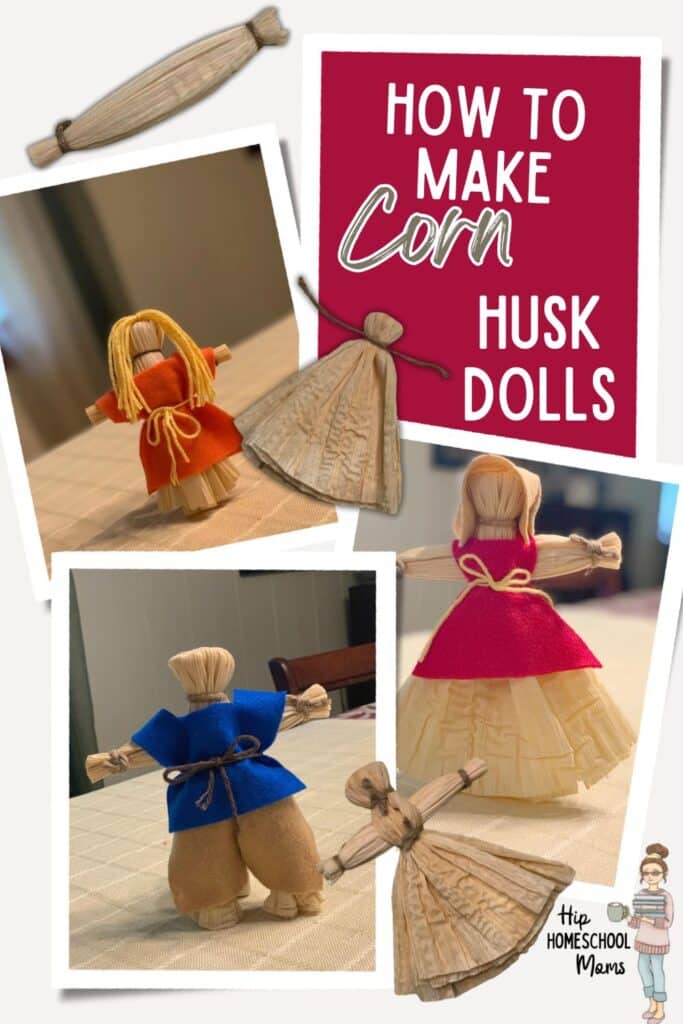
For the Male Corn Husk Doll
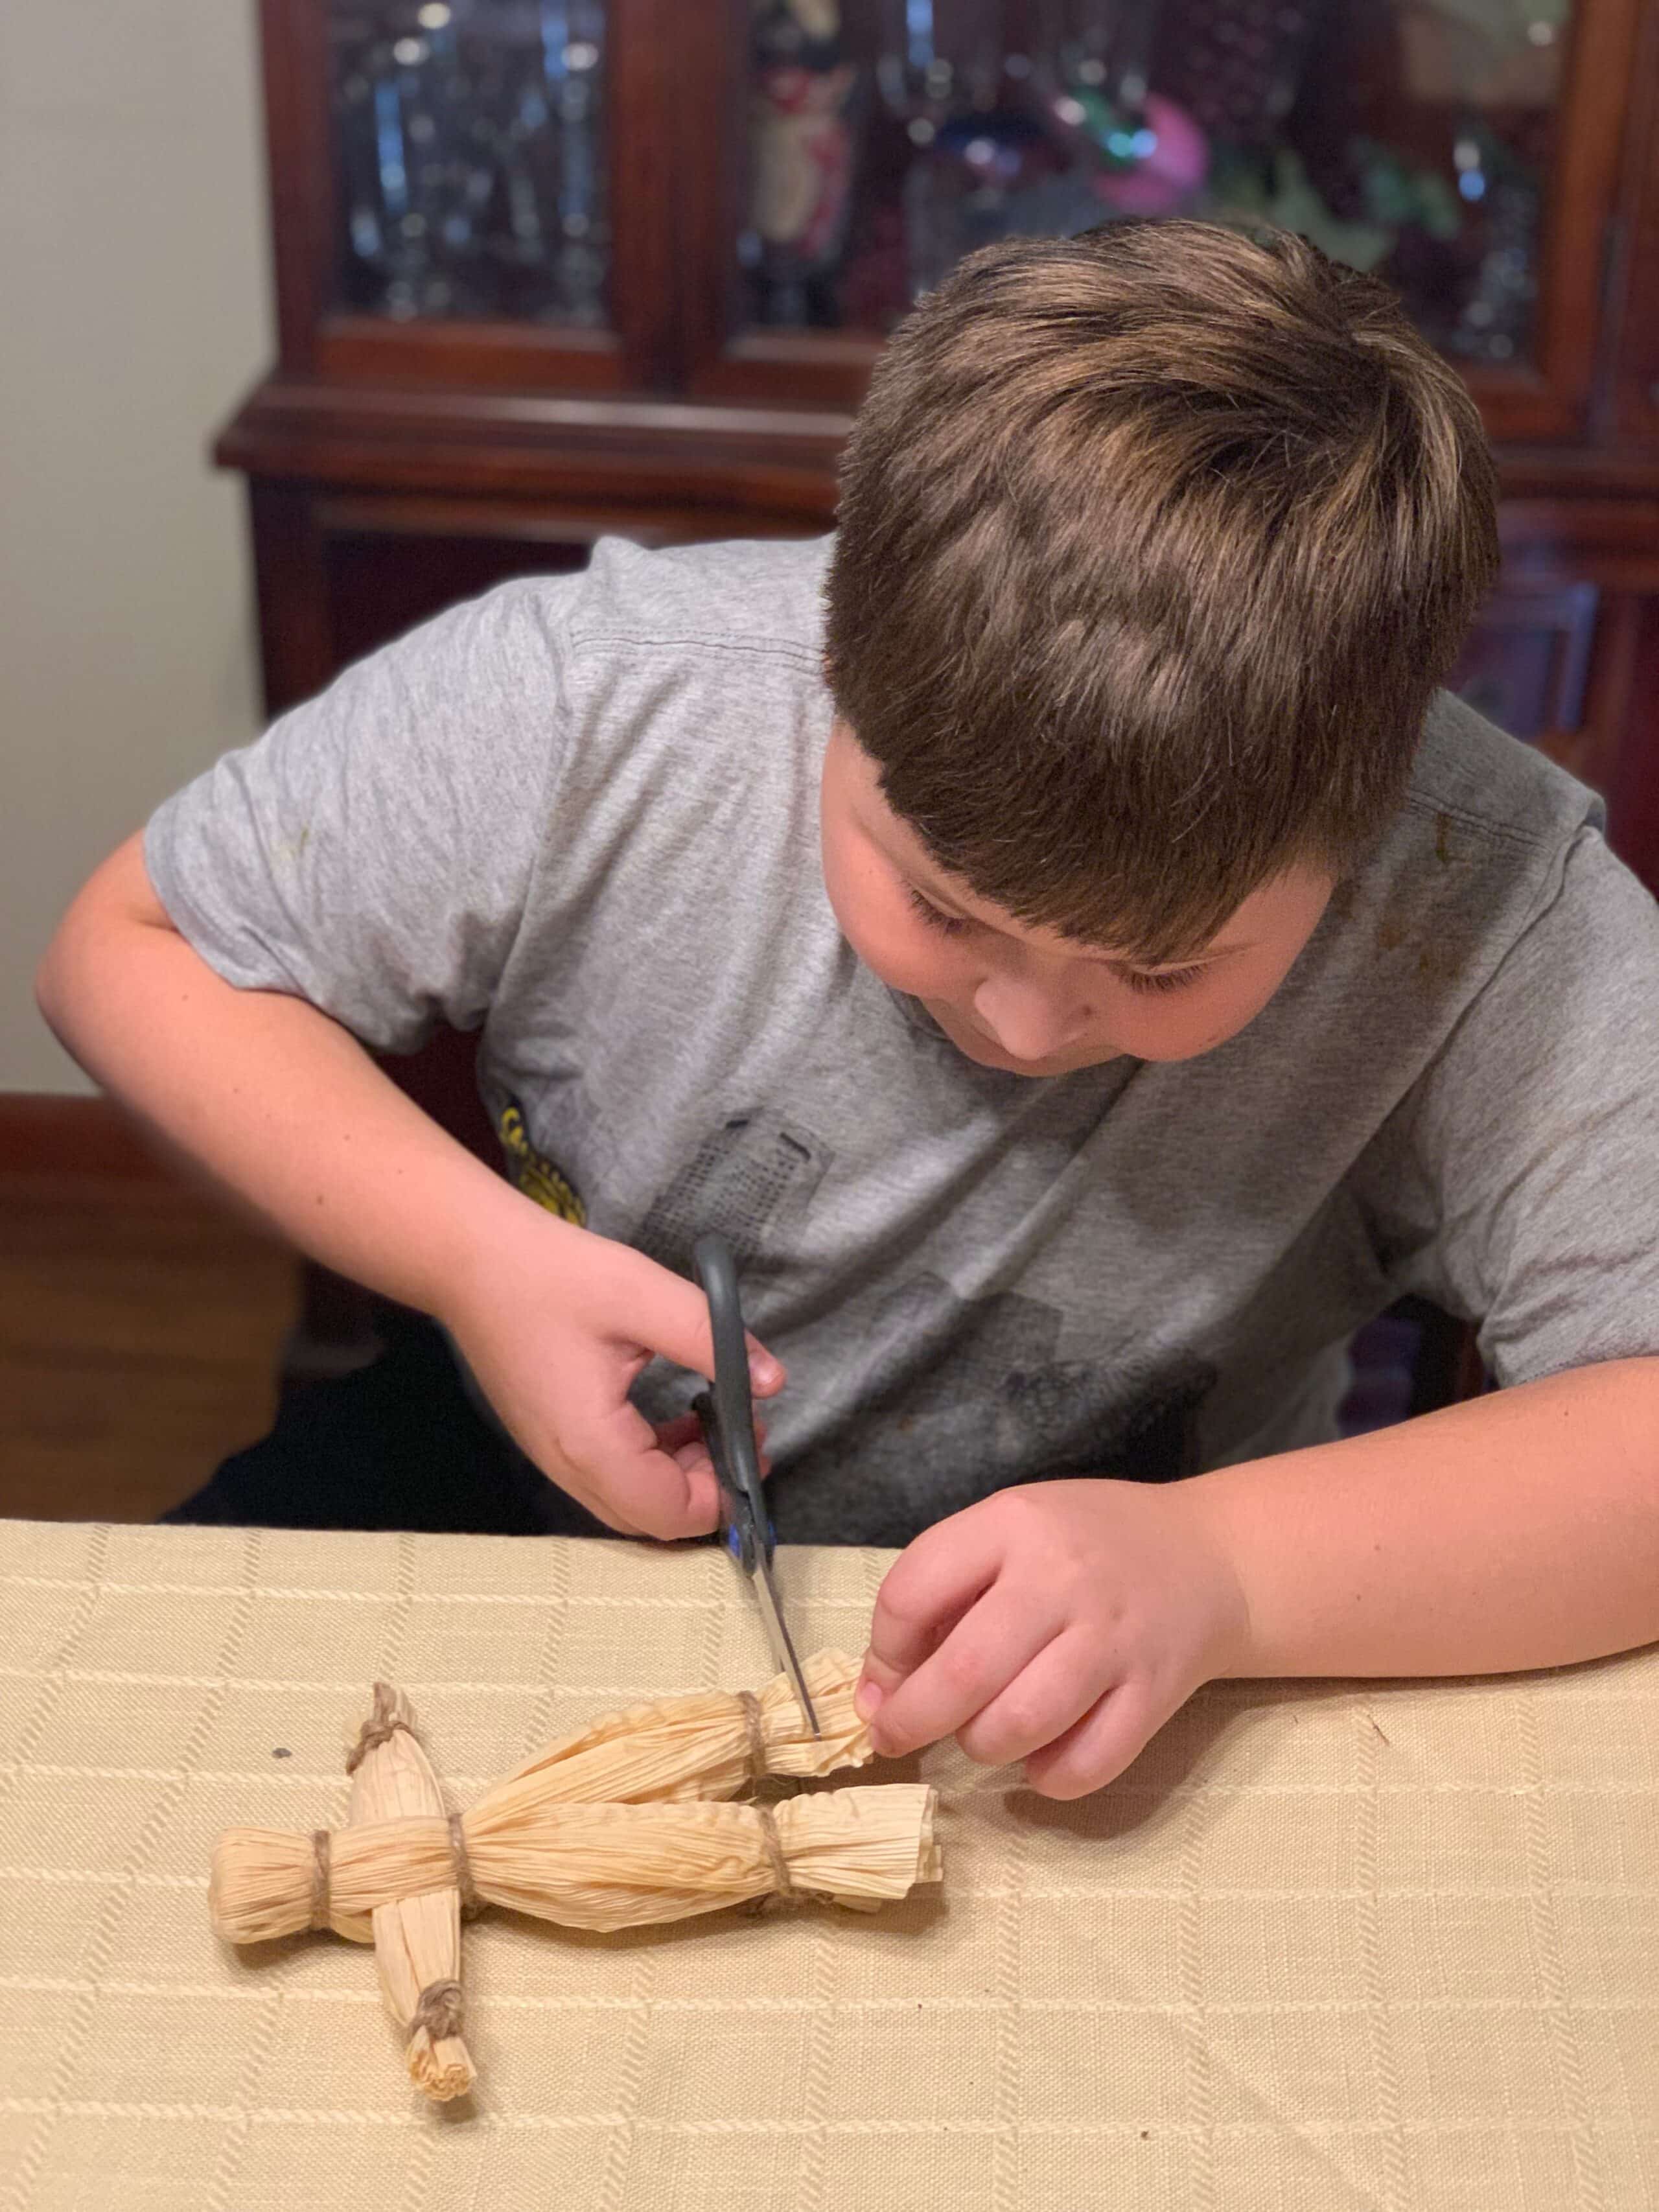
To make the male corn husk doll, like my nephew Harlan did, you just have a couple of additional steps.
The first thing you’ll do is cut a straight line up through the skirt. This creates two “legs.” Use the twine to tie a knot towards the bottom of each leg, about where an ankle would be. Trim the excess, making sure that both sides are relatively even.
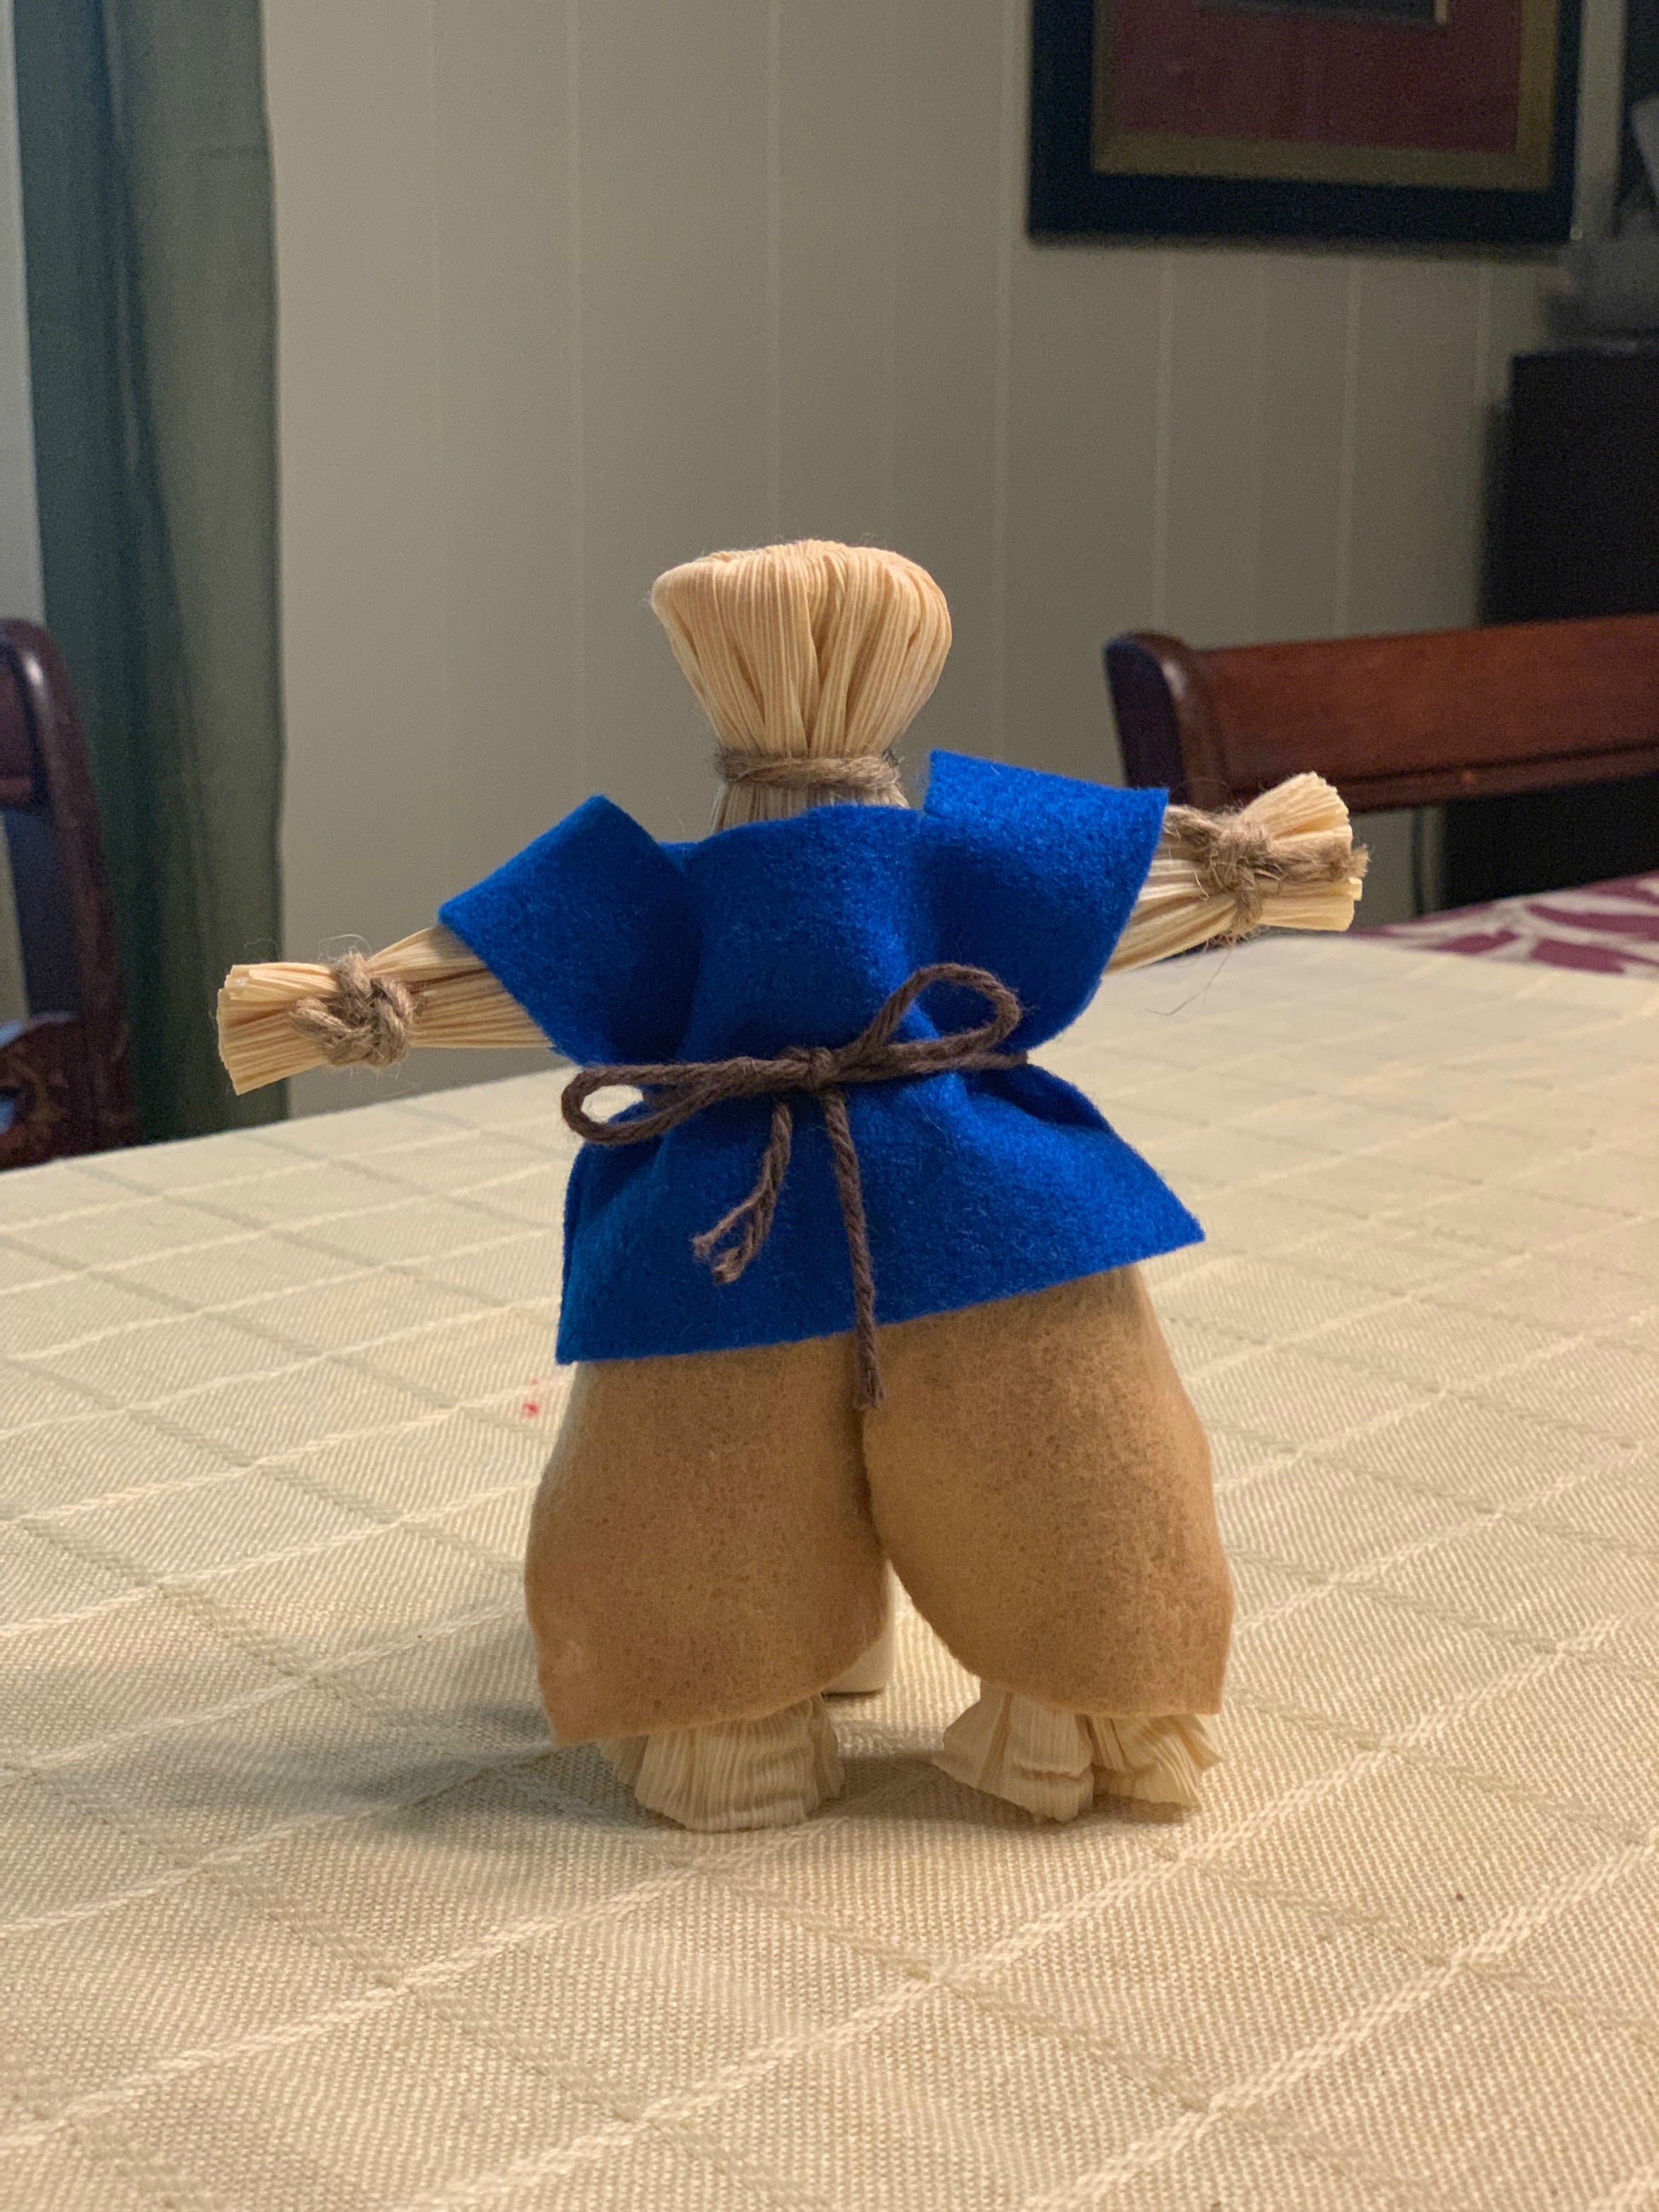
To dress your male corn husk doll, you can use the same strategy that we utilized with the female doll’s apron. Cut a hole in a piece of felt and place it over the doll’s head to create a shirt/tunic. Then, you can tie this around the waist with a piece of twine or yarn.
You may want to leave your male corn husk doll with corn husk pants…or you may want to give him felt or cloth trousers!
Depending on your children’s ages, motor skills, and interests, they can really have fun and be creative with the decorations on their corn husk dolls. Optionally, you may even want to bring out the hot glue gun, buttons, etc. As you get creative with your corn husk dolls, you may consider making faces for them. However, there is a reason why traditional corn husk dolls don’t have faces (check out this Native American legend to see why!)
Corn Husk Doll Variations
Use colored corn husks or dyed husks – you can even dye your own to make it even more hands-on and personal.
Make “mini‐dolls” for younger children.
Use sustainable thread or natural materials for decoration.
Go on a nature hike to find natural decorations for your dolls.
For younger children, pre‐tie knots or let them decorate instead of constructing full dolls.
Corn Husk Doll Extensions
Use this craft as a springboard to learning about heritage crafts around the world.
Use this craft to dive deep into Native American crafts by tribe.
Curriculum Connections
History: Explore corn’s role in Native American agriculture and colonial trade.
Science: Observe how soaking changes the texture of the husk.
Art: Encourage design options (dress, pants, patterns) and personalize the dolls.
Literacy: Ask kids to write a short story about their doll’s “journey.”
Want printable instructions for making your own corn husk dolls? Click here to get them!
More Fall Resources for Your Homeschool
Fall Read, Write, and Count the Room: Math and Literacy Activities
Life Cycle of a Corn Plant mini unit study
Easy Fall Unit Studies for Homeschoolers
Did you ever make your own corn husk dolls, or are you planning to try it for the first time? We hope you enjoy recreating this fun, festive craft in your own home. We’d love to see pictures of your own corn husk doll creations! Post them on Instagram and tag us with this hashtag #HipHomeschoolMoms and #365homeschool.