
Easy DIY Hanukkiah to Make with Your Family
Hi, I am Trish, the owner of Hip Homeschool Moms, and we are a Messianic family. We have been celebrating the Biblical Feasts for many years now, and one of my favorite traditions has been making our own Hanukkiahs (a nine-branch menorah for Hanukkah). This easy DIY Hanukkiah project has been one of my favorite family traditions and is a wonderful way to honor Hanukkah each year.
My kids are grown now, but this tradition is one we built together year after year. Our dining room table always turned into a little workshop as we designed and created a new Hanukkiah each season. Some turned out beautifully… others were a bit more “memorable” than pretty… but every single one carries the story of a moment we shared.
This year, I wanted to share one of the Hanukkiahs we made and show you how to create your own. It is simple, inexpensive, and a wonderful way to create memories with your children.
What is a Hanukkiah?
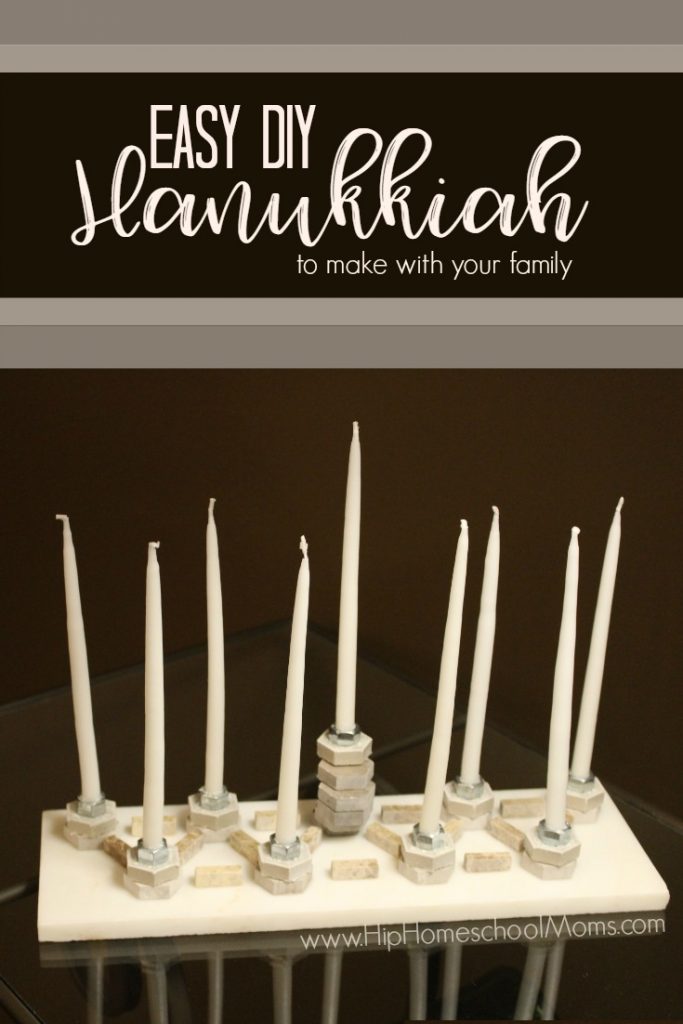
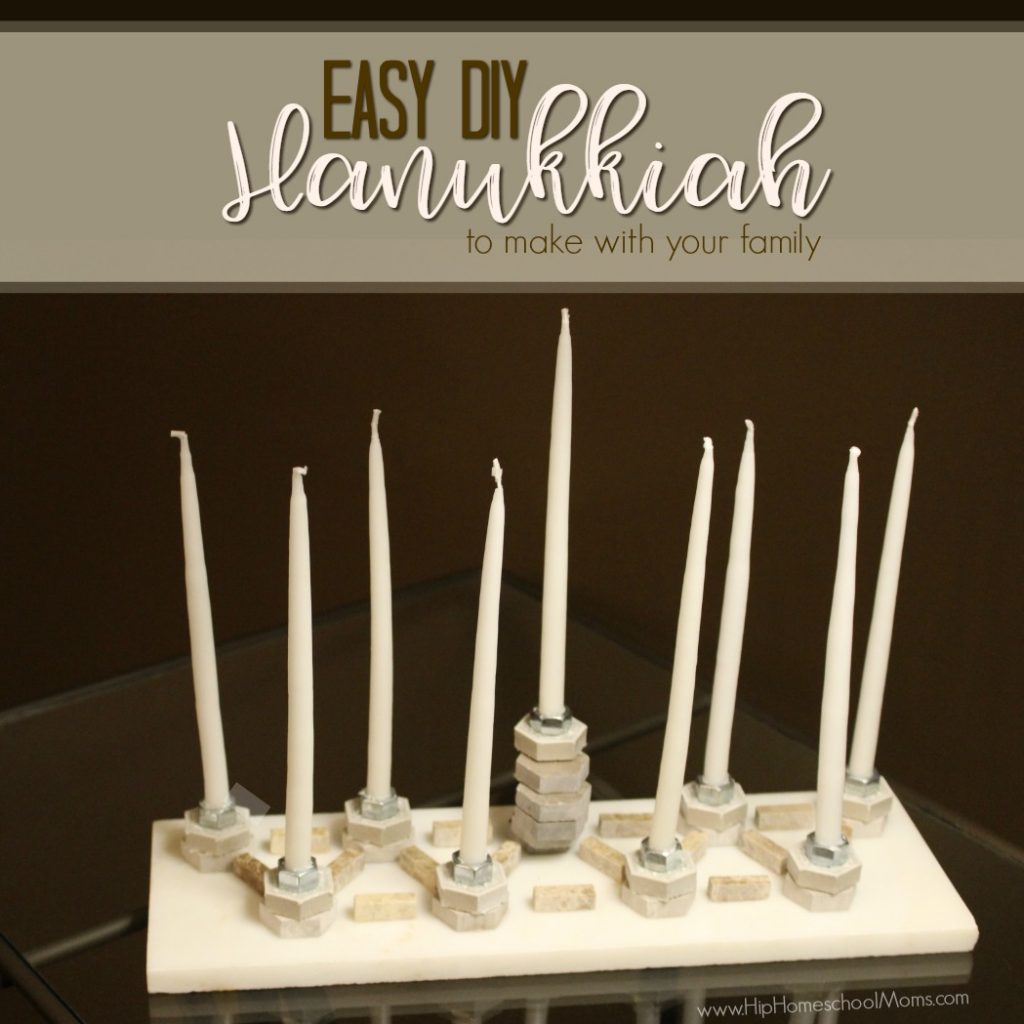
A hanukkiah is a type of menorah explicitly made for Hanukkah. A traditional menorah has seven branches. A hanukkiah has nine candles, one for each of the eight nights of Hanukkah and one taller candle called the Servant Candle, or shamash.
The shamash is used to light the other candles each night.
Hanukkah, the Festival of Lights, commemorates the rededication of the Second Temple during the Maccabean revolt. It lasts for eight nights and usually falls sometime between late November and late December. It is also known as the Feast of Dedication, and it is mentioned in the New Testament (John 10:22).
This year, Hanukkah begins at sundown on Sunday, December 14, 2025, and continues through Monday, December 22, 2025.
Each evening after sundown, we light the shamash first, then use it to light one additional candle each night until all eight are shining on the final night.
As a Messianic family, the shamash has always held a special place in our celebration. It reminds us of Yeshua (Jesus’ Hebrew name), the Light of the World, who serves and brings light to all the others. It is a beautiful picture woven right into the heart of Hanukkah.
This would be a great year to study the Festival of Lights and make your own Hanukkiah!DIY Hanukkiah Materials:
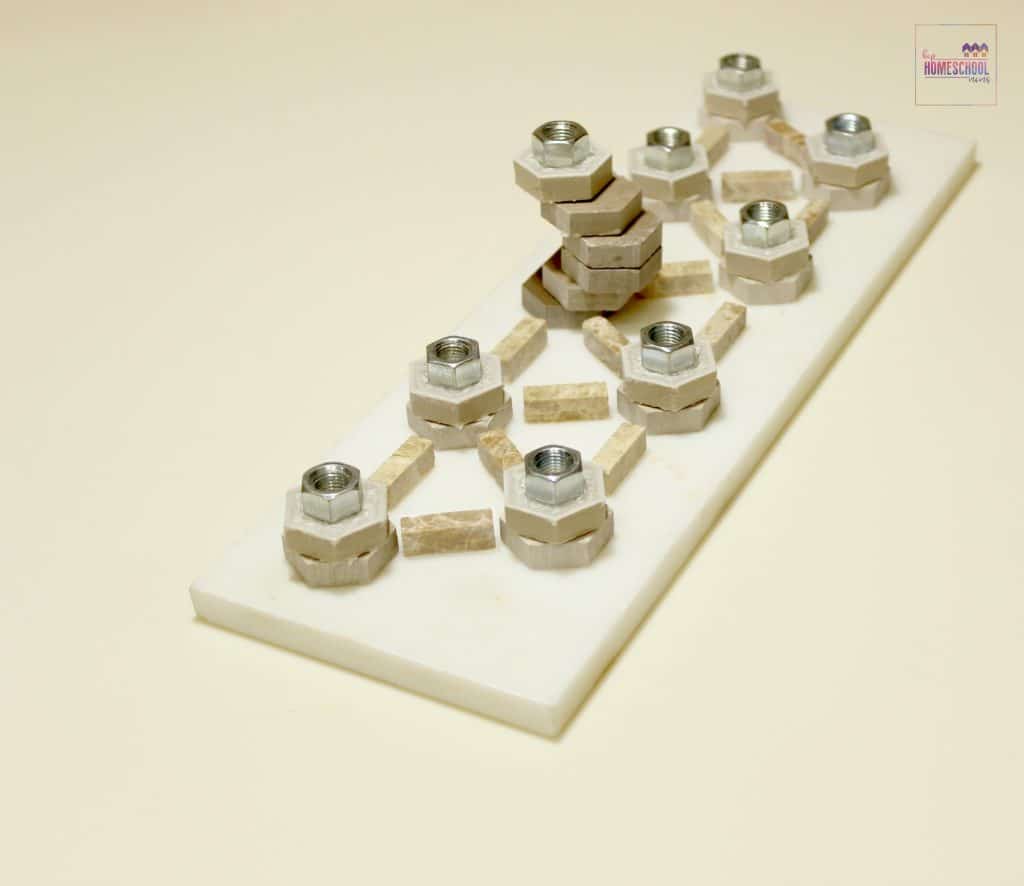
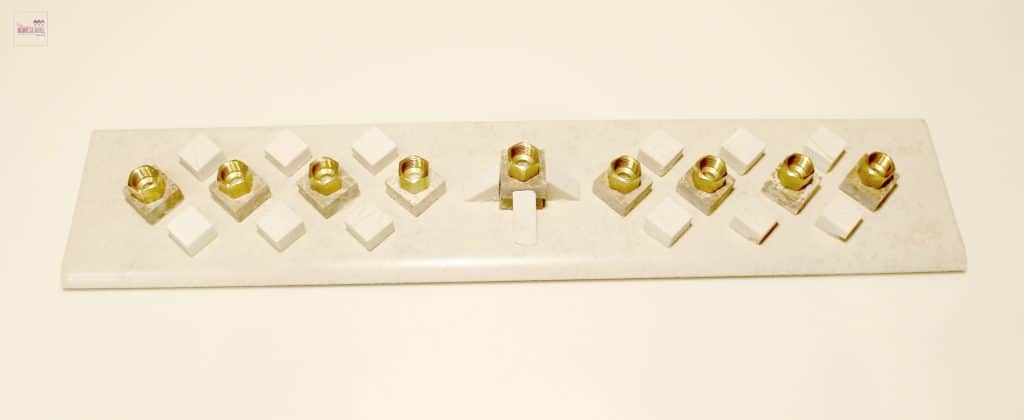
We headed over to our local Home Depot to get our supplies for this project. We found all of the tile and trays in the kitchen back splash section. They have so many to choose from. Here are the combinations we picked.
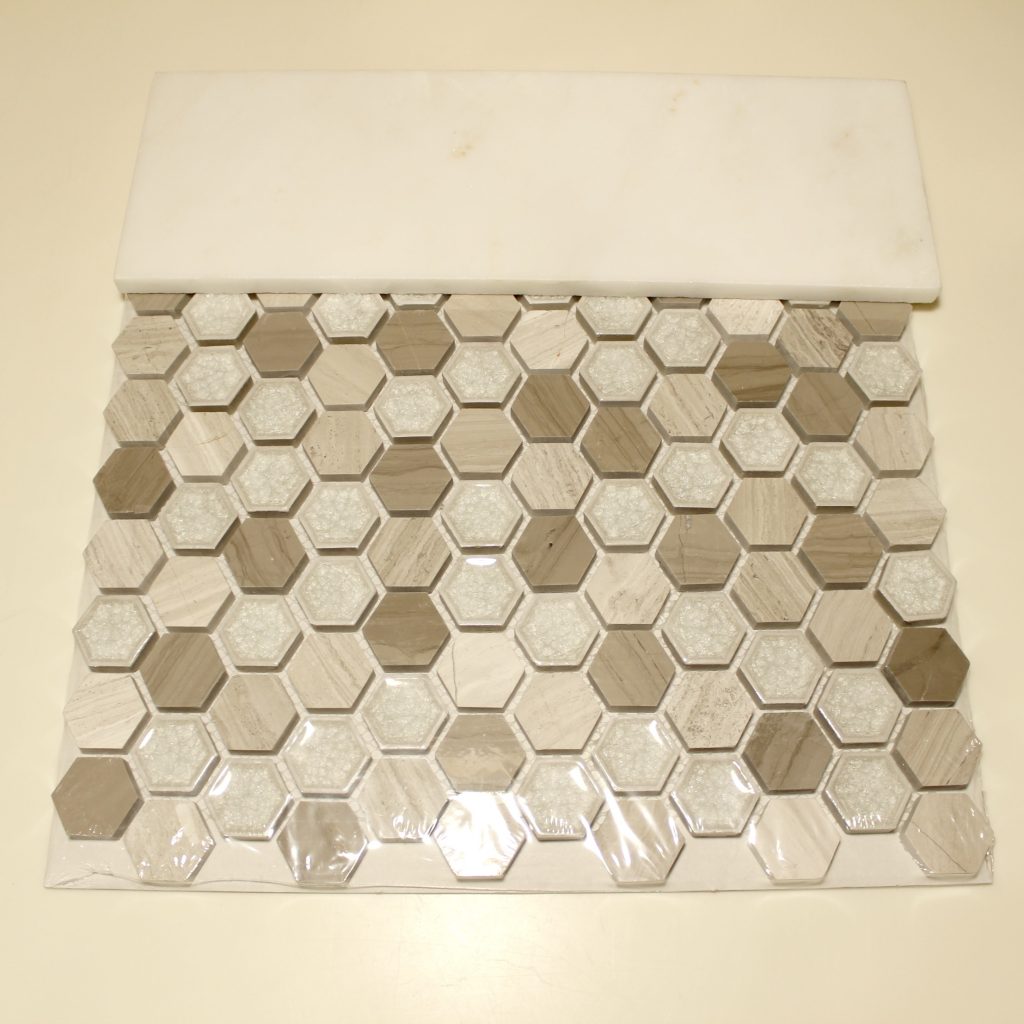
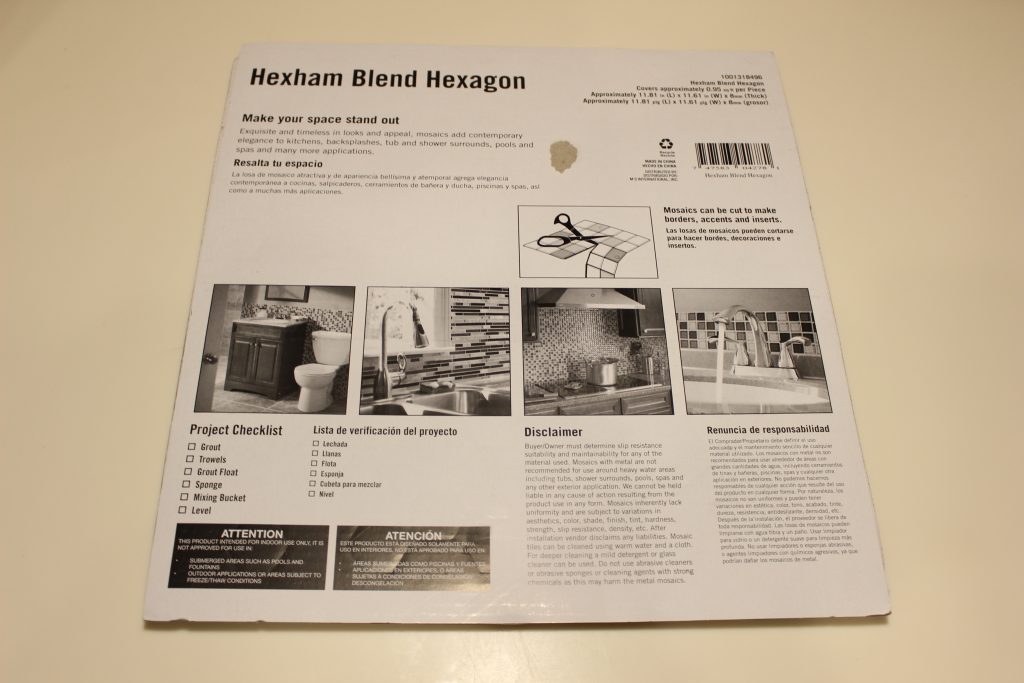
1. Mosaic Tiles
You can also find these mosaic tiles on Amazon, but they are cheaper at Home Depot!
This set of tile is Hexham Blend Hexagon. We pull individual tiles off their mesh backing and had plenty extra for a second Hanukkiah.
This next set of back splash stones are called Majestic Ocean.


This set of tile is called Manhattan Blend from Home Depot.
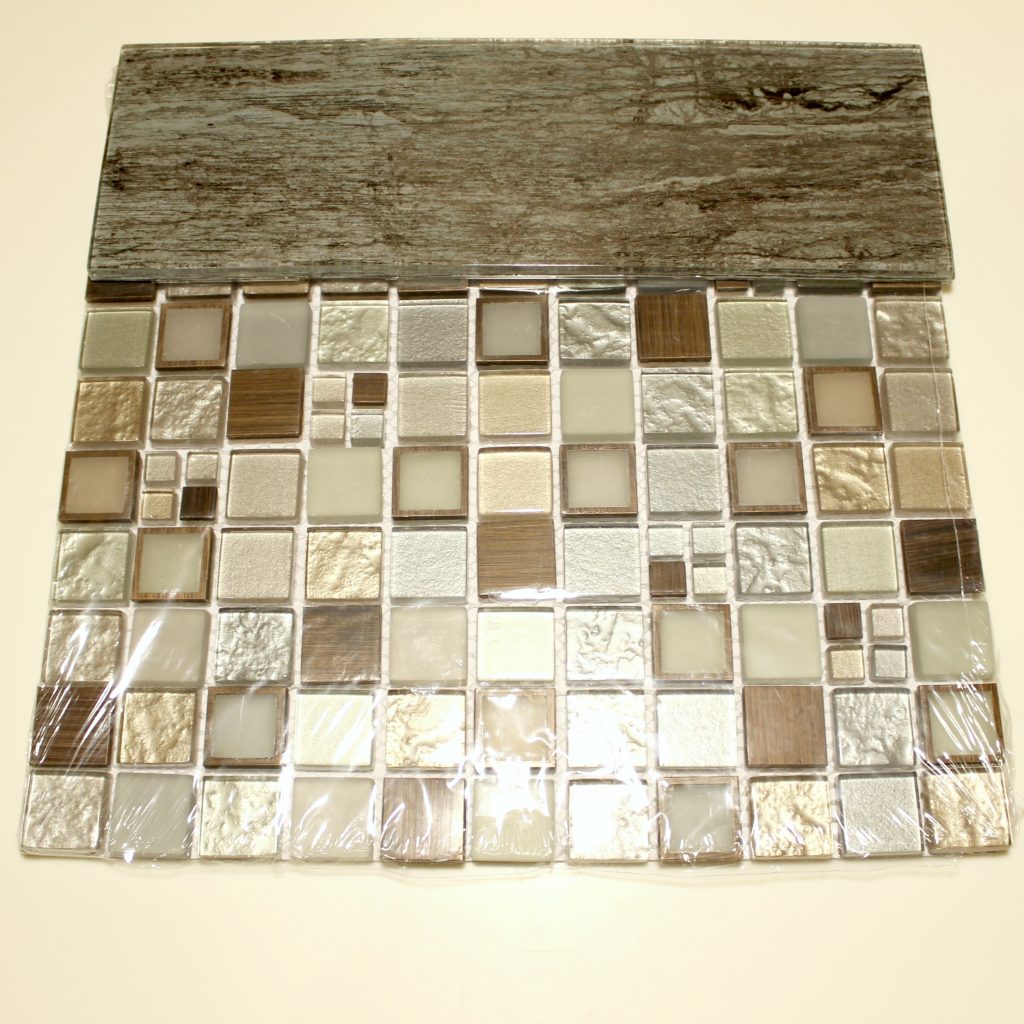

This last set is Diamond Dream at Home Depot.
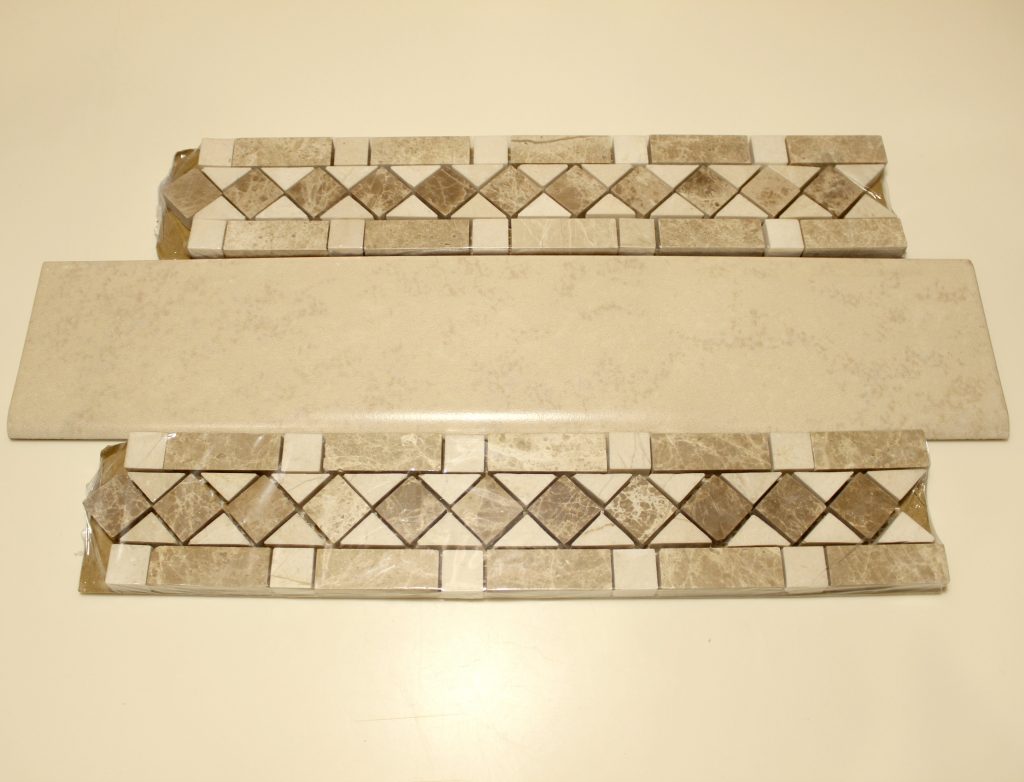
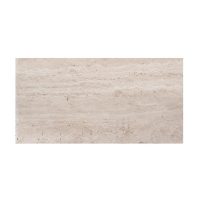
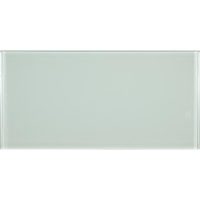
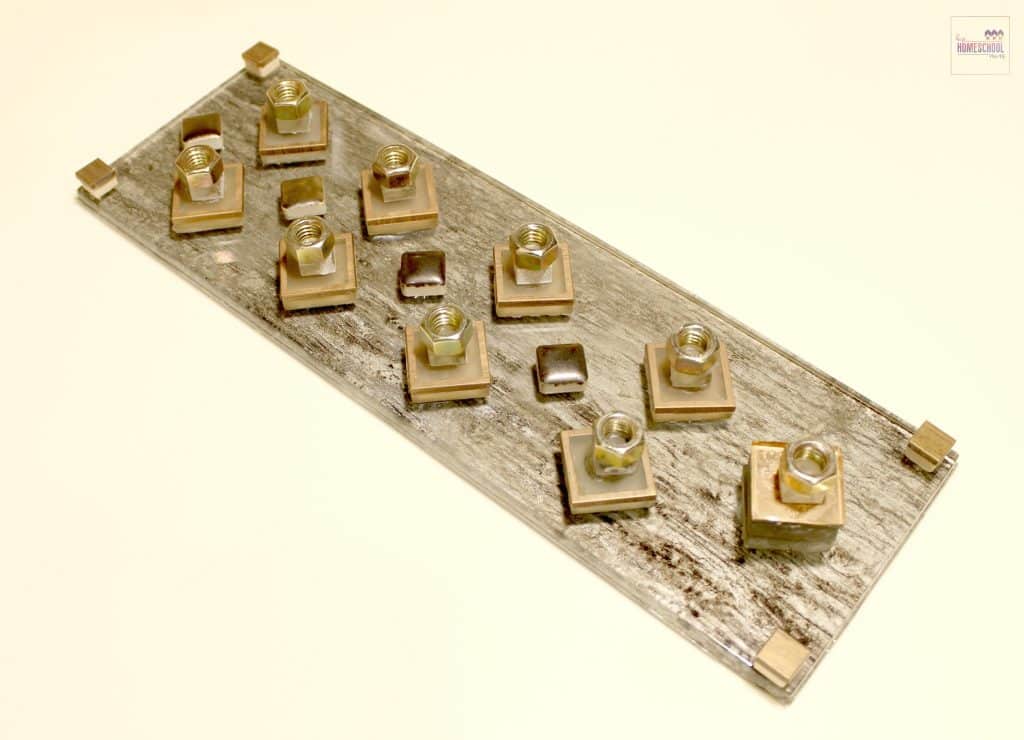
2. 4×12 or 6×12 Subway Tiles
We used these subway tiles as the base for the Hanukkiah. Some of our bases were 4×12 and others were 6×12. Home Depot has a ton of varieties to choose from. Just use whatever you prefer on this one.
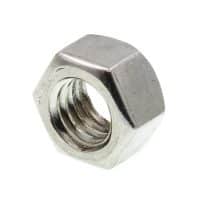
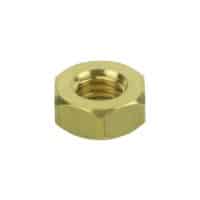
3. Hexnut – Brass, Zinc and Steel 3/8″

The brass ones are the most expensive. Unless you need brass, stick with the zinc or galvanized ones at Home Depot.

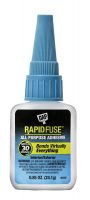
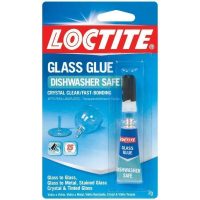
4. Glue
We used Rapid Fuse but I did glue my fingers a lot so if you are working with younger children, you will want to do this part. It worked amazingly on the tiles that were not as glossy or glass. For those you will need to get glass glue . I had to go back and reglue a few of my pieces with it.
5. Hanukkah Candles
We prefer the BeesWax ones, but our order will not be here until right before Hanukkah. That worried us a little, and we didn’t want to take any chances. That being said, we bought some locally to use for this project.

It took about two hours total to make this set of DIY Hanukkiahs. And notice we have many extra pieces added that were really not necessary for the Hanukkiah. You really could make them in less than an hour! Here are the finished products. I think they turned out great!! What do you think?

After seeing our creative way of celebrating Hanukkah, I hope you will consider making your own Hanukkiah this year, as well as reading about the Maccabees to learn more about the Festival of Lights, and the history behind it. DIY Hanukkiahs can become such a beautiful tradition to share with your family and the Hanukkiahs become a part of your annual celebration!
Check out our other Hanukkah crafts are articles!


I love this idea, Trish!! Your Hanukkiah looks beautiful!
We love celebrating Hanukkah too. It is my kids’ favorite Holy Day.
There is so much to learn from the story of Hanukkah, especially with how much oppression and lack of freedom we Christians have been experiencing in these past years.
I highly recommend every family to read the books of Maccabees and compare our society and culture today to what the Jews had to endure back then.
It is time for us to rise up to fight for our rights to worship God freely, rededicate ourselves and shine our lights bright in this generations!
Chag Hanukkah Sameach!