
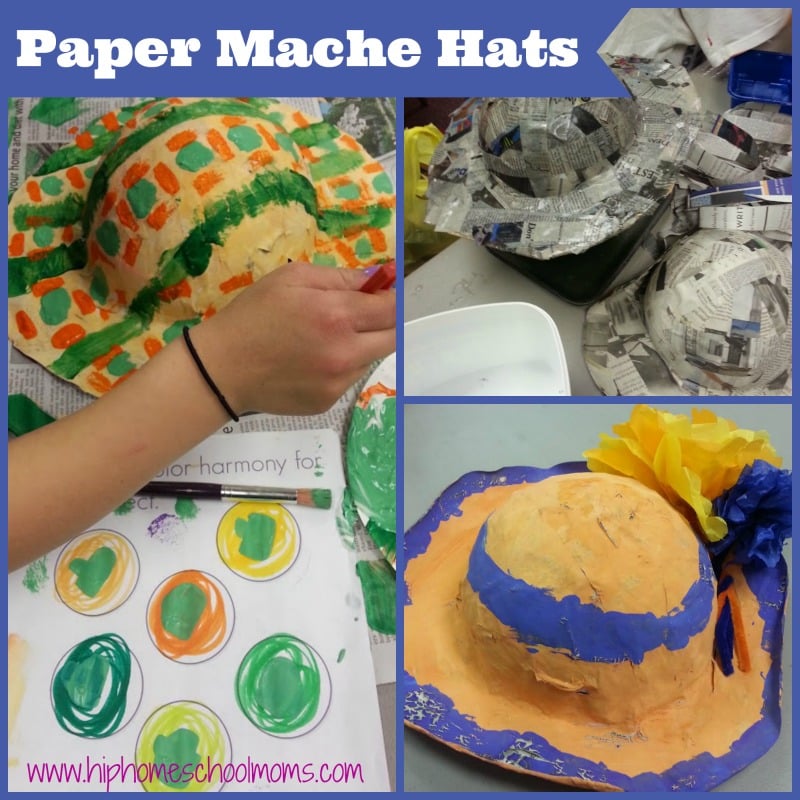
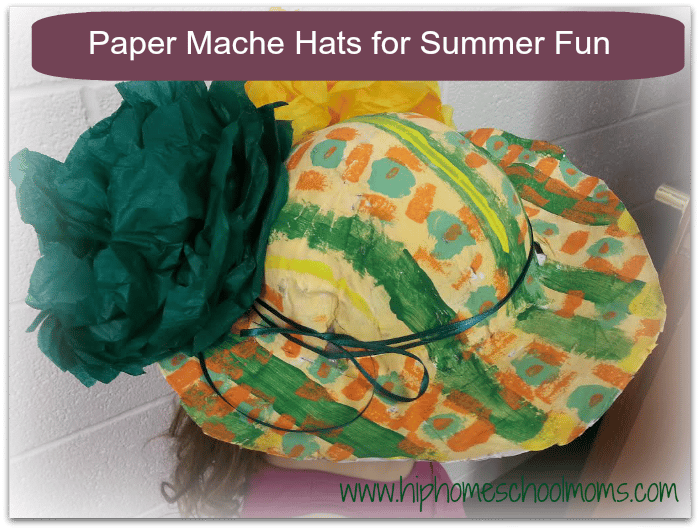
Paper Mache Hats
When it’s too hot to go outdoors and play, what’s there to do? Making paper mache hats is a fun activity that you can do with your children during these dog days of summer. It’s pretty easy to do and costs very little. And there is no limit to the variety of styles and shapes you can make. Your children will love wearing paper hats that they have made themselves!
What you will need:
- balloon
- liquid starch
- newspapers cut in 1″ strips
- cardboard
- colored tempera paints & white for primer
- large paint brushes
- flowers, ribbon, sequins, stencils to decorate
- glue gun and hot glue sticks
1. Measure the circumference of your child’s head. You can use a string if you don’t have a measuring tape.
2. Blow up a balloon to the same size as your child’s head. Then, holding the balloon upright on cardboard, trace around the balloon.
3. Cut a hole in the cardboard. Then cut again making a circle rim for the brim of the hat. Cover it with plastic wrap and cut a hole in the middle. (The plastic is so that when the paper mache dries it will be removable from the brim mold.)
4. Place balloon in the middle of the brim; leave plastic wrap intact.
5. Take strips of newspaper and soak them in liquid starch. Remove excess liquid and place the strips on the hat in a crisscross pattern. Also cover the brim.
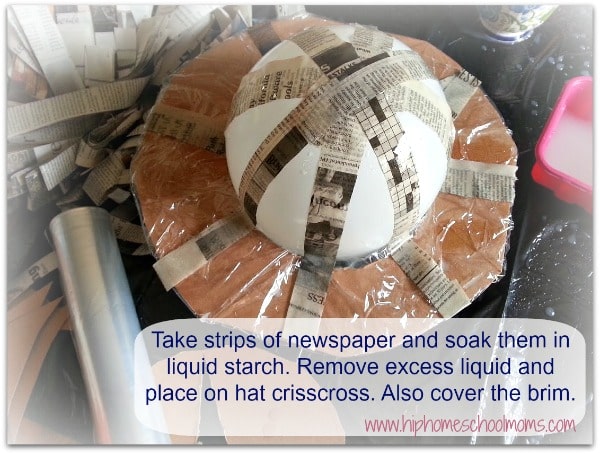
*Note: Be careful not to let the rim slide down. This may make the opening of the hat too small to fit your child’s head. You don’t want to disappoint your child after she’s worked so hard on her creation. It’s better for it to be a little too big than too small.
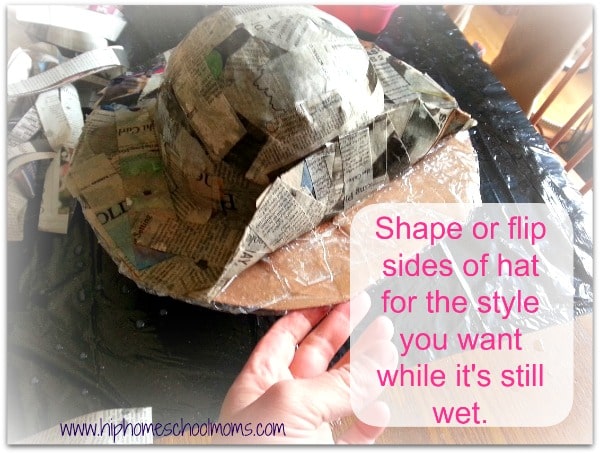
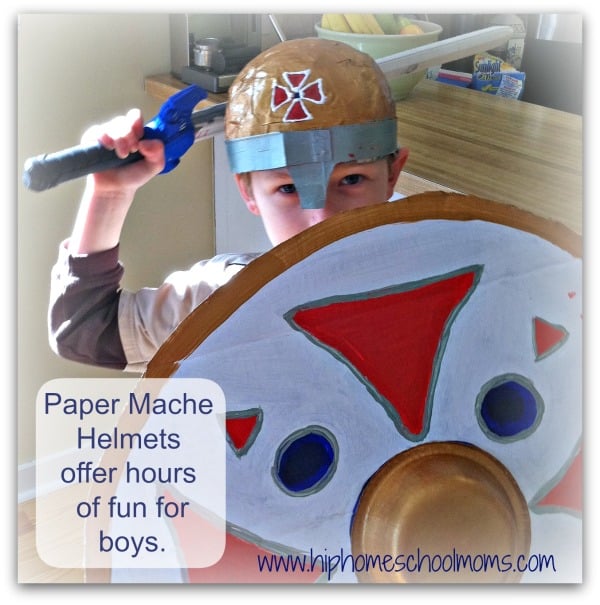
To make different styles, shape your hat accordingly. For a sun hat, leave off the brim. For a cowboy hat, flip up each side while it’s still wet. You can also flip up just one side for girls who want to add ribbons and flowers later. For a baseball cap, fill only one side of the brim and trim once it’s dry. And don’t forget helmets for boys!
6. Be sure to make your hat thick enough to be strong and sturdy. Let it dry over night. Trim the brim (if needed) to make a smooth rounded edge.
7. Once it’s dry, give the hat a base coat of white tempera paint. A decent quality tempera is usually opaque enough to cover most of the newspaper text, and it should serve as a decent primer for painting. 
8. Once dry, paint your hat any way you like. Your child will love this part!
9. Last, after it’s completely dry, use hot glue to attach flowers, sequins, ribbons, and more! Tissue paper flowers also create a terrific look!
Add a twist:
- I used this lesson to teach about painter Mary Cassatt and color harmonies.
- For something easier and less messy, make paper wizard hats! There’s no need for a mess. Just make a cone of several sheets of paper, roll the bottom, and tape!
- Paint and decorate with stickers! To omit painting, use large sheets of colored paper.
Kids really love to dress up and let it inspire their play. What is your child’s favorite dress up costume right now? What kind of paper mache hat would he or she enjoy making?


Thanks Stephanie. This looks like so much fun. The girls will love it.
Wen do you pop the balloon?