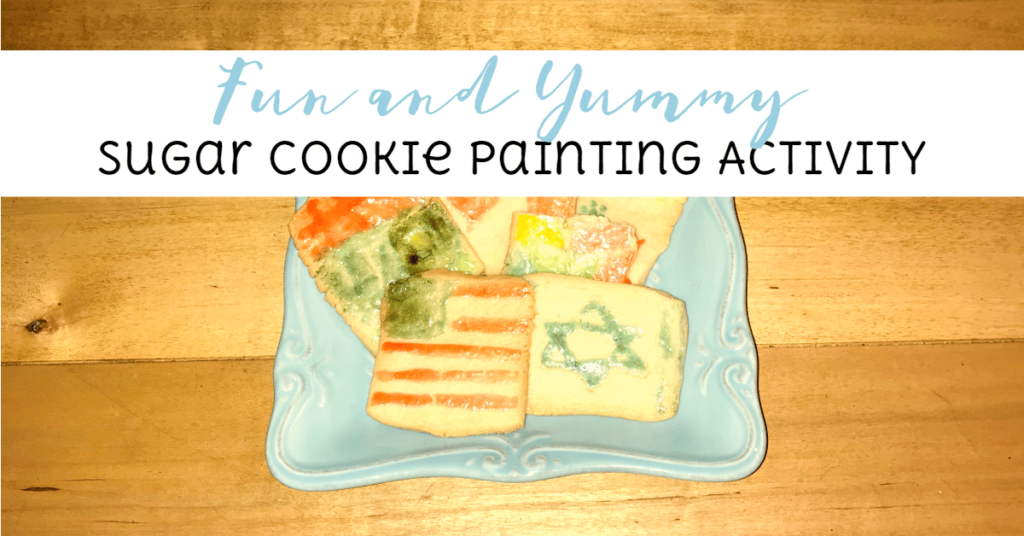
Fun and Yummy Sugar Cookie Painting Activity
When you think of art, you usually don’t think edible, right? Well, I’m going to challenge that thought with this fun and yummy sugar cookie painting activity. And with Thanksgiving coming up, this might be the perfect activity for the children in the household!

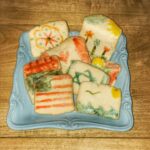
Who would have ever imagined that sugar cookie dough would be the perfect canvas for art? But it is! It makes these cookies edible art.
Sugar Cookie Recipe
We found this activity in an old Family Fun Boredom Busters Book. It is long out of print, but you can still buy them used. Here is a link to them on Amazon.
Materials Needed:
1 cup softened butter
¾ cup sugar
1 large egg
¾ tsp vanilla extract
2 ¾ cups flour
¾ tsp baking soda
plastic wrap
parchment paper
paint brushes (Smaller brushes are better for paining smaller images on cookies.)
6 egg yolks (You’ll need one for each paint color you make.)
food coloring
cup filled ¼ of the way with water (for cleaning paint brushes)
 Directions:
 Directions:
Preheat oven to 350 degrees.
Cream together butter and sugar until fluffy.
Beat in 1 egg and vanilla.
Sift together flour and baking soda and stir into creamed butter and sugar mixture.
Form dough into two similar-sized balls. (Add 1 tablespoon of water if it’s too crumbly.) Cover each ball with plastic wrap and flatten. Refrigerate for one hour.
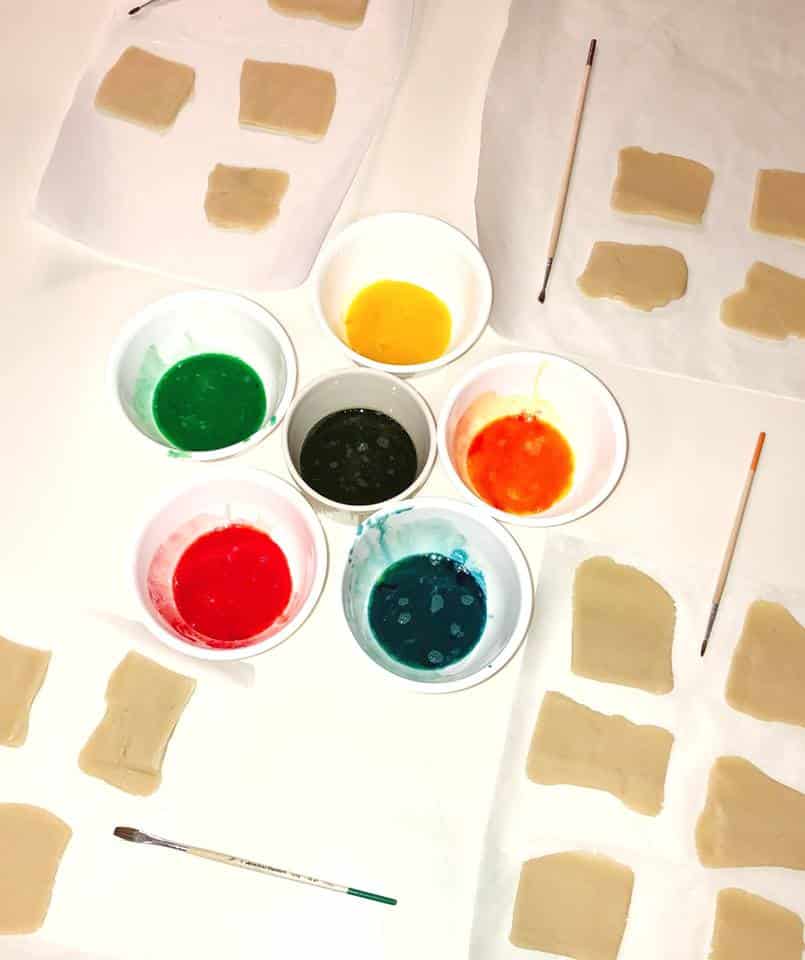
While the dough is in the refrigerator, start making the “paint.” (This will be easier if you have an egg separator. Click this link to see the one we used.)
Blend one egg yolk with 6 (or so) drops of food color.
Repeat this process for each paint color you plan to make.
Remove dough from refrigerator and place on parchment paper. Place another sheet on top and roll dough out to ¼” thickness.
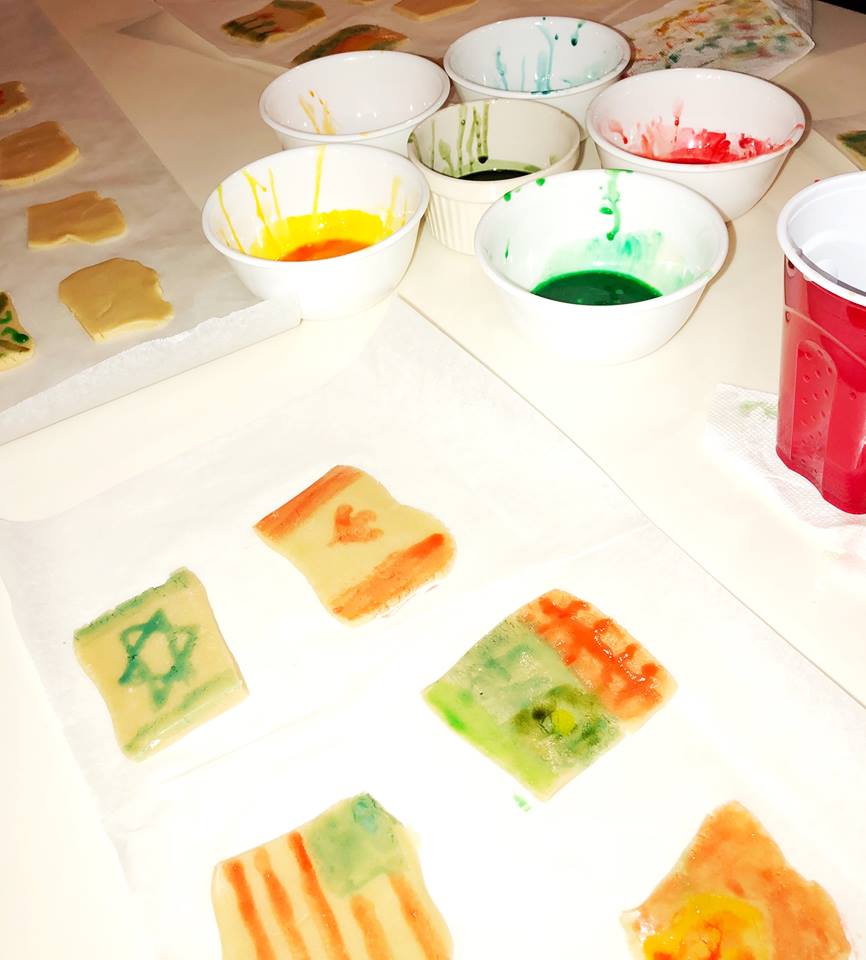
Cut into 2 x 4 rectangles to make canvases. Notice our canvases are not perfect nor uniform!
Leave your cookie canvases on the waxed paper while you paint them. (Use the cup of water to clean your brushes between colors or use a different brush for each color.)
Once you finish painting your cookies, just move the parchment paper over and onto the cookie sheet. Bake in a preheated oven for 8 to 10 minutes.
Things to Keep in Mind:
The colors will be very light when you paint them on. They can be darkened by painting multiple layers on the cookie dough, but they will darken and become shiny when baked.
The thinner the brush, the easier it is to paint delicate images, so keep that in mind when choosing your brushes!
You can see our paint colors in these photos. We tried our best to make purple paint, but we just couldn’t make it happen, so you see that we have two shades of green instead. (I usually would have at least wiped the bowls for the pictures, but I thought it would show you the colors better.)
Fun and Yummy Sugar Cookie Painting Activity
- Prep Time: 1 hour
- Cook Time: 10 mins
- Total Time: 1 hour 10 mins
- Yield: 30 Cookies 1x
- Category: Dessert
- Cuisine: Sugar Cookie
Description
Fun and Yummy Sugar Cookie Painting Activity
Ingredients
- 1 cup softened butter
- ¾ cup sugar
- 1 large egg
- ¾ tsp vanilla extract
- 2 ¾ cups flour
- ¾ tsp baking soda
- plastic wrap
- parchment paper
- paint brushes (Smaller brushes are better for paining smaller images on cookies.)
- 6 egg yolks (You’ll need one for each paint color you make.)
- food coloring
Instructions
- Preheat oven to 350 degrees.
- Cream together butter and sugar until fluffy.
- Beat in 1 egg and vanilla.
- Sift together flour and baking soda and stir into creamed butter and sugar mixture.
- Form dough into two similar-sized balls. (Add 1 tablespoon of water if it’s too crumbly.) Cover each ball with plastic wrap and flatten. Refrigerate for one hour.
- While the dough is in the refrigerator, start making the “paint.”
- Blend one egg yolk with 6 (or so) drops of food color.
- Repeat this process for each paint color you plan to make.
- Remove dough from refrigerator and place on parchment paper. Place another sheet on top and roll dough out to ¼” thickness.
- Cut into 2 x 4 rectangles to make canvases.
- Leave your cookie canvases on the waxed paper while you paint them.
- Once you finish painting your cookies, just move the parchment paper over and onto the cookie sheet.
- Bake in preheated oven for 8 to 10 minutes.