Gorgeous Autumn 3D Paper Art (with Free Printable Templates)

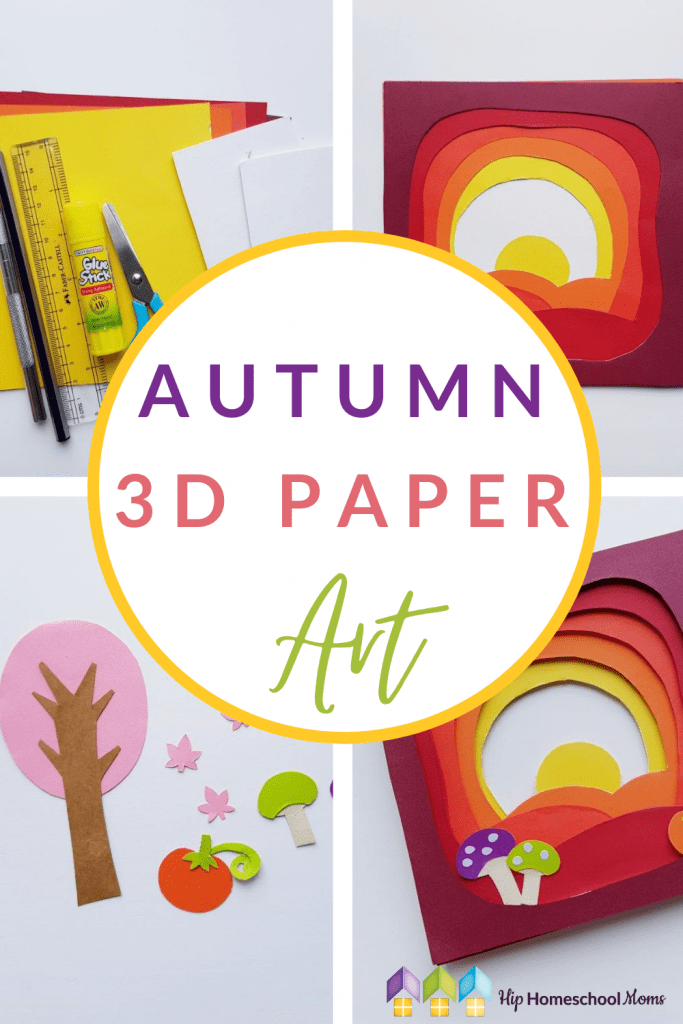
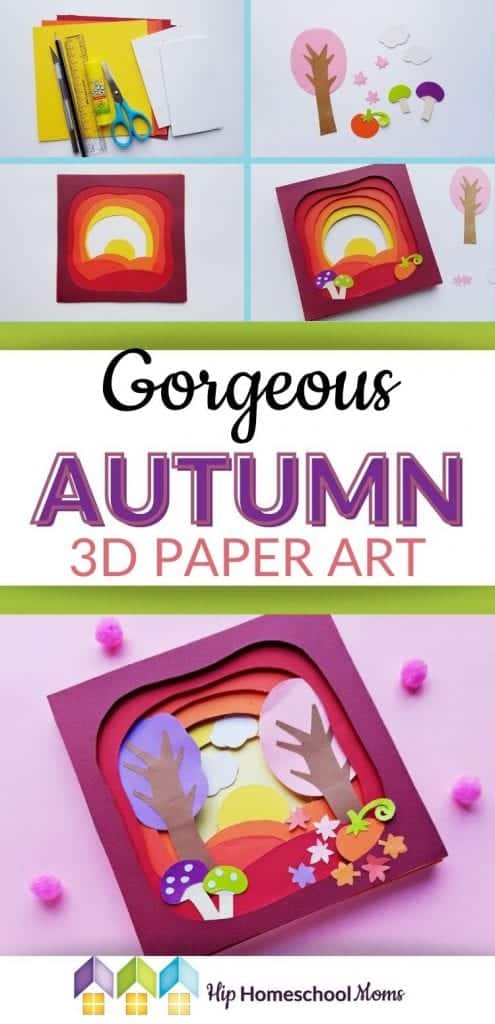
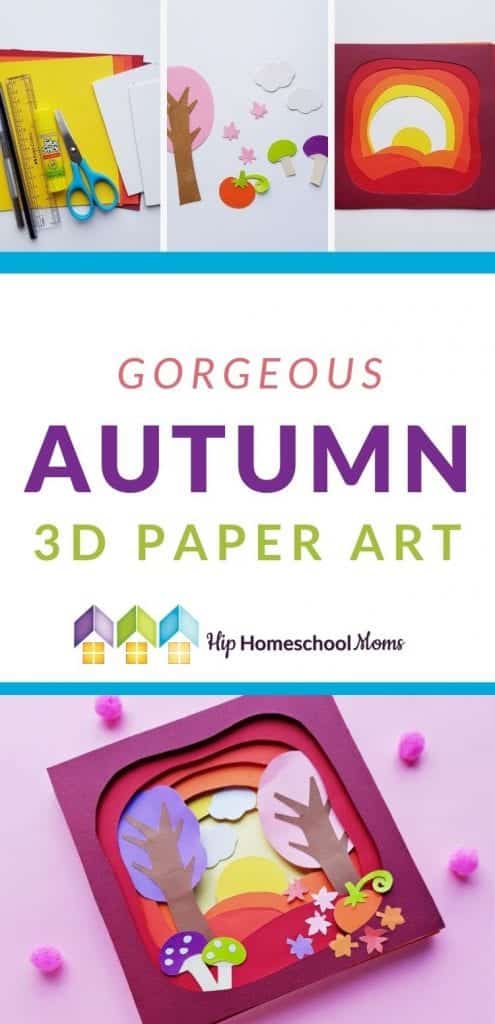
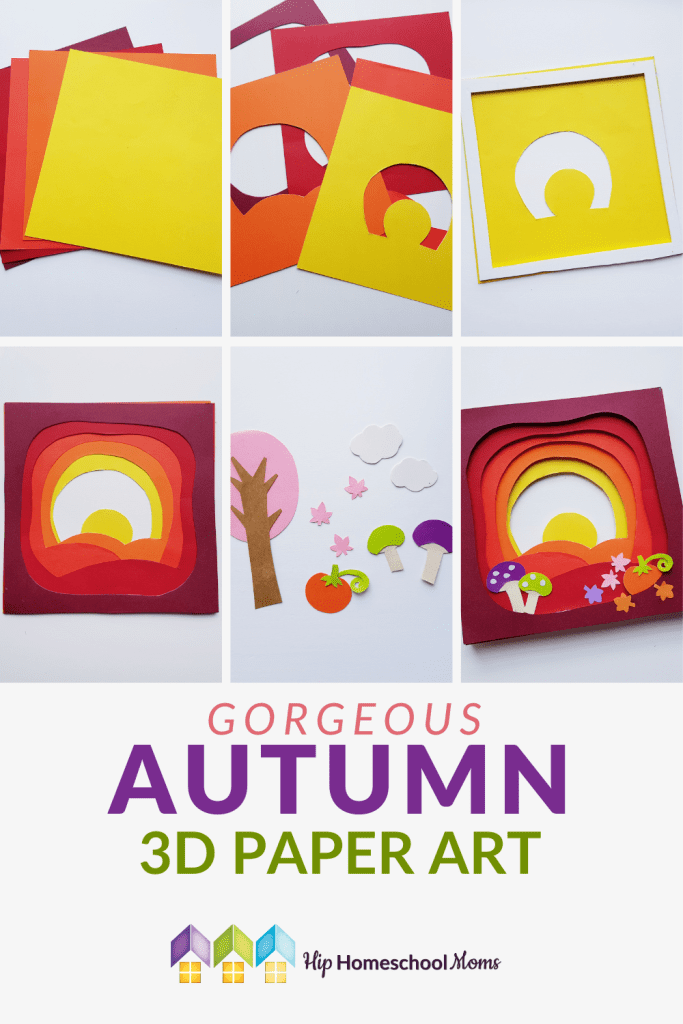

Looking for a unique, creative, and gorgeous fall craft? This 3D Paper Art Craft is the perfect choice for older children, teens, and adults looking for some artistic inspiration this autumn. Below, you’ll find all of the free printable PDF templates that you need to make this craft as well as printable instructions. The end result is a colorful, beautiful autumn landscape that looks great on the wall or makes a nice seasonal gift for family or friends!
This craft does involve working with an X-ACTO knife and also requires some developed fine motor skills and a bit of critical thinking. Therefore, if you are planning to do this craft with your children, just keep in mind that it is probably best suited for children who are middle school aged and up. However, if you plan to make this with younger kids, you can always cut out the shapes ahead of time and let them do the assembly part. (I think it’d be really fun to make this with friends for a girl’s night in too!)
What You’ll Need:
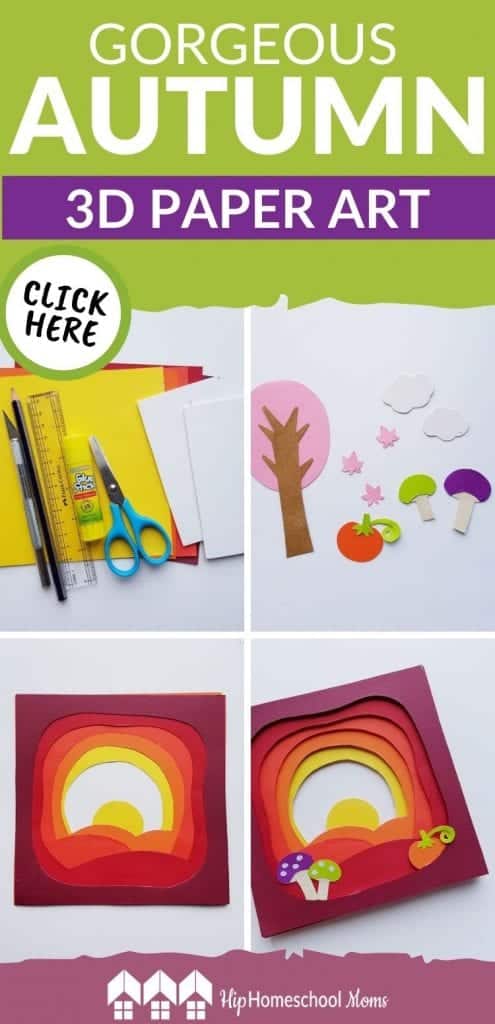
To make this gorgeous craft, you will need the supplies listed below, and you will also need to print out the provided PDF templates (attached below).
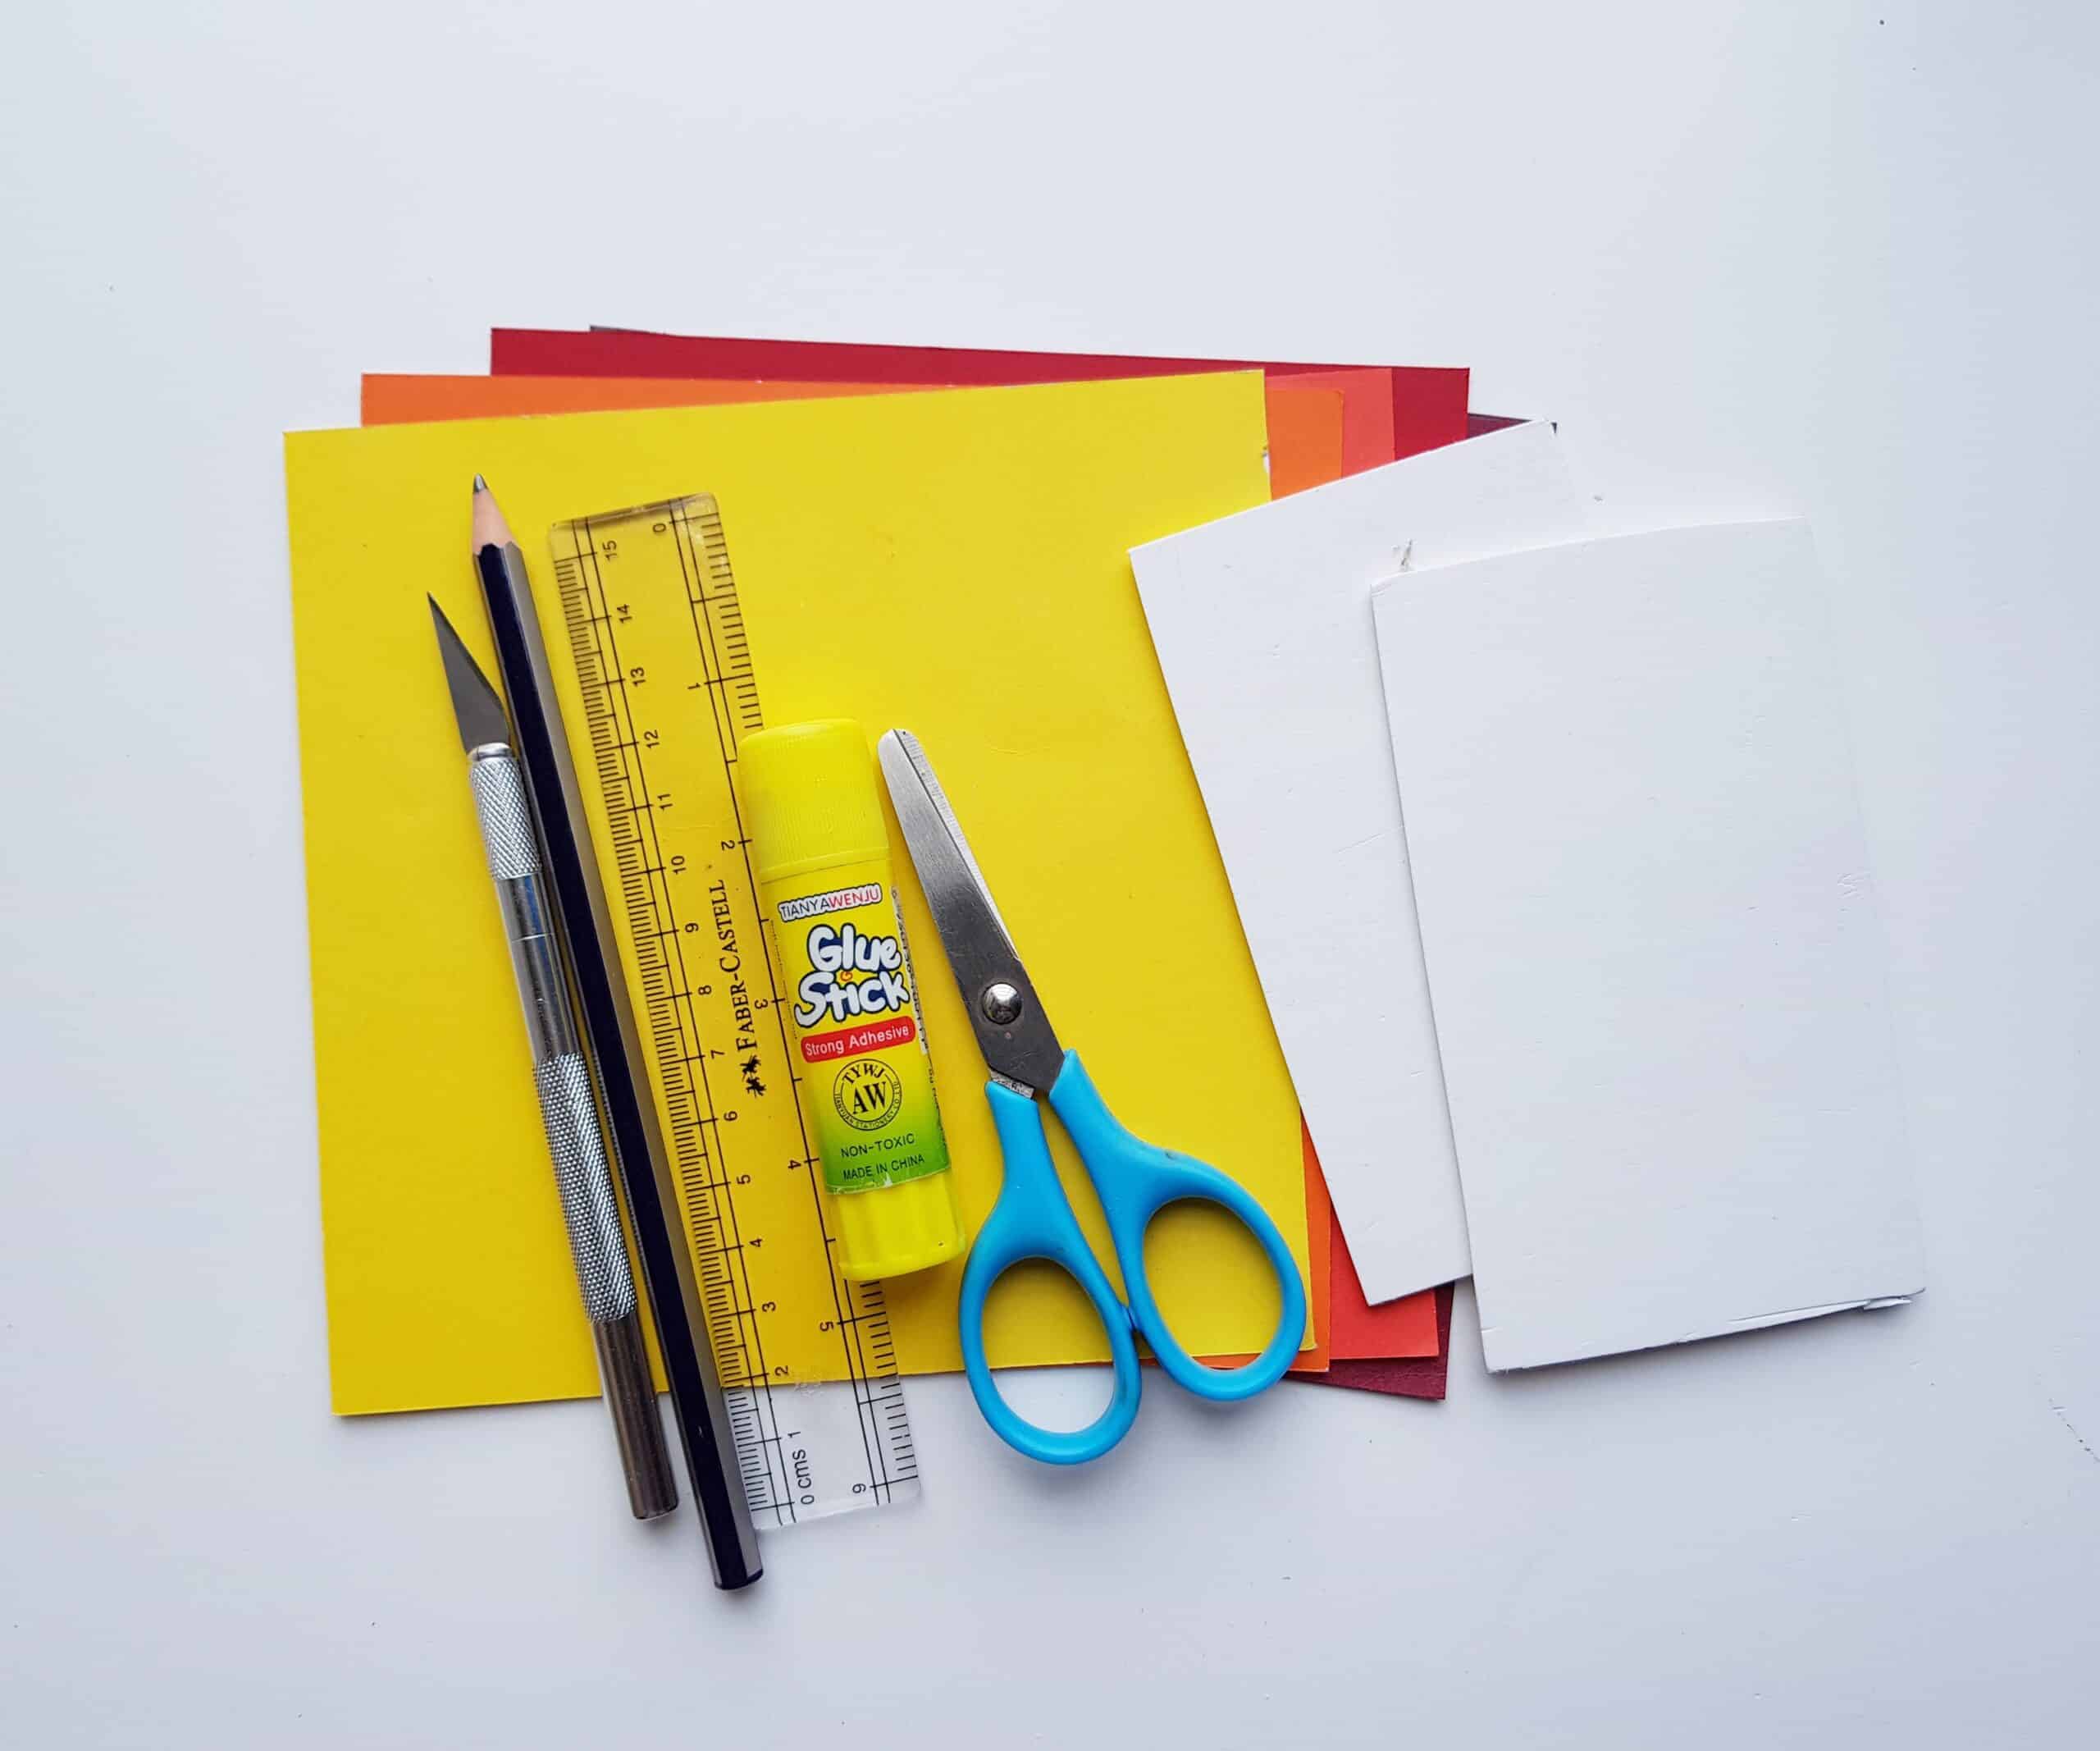
Supplies:
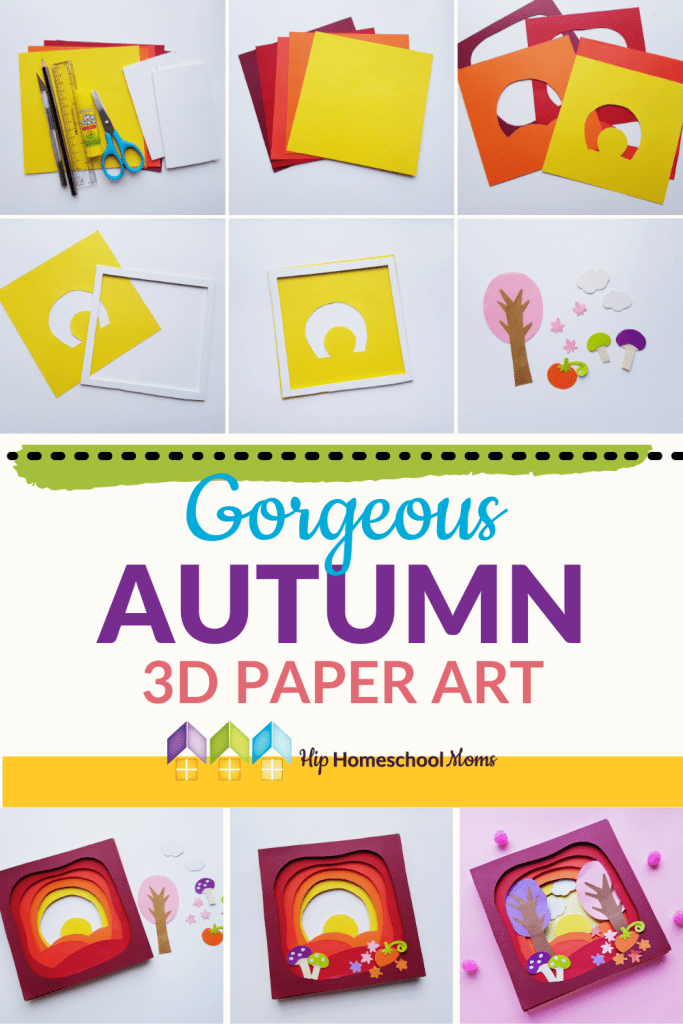
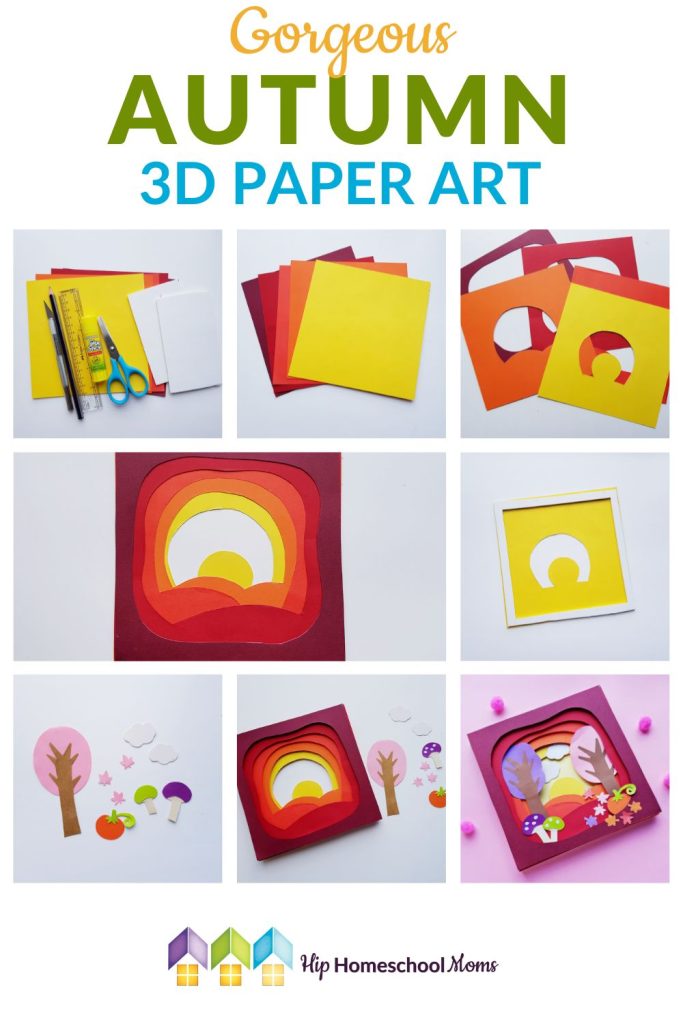
- Colored cardstock paper
- Pencil
- Scissors
- X-ACTO knife
- Ruler
- Craft glue
- Craft foam board
Free Printable Templates:
- PDF for layer 1
- PDF for layer 2
- PDF for layer 3
- PDF for layer 4
- PDF for layer 5
- PDF for Art Item Template
- PDF for Printable Instructions for Project
How to Make It:
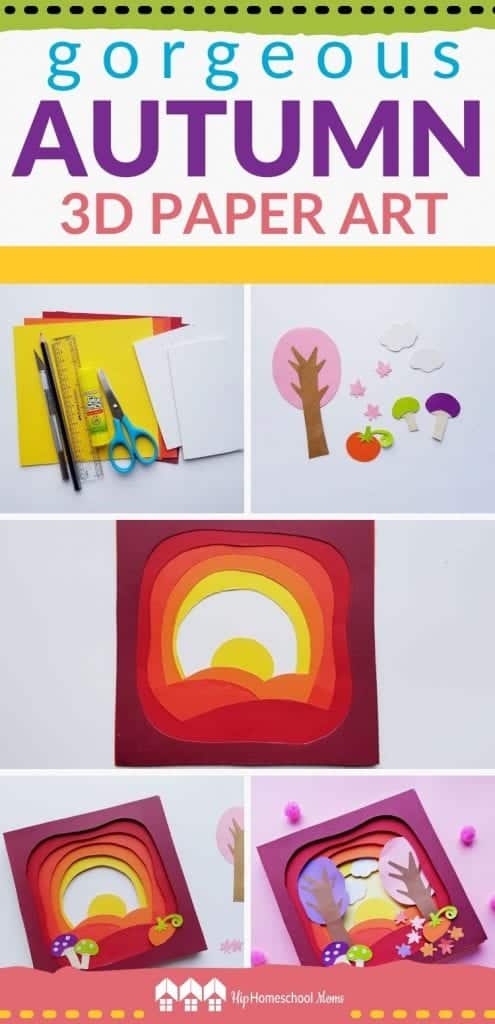
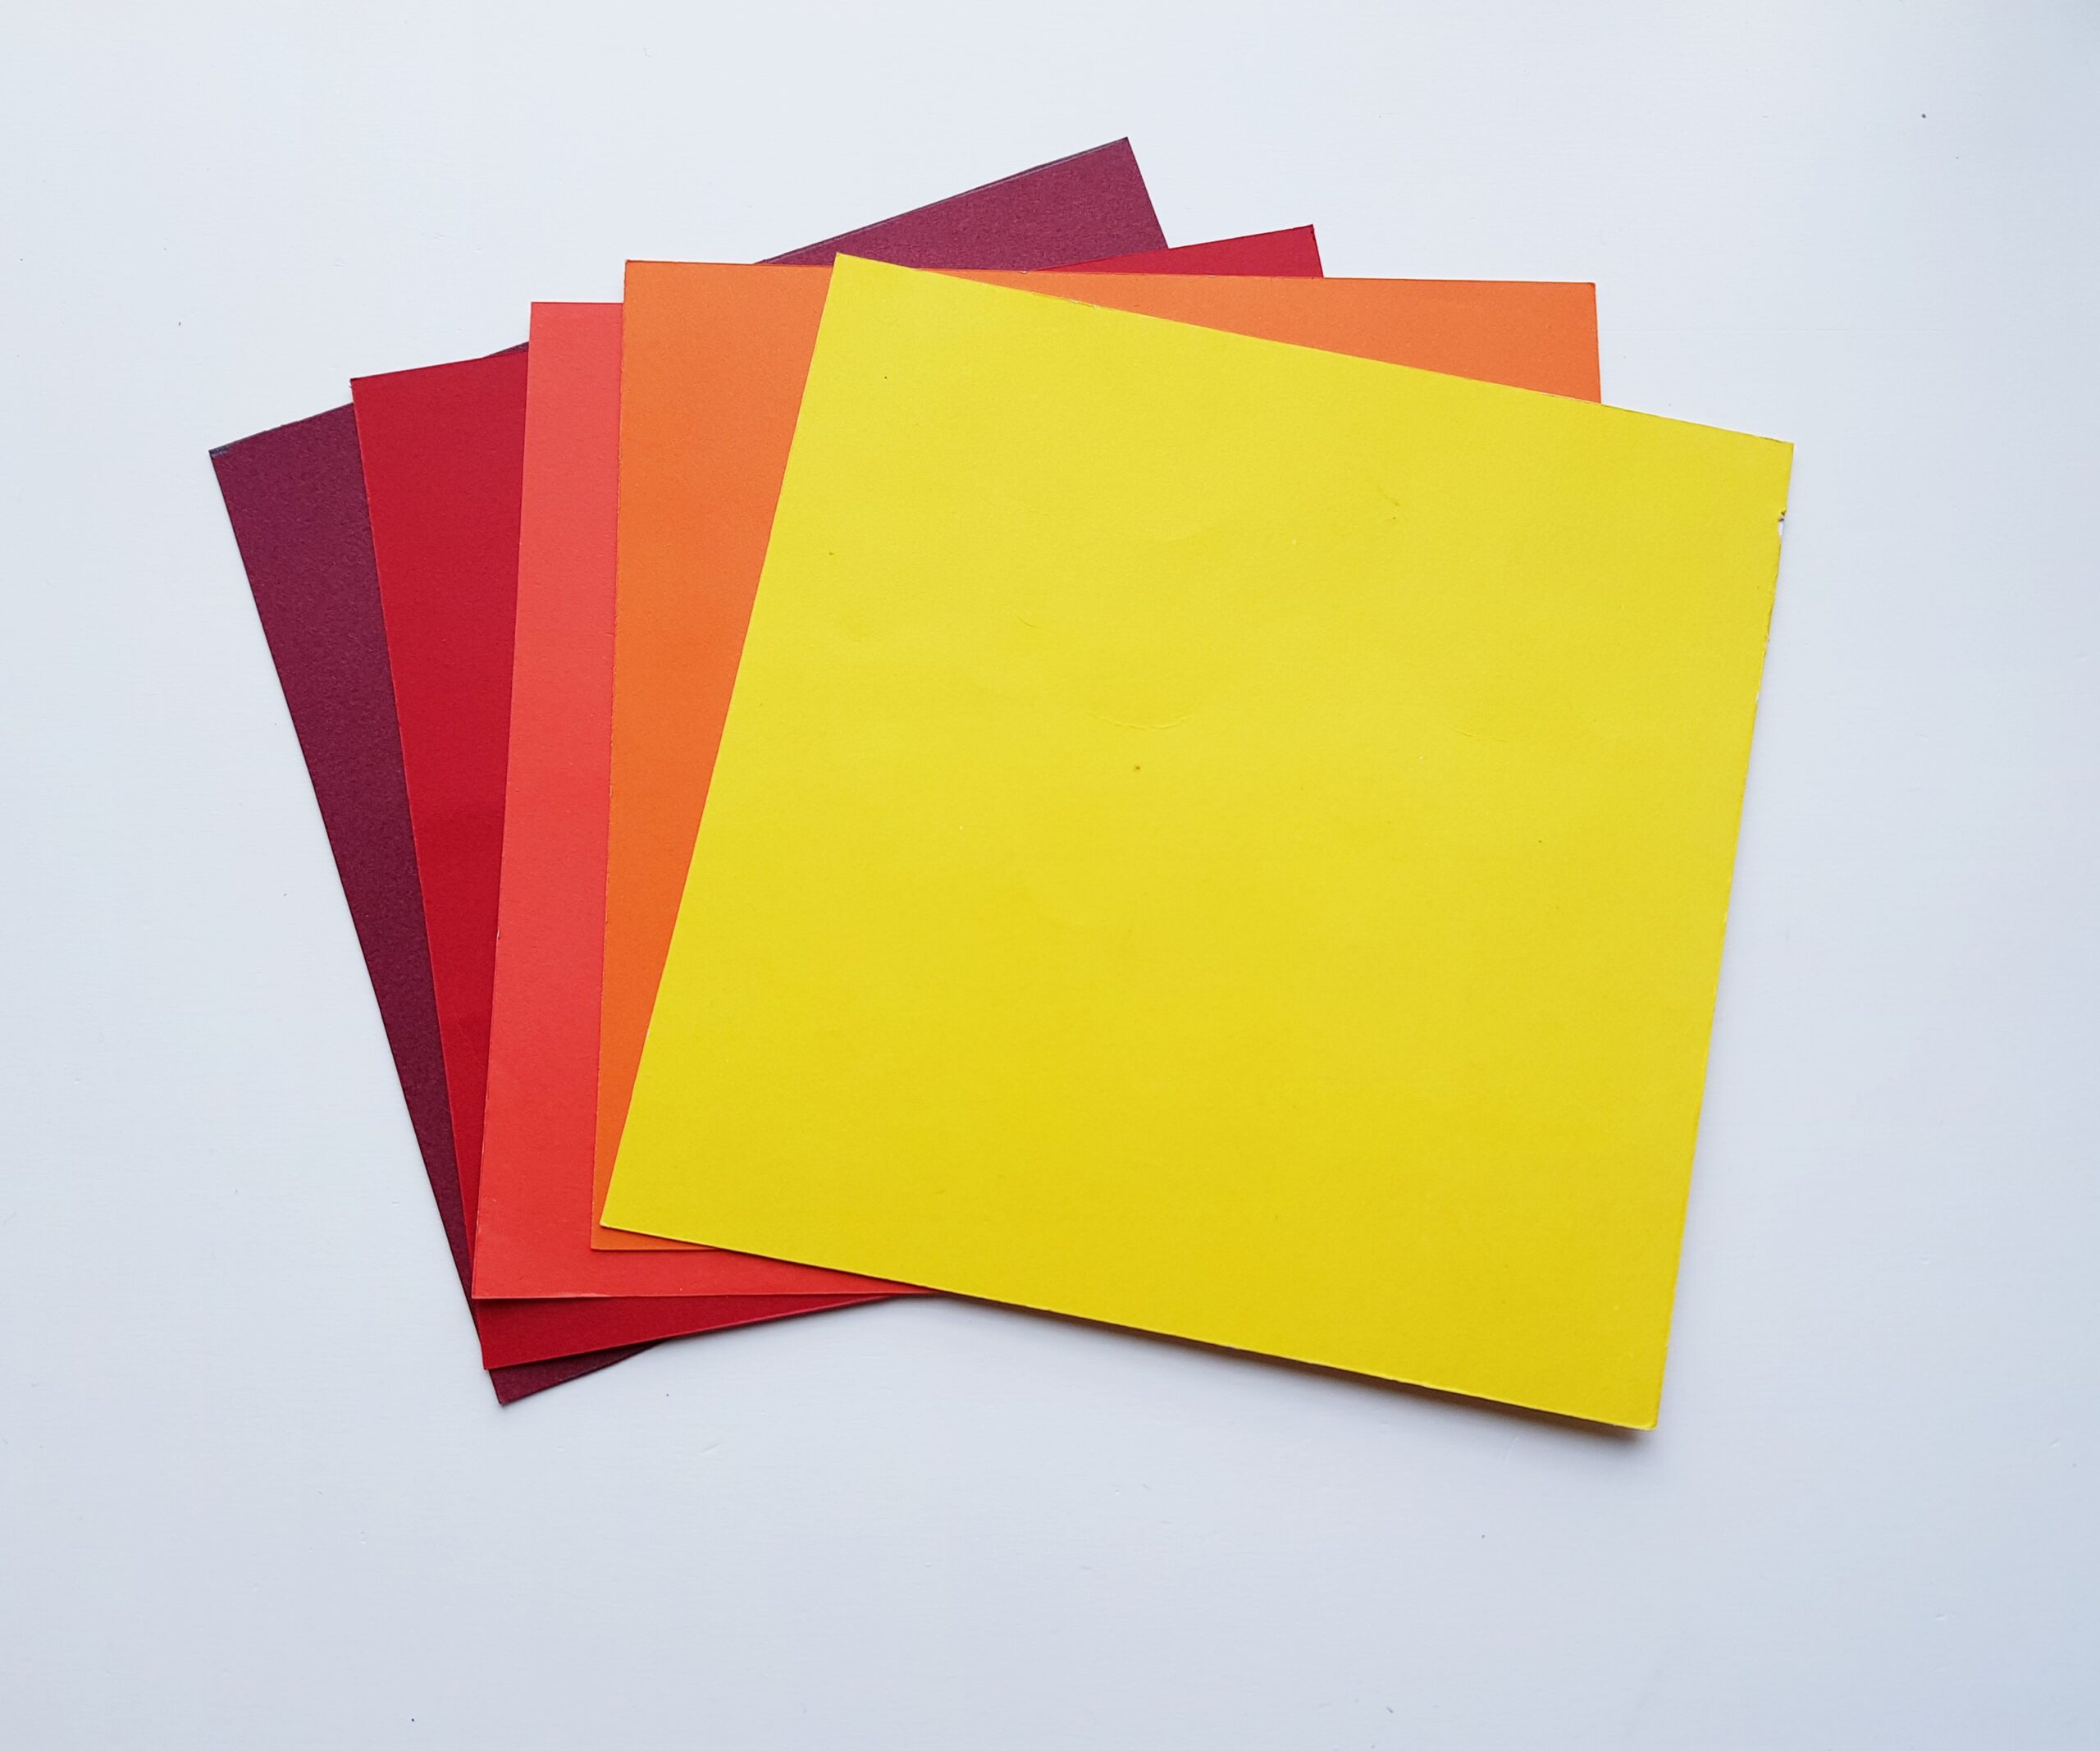
Once you’ve gathered your supplies and printed out your templates, select 6 different pieces of cardstock. You want 5 of them to be bright colors, and 1 of them to be a light, neutral (background) color. Since this is a fall scene, I suggest choosing colors that remind you of the season. This still leaves a lot of room for creativity. As you can see, we added pink and purple into the mix of traditional orange, red and yellow. You can get an idea about how the final result will look by laying all of the colors out next to each other.
After you’ve made your color selections, you want to make sure your pieces of paper are all the right size, and square-shaped, to work with the printable templates. The template is set for for 17 cm x 17 cm (square), so measure and cut all of the pieces of paper to this size. When you’re done, double check to make sure everything is even.
Next, arrange the 5, brightly colored papers in the color order that you think would look best for the end result. (Set aside the light,neutral color for later.)
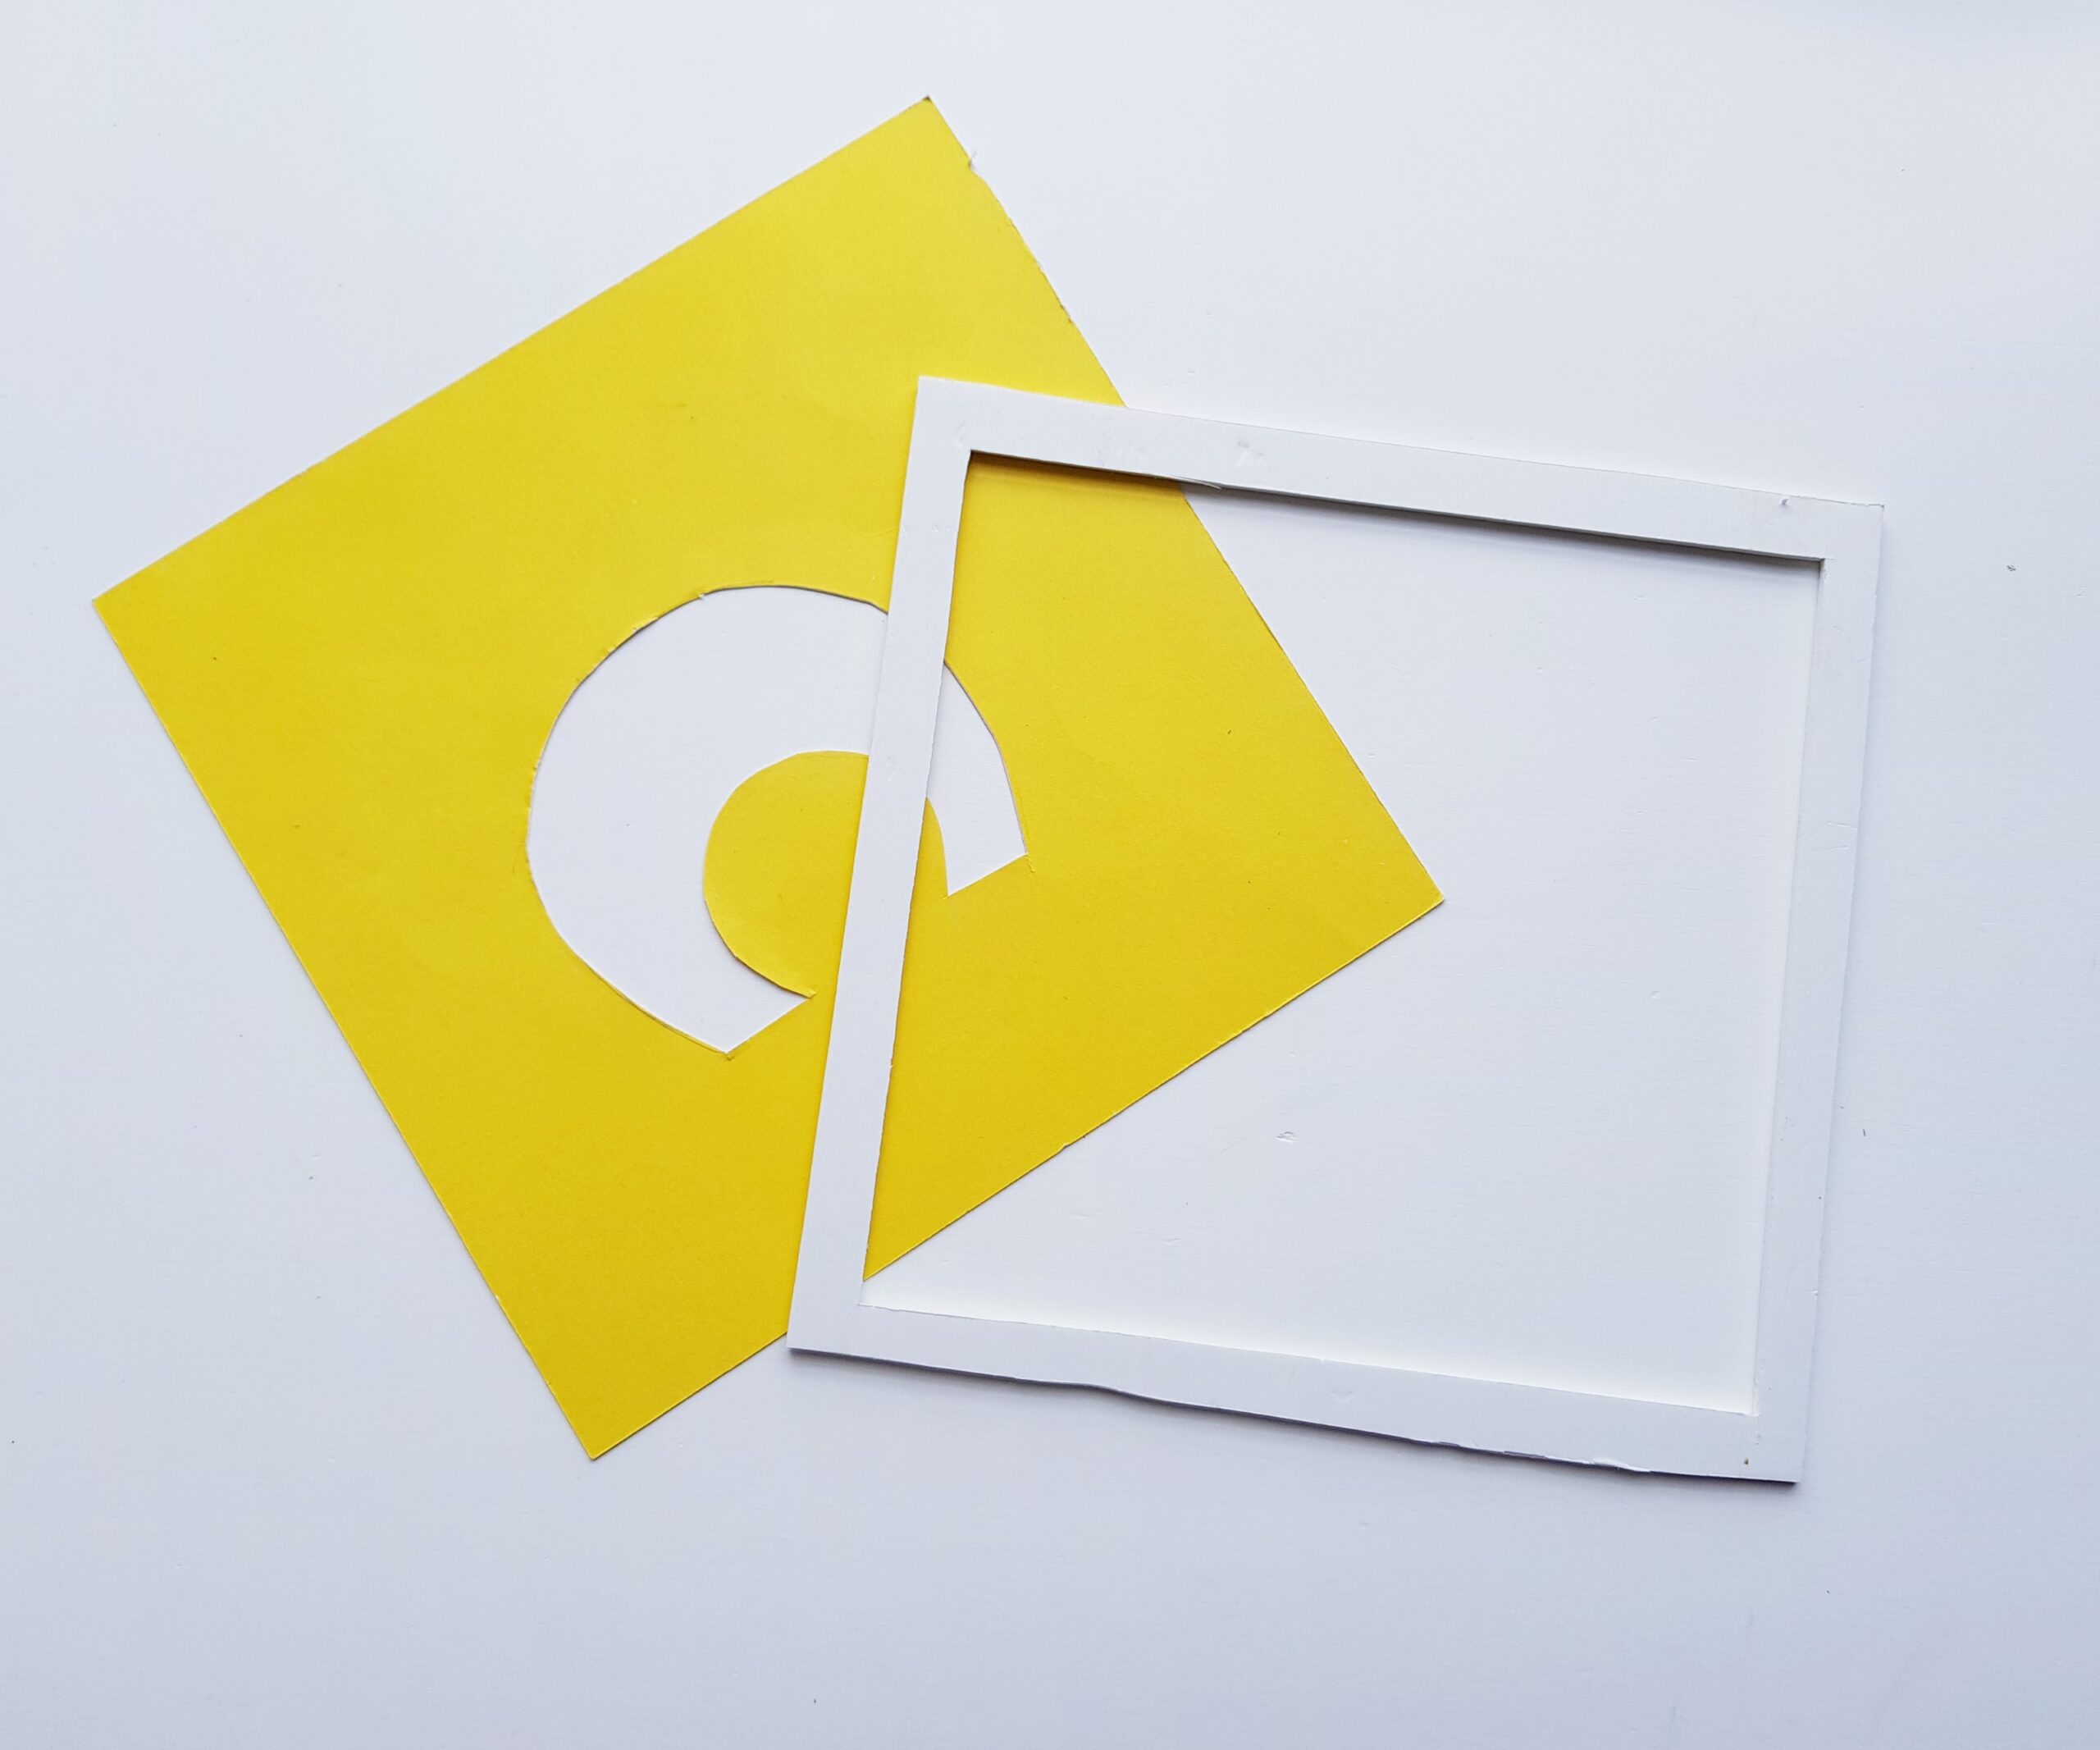
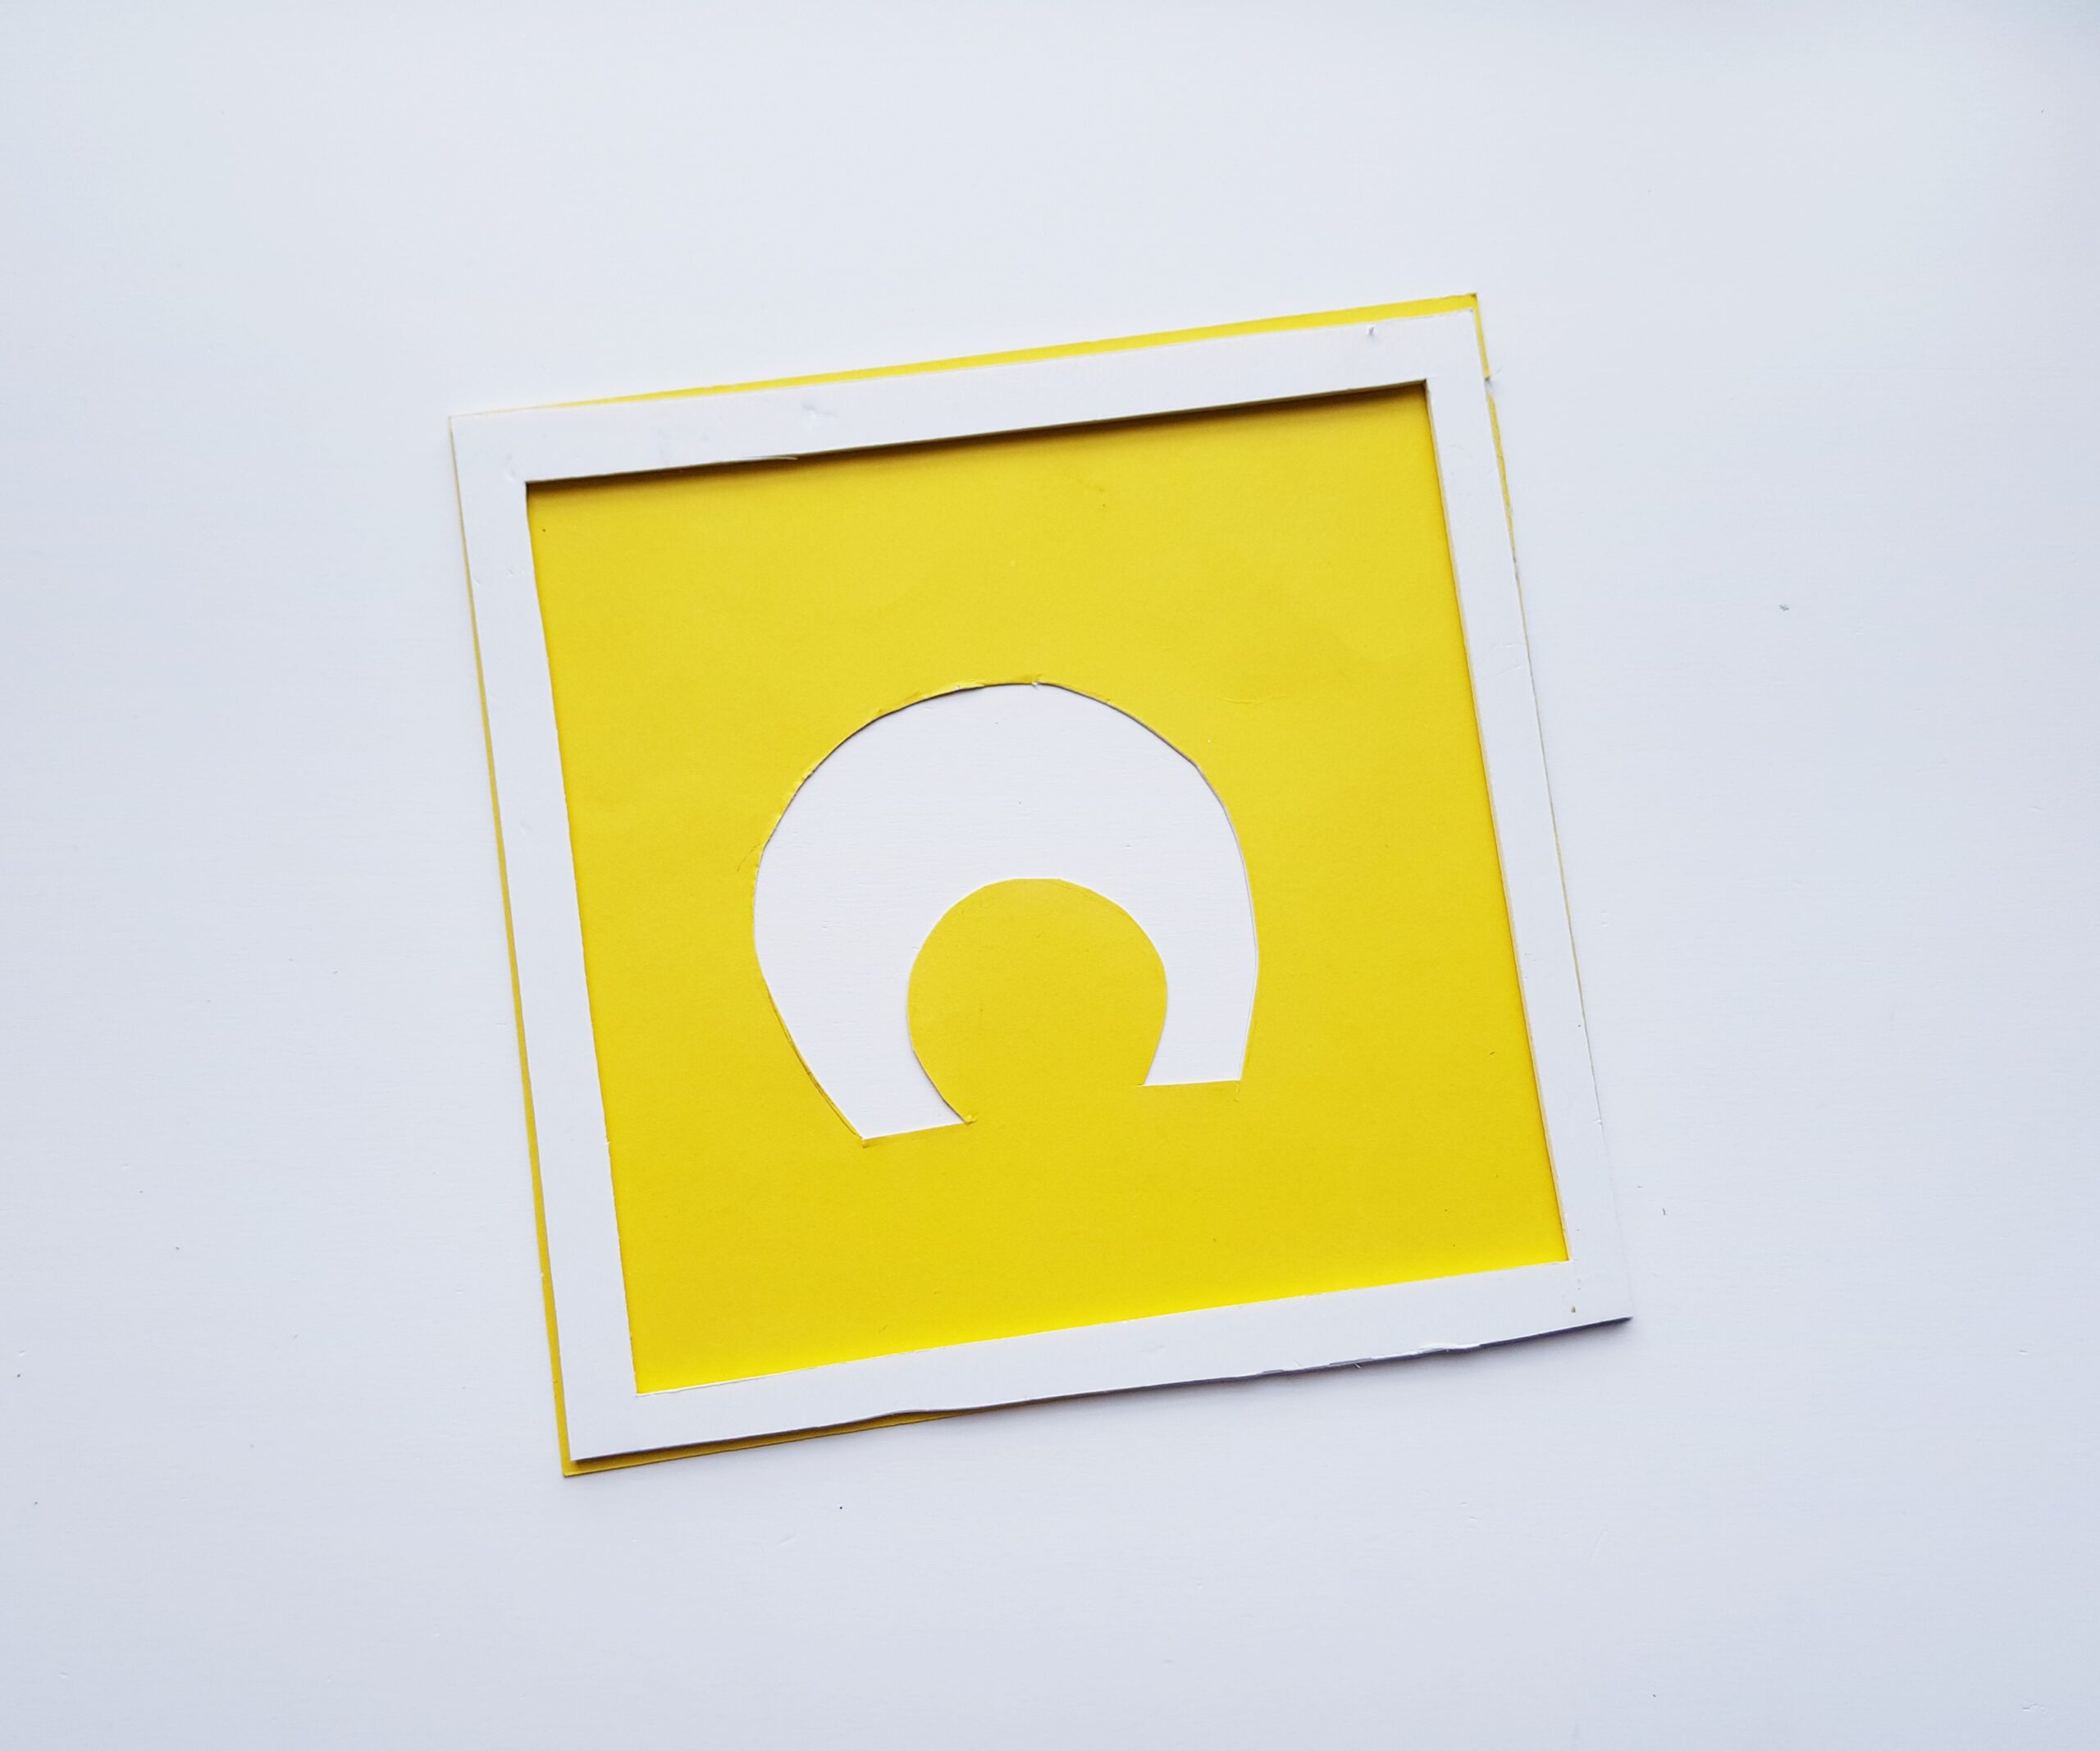
Next, cut out your templates and then use them to trace each layer shape onto the corresponding paper. For example, you’ll trace the template for Layer 1 onto the top piece of paper (and so on).
When you have traced each template onto each corresponding layer of colored card stock, take your scissors and cut out the inside of each shape you traced. Your end result should look similar to the picture, below.
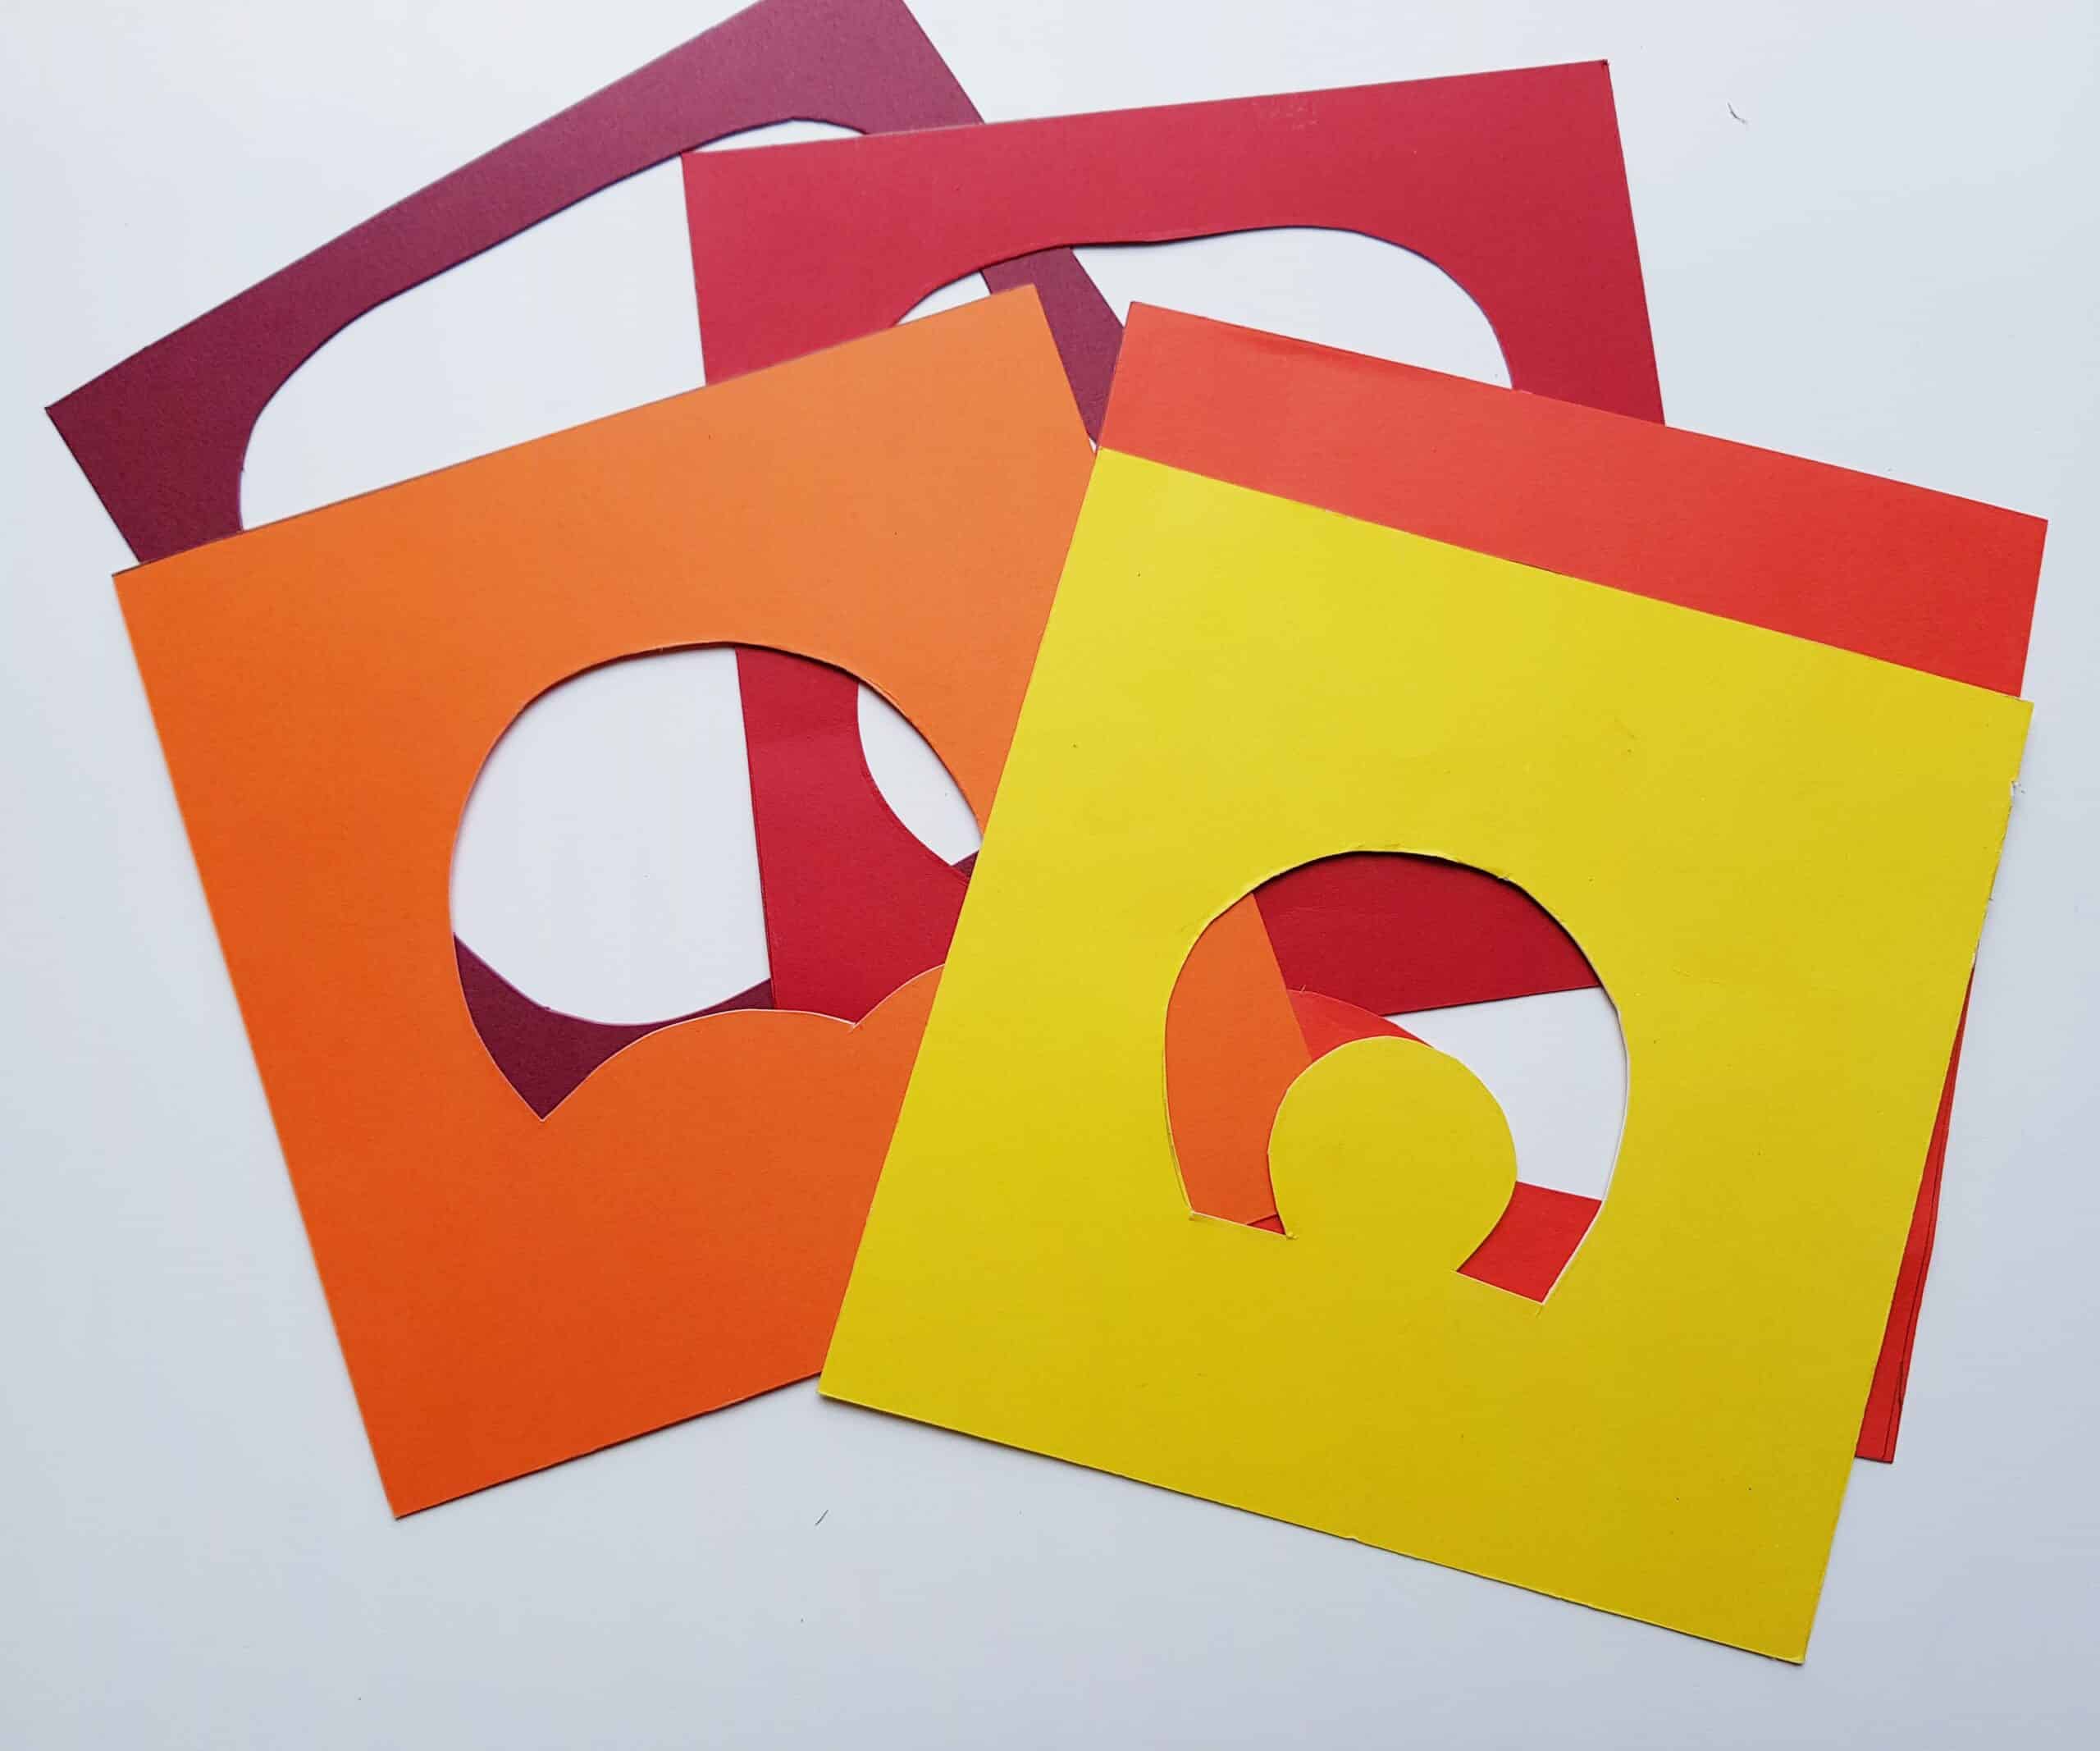
(Note: It helps me to write the layer # on the back of each piece of paper. )
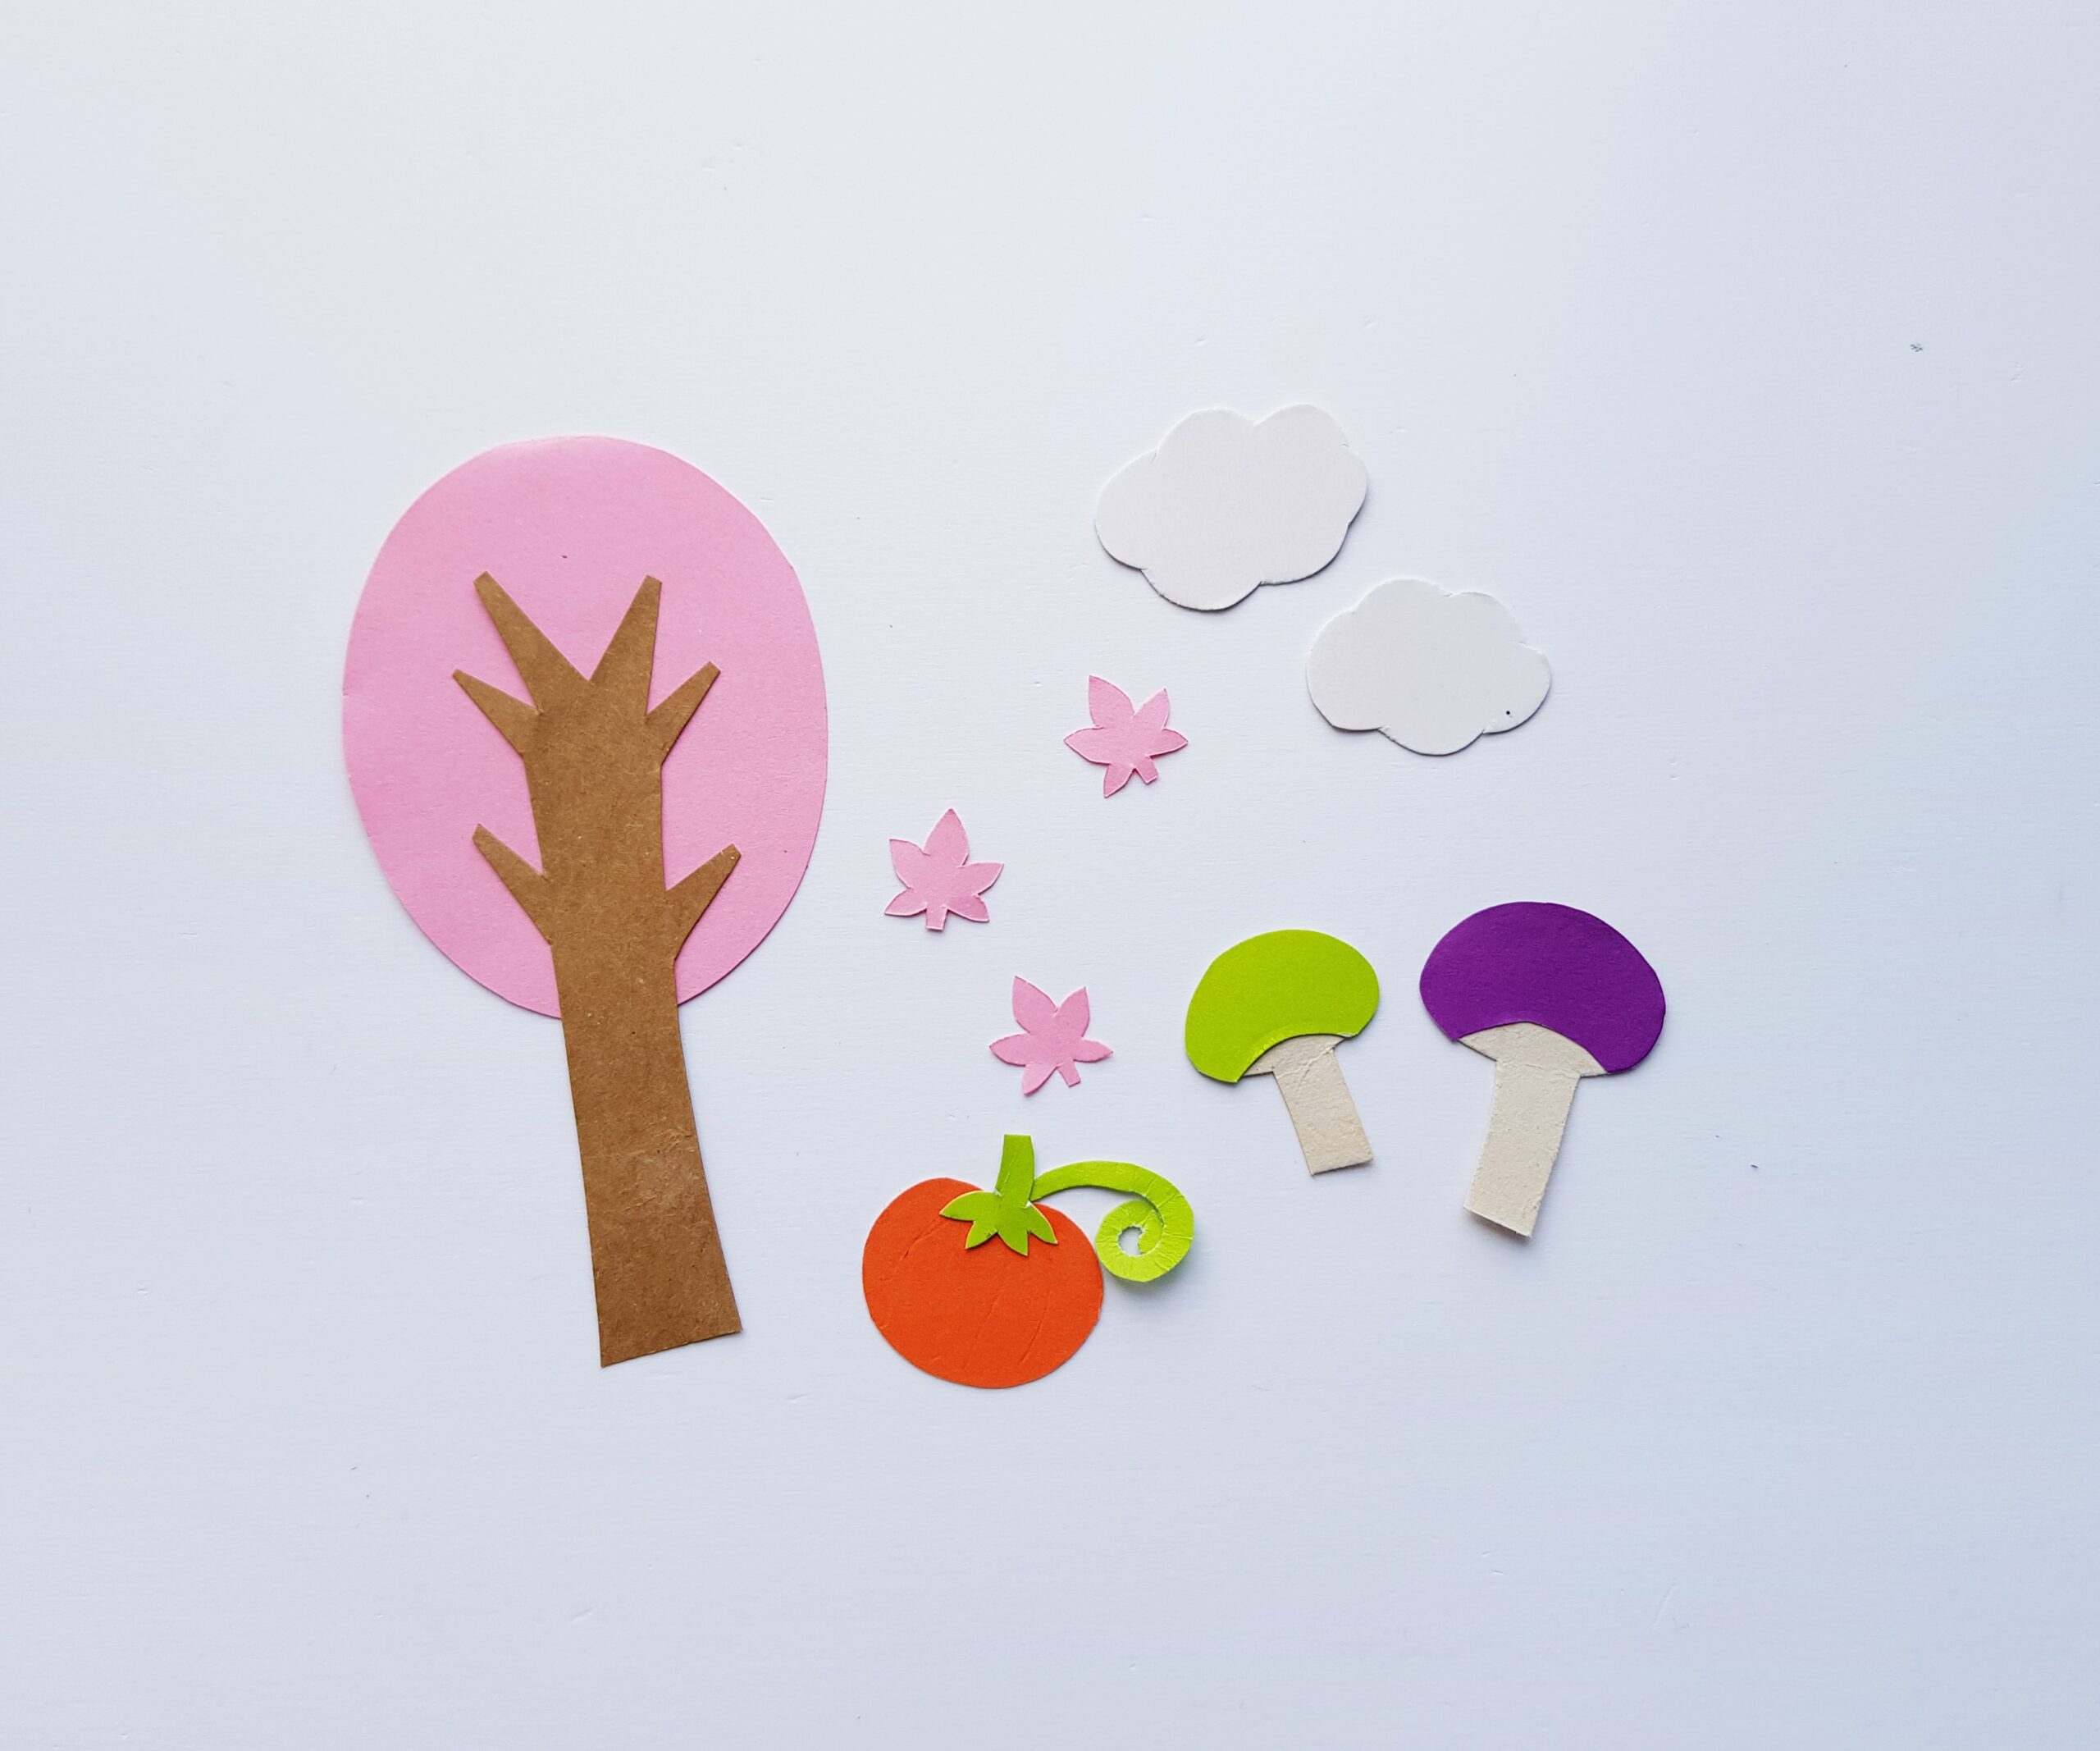
Next, make your card stock color selections for the autumn-themed images in this craft: there’s a tree, some clouds, some fall leaves, a pumpkin, and some mushrooms. After you’ve selected the colors for each item, use the Fall Art Item Template to trace and cut out these fun autumn shapes for your 3D paper art.
You are almost ready to assemble everything. First, however, you will need to prepare 5, 17 x 17 “frames” from the craft foam board. One frame will go between each layer of paper, which is what gives this project its amazingly cool, 3D effect.
Once you’ve measured these 5 frames, use your X-ACTO knife to cut them out. Now you are ready to put it all together.
Next, you will take layer 2 of your cardstock and glue it to the back of the foam frame. You should already be able to see how securing a foam frame between each layer of cardstock creates the desired 3D effect.
Next, attach another foam board to the back of layer 2 of cardstock. Then attach layer 3 of cardstock to the back of the foam frame. Continue this process until all of your layers are complete. Lastly, glue your neutral (white, gray, cream) piece of 17 x 17 piece of paper to the back of your 3D art, sealing the project.
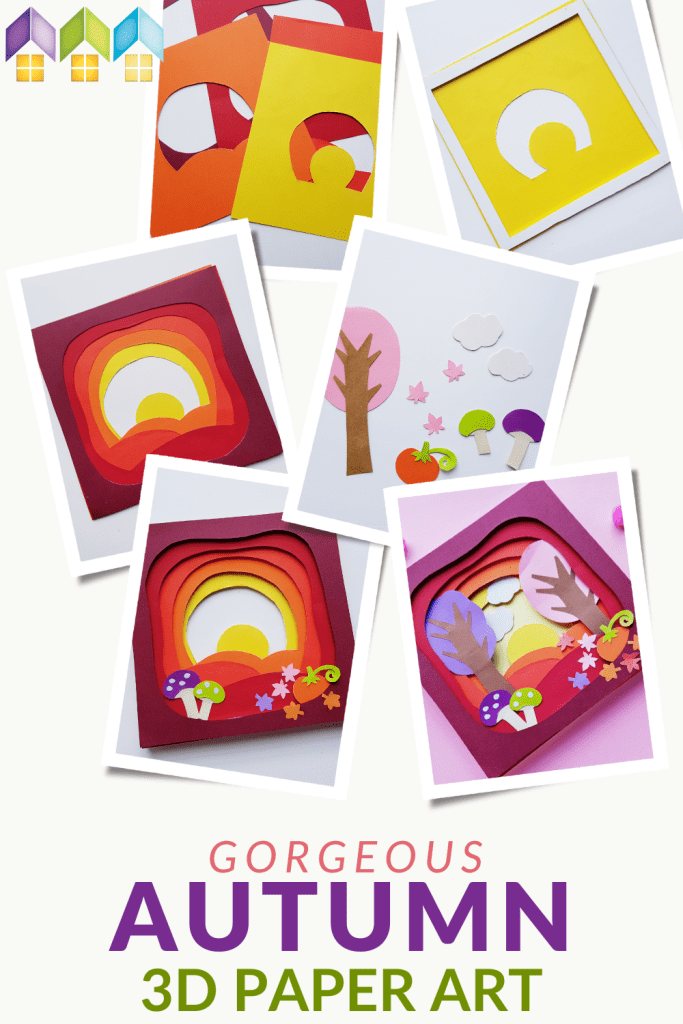
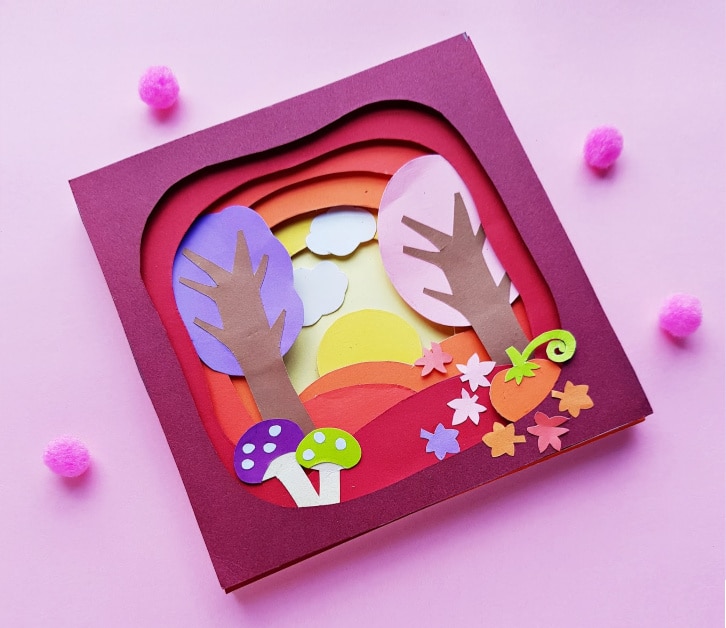
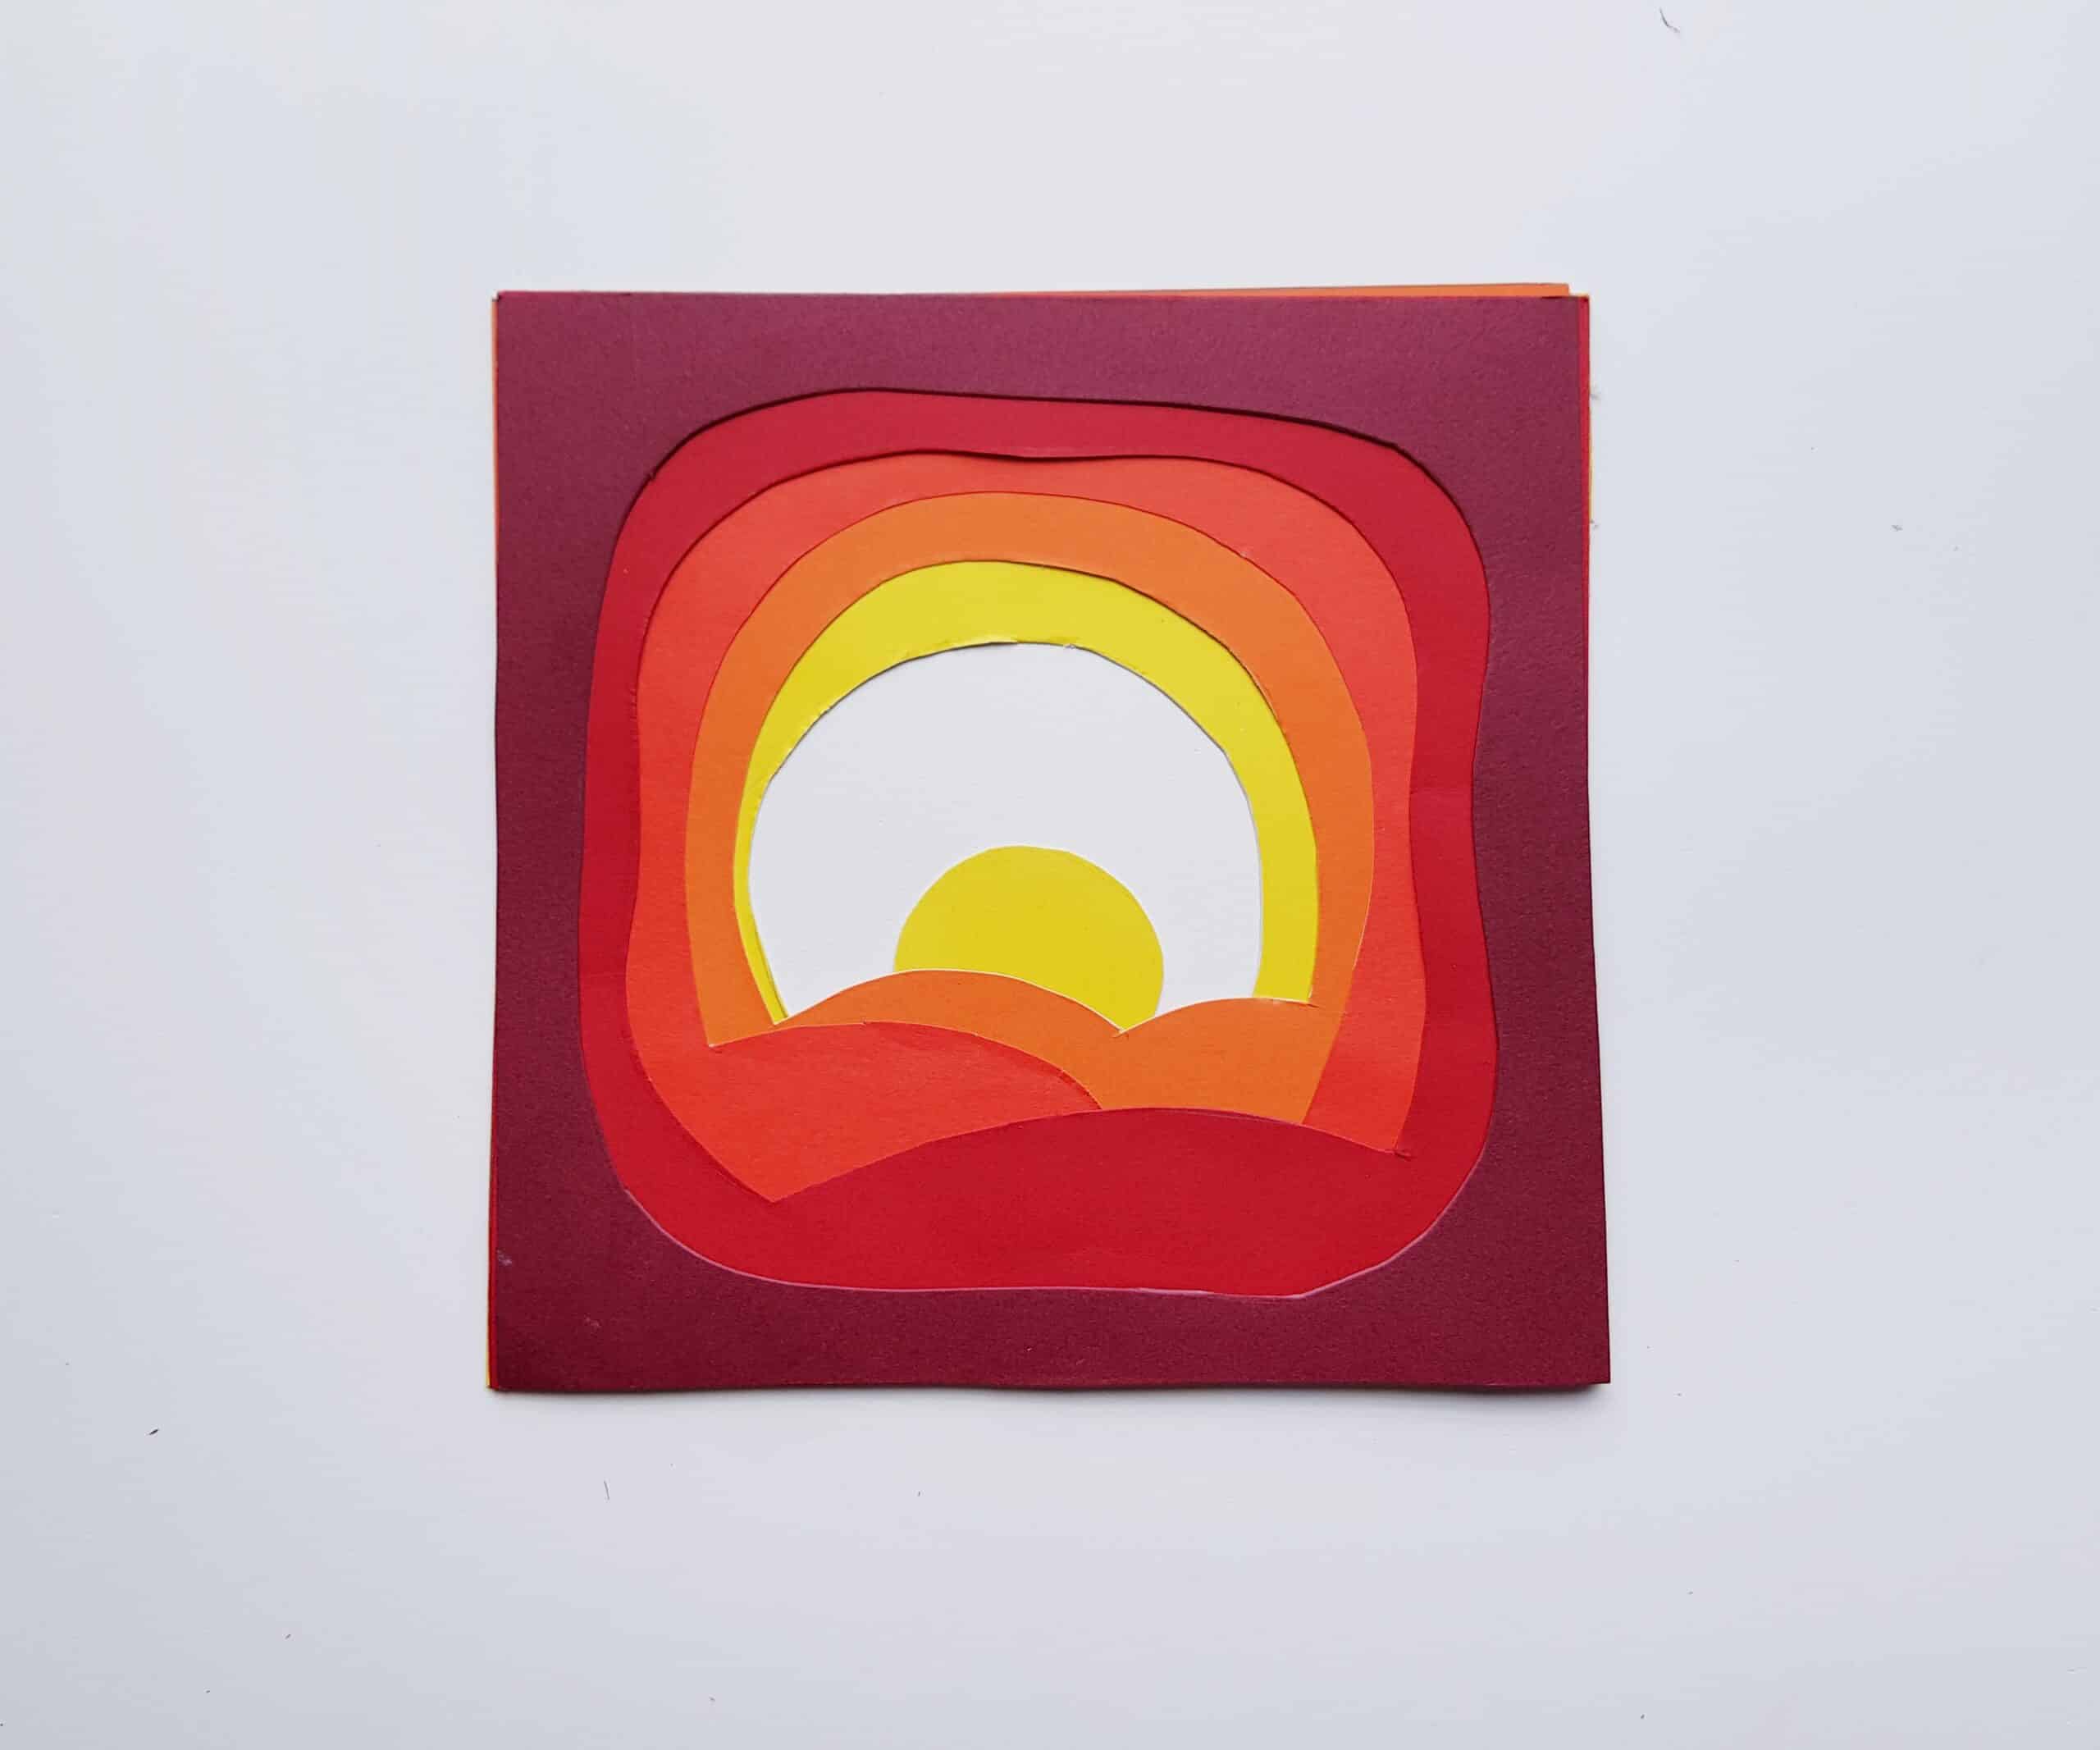
When you are done, you should have something that looks like this:
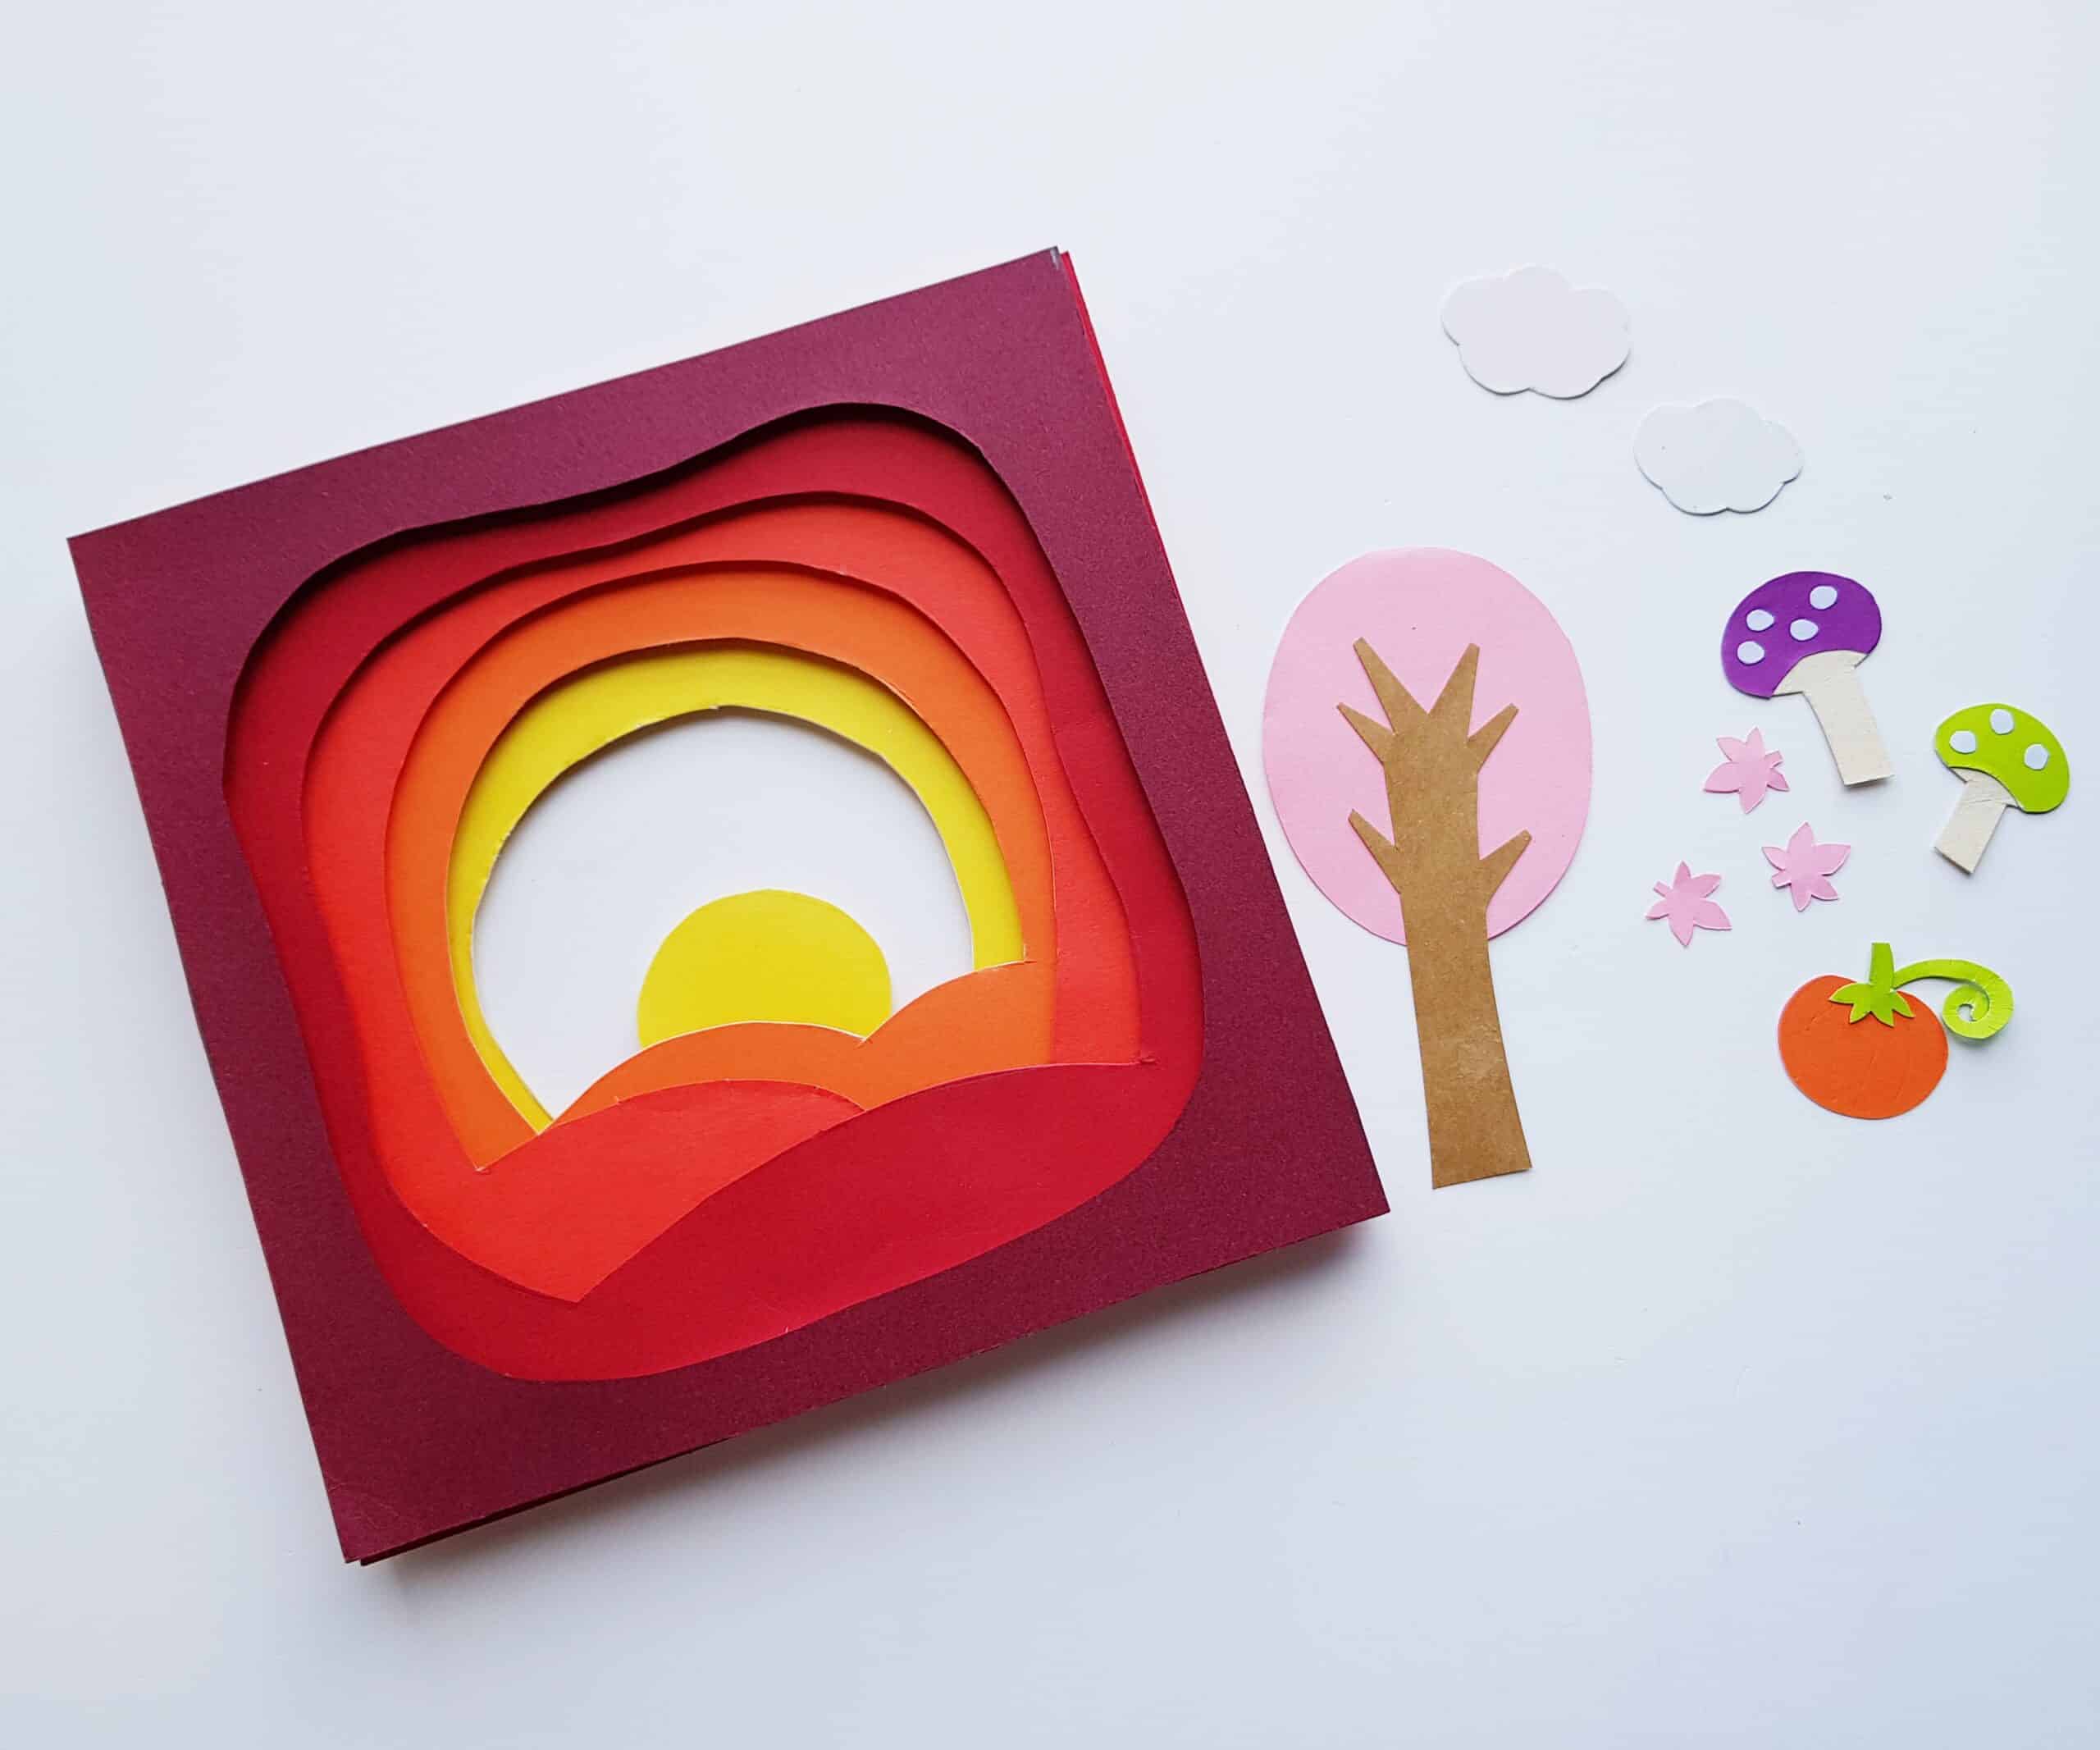
Cool, right?
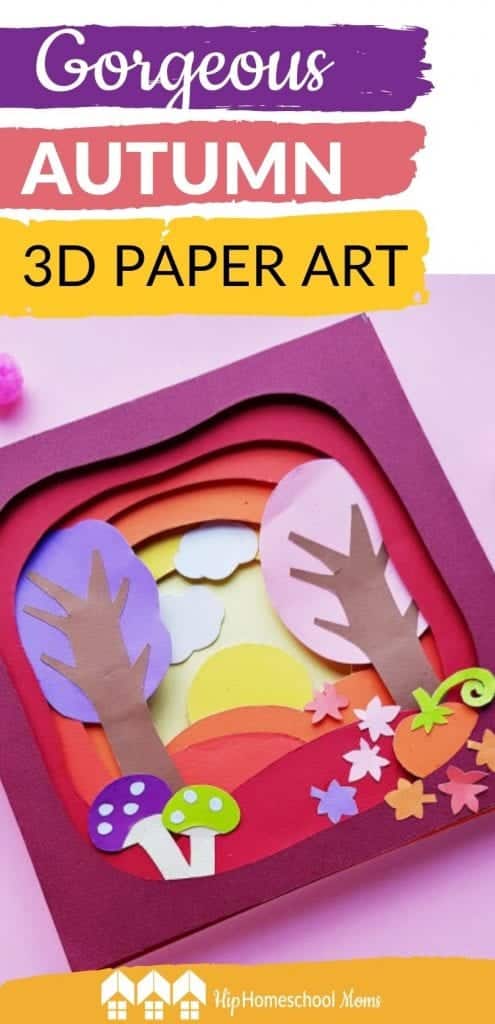
After the glue has had a chance to dry, you can attach the fun, decorative items. Have fun and be creative with your positioning! My main tip for crafting your fall-inspired scene is to make sure that you vary which layer you glue each item to. Doing this really makes your 3D art come to life!
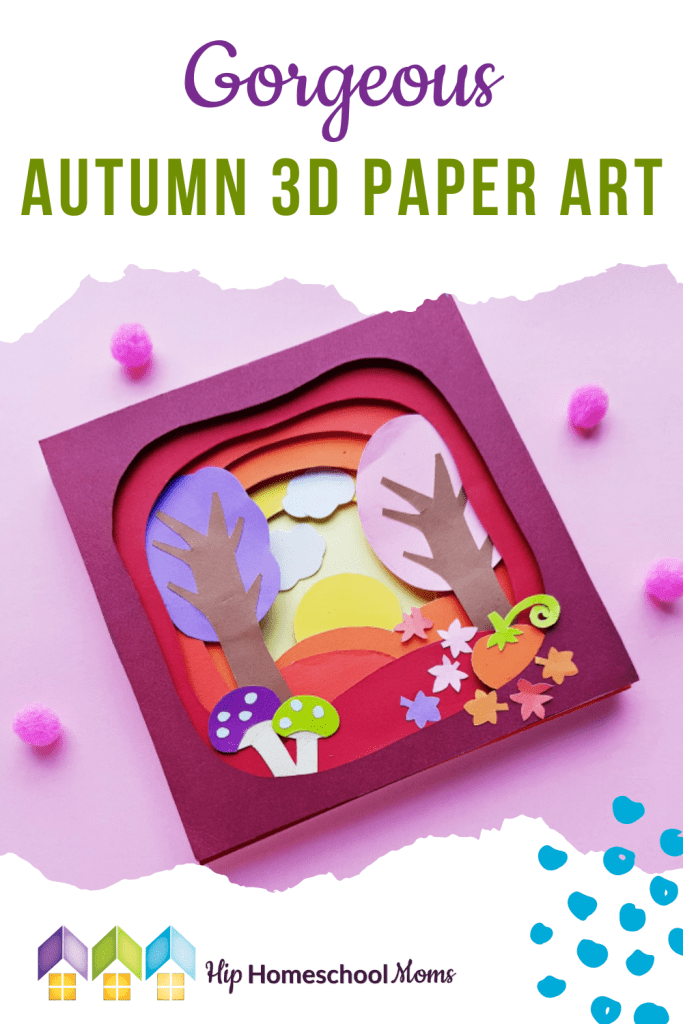
For example, I put my pumpkins and mushrooms in between layers 1 and 2.
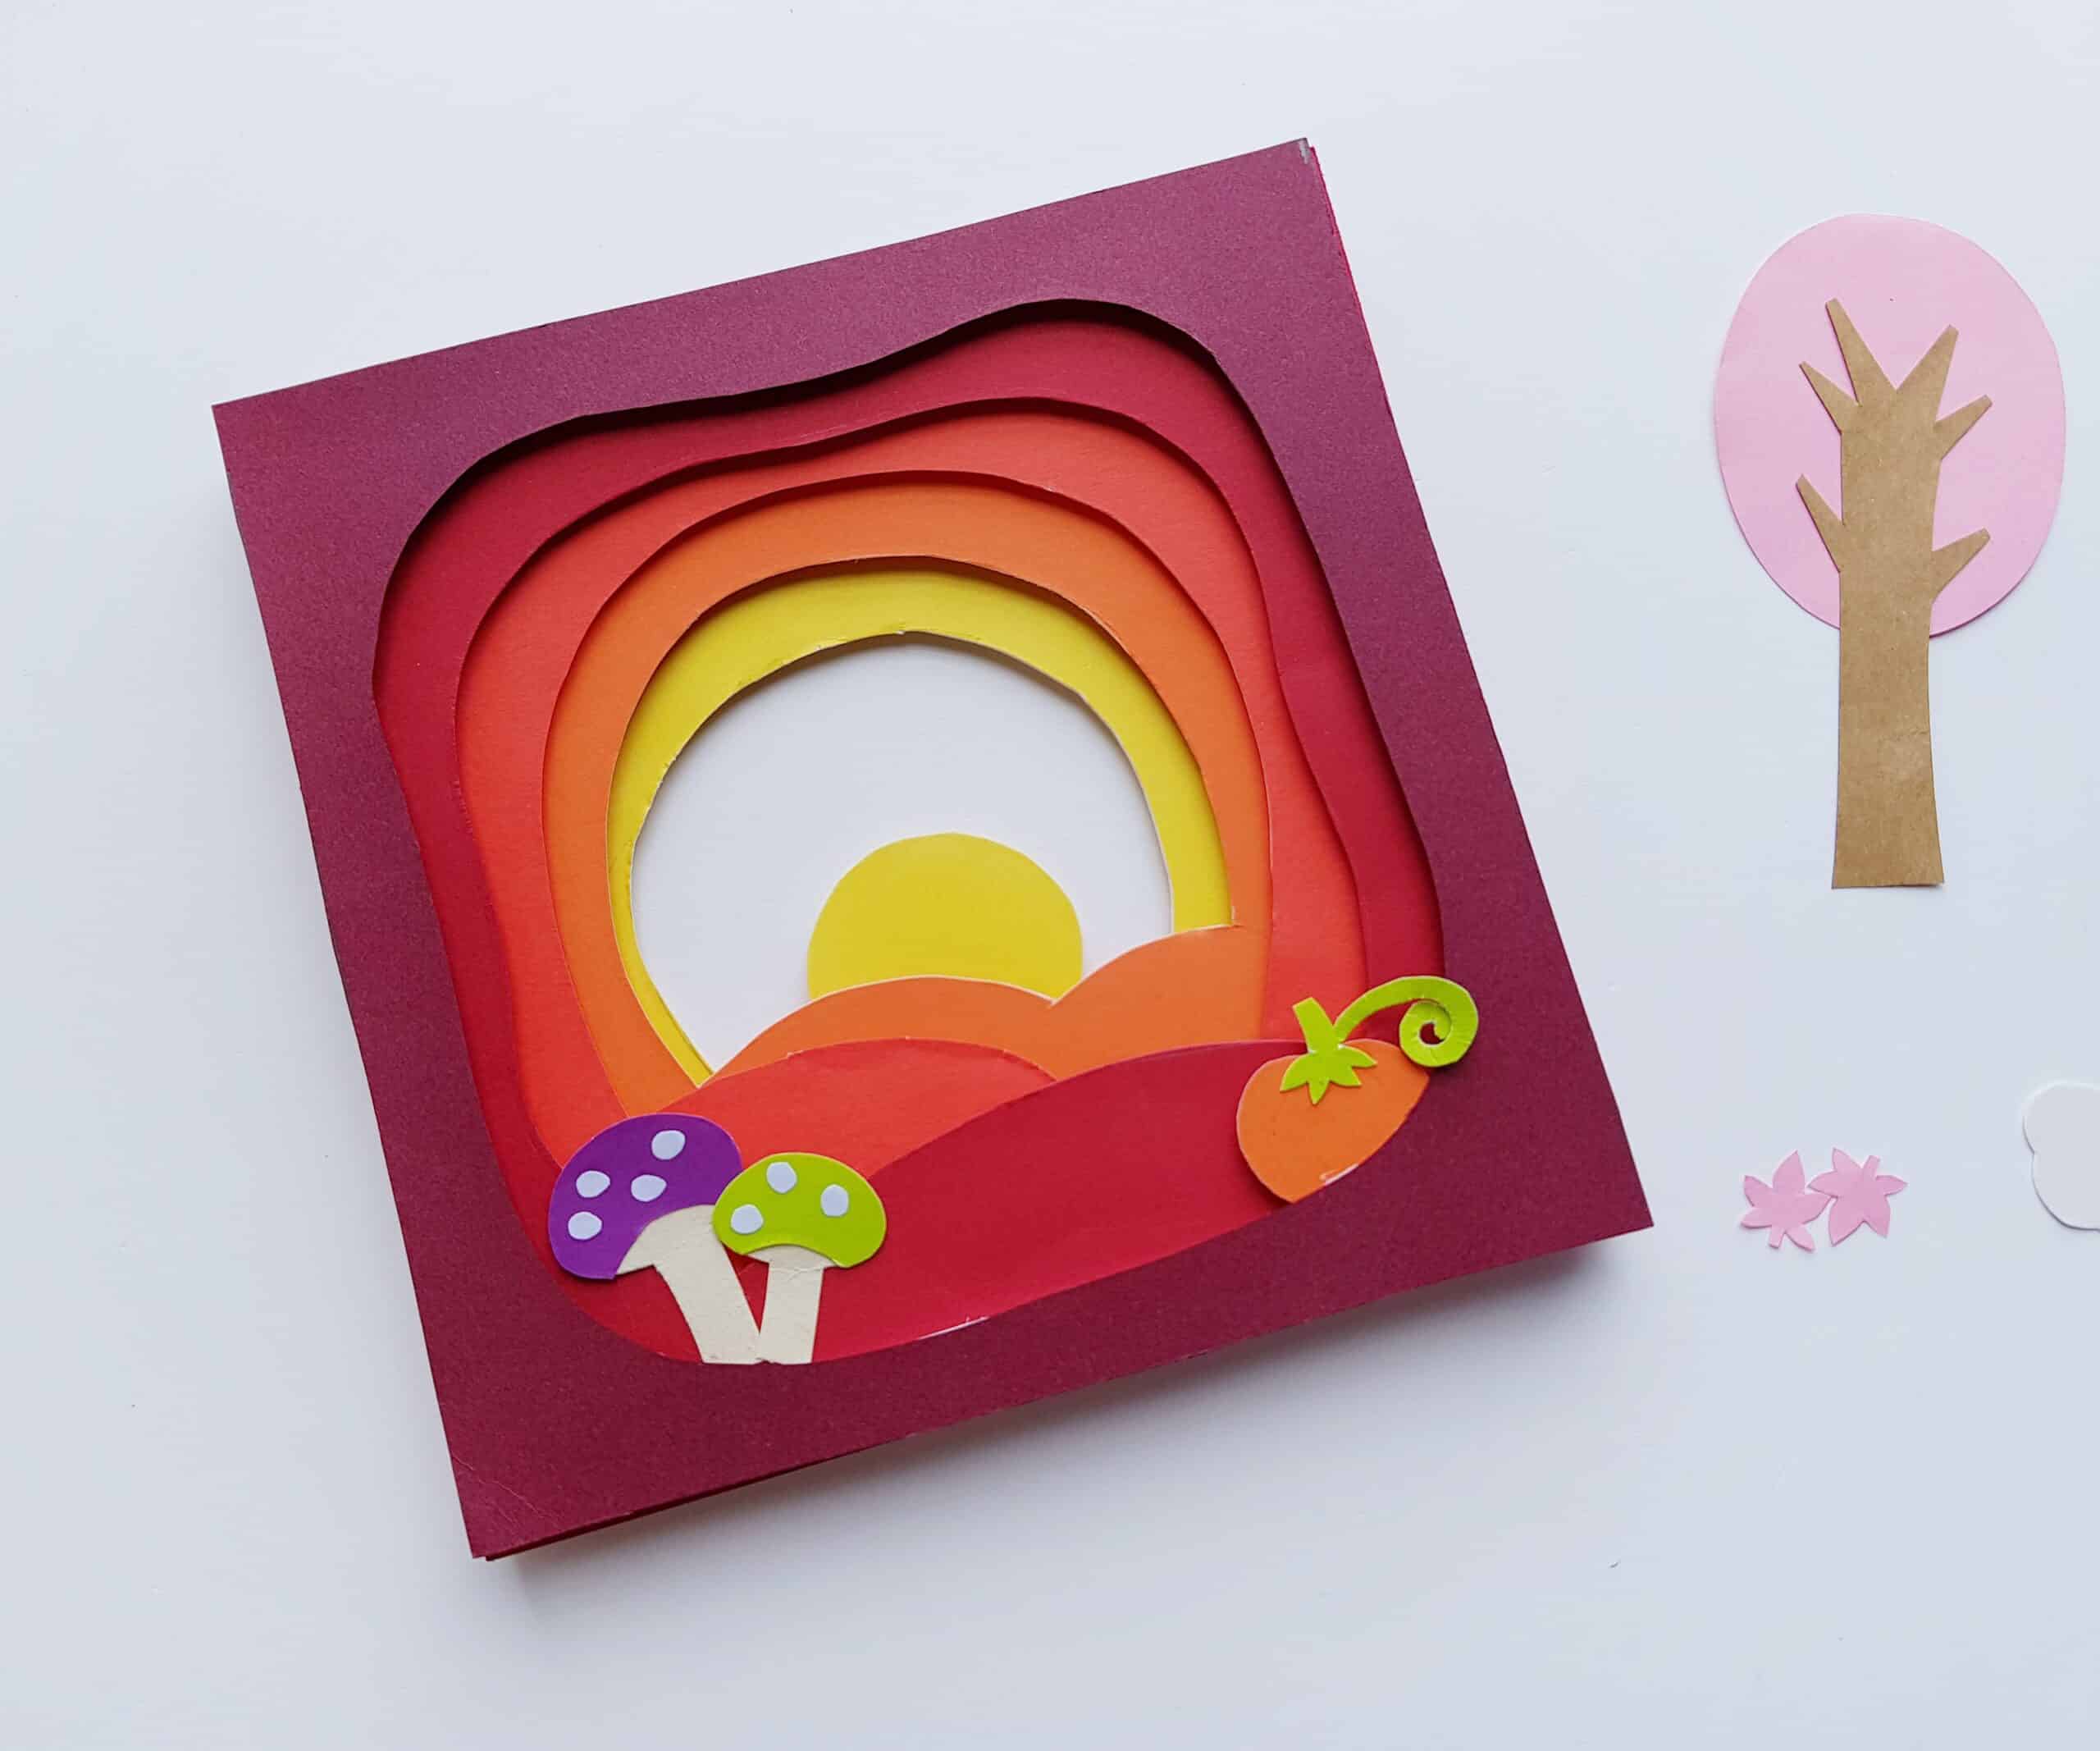
Then I placed my autumn leaves so that’d cross over onto the front of layer 1. They almost look like they are coming out of the picture!

I tucked the trees and clouds into the back layers. This final touch really gave this project an extra pop of 3D magic.
This 3D paper art project has a beautiful, super-satisfying end result! If you’ve got children working on this 3D paper craft with you, it will definitely utilize some of their critical and creative thinking, as well as their direction-following skills! While the main structure of this craft is standardized by the printable templates, it’s fun to see how much variety can be produced by choosing different colors and positioning the items of the fall scene in different places!
Did you make this project at home? We’d love to see how it turned out!


What a beautiful art project. I love that it is so visually appealing and yet looks pretty simple to make. So much creativity can go into and with so little mess. Very original.
This is incredible! I can’t wait to try it out with my kids, they are going to love it. I don’t think I have ever seen anything like this before. Thanks for the great idea!
How fun! I’m sure my kids will love this!
This is such a great idea and an adorable project! I’m going to try this with my 5 year old!