How to Make the Cutest Elf Ornament

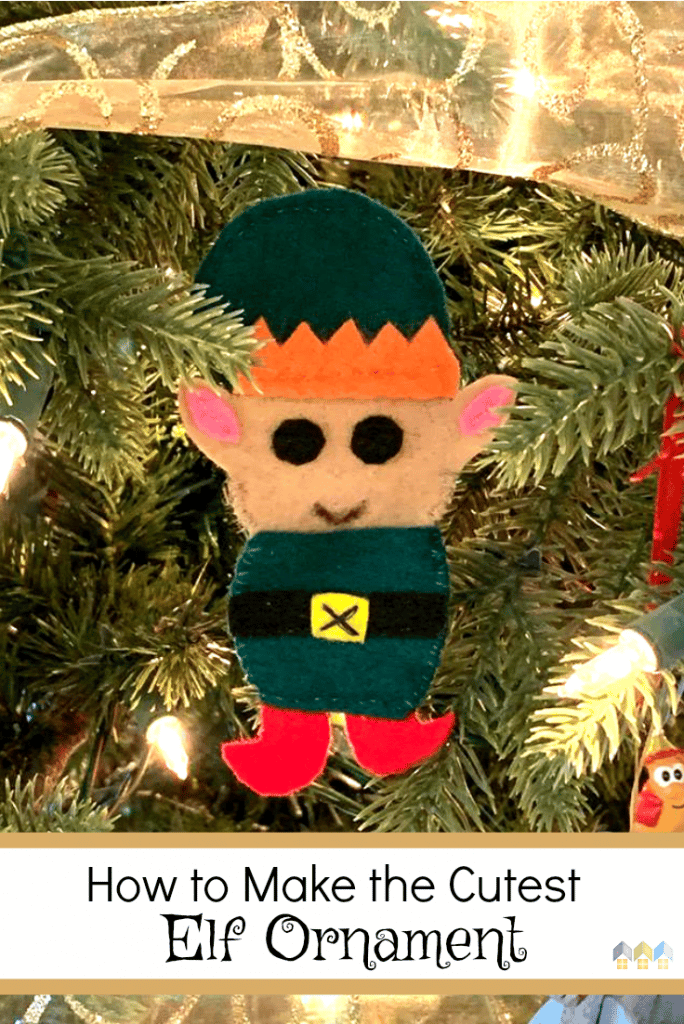
Are you looking for some fun Christmas ornaments to make with your family? This elf ornament craft uses a few simple supplies, and the ornaments are so cute!
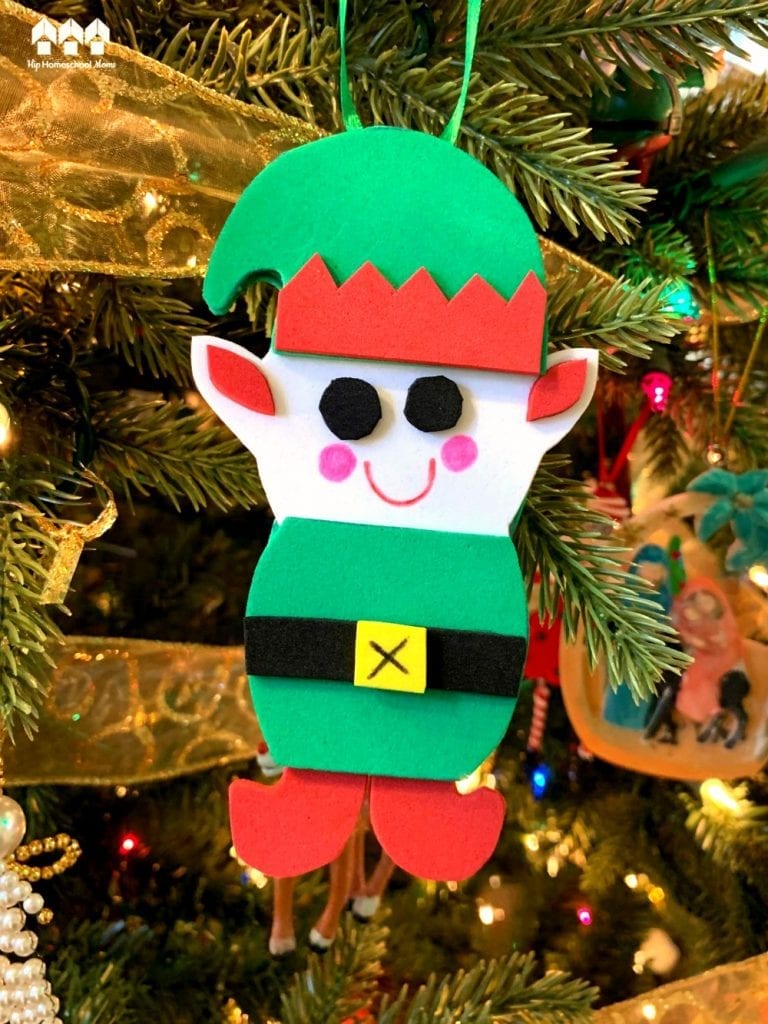
My daughter and I made two versions of them. We made one according to the instructions, and we made another using foam sheets instead of felt. If you enjoy sewing or if you have children who are old enough to sew (if you want to make this a family activity), you may want to follow the original instructions and sew them. If you have younger children, though, or if you don’t want to sew, you can use foam sheets and glue. (We omitted the stuffing for our foam ornaments.)

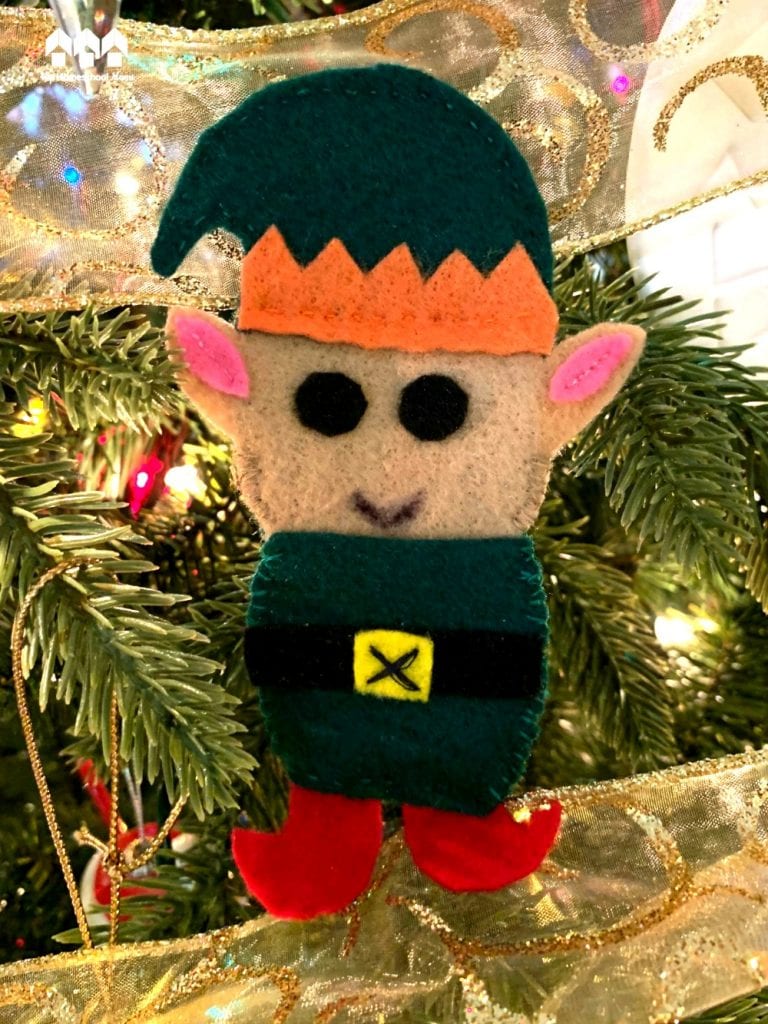
Above, you can see the sewn version on the left and the foam sheet version on the right. The foam version is faster, but both of them turned out super cute! So do whichever version fits your family the best, and have fun! And if they don’t turn out like you want, don’t worry about it! I have several ornaments that my children made when they were all little, and they definitely aren’t perfect, but I use them every year anyway. In fact, I love them because my children made them and because they aren’t perfect!
We also used these cute little elves on Christmas gifts and as decorations in our home when we had some friends over. So make one or make a lot, and use them however you want! The most important thing to do, though, is enjoy being creative and doing something fun together!
To download your Elf Ornament Instructions, click here.
To download the Template, click here.
List of Supplies:
- Felt fabric
- Thread and needle
- Ribbon
- Pencil or pen – for tracing the template
- Pink highlighter pen
- Scissors
- Cotton
Instructions:
- Print instructions and template (using links above). Use template to cut out pattern pieces using whatever colors you want for your elf.
- Take the head cut-out and stitch the eye cut-outs in their places.
- Stitch on the lips using black or red thread.
- Stitch the 2 inner ear cut-outs in place.
- Use pink highlighter to add blush to cheeks.
- Place base cut-out on a flat surface and place the head cut-out on its place on the base.
- Place the hat and clothing cut-outs on the base. Overlap the head from both sides and attach the sides of all 3 cut-outs (hat, head, and clothes) making sure they line up with the sides of the base cut-out. (At this point, don’t sew the hat, head, and clothes to the base. You’re using the base just to make sure everything lines up correctly.)
- Place the belt and hat cut-outs on their places to check if the sizes are correct. (Trim if necessary.)
- Stitch together the shirt, belt, and belt buckle with a simple “x” stitched on the belt buckle and going through all 3 layers.
- Similarly, stitch together the hat, zigzag hat border, and head.
- Place the shirt below the head (overlapping a little), and stitch the head and shirt together.
- Place the base cut-out on a flat surface, and place the two shoe cut-outs along the bottom of the base. Stitch in place.
- Place the prepared front part of the elf on top of the base, keeping the shoe cut-outs in the middle
- Use needle and thread to stitch around the sides of the elf front to attach it to the base. (Leave a small opening to use to add stuffing.)
- Stuff the elf ornament with cotton through the opening.
- After adding stuffing, stitch the open end to secure the stuffing.
- Hang your elf on your tree and enjoy!
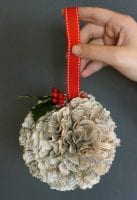
More Christmas Crafts
If you are looking for more fun and easy Christmas activities, check these out:


This would be an awesome holiday project for our homeschool group. Great for a wide age range! Thank you for sharing.
Ooohhh adding this to our sewing unit! Sewing and giftable perfect.