Adorable Valentine’s Day Craft: Plush Heart in Matchbox

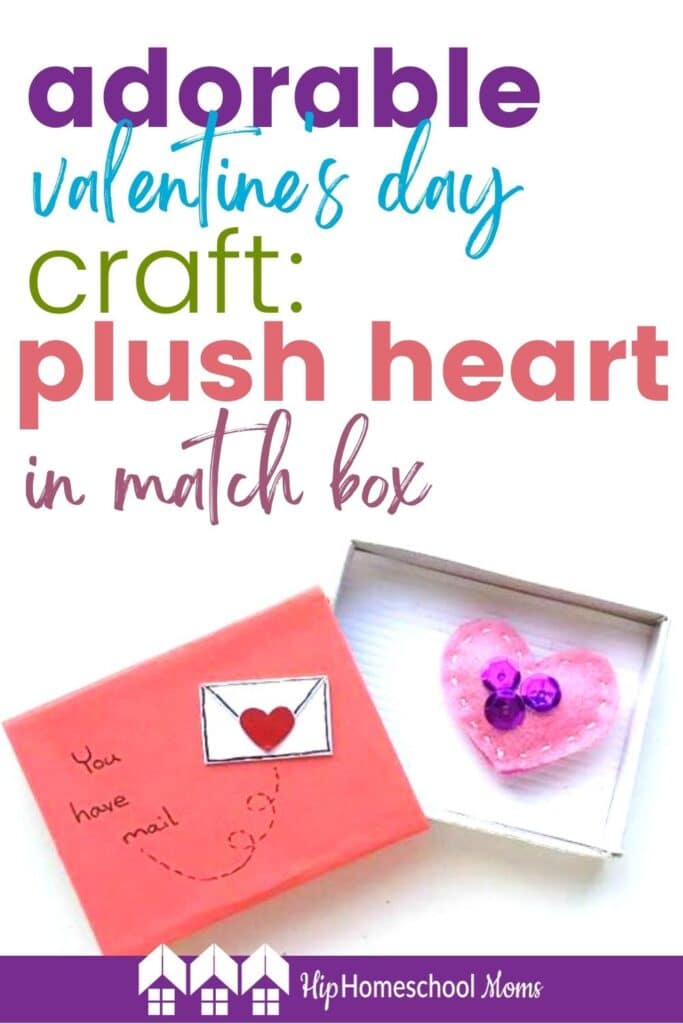

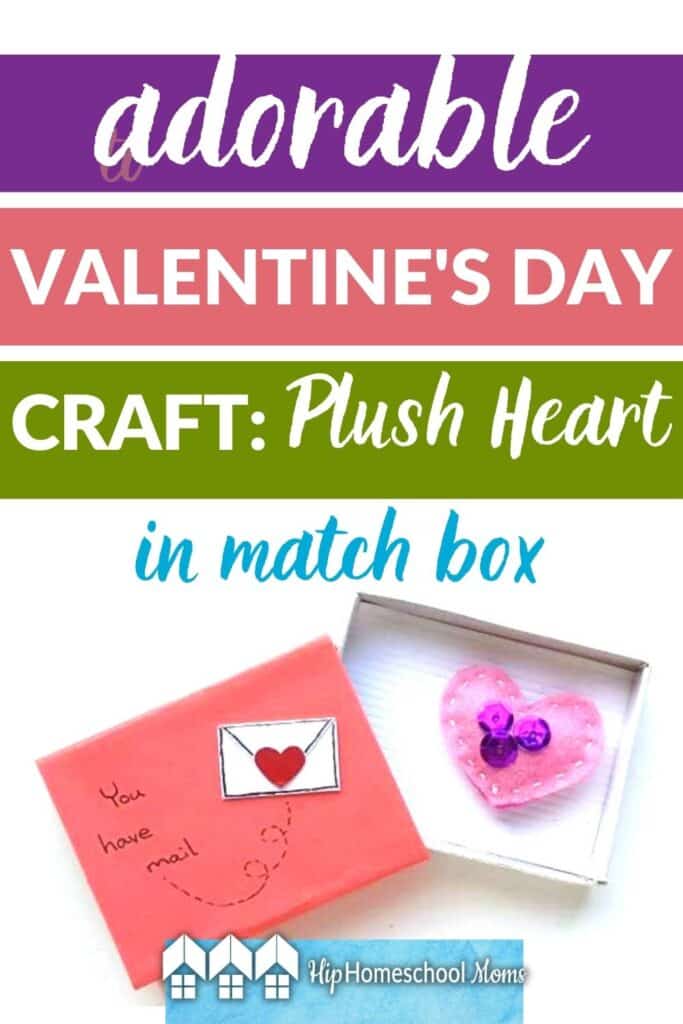
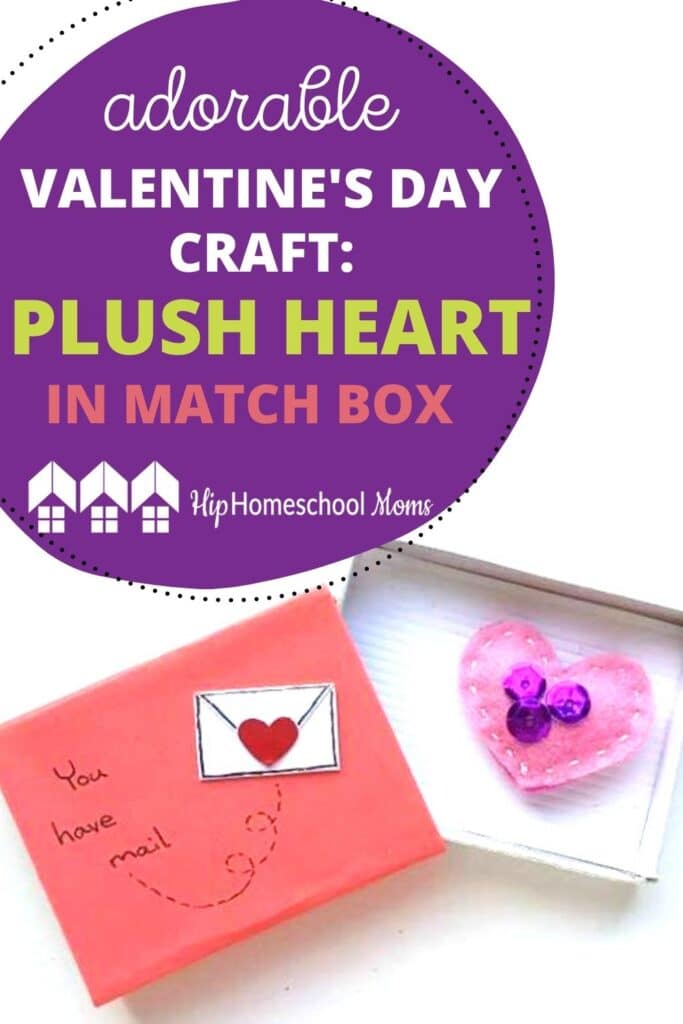
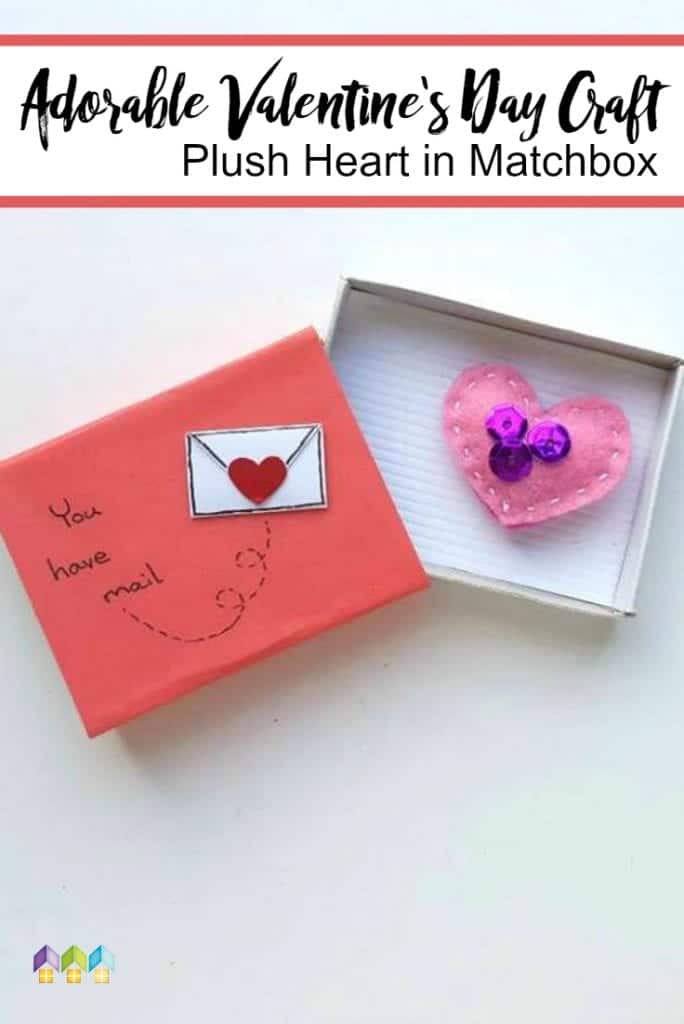
Looking for a creative way to make memories with your child this Valentine’s Day? This simple and adorable sewing craft is the size of a matchbox and shows that big things (like gestures of affection) can come in very small packages! Young children will enjoy decorating the inside and outside of the matchbox and folding the tiny paper envelope. Most children can also stitch the small plush heart inside! Not only does this Valentine-themed craft make a great gift, it can also be saved and used as decoration for many February 14ths to come!
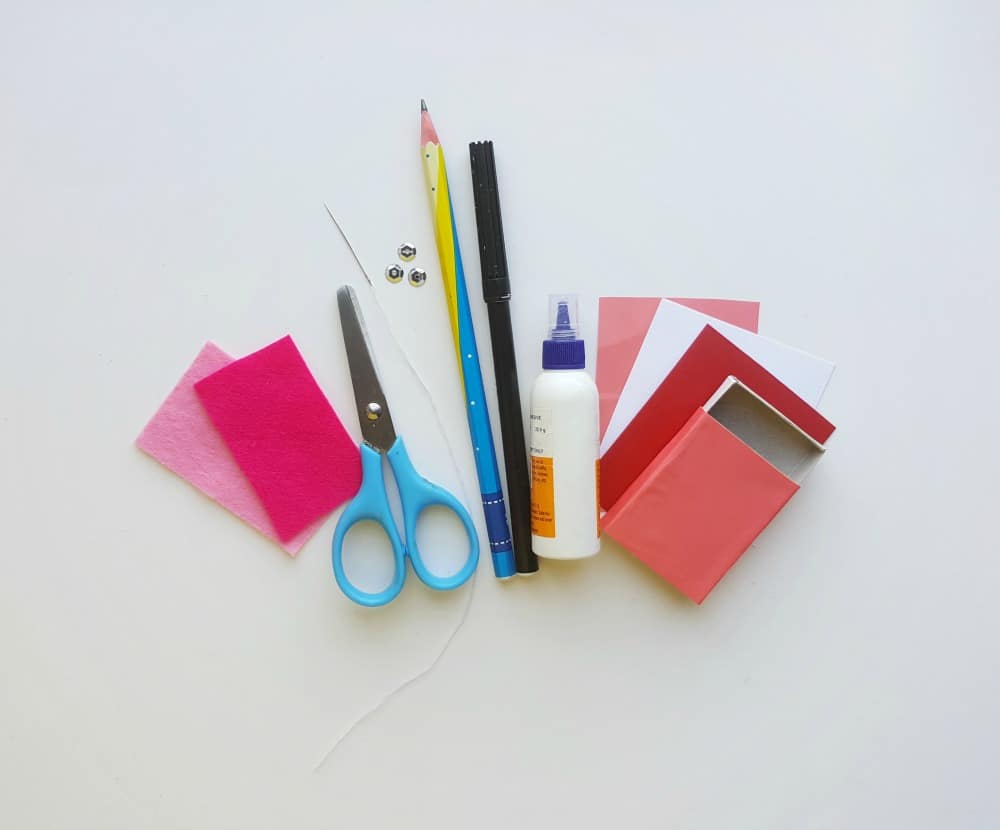
What You Will Need for This Craft:
- Felt fabric
- Needle and thread
- Pencil
- Scissors
- Matchbox
- Craft glue
- Colored craft paper and plain white paper
- Sequins, glitter, or any kind of craft decor
Steps for the Decorative Mini-Envelope :
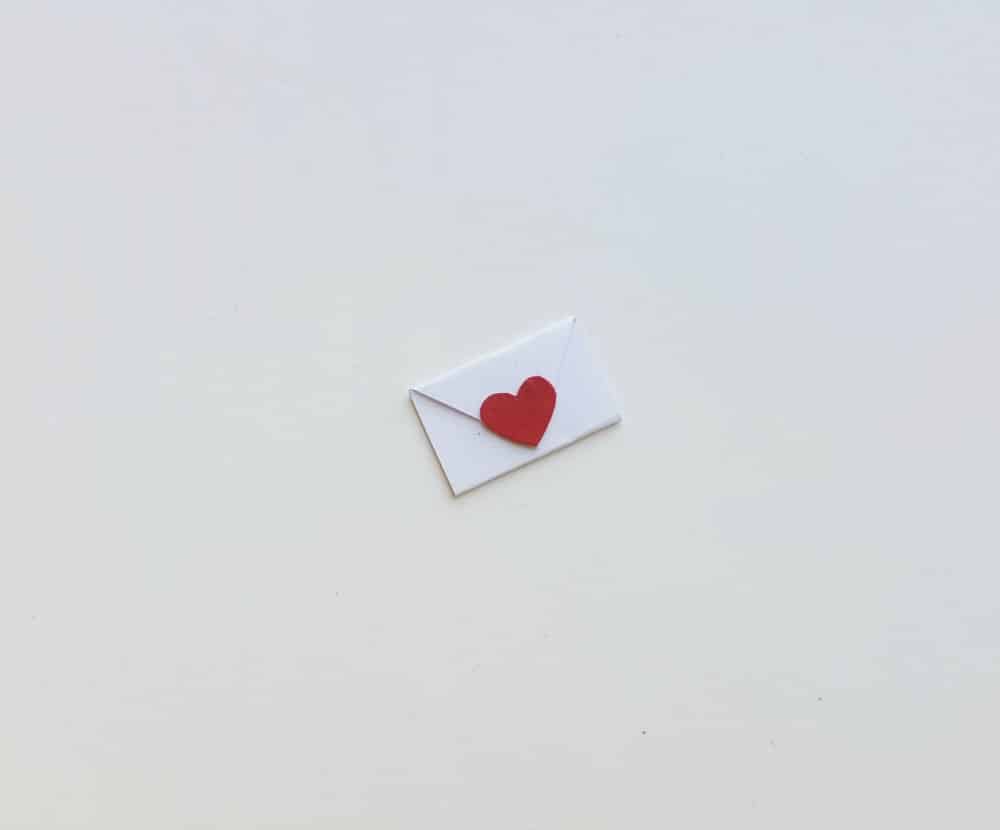
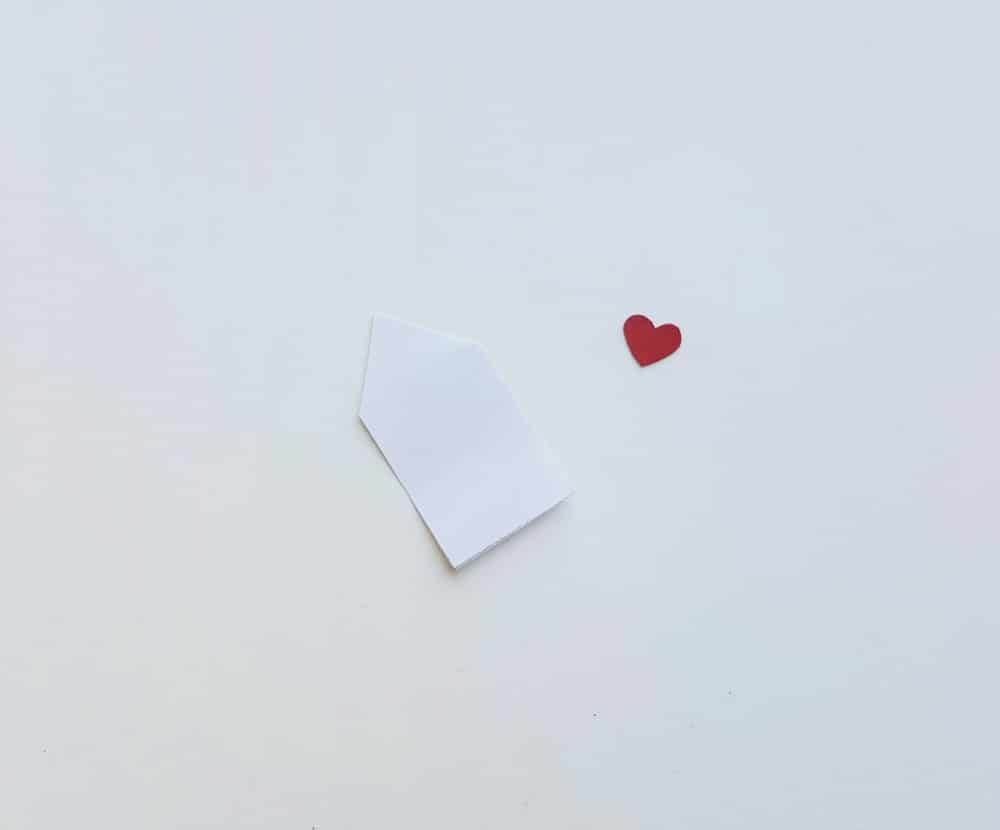
- Cut out a very small pencil (or house) shape from a white craft paper. Make sure it is small enough to fit on top of your matchbox lid.
- Next, cut out an (even smaller) heart shape. This will act as a miniature “seal” on your tiny envelope.
- Fold the bottom part of the pencil-shaped cut-out upwards, keeping the triangular portion intact. It should now resemble an open envelope.

- Finally, fold the triangular flap downwards, closing your “mini-envelope.” Put a small dot of glue on the tiny heart and use this to seal the envelope. You now have a tiny Valentine to decorate the top of your matchbox!
Steps for the Matchbox:
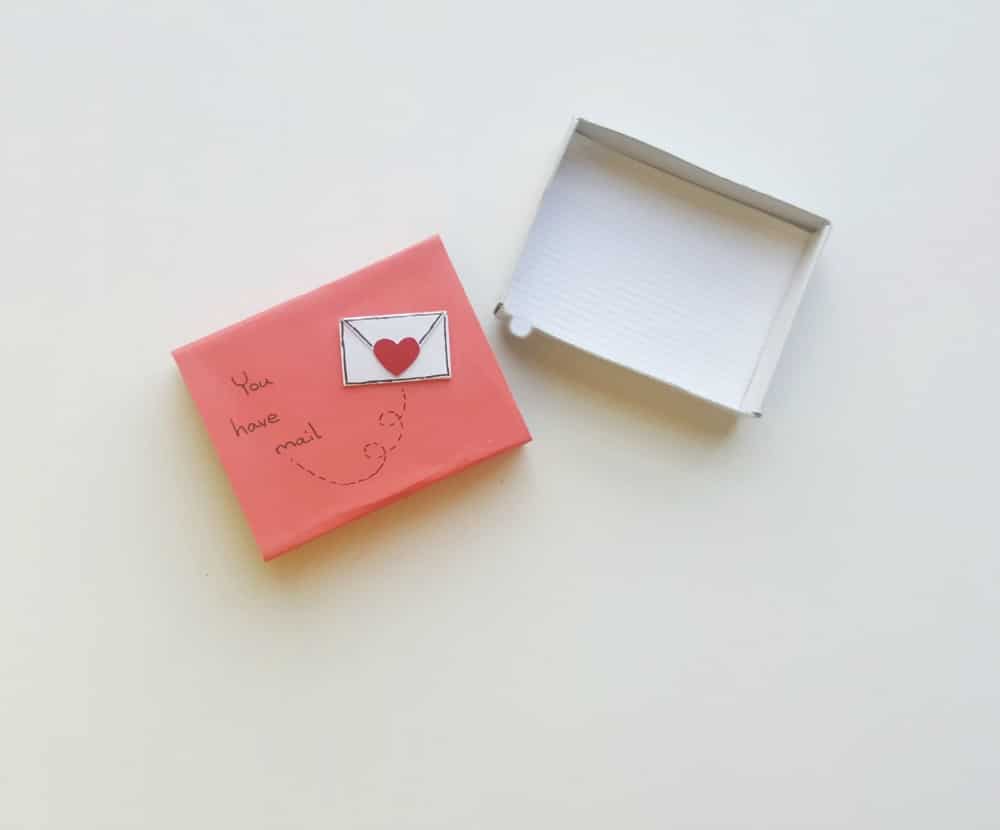
- Even the youngest children can be creative with this part! Using the craft glue, cover the inside and outside of the matchbox with craft paper. Then decorate! Children can use sequins, glitter, or confetti to make the box beautiful and special. Leave room on the top of the matchbox for the tiny Valentine you created in the last step!
- For the finishing touch on the match box, glue the mini-envelope on top.
- If there is room, you can use a pen to write a special message or quote on the matchbox or draw a Valentine’s Day design!
Steps for the Plush Heart:
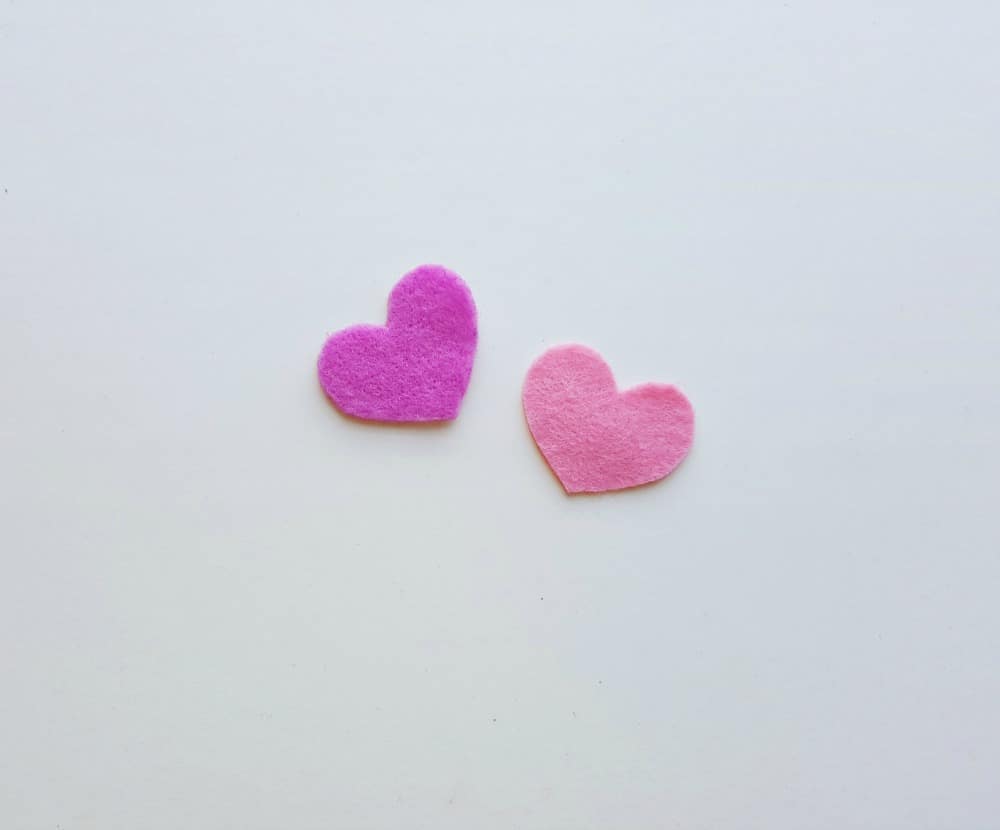
- Draw a heart on a piece of paper that would be small enough to fit easily inside your matchbox. Using this drawing as a pattern, cut out two identical hearts from the felt fabric. Next, line them up to make sure they match exactly. You will use these to make the plush heart that goes inside the box.
- Prepare needle and thread. If children are going to help with this part, an embroidery needle with a large eye may be the easiest type to use.
- After you make sure the two heart cut-outs are lined up, begin a simple running stitch around the sides to secure them together. Don’t sew it all the way closed, though! Leave a small opening.
- When you have stitched the two hearts together almost all the way around, stuff a bit of felt (you probably have scraps) through the small opening. This is what gives this plush heart its “plushness.”
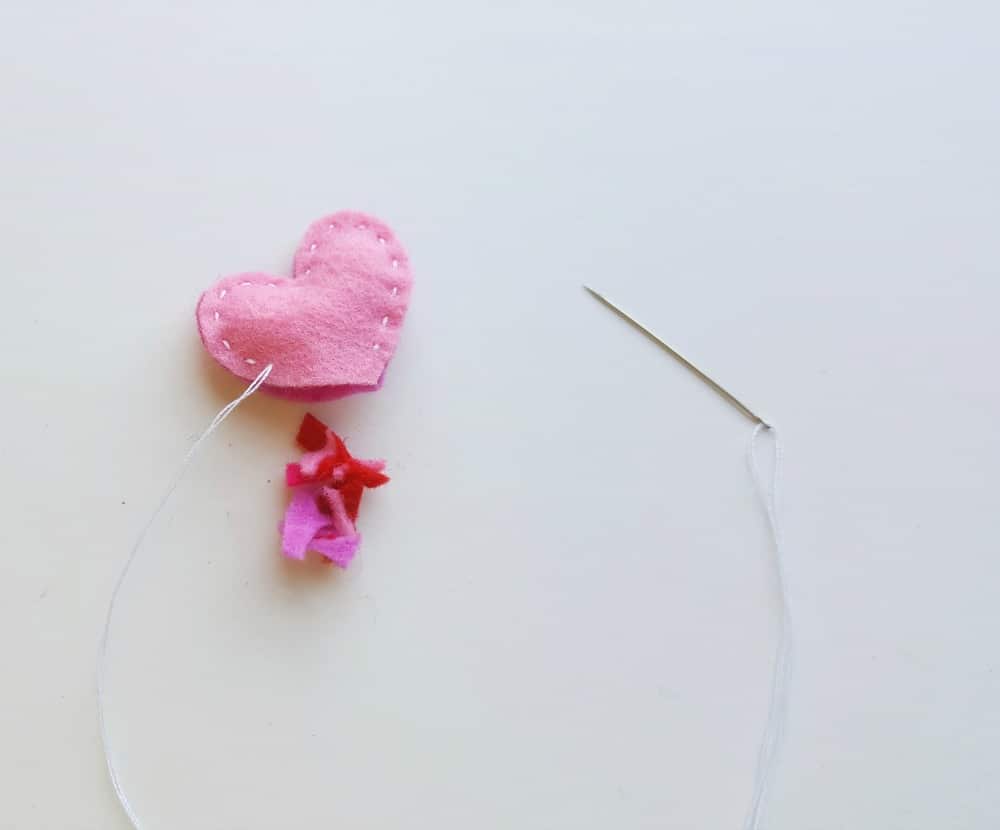
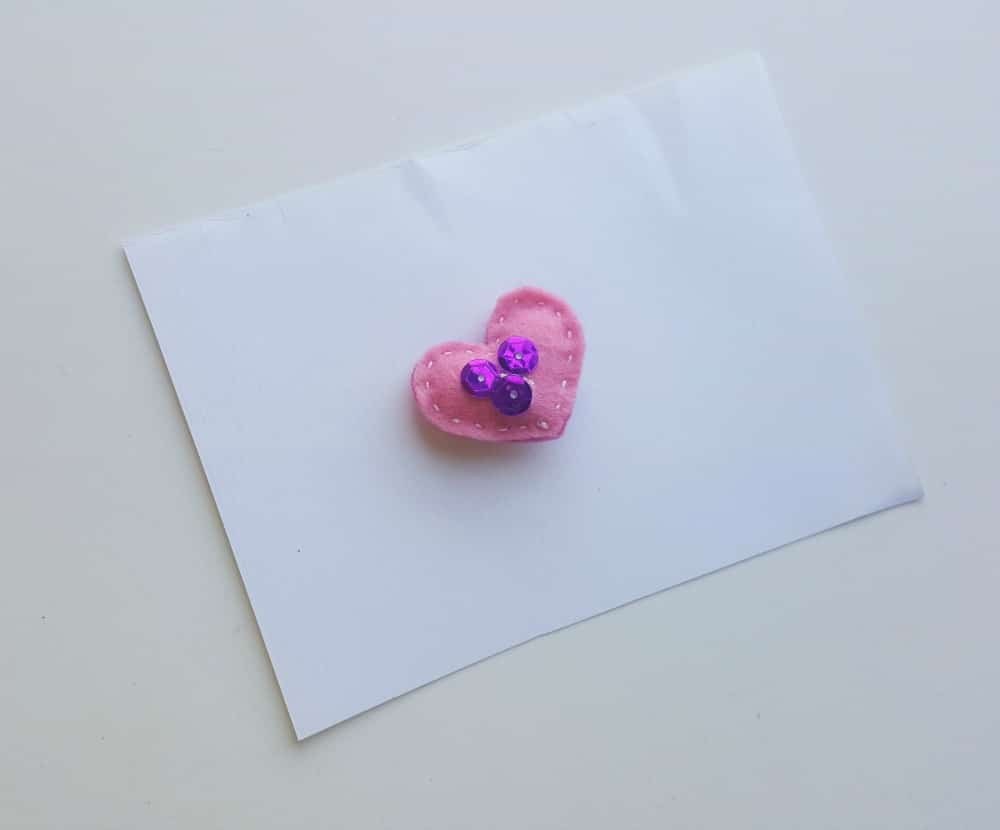
- Once the heart is plush, stitch up the opening. After you’ve sewn all the way around, tie a knot and cut off any extra thread. Now you have an adorable Valentine’s heart to put in your box!
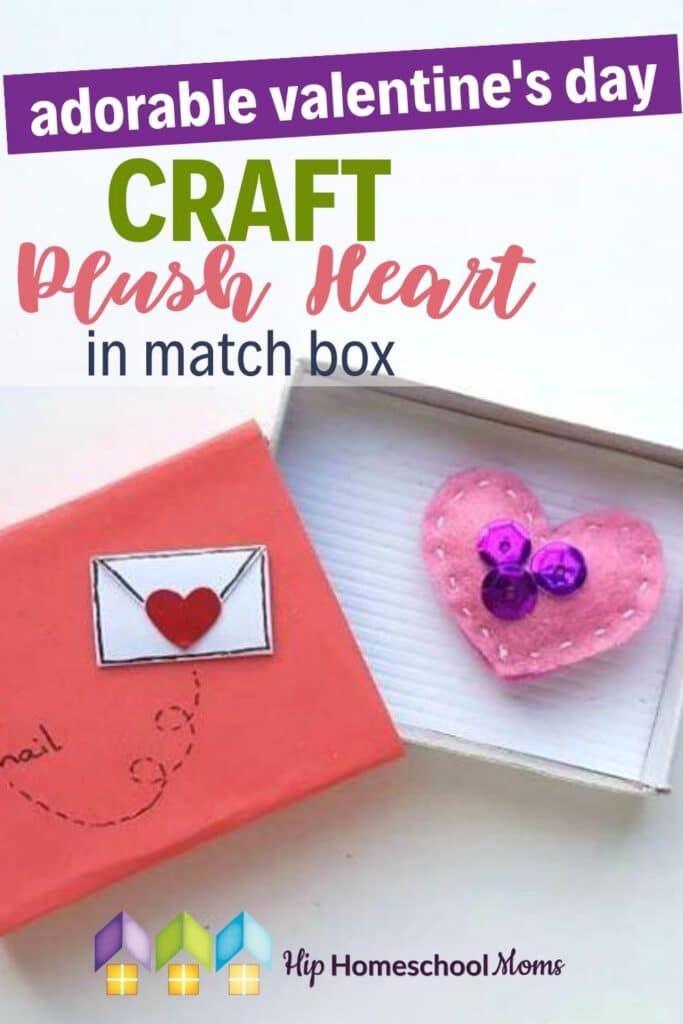
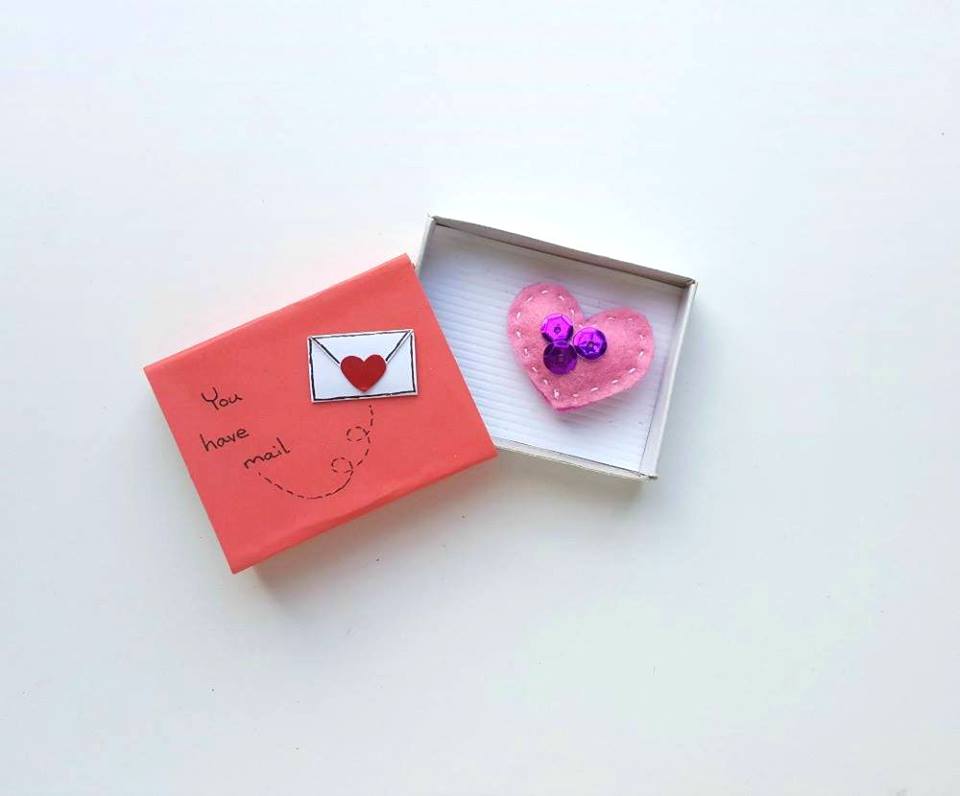
- Finally, you may want to decorate the plush heart further. I used craft glue to place confetti on mine in the second picture below. Just make sure you let the glue dry all the way before putting the heart into the matchbox!

Finishing Touches:
After you’ve placed the plush heart inside the matchbox, consider writing a small personal note or favorite quote along with it! We hope you and your children enjoy this special Valentine’s Day craft!
Share your pictures of your finished project on our Facebook page or in our group. Be sure to type this hashtag #hiphomeschoolmoms so we can find you!


My granddaughter (8yo) is so excited about making this for her mom for Valentine’s Day. We have completed the matchbox and will pick up some felt to make a heart to put inside. Thanks for posting this.